Imagine you’re standing in the laundry aisle, surrounded by bright bottles with ingredient lists that read like a chemistry exam.
Your sensitive skin is tingling just thinking about it, your wallet’s already lighter, and you can’t help but wonder, does cleaning your clothes really have to come with so many trade-offs?
It doesn’t. Enter the world of DIY laundry detergent, a simple, cost-effective, and surprisingly satisfying way to take control of your laundry routine.
Cutting costs, avoiding harsh chemicals, or wanting to know what’s in your wash, making your own detergent can be a total game-changer.
Today, I’ll show you how to create homemade laundry detergent that’s safe, effective, and truly yours.
Why Make Your Own Laundry Detergent?
More people are making their own laundry detergent, and once you see why, it’s hard to go back. It’s about taking back control, saving money, and making choices that are better for both your family and the planet.
Key reasons to make your own:
- Ingredient control: You know exactly what’s in your mix, no harsh chemicals, synthetic dyes, or overpowering fragrances unless you add them.
- Cost savings: Homemade detergent can cost as little as $0.08 per load, compared to name-brand detergents that are 3 to 5 times pricier.
- Eco-friendly choice: Fewer plastic bottles, less packaging waste, and more sustainable ingredients mean a smaller carbon footprint.
- Custom options: Add lavender or lemon essential oils for a light scent or skip fragrance altogether for sensitive skin.
Still, DIY laundry detergent isn’t for everyone. It takes a bit of effort, measuring, and mixing to get it right. Laundry-care experts recommend following tested ratios to ensure effectiveness and avoid residue.
Laundry Detergent: Basic Ingredients & What to Skip
The foundation of any effective DIY laundry detergent lies in knowing how each ingredient works and how to use it safely.
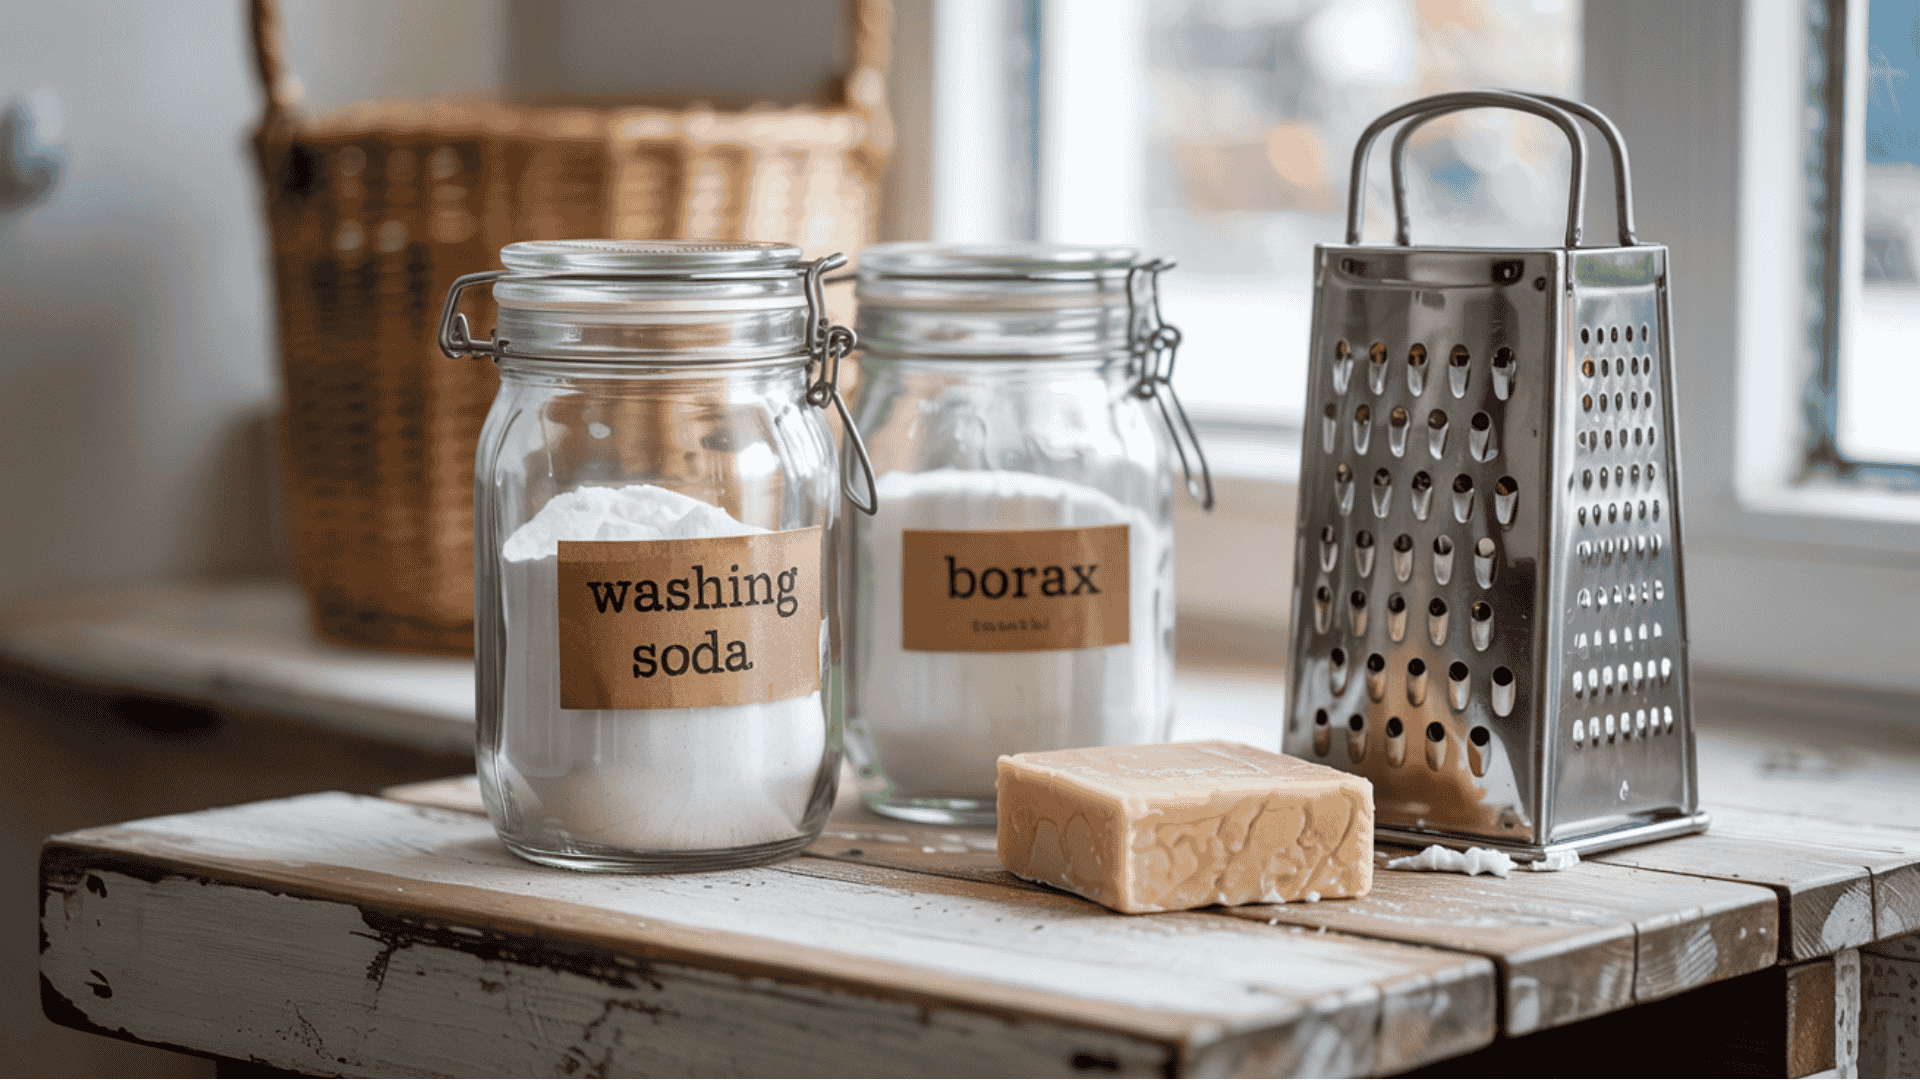
1. Washing Soda: Your primary cleaning agent. It softens hard water, lifts dirt from fabrics, and boosts overall cleaning power. You’ll find it in most U.S. grocery stores near the laundry aisle.
2. Borax: A natural booster that enhances stain removal and deodorizing. Some people prefer to avoid it due to safety concerns, so always:
-
Store it away from kids and pets
-
Wear gloves while mixing
-
Use in moderation
3. Bar Soap Flakes: This is the base of your detergent. A few favorites include Zote, Fels-Naptha, and pure castile soap. It provides the actual cleaning action, especially crucial in powder recipes.
4. Optional Additives: Add your own twist with:
-
Baking soda for odor control
-
Essential oils for scent
-
Salt or Epsom salt for softening and customization
What to Avoid: Too much fragrance or dye, especially for sensitive skin. Sudsy formulas in high-efficiency (HE) machines. Homemade versions are naturally low-sudsing, but always double-check.
Two Reliable Recipes for Laundry Detergent
Ready to make your own detergent? These two reliable, easy-to-follow recipes, one powder and one liquid, are favorites among households for their simplicity, effectiveness, and customizable results.
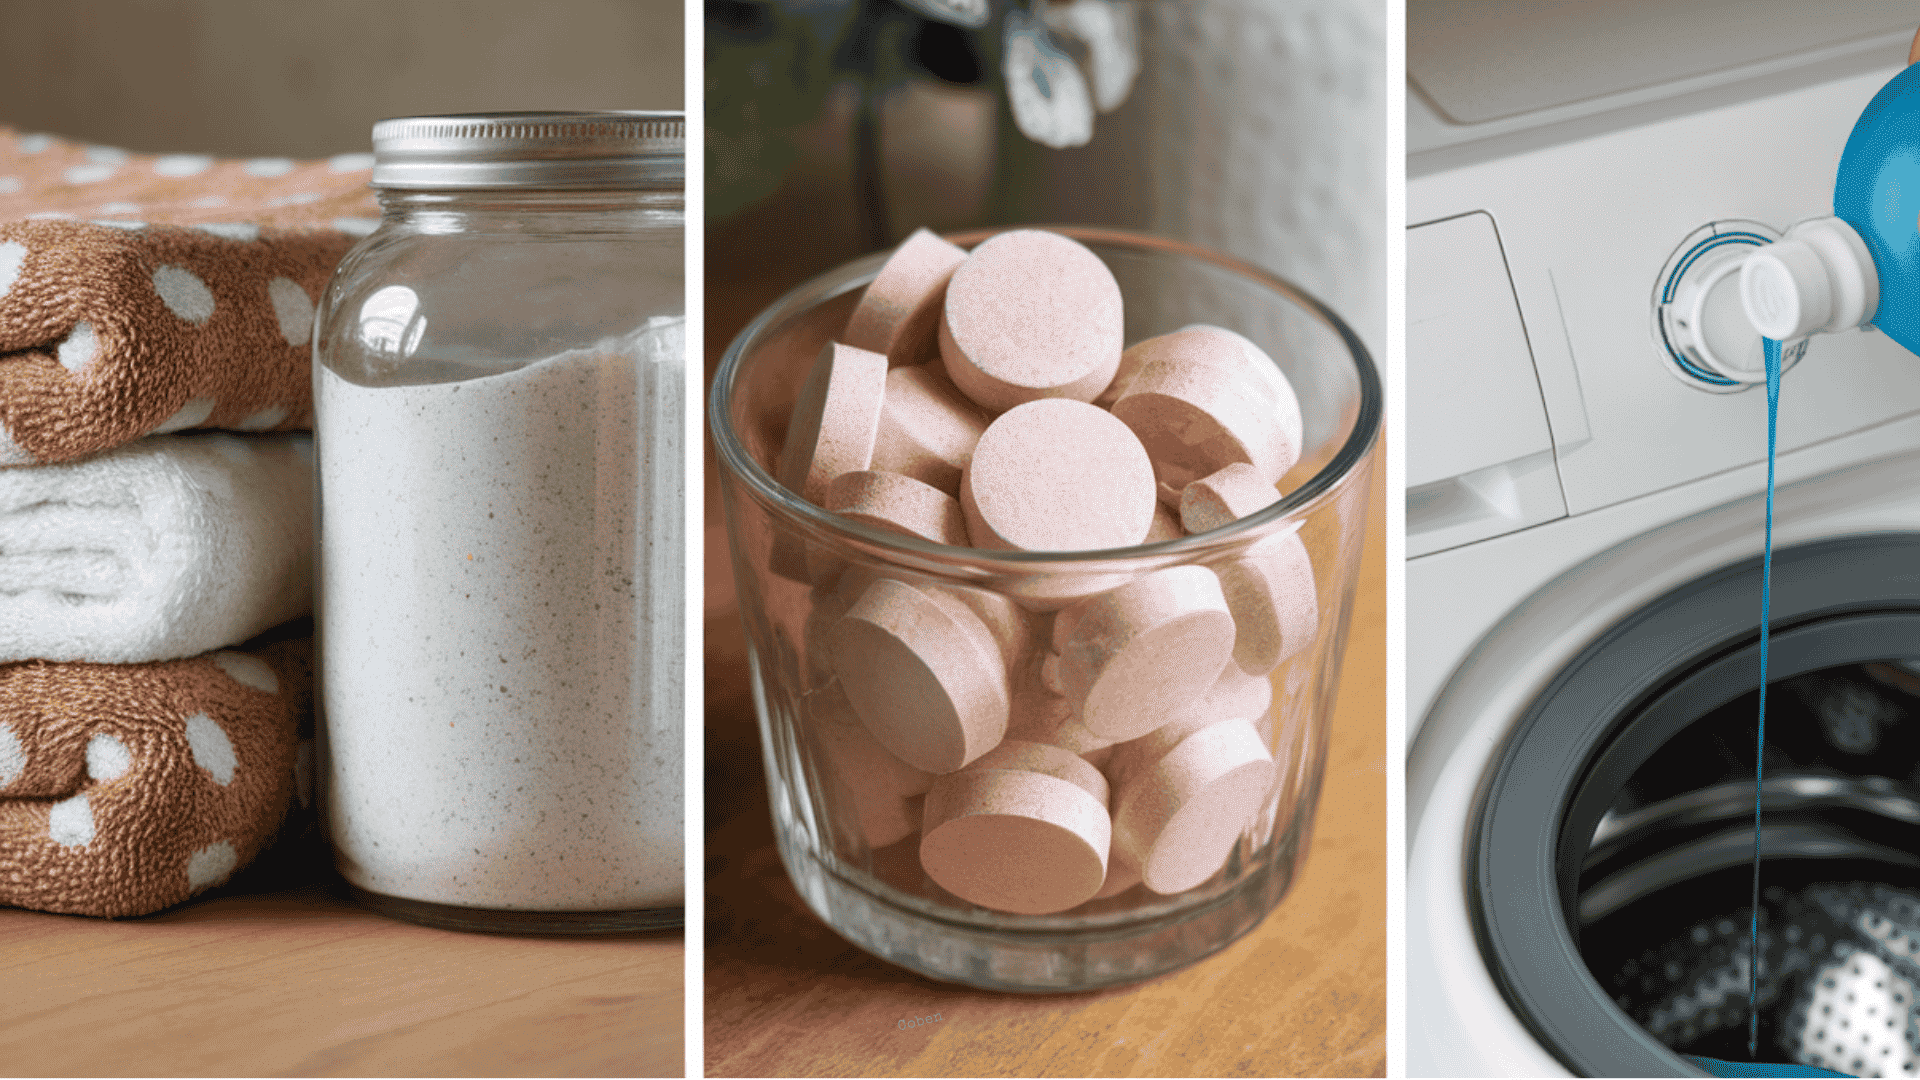
Recipe A: DIY Laundry Detergent Powder
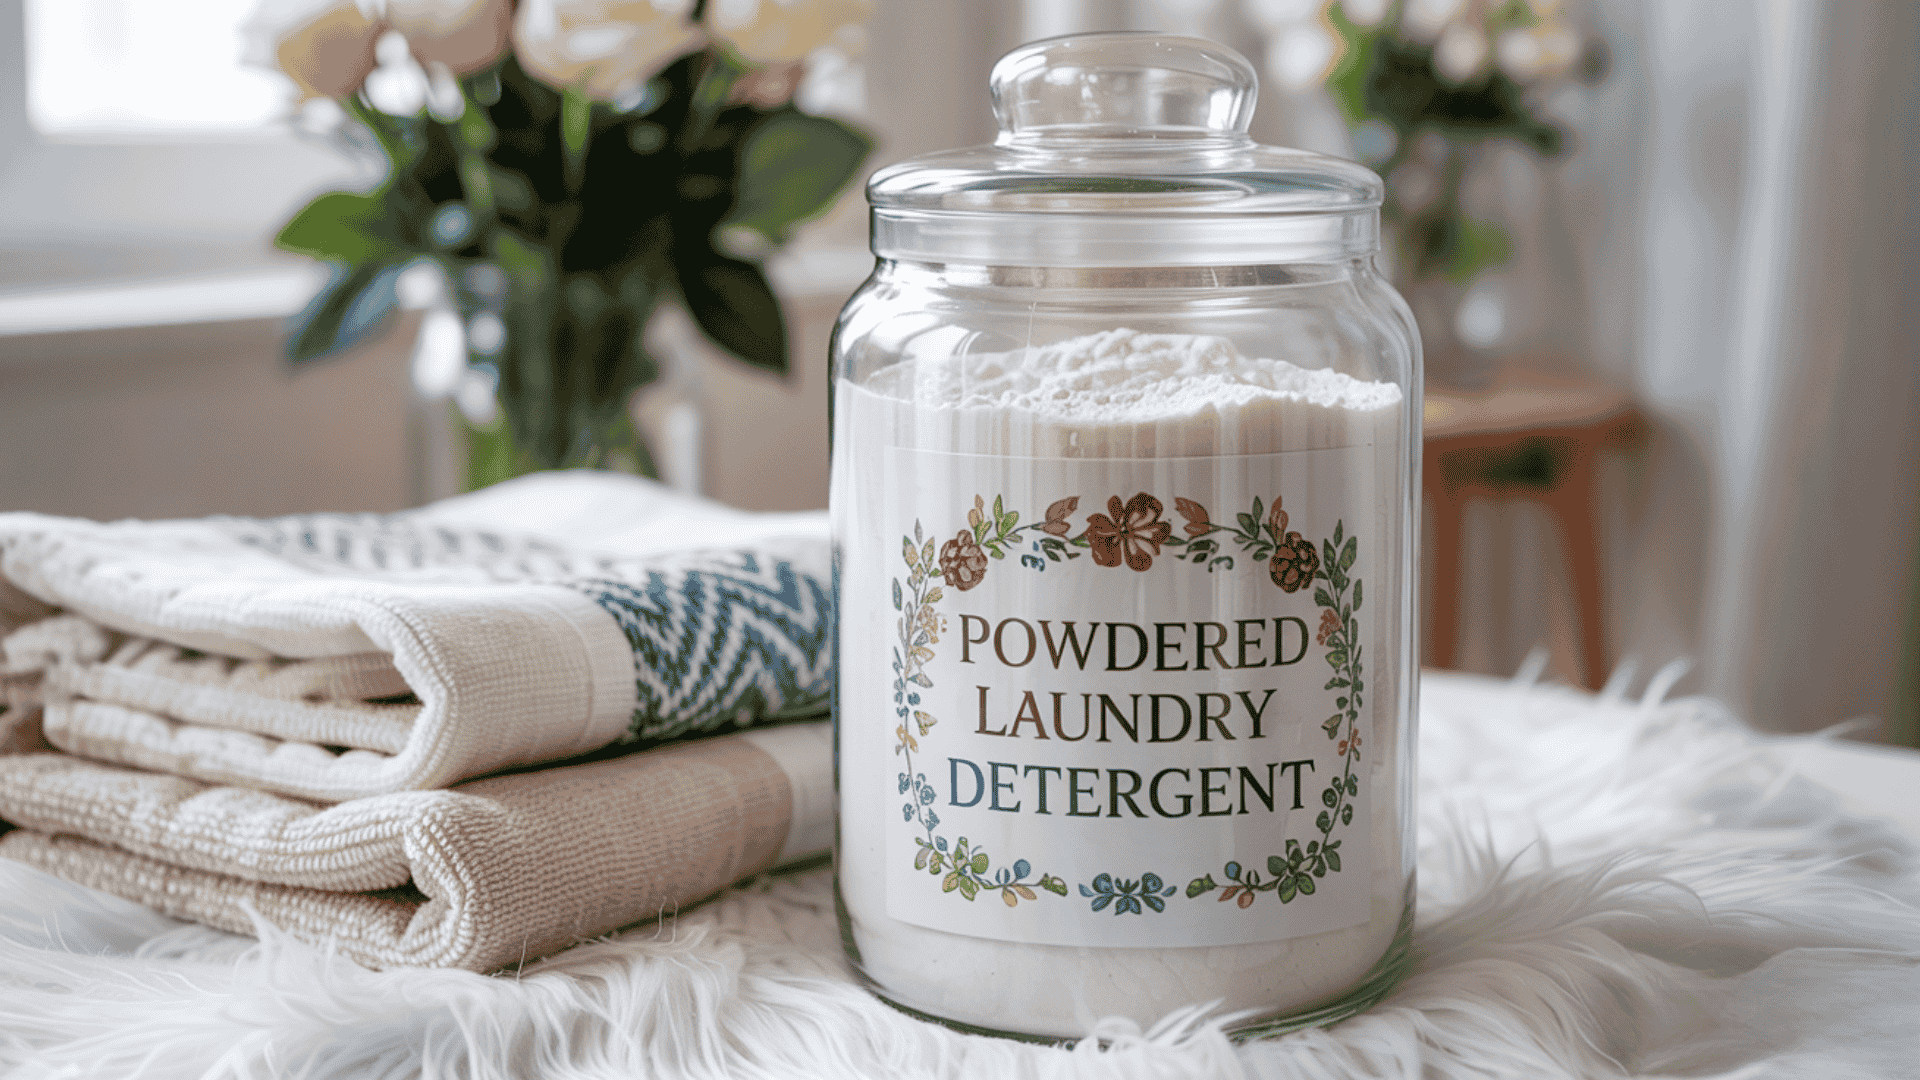
This powder version is beloved by American households for its simplicity, affordability, and ease of storage.
Ingredients:
- 1 box (approximately 76 oz) borax
- 1 box (approximately 55 oz) washing soda
- 3 bars (approximately 15 oz each) bar soap (Fels-Naptha, Zote, or castile)
Instructions:
- Using a cheese grater or microplane, finely grate all three bars of soap into a large bowl
- Add the borax and washing soda to the grated soap
- Mix thoroughly with a sturdy spoon or your hands (wearing gloves) until well combined
- Transfer to airtight glass or plastic containers
- Label clearly with “Homemade Laundry Detergent” and the date
Usage: Use one to three tablespoons per wash load for standard machines. For high-efficiency washers, reduce to one tablespoon per load. Adjust based on load size and soil level.
Why choose powder: It’s incredibly cost-effective, requires no heating or cooling time, stores compactly, and has a longer shelf life than liquid versions. Many households prefer the simplicity and mess-free storage.
Recipe B: Homemade Liquid Laundry Detergent
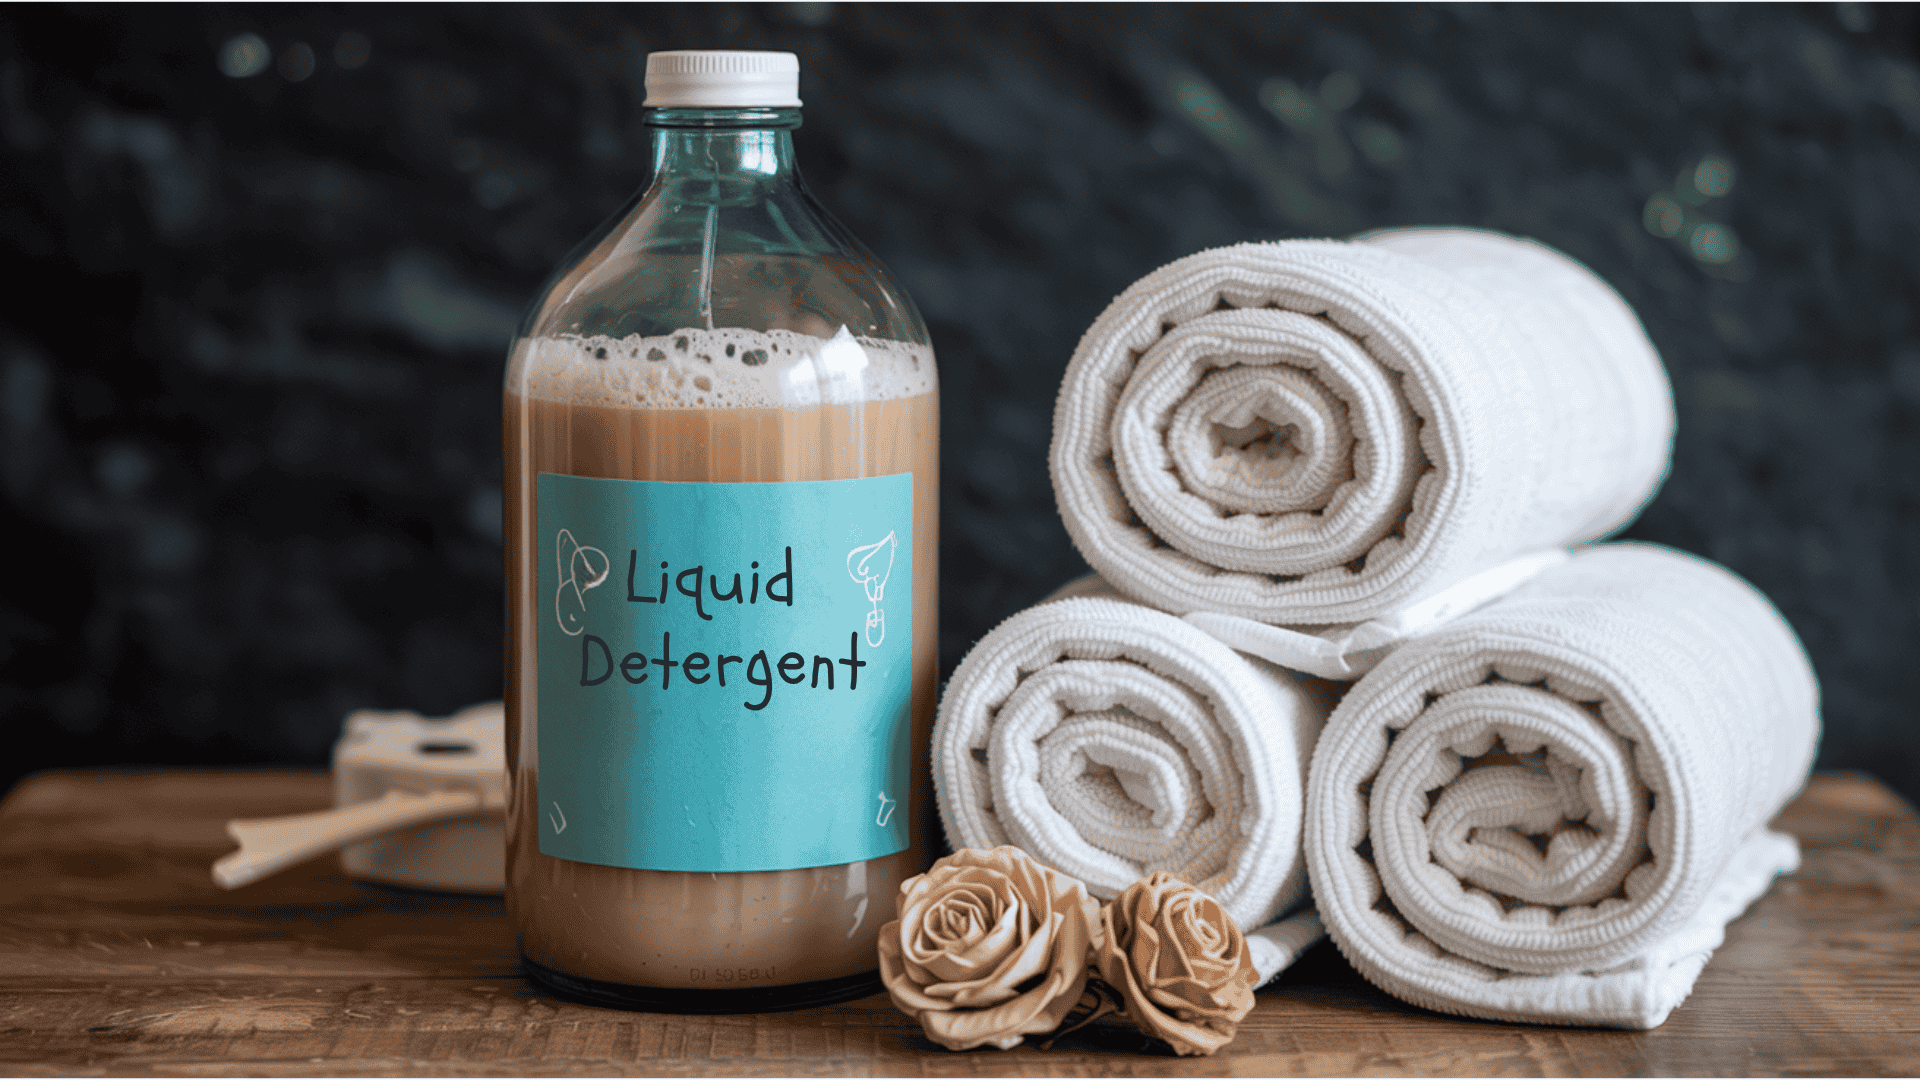
For those who prefer liquid detergent or have cold-water washing routines, this recipe delivers excellent results.
Ingredients:
- 1 cup washing soda
- 1 cup borax
- 1 cup liquid castile soap
- Approximately 13 cups of water
- Optional: 10 to 15 drops of essential oil for scent
Instructions:
- Heat 2 cups of water (just until steaming, not boiling)
- Dissolve washing soda and borax in the hot water, stirring until fully dissolved
- Add liquid castile soap and stir well
- Pour the mixture into a large bucket
- Add the remaining cold water gradually while stirring
- Add essential oils if desired
- Let the mixture sit for 24 hours; it will gel slightly, which is normal
- Store in labeled containers or repurposed laundry detergent bottles
Usage: Use one-eighth to one-quarter cup per load for top-loading machines. For HE front-loaders, use 1 to 2 tablespoons per load.
Why choose liquid: It mixes well with cold water, works beautifully in HE machines, and allows easy customization for scent preferences. The main consideration is storage space and the slight gel consistency (simply shake before each use).
Doesn’t matter what you choose, powder or liquid, both recipes deliver clean, fresh laundry without harsh chemicals, saving you money, reducing waste, and giving you full control over your household cleaning routine.
Tips for Best Results: Homemade Laundry Detergent
Even with perfect ingredients and careful mixing, DIY laundry detergent can sometimes need tweaking. Here’s how to solve the most common issues.
Tip 1: Caked or Clumped Powder
Humidity often causes your detergent to clump. Store it in airtight containers in a cool, dry spot.
Add a silica packet to absorb moisture. Make smaller batches frequently for freshness and avoid letting them sit for months unused.
Tip 2: Residue on Clothes or Inside the Machine
If clothes feel stiff or show residue, you may be using too much detergent. Reduce the amount by half, then adjust upward slowly. Add ½ cup white vinegar to your rinse cycle to dissolve buildup and restore fabric softness.
Tip 3: Liquid Version Separating or Thickening
Don’t panic if your liquid detergent separates or thickens; it’s normal. Shake it before each use.
If you have very hard water, pre-treat stains or include an oxygen-based booster from U.S. stores for stronger cleaning power.
Tip 4: Stubborn Stains and Whites
Tough stains and whites need a little extra help. Rub grated bar soap directly onto stains before washing. For brighter whites, add an oxygen-based cleaner.
Tip 5: Safety and Storage Reminders
Label every batch clearly and store it away from children and pets. Wear gloves while mixing.
Keep containers sealed tight, avoid moisture, and never ingest cleaning agents.
Always remember: label your batch prominently, keep it out of reach of children and pets, never ingest, and wear gloves when mixing concentrated powders.
Is DIYLaundry Detergent Right for You?
Now that you know what goes into making your own detergent, let’s talk about whether it’s worth your time.
You’ll love it if:
- You have sensitive skin that reacts to store-bought detergents
- You want to save $100+ per year on laundry supplies
- You care about reducing plastic waste and chemical runoff
- You enjoy making things yourself and knowing exactly what’s in them
You might hate it if:
- You’re already stretched thin on time
- You prefer grabbing detergent off the shelf and being done
- You love strong, long-lasting scents (homemade versions are milder)
- You don’t want to deal with measuring or potential mistakes
Making your own detergent takes about 15 minutes every few months. You’ll save money and avoid harsh chemicals.
But you’ll also need to store ingredients, follow recipes carefully, and accept that mistakes happen. Some people try it once and never look back. Others realize they’d rather pay extra for convenience. Both choices are valid.
Conclusion
You now have everything you need to make your own effective and affordable DIY laundry detergent. If you choose the powder or liquid version, you’re taking control of what touches your family’s clothes.
The key to success is simple: follow the recipe carefully, understand your washer type, and adjust for water hardness. Start small, measure consistently, and store your detergent properly to keep it fresh and effective for months.
Now it’s your turn, gather your ingredients and mix your first batch this week. Enjoy cleaner clothes, softer fabrics, and peace of mind knowing exactly what’s in your wash.
Your wallet, your skin, and the planet will thank you for every load you clean naturally.