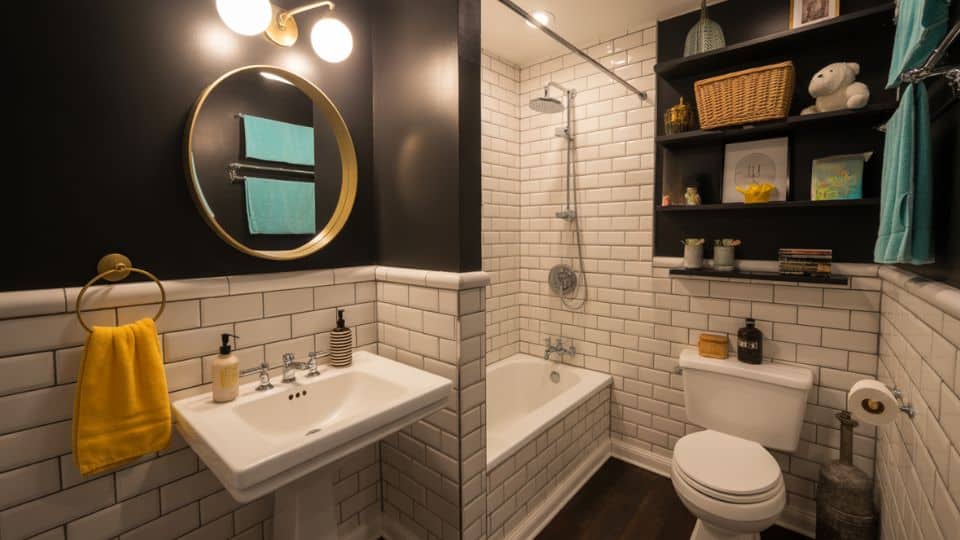
Your primary bathroom layout determines whether mornings feel rushed or relaxed.
The wrong configuration creates bottlenecks, wastes space, and frustrates everyone who uses it.
This guide covers eight practical layout approaches for rooms of different sizes and family situations.
Each addresses real constraints, such as existing plumbing locations, door swings, and the 30-inch clearance rule that makes or breaks bathroom comfort.
What to Know Before Choosing a Layout
Most bathroom remodels work within existing plumbing locations because moving drain lines costs $1,000 to $5,000, depending on your foundation type.
Slab foundations make relocation particularly expensive, as concrete cutting is required.
Measure your current room and mark these fixed elements: the main drain stack location, window placement, door swing direction, and any load-bearing walls.
These constraints narrow your realistic options faster than any design preference will.
The 30-inch clearance rule matters more than most homeowners realize. You need at least 30 inches of clear floor space in front of toilets, vanities, and shower entries for comfortable use. In tighter bathrooms, this single requirement often dictates the entire layout.
Primary Bathroom Layout Planning Essentials
Layout thinking differs when working in an existing bathroom versus starting from scratch.
During remodels, most structural elements stay fixed, so knowing these constraints helps target impactful changes.
- Plumbing lines and drain locations typically stay in place because relocating them requires extensive work.
- Wall positions and floor joists usually remain unchanged unless doing a complete gut renovation.
- Electrical outlets and ventilation ducts have established positions that influence fixture placement.
- Daily routines and morning preparation times should drive every layout decision you make
- Movement patterns between the toilet, sink, and shower determine how comfortable the space feels.
- Counter space and storage needs vary by household and affect overall functionality.
Start by measuring your current room dimensions and noting the locations of doors, windows, and permanent fixtures.
Provide enough space between fixtures for doors to swing freely and people to move comfortably. A good bathroom layout considers both current needs and future use.
Eight Primary Bathroom Layouts Worth Considering
Different layout approaches work better for specific room sizes, family needs, and existing plumbing configurations within homes.
The ideas vary from simple fixture updates to larger spatial changes that alter room functions. Before choosing a layout, consider which elements are most important to your household.
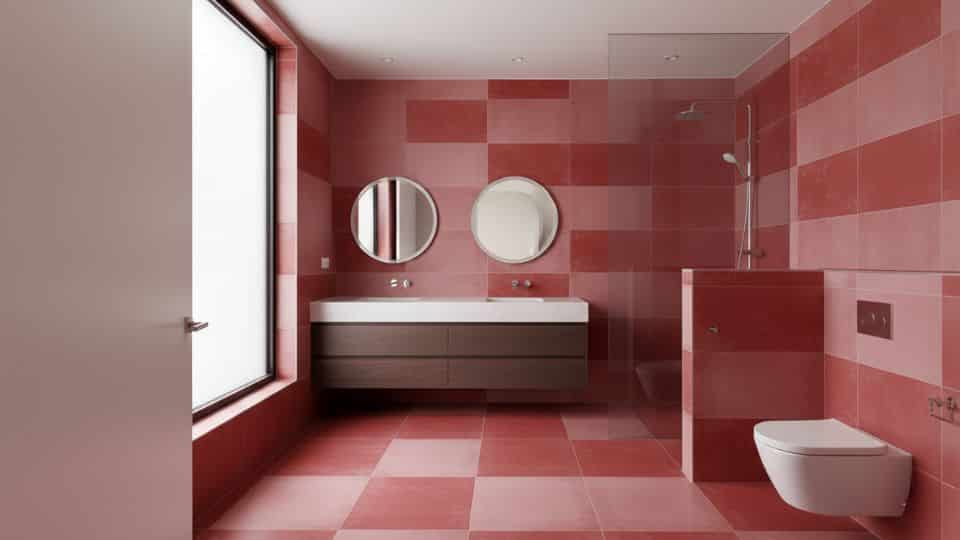
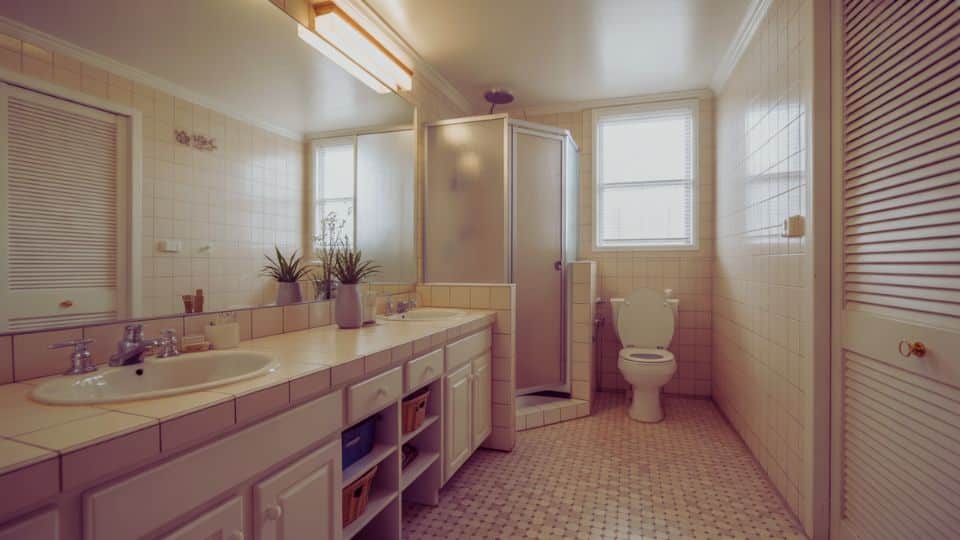
1. Double Vanity Layout
Best for: Bathrooms 60 square feet or larger with at least 60 inches of continuous wall space
Two sinks reduce morning conflicts, but only if you have genuine counter space between them.
Cramming two sinks into a 48-inch vanity leaves each person with about 18 inches of usable counter space, which barely fits a toothbrush holder.
The sweet spot is a 72-inch vanity with 24-inch sink bases and a 24-inch drawer stack between them.
This gives each person a dedicated zone with actual storage underneath. Expect to pay $1,200 to $3,500 for the vanity alone, plus installation.
One often-missed detail: double vanities require careful planning for mirrors and lighting. Two separate mirrors with sconces between them typically look better and provide more functional lighting than one long mirror with overhead fixtures.
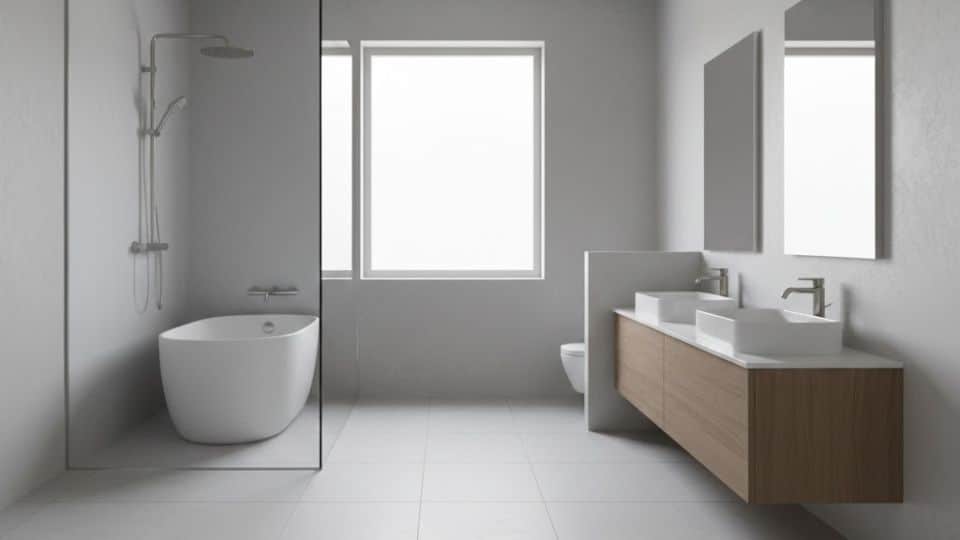
2. Freestanding Tub as Focal Point
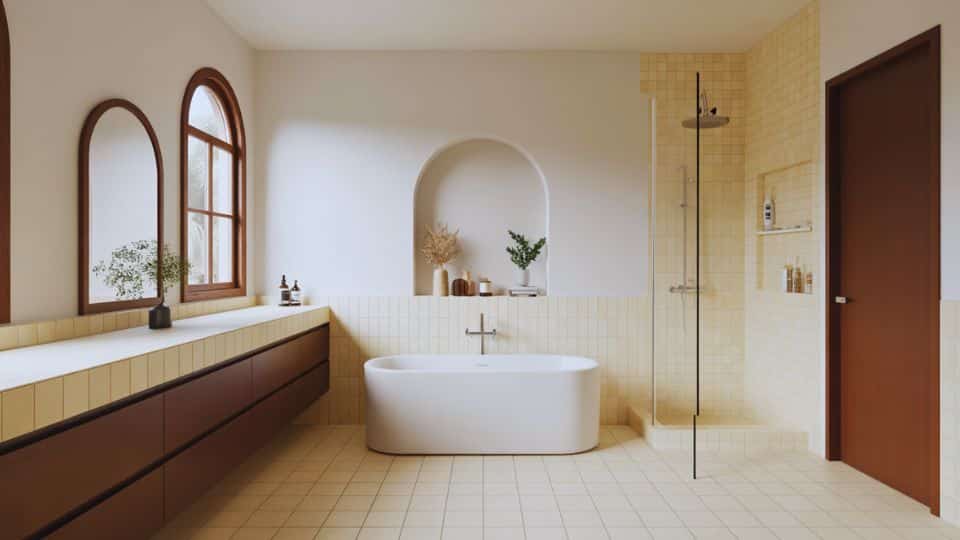
Best for: Bathrooms over 80 square feet where the tub gets regular use
Freestanding tubs photograph beautifully but come with practical trade-offs. They require floor- or wall-mounted filler faucets, which means running new plumbing lines, even if your old tub drain is in the right spot.
The tub itself needs at least 6 inches of clearance on all sides for cleaning access.
A 60-inch freestanding tub actually consumes about 72 inches of floor space when you account for this buffer. Many homeowners underestimate this footprint.
Skip the freestanding tub if you rarely take baths. That floor space often serves families better as an expanded shower or additional storage.
Freestanding tubs also lack the ledge space of built-in models, so you will need a side table or wall niche for bath products.
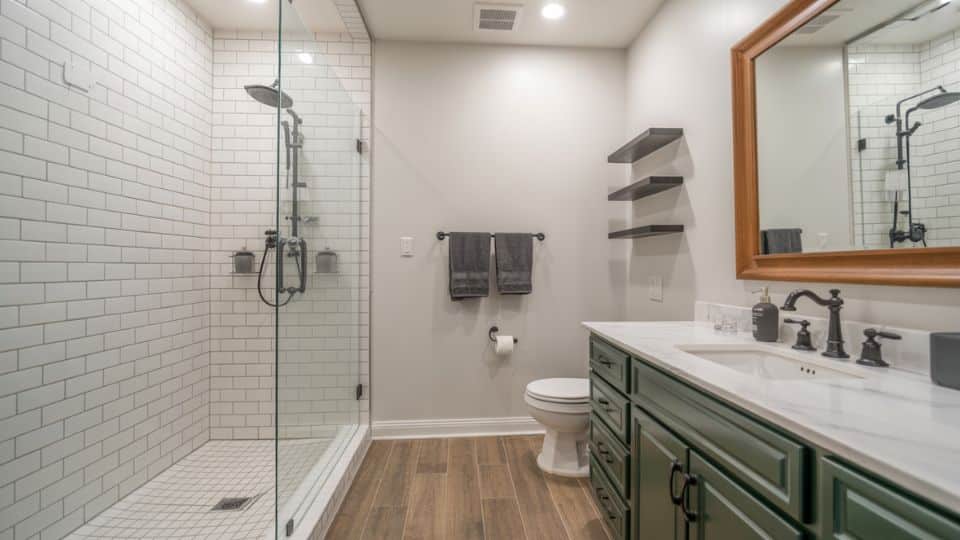
3. Shower-Focused Layout
Best for: Households that shower daily but rarely use the bathtub
Removing an unused tub creates enough space for a 48-inch by 36-inch walk-in shower with a built-in bench, a significant upgrade from the standard 30-inch by 60-inch tub-shower combo.
Built-in shower benches work best at 17 to 19 inches high and 15 inches deep.
This height matches standard chair seat height, making the bench comfortable for shaving legs or sitting during longer showers. Teak fold-down benches offer flexibility if bench space feels wasteful.
Plan for at least two recessed niches: one at standing height for daily items and one at a lower level for items used while seated.
Niches built into the shower bench wall keep products within reach without requiring you to turn around mid-shower.
The main caveat: removing the only bathtub in a home can affect resale value, particularly in family-oriented neighborhoods. If resale concerns you, consider a separate soaking tub elsewhere or accept the potential impact.
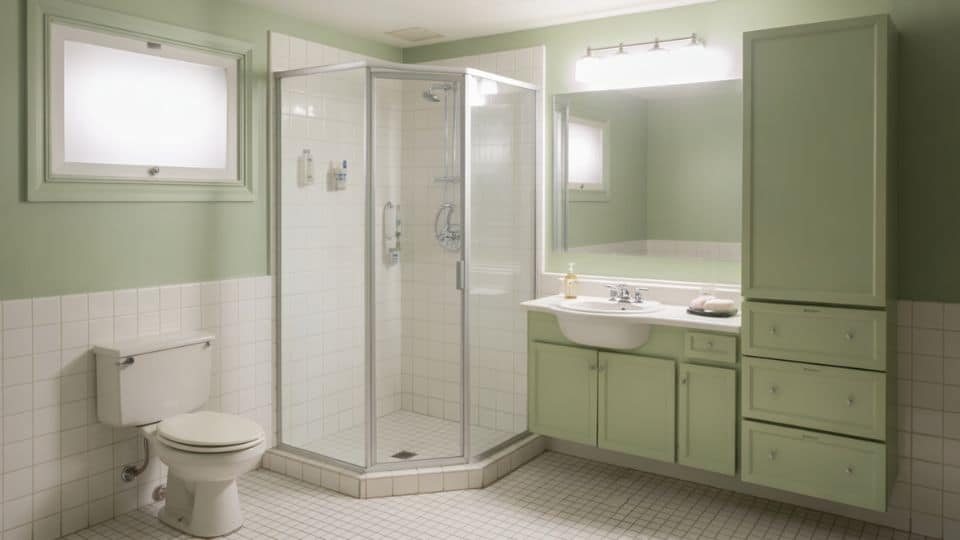
4. Vertical Storage Layout
Best for: Any bathroom lacking adequate cabinet space
This approach maximizes storage without expanding the footprint. The key is using wall space that typically goes ignored: above the toilet, beside the vanity mirror, and inside cabinet doors.
A 24-inch-wide by 8-inch-deep cabinet above the toilet provides about 4 cubic feet of storage without interfering with toilet use.
Mount the bottom of the cabinet at least 24 inches above the tank lid for comfortable access.
Floating vanities create the illusion of more floor space while allowing storage baskets underneath.
However, wall-mounted vanities require blocking installed inside the wall during framing or added later, which increases installation complexity and cost.
Medicine cabinets with interior electrical outlets let you store and charge electric toothbrushes, razors, and other devices out of sight. This small upgrade costs about $150 to $300 more than standard cabinets but eliminates counter clutter.
5. Compact Primary Bathroom Layout
Best for: Bathrooms under 50 square feet
Small bathrooms demand discipline. Every fixture should serve its purpose without a single wasted inch.
Wall-hung toilets save about 10 inches of floor depth compared to standard floor-mounted models, though they require a 6-inch-deep carrier wall for the tank.
This trade-off usually works in narrow bathrooms where floor space matters more than wall depth.
Corner sinks fit where standard vanities cannot, but verify the bowl size before purchasing.
Many corner sinks have 12-inch or smaller basins, which splash water everywhere during face washing. Look for models with at least a 16-inch bowl width.
Frameless glass shower doors eliminate the visual barrier that framed doors create. In a small bathroom, this transparency makes the room feel significantly larger.
Expect to pay $800 to $1,500 for frameless doors versus $300 to $600 for framed options.
Pocket doors recover the 9 to 12 square feet that a swinging door needs for clearance. If your wall lacks space for a pocket door, consider a barn-style sliding door mounted on the room side of the wall.
6. Wet Room Layout
Best for: Modern aesthetic preferences and accessibility-focused remodels
Wet rooms eliminate the shower curb entirely, sloping the entire floor toward a central or linear drain. This creates a seamless look and allows wheelchair or walker access directly into the shower area.
Proper wet room construction requires a waterproof membrane across the entire floor and up the walls at least 6 inches.
The floor slope should fall between 1/4 inch and 1/2 inch per foot toward the drain. An insufficient slope causes standing water; an excessive slope feels uncomfortable underfoot.
Linear drains along one wall simplify the floor slope since the entire floor tilts in a single direction. Center drains require a four-way slope, which creates a more complex installation and can feel uneven when walking across.
The primary drawback: wet room floors remain damp after showers, leading to slippery conditions and more frequent cleaning.
Textured floor tiles with a coefficient of friction rating of 0.60 or higher reduce slip risk.
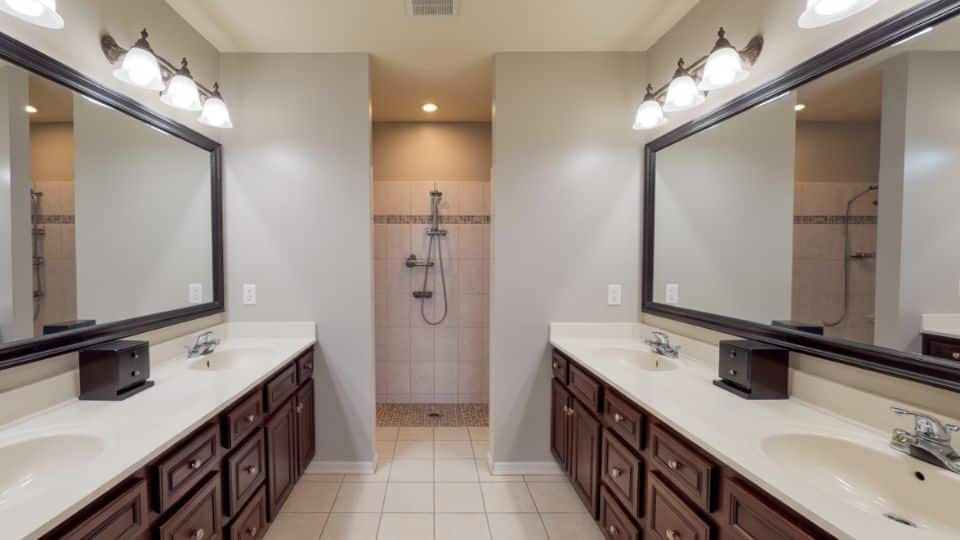
7. Split Layout for Shared Primary Bathrooms
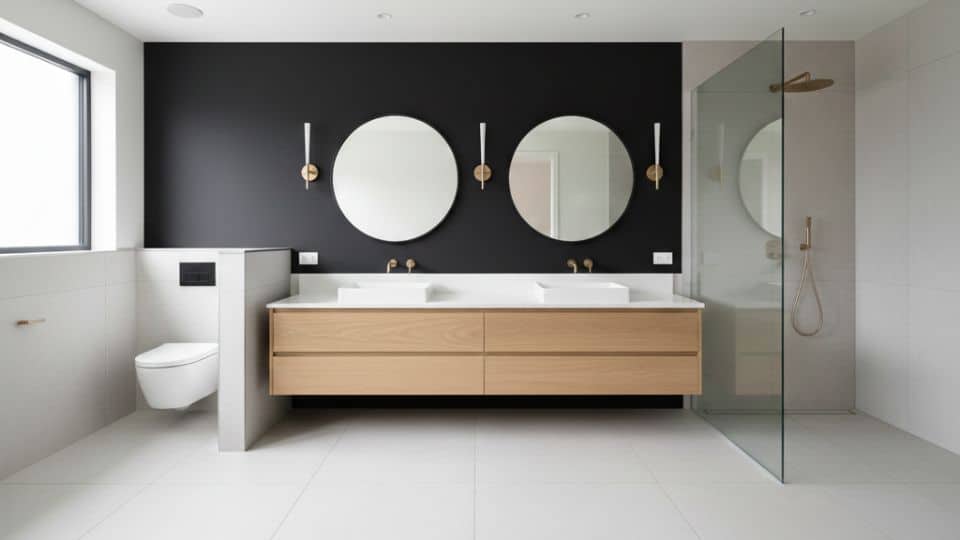
Best for: Couples with conflicting morning schedules
Separating the vanity zone from the toilet and shower area lets two people use the bathroom simultaneously without awkward encounters.
The dividing wall or door should sit between the vanity and the toilet/shower zone, not between the toilet and the shower.
This configuration gives one person full privacy for bathing or toilet use while the other handles grooming tasks.
A solid-core door provides better sound isolation than hollow-core alternatives, though barn doors and pocket doors work if privacy is the main concern rather than noise.
Glass partitions with frosted panels offer visual separation while maintaining an open feel.
Ventilation becomes more complex with split layouts. Each zone needs adequate air exchange, which may require two exhaust fans or a single fan with ducting to both areas.
Budget an extra $200 to $400 for proper ventilation in split configurations.
8. Refresh Without Relocation
Best for: Functional layouts that simply look dated
If your current layout works well for daily routines, structural changes may waste money that could fund better finishes.
Replacing a laminate vanity top with quartz costs $400 to $800 for a typical 48-inch single-sink vanity. Updating cabinet hardware, faucets, and light fixtures adds another $300 to $600.
These surface changes often deliver more visual impact than expensive plumbing moves.
New tile makes the biggest difference in perceived quality.
Large-format tiles (12 inches or larger) with minimal grout lines create a cleaner look than small tiles and install faster, reducing labor costs. Expect to pay $8 to $15 per square foot for mid-range porcelain tile installed.
Consider a fresh layout for fixtures that no longer serve your household well, but recognize that keeping existing plumbing saves significant budget for finishes that you will see and touch daily.
Matching Layout to Room Size
| Room Size | Realistic Layout Options | Key Priority |
|---|---|---|
| Under 50 sq ft | Compact, vertical storage | Maximize every inch |
| 50-75 sq ft | Single vanity, wet room | Balance fixtures with clearance |
| 75-100 sq ft | Double vanity, split layout | Add separation or dual sinks |
| Over 100 sq ft | Freestanding tub, shower-focused with bench | Create distinct zones |
These ranges assume standard 8-foot ceilings. Higher ceilings allow taller storage and more dramatic lighting, but do not change floor clearance requirements.
Choosing the Right Primary Bathroom Layout
Room dimensions determine which layout options will work best for your specific space without creating cramped conditions.
| Room Size | Recommended Layouts | Key Considerations |
|---|---|---|
| Under 50 sq ft | Shower-focused, Wall-mounted fixtures | Maximize every inch of available space |
| 50-75 sq ft | Single vanity, Wet room | Balance fixtures with the movement room |
| 75-100 sq ft | Double vanity, Split layout | Add storage and separation zones |
| Over 100 sq ft | Freestanding tub, Open layout | Create distinct activity zones |
Long-term planning means considering accessibility features that might become important as household members age over the coming years.
A well-planned master bath layout serves your family comfortably for decades rather than requiring another expensive renovation later.
Select a primary bathroom layout that addresses immediate needs while remaining flexible enough to accommodate future requirements as needed.
Common Layout Mistakes to Avoid
Recognizing common planning errors helps you avoid costly fixes and ensures your remodel delivers lasting value.
-
Adding too many features to one space: Cramming multiple luxury fixtures into a small bathroom creates clutter and undermines the overall functionality you’re trying to achieve.
-
Keeping an outdated layout without review: Your existing configuration might not serve current needs well, so evaluate whether changes would significantly improve daily use patterns.
-
Poor spacing between doors and fixtures: Inadequate clearance between the toilet, vanity, and shower makes movement awkward and creates frustration during daily bathroom use routines.
-
Overlooking storage needs: Insufficient cabinet and shelf space forces items onto counters, making the bathroom feel disorganized and cluttered during regular use throughout the day.
-
Not considering daily routines: A layout that looks good might not support how your family actually uses the bathroom each morning and evening throughout the week.
Avoiding these common mistakes ensures your remodel delivers practical improvements and lasting satisfaction with the finished primary bathroom layout results.
Conclusion
A well-planned primary bathroom layout makes daily routines run more smoothly for everyone in your household.
Take time to evaluate your current space and identify which specific changes would deliver the most meaningful improvements.
Reflect on your current bathroom use and how needs may change in the next decade. Proper planning before starting work avoids costly mistakes and future fixes.
Research your layout options carefully before making final decisions about fixture placement and spatial arrangements.
Choose a configuration that balances immediate needs with long-term practicality for sustainable satisfaction. Ready to begin your remodel?
Consult experienced contractors who can implement your vision while respecting budget constraints.
Frequently Asked Questions
Here are answers to common questions homeowners ask when planning their primary bathroom layout remodel projects.
How Should a Master Bathroom Be Laid Out?
Place fixtures with adequate clearance for comfortable movement. Position the toilet away from the door. Include double vanities if space allows. Prioritize daily routines and storage needs in your layout planning.
What is the Golden Rule for Bathroom Layouts?
Maintain at least 30 inches of clearance in front of all fixtures. This ensures comfortable movement and prevents the bathroom from feeling cramped during daily use.
What is the Ideal Size for a Master Bathroom?
The ideal master bathroom measures 100 to 150 square feet. This provides enough space for double vanities, a separate shower, and a bathtub without feeling cramped or wasteful.