Bathroom renovations are notorious for their eye-watering price tags, often reaching $15,000 or more for even modest spaces.
However, the secret to a lovely modification isn’t always a massive budget; it’s knowing where to invest your effort strategically.
The power of a DIY bathroom renovation goes beyond just dodging labor costs. It grants you total control over every aesthetic detail, your project timeline, and exactly where every dollar is spent.
By focusing on high-impact updates, you can achieve a magazine-worthy retreat for a fraction of a contractor’s quote.
In this guide, we’ll explore practical, cost-effective ideas designed specifically for small bathrooms that deliver professional results without the premium price.
How to Evaluate Your Bathroom Before Renovating?
Before reaching for your sledgehammer or credit card, conduct a thorough bathroom audit to separate cosmetic issues from structural problems.
Smart renovations begin with honest evaluation, maximizing what you already have while targeting only essential changes.
This strategic approach prevents unnecessary spending on elements that need refreshing rather than replacement.
- Evaluate fixture functionality versus appeal: Test all plumbing for leaks, check faucets for proper operation, and assess whether fixtures work perfectly but look outdated.
- Inspect flooring and tile integrity: Examine grout lines for cracks, test tiles for loose sections, and determine if cleaning and regrouting could restore appearance.
- Assess the cabinet and vanity structure: Open drawers to check mechanisms, inspect the cabinet boxes for water damage, and confirm whether solid construction justifies cosmetic updates.
- Review layout efficiency: measure clearances around fixtures, identify wasted space, and note whether the current placement effectively serves your needs.
- Document lighting and ventilation quality: Test existing light fixtures, check exhaust fan operation, and determine whether upgrading these fixtures would significantly impact functionality.
Once you’ve identified what stays, you’re ready to explore cost-effective renovation ideas that deliver impressive results.
DIY Process for Small Budget Bathroom Projects
Following a logical sequence prevents mistakes, saves time, and ensures professional-looking results throughout your bathroom renovation.
Essential Tools and Materials Required
Gather these essential supplies before starting your project to ensure a smooth, uninterrupted workflow throughout the renovation process.
| Tools Needed | Materials Required |
|---|---|
| Miter saw or miter box | Trim boards and moulding |
| Brad nailer or hammer | Moisture-resistant paint and primer |
| Measuring tape and level | Wallpaper (peel-and-stick recommended) |
| Paintbrushes and rollers | Construction adhesive |
| Painter’s tape | Wood filler and spackling compound |
| TSP cleaner and sponges | Caulk and caulking gun |
| Sandpaper (120 and 220 grit) | Brad nails or finishing nails |
| Safety glasses and gloves | Wall anchors for hanging items |
With all materials assembled and the workspace prepared, follow these steps to achieve professional results every time.
Step 1: Prep Work and Measurement
Clear everything from your bathroom. Remove all decorative items, toiletries, and movable fixtures. Clean walls thoroughly with TSP cleaner to remove soap scum and oils.
Measure walls precisely, noting outlet locations and any obstacles. Calculate material quantities with a 10% margin for errors.
Step 2: Installing Panelling or Trim
Mark your chair rail height consistently around the room. Cut moulding pieces carefully with 45-degree angles at corners. Apply construction adhesive to the backs of boards.
Secure with brad nails at 16-inch intervals. Fill nail holes with spackling compound. Sand smooth once dry.
Step 3: Painting and Finishing
Prime all surfaces with moisture-resistant primer. Apply two coats of bathroom paint, allowing proper drying time between coats. Paint from top to bottom to catch drips.
Use painter’s tape for crisp color lines. Remove the tape while the paint is slightly wet to achieve clean edges.
Step 4: Installing Décor Items
Hang mirrors using appropriate wall anchors to support the weight. Install new hardware, ensuring proper alignment. Add floating shelves for storage and display.
Place the final decorative touches, such as plants and accessories. Step back and admire your renovation.
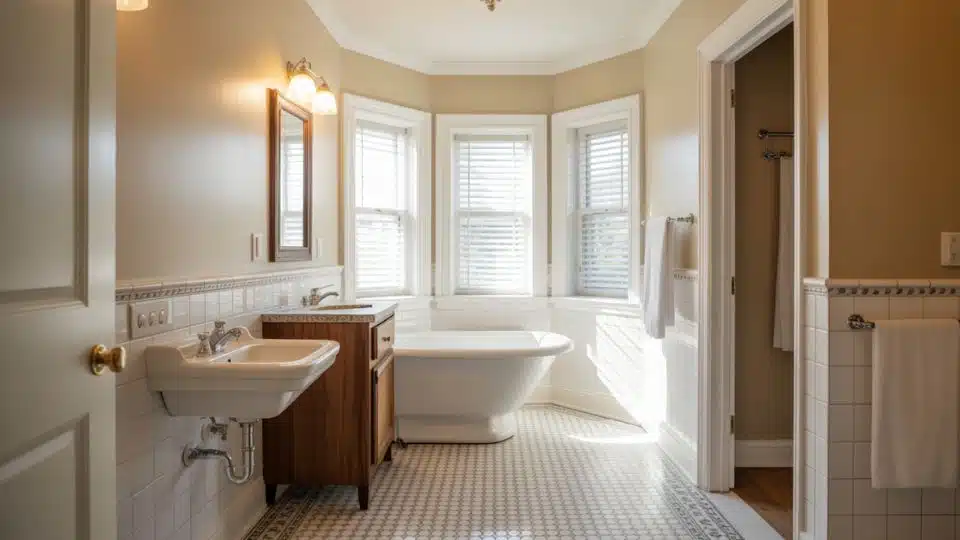
15 DIY Ideas for Small Bathrooms on a Budget
Refresh your compact bathroom into a stylish retreat using these proven, cost-effective strategies that deliver maximum impact.
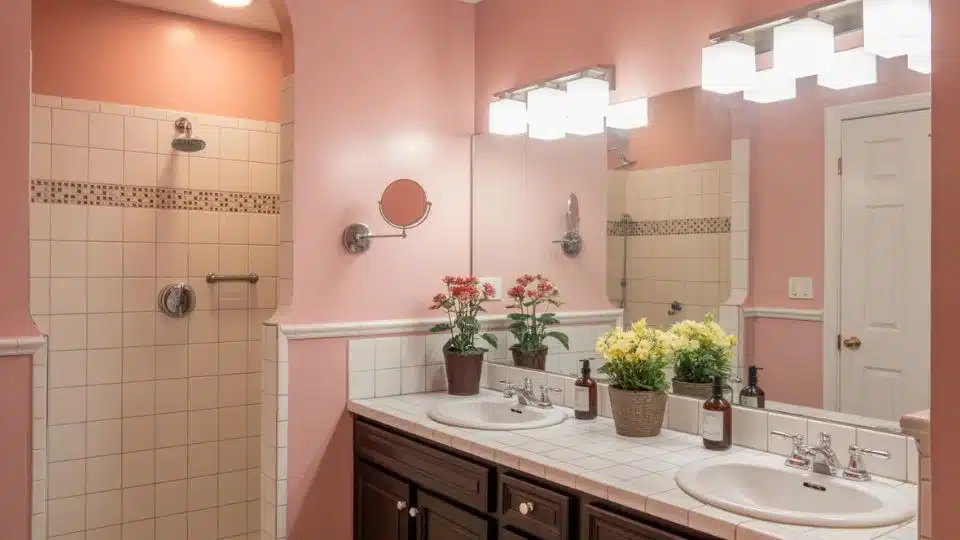
1. Paint the Walls Instead of Retiling
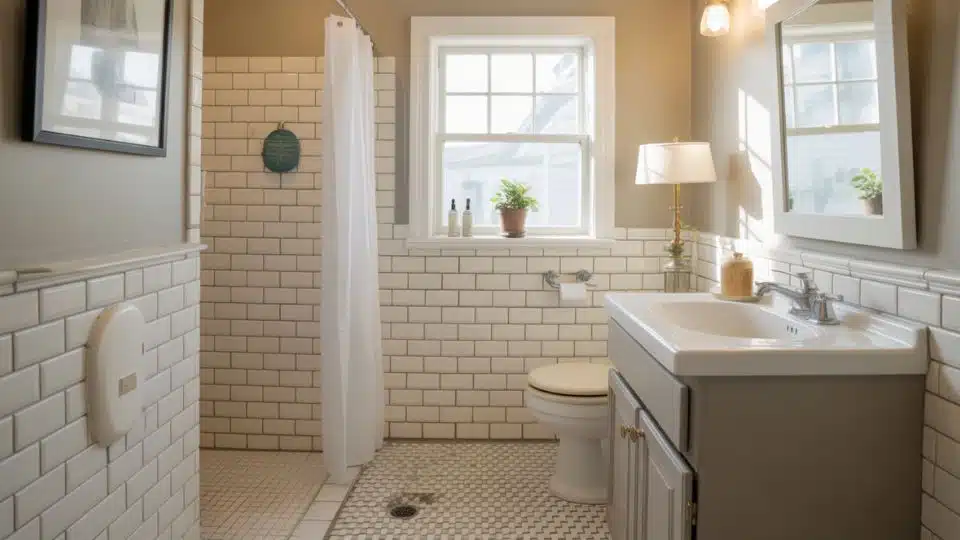
Fresh paint offers a dramatic change without demolition mess or tile expenses. Moisture-resistant formulas withstand humidity while light colors expand visual space.
This simple weekend project delivers professional results with basic painting tools and proper surface preparation.
2. Add Wall Paneling or Trim
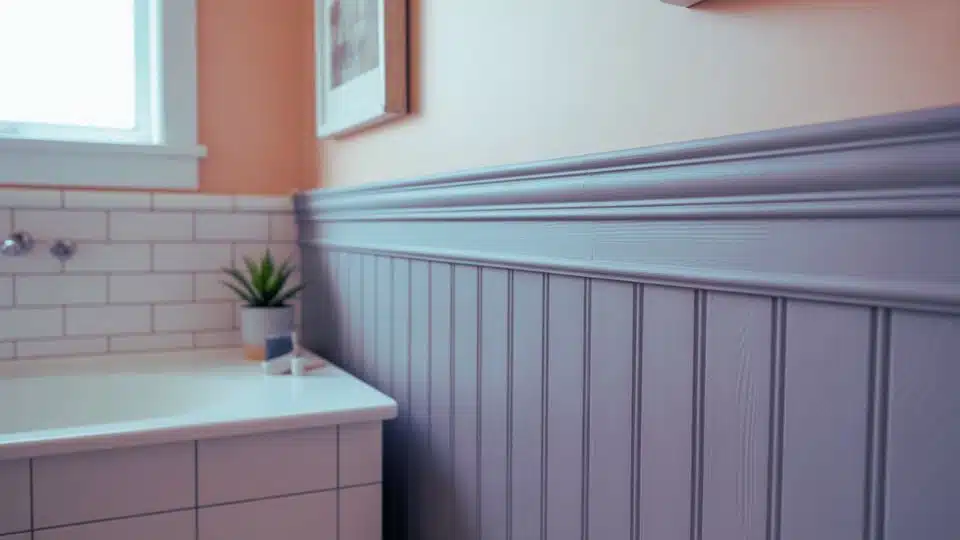
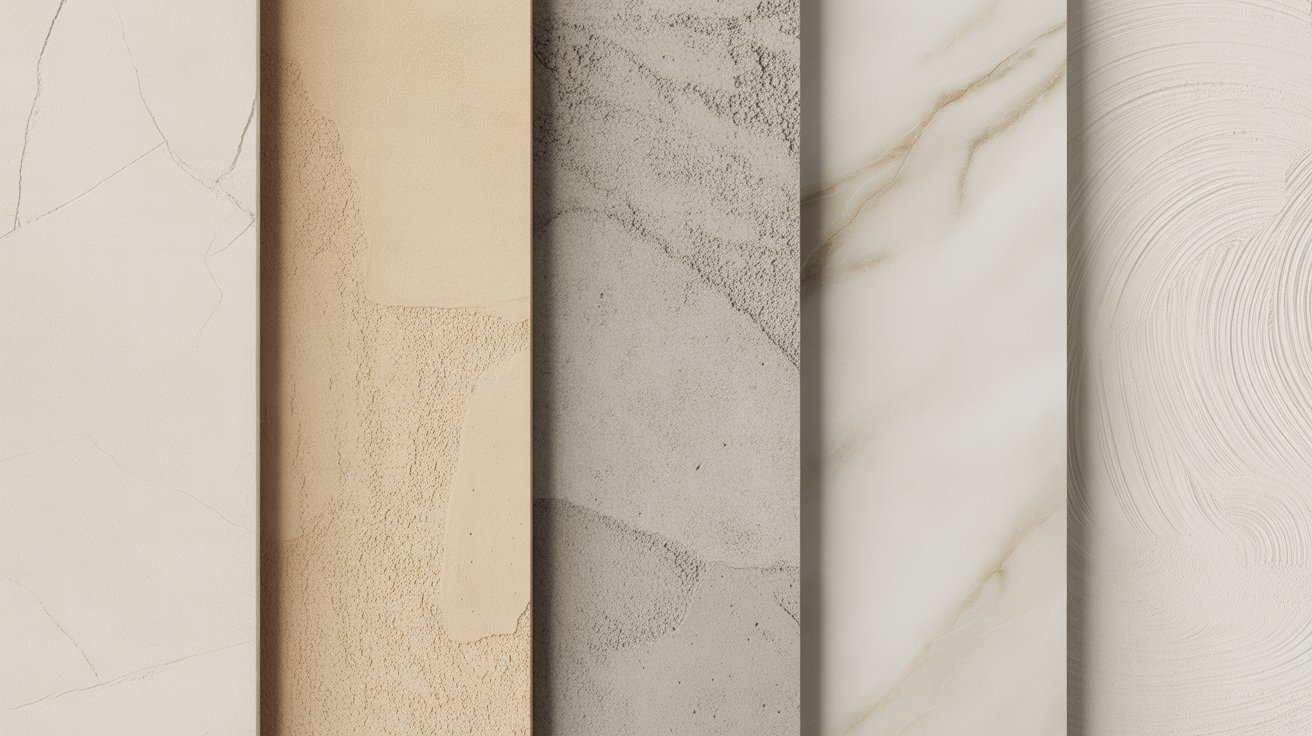
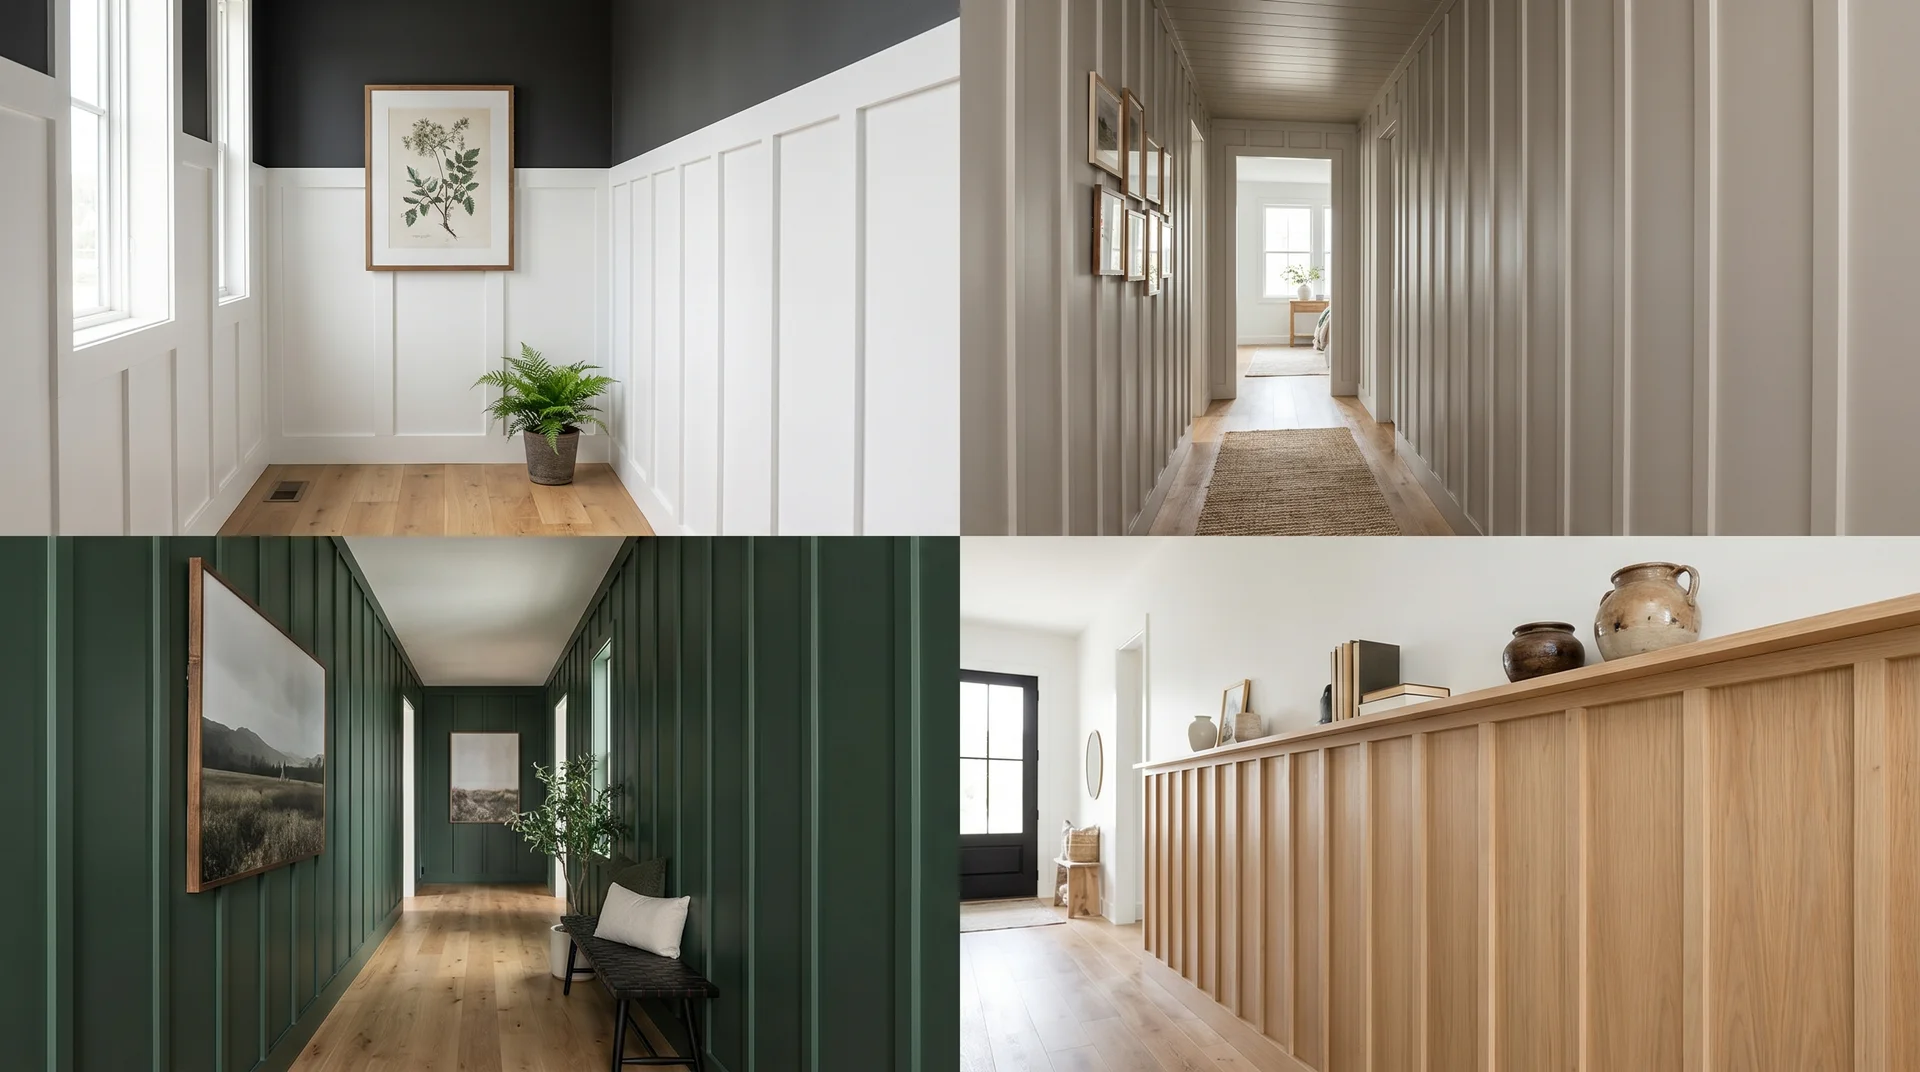
Wall paneling creates architectural depth through dimension rather than expensive stone or tile.
Basic trim boards upgrade plain walls into statement features. Installation requires only a miter saw, adhesive, and finishing nails to complete in a weekend.
3. Use a Wallpaper Accent Wall

Single accent walls deliver dramatic personality without overwhelming compact spaces. Modern peel-and-stick options install easily and remove cleanly.
Focus on wallpaper behind vanities or toilets, where moisture exposure remains minimal, for the longest-lasting results.
4. Paint an Existing Vanity
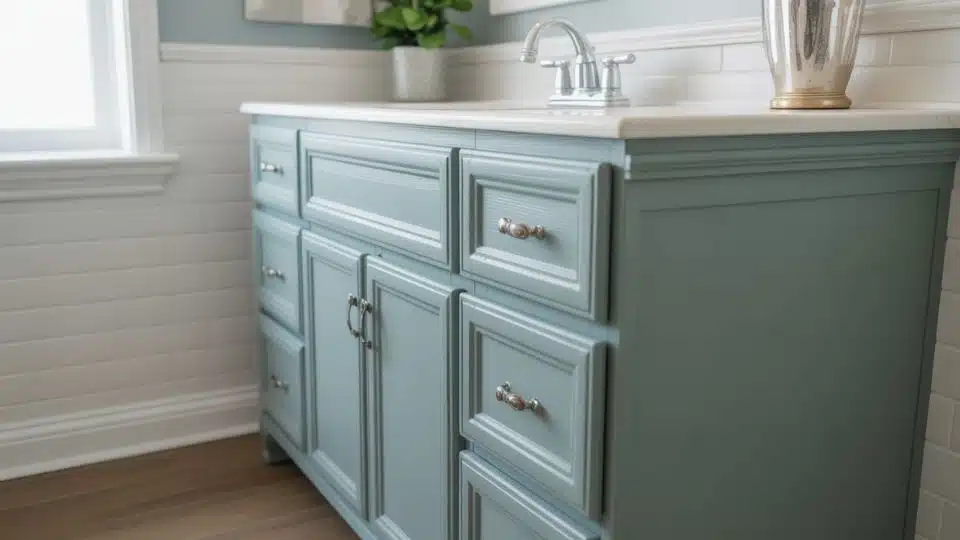
Refreshing builder-grade vanities with quality paint instantly revitalizes entire bathrooms. Proper sanding and priming ensure paint adhesion on glossy surfaces.
Choose moisture-resistant formulas in trending colors that complement your overall look and vision effectively.
5. Swap Out Cabinet Hardware
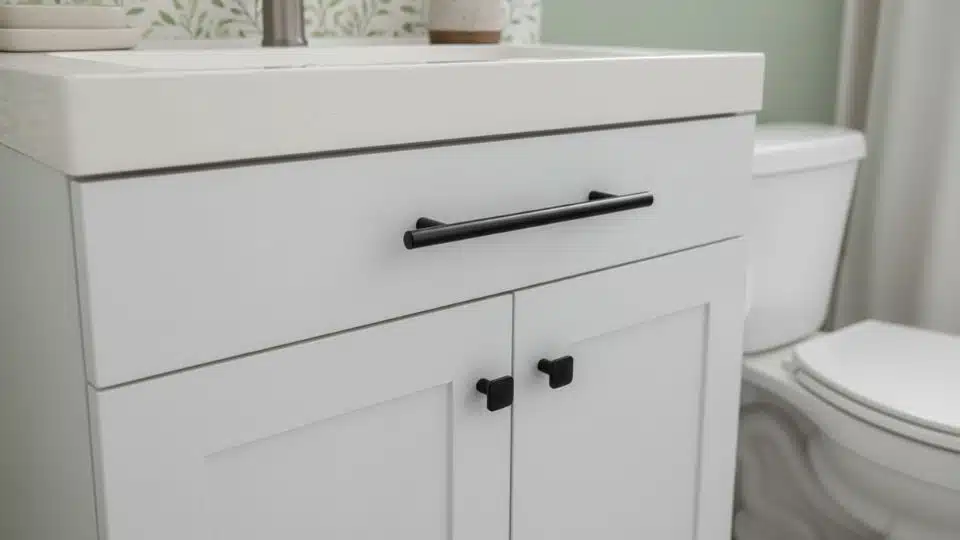
Replacing dated knobs and pulls instantly modernizes vanities without costly replacements. Contemporary finishes like matte black or brushed nickel dramatically update builder-grade cabinets.
This simple upgrade requires only a screwdriver and takes less than one hour to complete.
6. Upgrade the Mirror
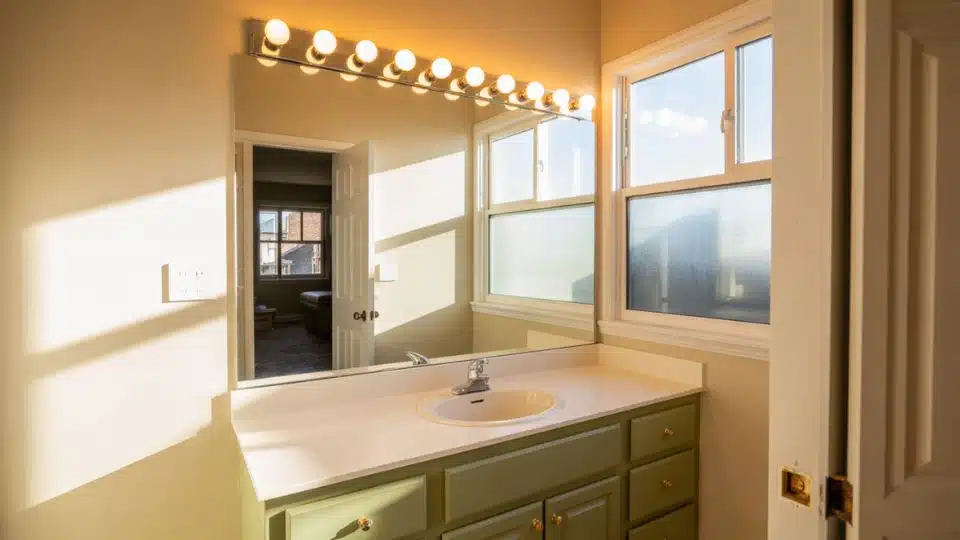
Replacing basic builder mirrors with framed alternatives adds sophistication and visual interest. Larger mirrors reflect more light, making small bathrooms feel spacious.
Modern overall looks with integrated lighting combine functionality with contemporary appeal for maximum impact.
7. Replacethe Light Fixture
Updated lighting changes bathroom ambiance while improving functionality for daily routines. Modern fixtures provide better illumination than outdated options.
Choose warm light for a relaxing atmosphere, or cool light for task-oriented grooming.
8. Install Open Shelving

Open shelves provide accessible storage without overwhelming compact bathroom layouts. Floating overall looks maximizes vertical space while maintaining an airy feel.
Use moisture-resistant materials, such as sealed wood or metal, that withstand high-humidity bathroom environments.
9. Use Vertical Storage Solutions
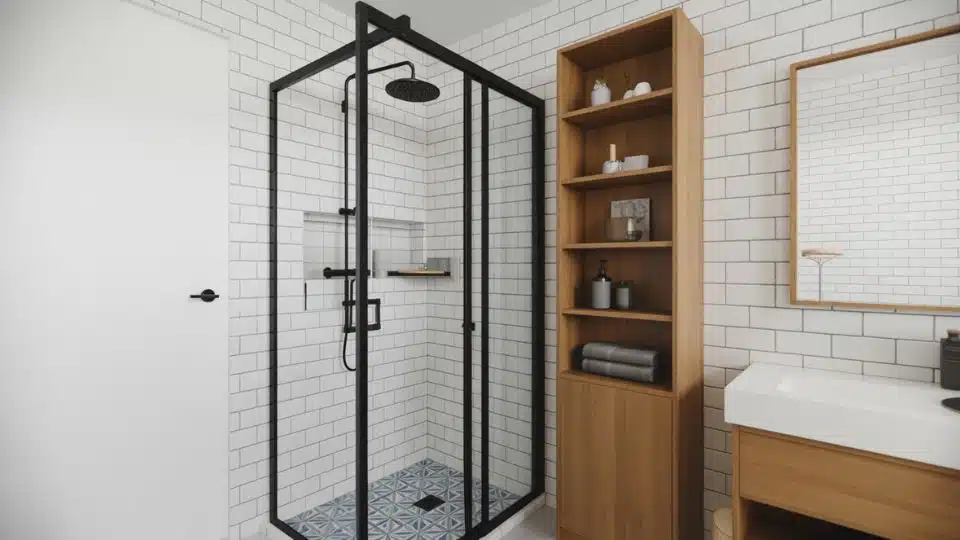
Tall storage units capitalize on unused wall space above toilets and vanities. Wall-mounted cabinets and ladder shelves keep floors clear while organizing essentials.
Vertical solutions work especially well in narrow bathrooms with limited floor area.
10. Paint or Refresh the Floor
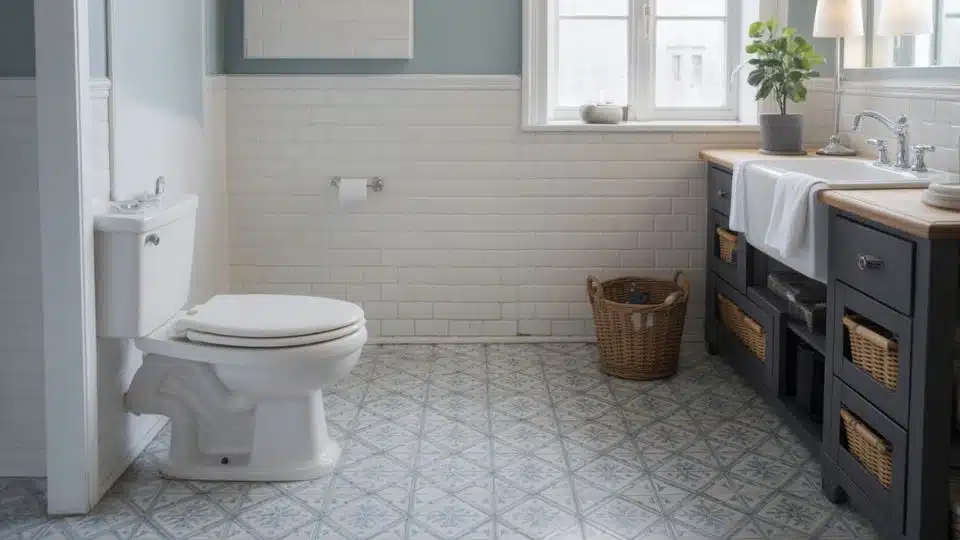
Specialty floor paint updates dated tile without expensive replacement. Proper surface preparation and sealing ensure durability under foot traffic.
This technique works best on structurally sound floors needing only cosmetic updates.
11. UpdateFaucets
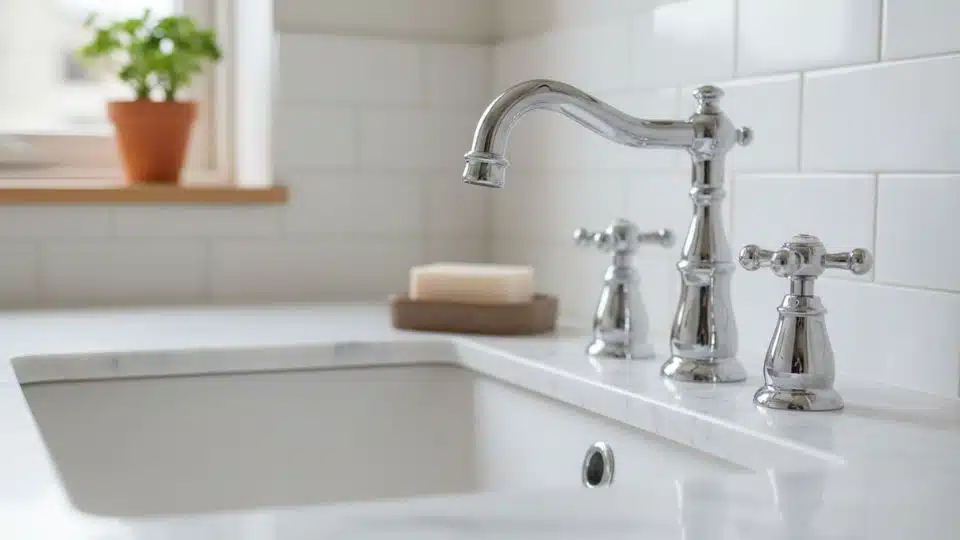
New fixtures modernize bathrooms dramatically without requiring any plumbing work. Contemporary overall looks in coordinated finishes create a cohesive look.
Most faucets are installed using basic tools, without professional plumber assistance.
12. Improve Ventilation
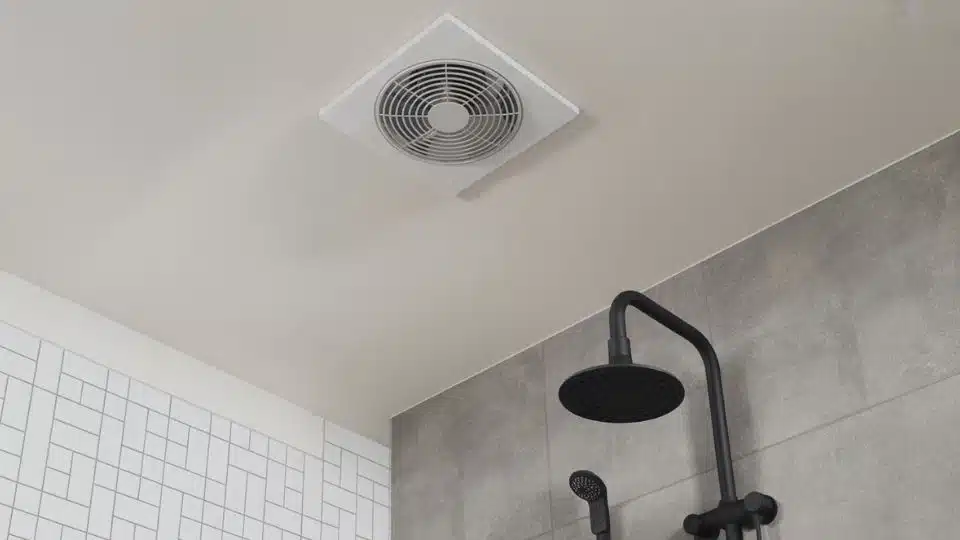
Adequate ventilation helps prevent moisture damage and mold growth during DIY projects. Upgraded exhaust fans remove humidity more effectively than outdated models.
Proper airflow significantly extends the lifespan of paint, wallpaper, and other cosmetic updates.
13. Add Simple Trim and Baseboards
Quality trim improves basic bathrooms by adding architectural detail and visual interest. Crown molding and upgraded baseboards create a finished, polished appearance.
These additions require minimal investment but deliver significant perceived value improvement.
14. Use Budget Accessories
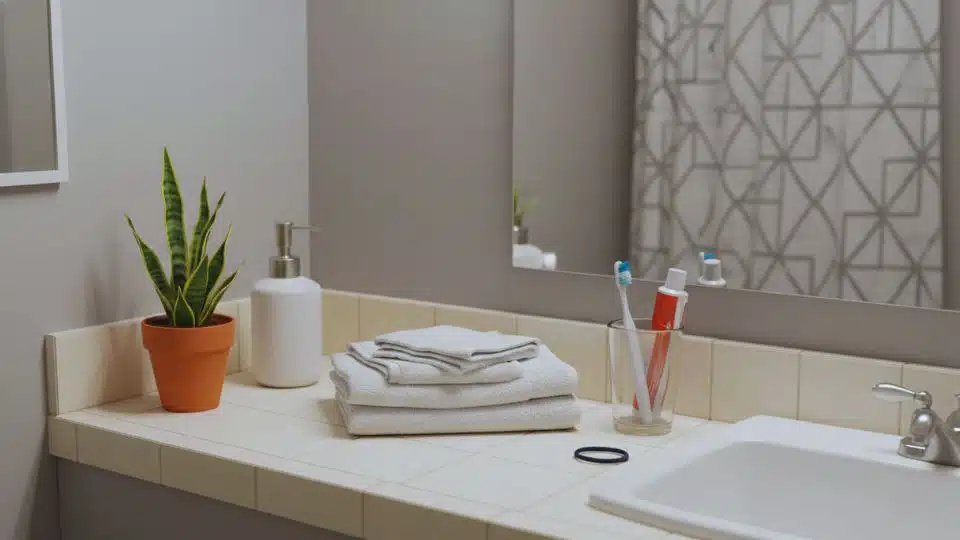
Coordinated towels, plants, and decorative elements personalize spaces without permanent changes. Functional decor, like attractive storage baskets, combines beauty with organization.
Select accessories that enhance rather than clutter the limited bathroom square footage.
15. Rework Layout Without Moving Plumbing
Repositioning furniture, updating vanities, or adding freestanding storage optimizes space. These changes create better layouts without major construction costs.
Now that you understand these renovation ideas, let’s break down what they actually cost in real dollars.
What Does a Real DIY Bathroom Makeover Cost?
Learning actual costs from completed projects helps you budget realistically and avoid expensive surprises during renovation.
Homeowners successfully revitalize small bathrooms for $800-2,000 with strategic DIY approaches, according to documented makeovers. Here’s what real projects cost:
- Moulding and panelling materials: $120-200 for standard bathroom coverage with basic trim
- Paint supplies, including primer, brushes, and rollers: $80-150 for quality moisture-resistant formulas
- Wallpaper for accent wall coverage: $60-120, depending on pattern complexity
- Mirror or decorative fixtures as focal points: $40-200 for stylish options from budget retailers
- Hardware updates (faucets, cabinet pulls, towel bars): $100-300 for coordinated modern finishes
- Miscellaneous supplies (caulk, adhesive, sandpaper): $50-100 for project completion
These figures reflect U.S. retail prices from Home Depot, Lowe’s, and Amazon. Renovations under $1,700-2,000 can still yield impressive results.
Shop sales and clearances for savings. Buy paint during seasonal promos for 20-30% off.
With costs clearly outlined, gather your essential tools and materials before starting your renovation project.
Bathroom Renovation Mistakes to Avoid
Sidestep these frequent errors to ensure your makeover delivers lasting results without costly do-overs or repairs.
| Common Mistakes | How to Avoid Them |
|---|---|
| No planning or measurements | Create a material list and timeline first |
| Wrong paint for humidity | Use moisture-resistant bathroom formulas |
| Poor surface prep | Clean, prime, and repair before painting |
| DIY plumbing or electrical | Hire licensed professionals for technical work |
| Cheap materials that fail | Choose mid-grade quality options |
| Rushing drying times\ | Follow all manufacturer cure time recommendations |
Going DIY makes sense for cosmetic updates like painting, wallpapering, hardware swapping, and simple fixture installation.
Outsource complex plumbing relocations, electrical work requiring permits, tile installation if you lack experience, and structural modifications. Know your skill limits honestly.
Durability challenges in high-moisture spaces require special attention. Standard paint peels in bathrooms due to insufficient moisture resistance.
Cheap caulk fails within months, allowing water damage. Low-quality wallpaper bubbles and separates. Invest appropriately in bathroom-specific products even when budgeting tightly.
Armed with this knowledge, you’re now prepared to create a beautiful bathroom without overspending or compromising quality.
Conclusion
Your bathroom renovation doesn’t require a contractor’s budget or magazine-level spending to achieve remarkable results.
Strategic planning, smart material choices, and focused DIY effort create spaces that look professional overall while protecting your finances.
Major visual upgrades happen through paint, panelling, wallpaper accents, and thoughtful accessorizing, not gut renovations. Plan your layout completely before purchasing materials.
Shop sales strategically. Tackle projects methodically, following proper techniques. Your dream bathroom awaits at a fraction of the expected costs.
Ready to refresh your space? Share your budget bathroom makeover ideas and results in the comments below. Let’s inspire each other to create beautiful bathrooms without breaking the bank.
Start planning your weekend project now!