That crooked photo on your living room wall is bothering you more than you admit. Getting artwork placement wrong is one of the most overlooked decorating slip-ups.
This guide covers everything from the globally accepted 57-inch standard to smart positioning above sofas, beds, and mantels. You will also spot four placement blunders that most homeowners never notice.
Whether you are putting up one piece or styling a full gallery, this post gives you the confidence to get it right.
Ready to stop second-guessing your walls? Let us get started.
What is the Standard Height to Hang Pictures?
The standard height to hang pictures is 57 to 60 inches from the floor to the center of the frame. You’ve just bought a new piece of wall art. Now the real question hits: where exactly do you hang it?
Most people guess. But there’s a simple rule that removes all the guesswork.
This is called the eye-level rule. It places the midpoint of your artwork right where most people naturally look when standing.
Here’s how to measure it correctly:
- Start from the floor
- Go up to the center of the frame, not the top, not the bottom
- Mark that spot at 57 inches
Art galleries and interior designers worldwide use this rule. It works because the human eye naturally lands at this height. The result? Every picture feels right, no matter the room
| How to Measure the Correct Height Before You Hang Anything? Apply the 57-inch rule: measure from the floor, add half the frame’s height, then subtract the distance to the hanging hardware. This keeps the art’s center at eye level. |
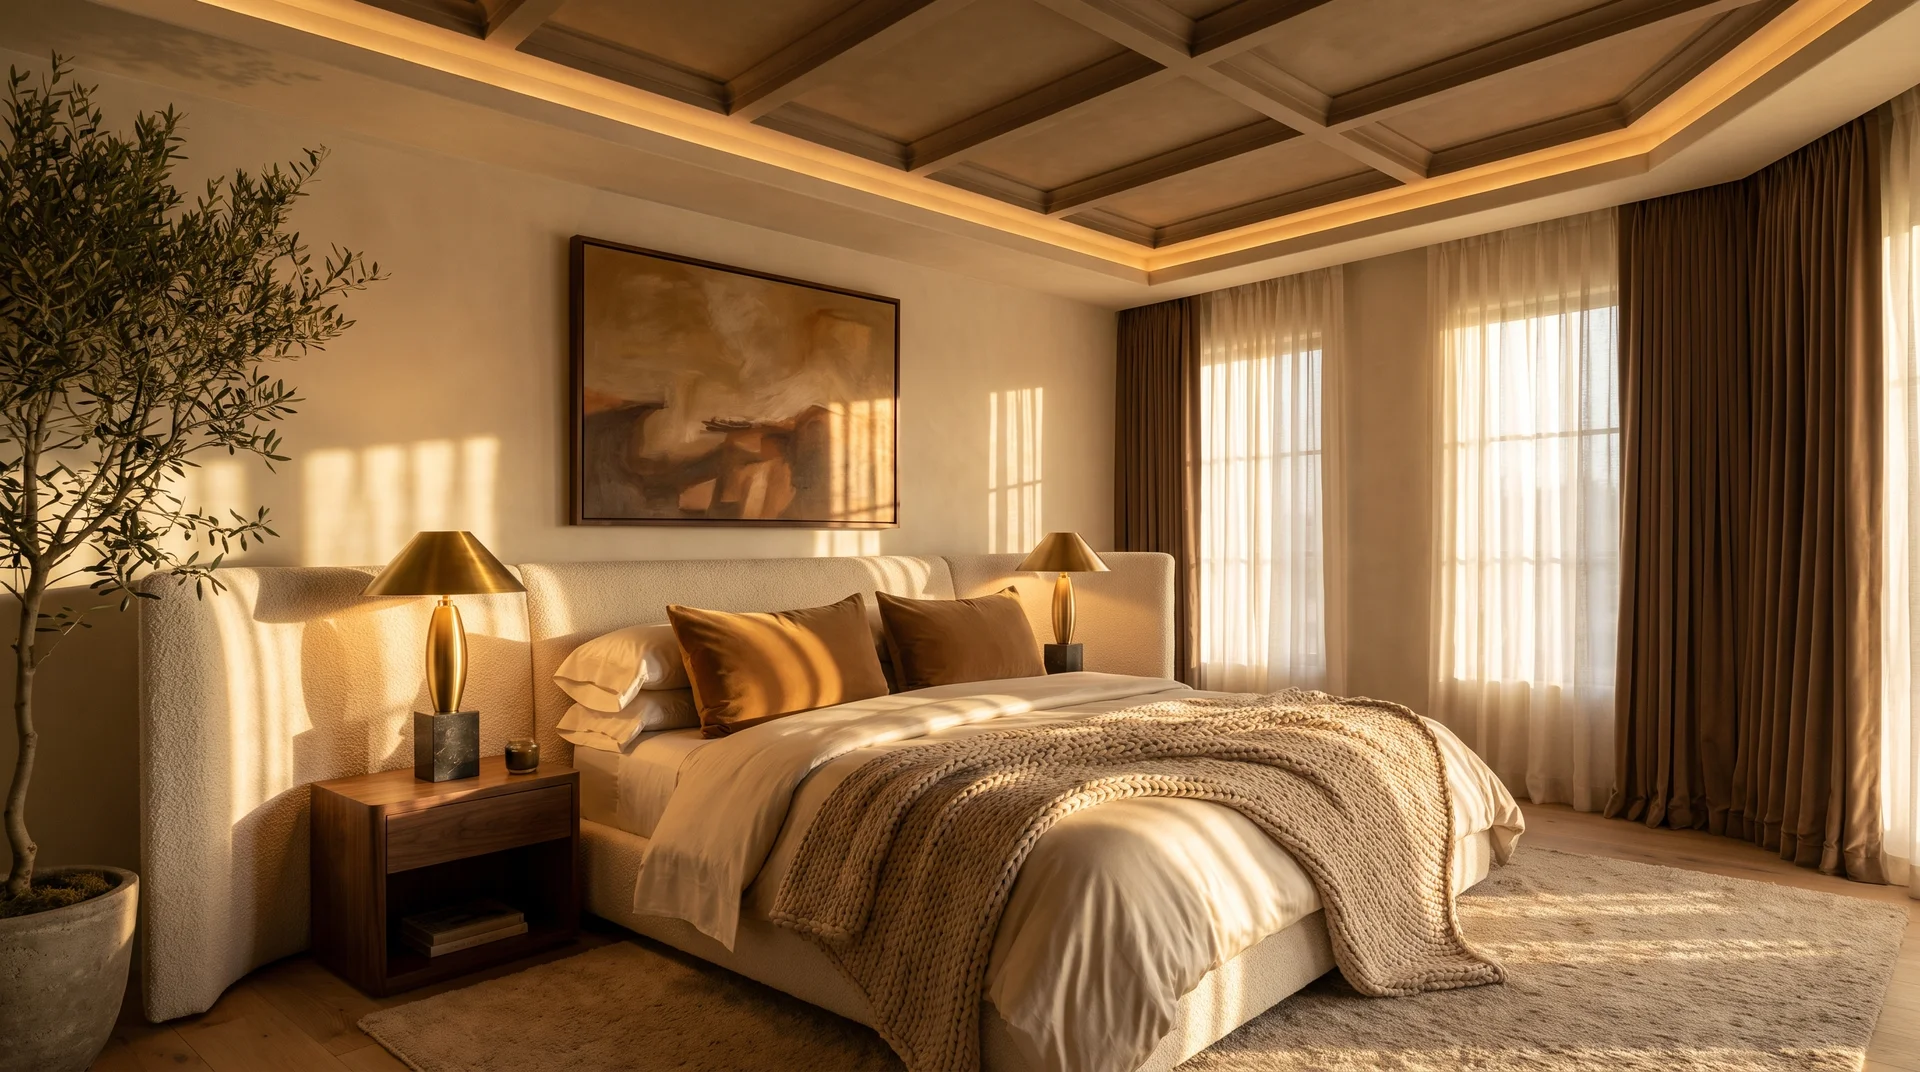
What Height to Hang Pictures Above Furniture?
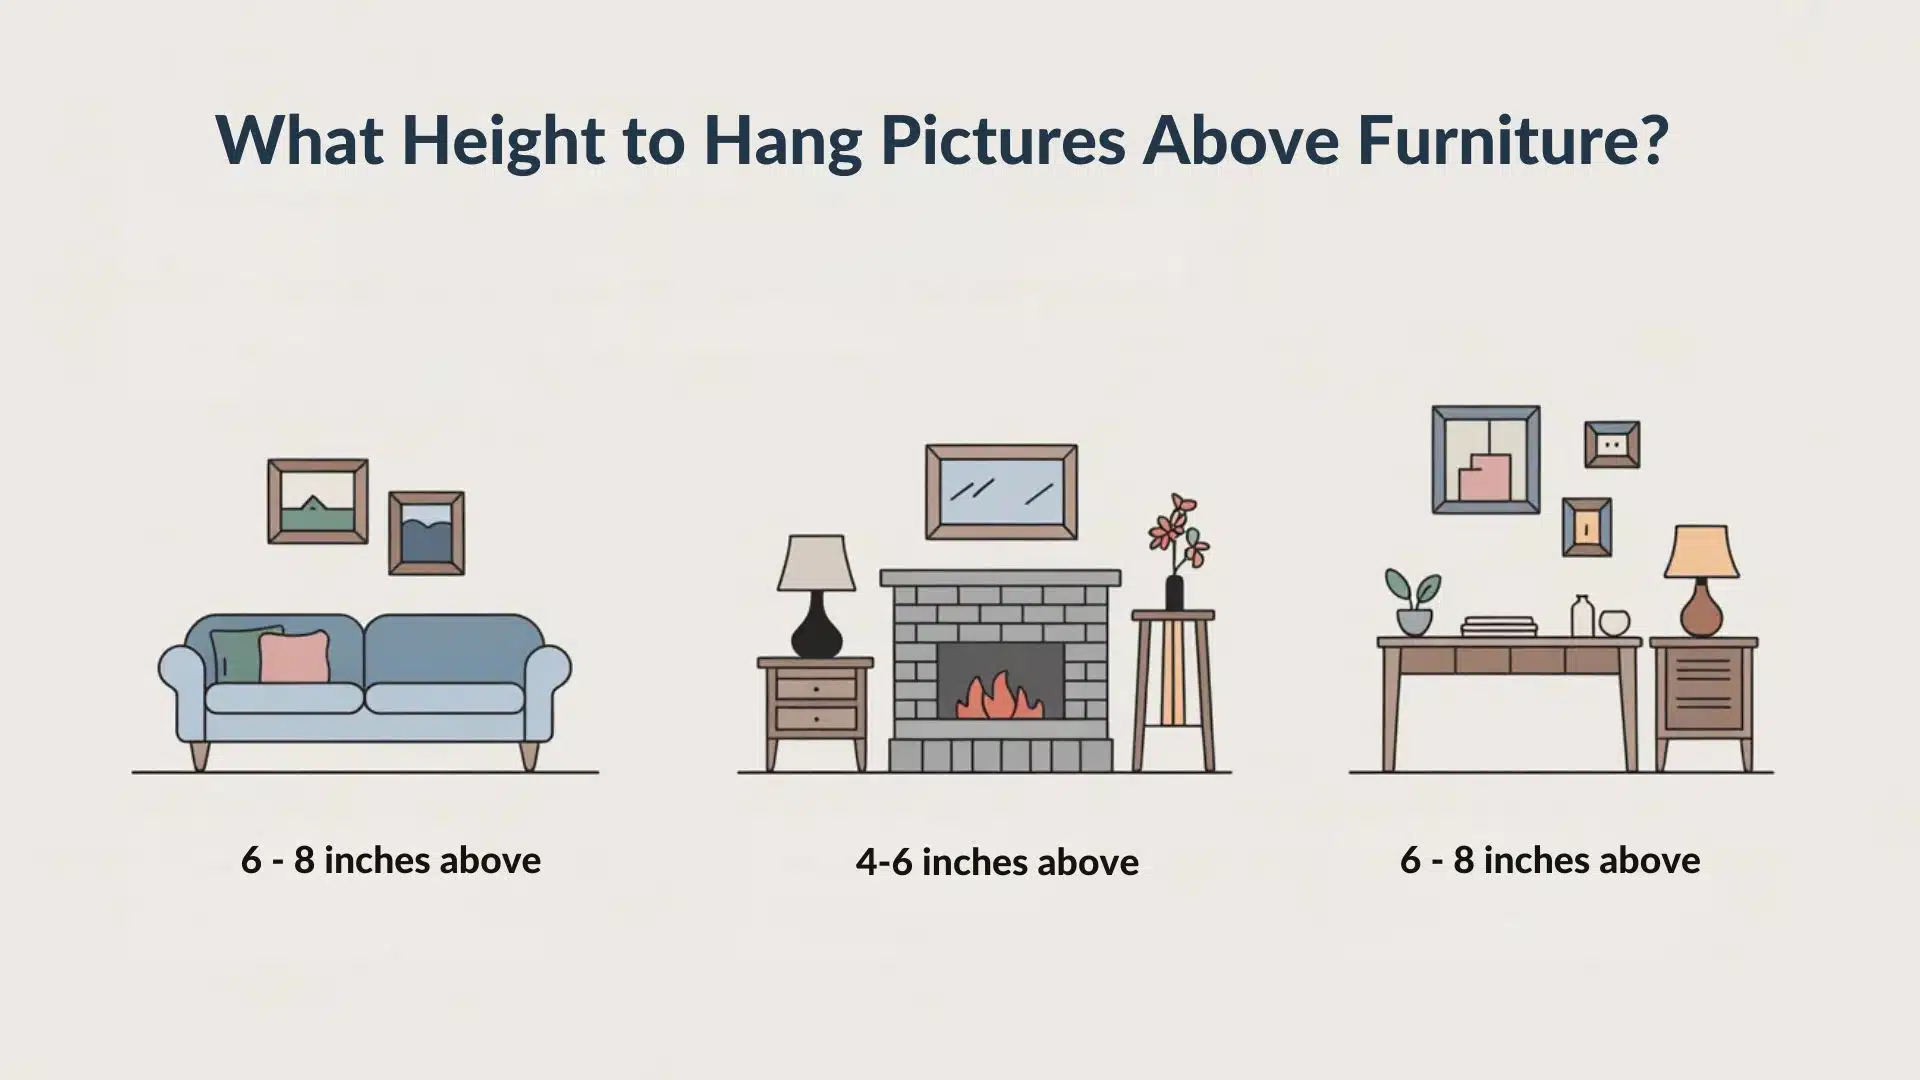
The 57-inch rule shifts slightly when furniture is involved. Here’s a quick guide.
| Furniture | Gap | Key Tip |
|---|---|---|
| Sofa | 6 – 8 inches above | The width should cover two-thirds of the sofa |
| Bed / Fireplace | 4 – 6 inches above | Stay close; avoid hanging too high |
| Desk / Console | 6 – 8 inches above | Keep art anchored to the furniture below |
Step-by-Step Process to Hang Pictures Correctly
Follow these nine steps and get it right the first time. No guesswork, no extra holes in your wall.
Before you pick up a hammer, start with the basics.
Step 1: Choose the Right Wall and Position
Pick a wall that gets enough light and is the right size for your artwork. Avoid walls that face direct sunlight or vents.
Now bring the global standard into your own space.
Step 2: Decide the Ideal Height Using the 57 to 60 Inch Rule
Set your target at 57 inches from the floor to the center of the frame. Adjust to 60 inches if your ceilings are taller than usual.
Knowing your artwork’s exact size prevents costly mistakes later.
Step 3: Measure the Artwork and Mark the Center
Use a measuring tape to find the frame’s total height. Divide by two. That number marks the center point of your piece.
This step saves you from hammering in the wrong spot.
Step 4: Calculate Nail Placement Using Hanger Distance
Pull the hanging wire or bracket upward. Measure the gap from the top of the frame. Subtract that from 57 inches to find your nail point.
A clean mark keeps everything lined up from the start.
Step 5: Mark the Wall Using a Pencil or Painter’s Tape
Lightly mark your nail point with a pencil. Use painter’s tape for gallery arrangements. It shows spacing without leaving any marks.
Even a slight tilt can make a room feel off-balance.
Step 6: Use a Level to Ensure Straight Alignment
Hold a small spirit level against the wall or frame. Adjust your marked point until the bubble sits perfectly in the center.
The right hardware holds your art firmly in place.
Step 7: Install Hooks or Nails Securely
Drive the nail at a slight downward angle for better grip. For heavier frames, use wall anchors suited to your wall type.
This is the moment everything comes together.
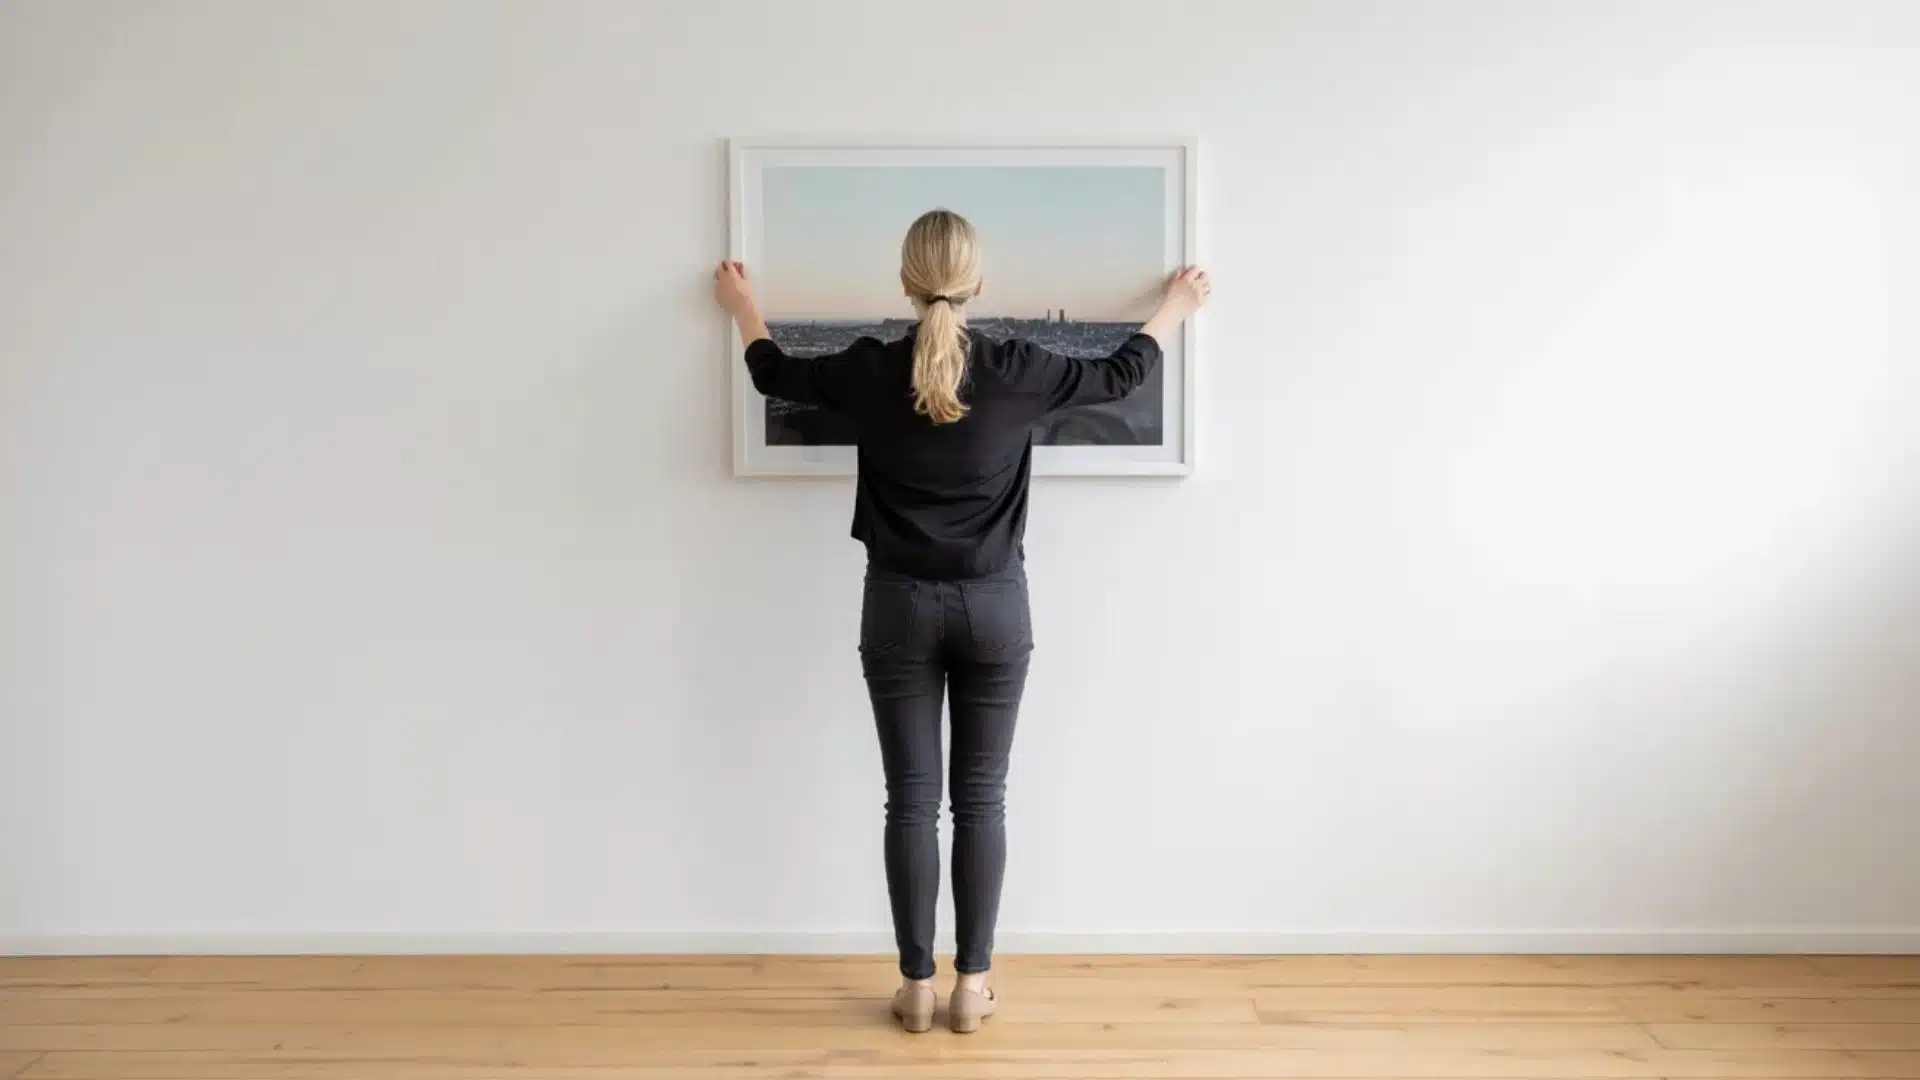
Step 8: Hang the Picture and Adjust for Balance
Carefully place the wire or bracket onto the hook. Gently shift the frame left or right until it sits centered on the wall.
Your eyes are the final judge. Trust them.
Step 9: Step Back and Check Visual Alignment
Move a few feet away and look at the full picture. Check that it feels balanced with the furniture and surrounding wall space.
Common Mistakes That Make Pictures Look Wrong
Small placement errors can throw off an entire room. Here’s what to watch out for.
1. Hanging Pictures Too High
- Problem: Art hung too high feels disconnected from the room. Your neck strains to look at it.
- Fix: Always bring the center of the frame down to 57 inches from the floor.
2. Leaving Too Much Space Above Furniture
- Problem: A large gap between art and furniture makes both look unrelated.
- Fix: Keep the bottom of the frame 6 to 8 inches above the furniture piece.
3. Choosing Art That Is Too Small
- Problem: A small frame on a large wall looks lost and out of place.
- Fix: Match the art width to at least two-thirds of the furniture or wall below it.
4. Uneven Spacing in Gallery Walls
- Problem: Random gaps between frames make a gallery wall look messy.
- Fix: Keep 2 to 3 inches of even space between every frame.
Conclusion
Hanging pictures at the correct height is simpler than most people think. Start at 57 inches from the floor. Keep art close to your furniture.
Avoid common sizing and spacing errors. Follow the nine steps, and your walls will look put-together every time.
The difference between a room that feels complete and one that feels off is often just a few inches. So grab your measuring tape, mark your wall, and give your artwork the spot it deserves.
Did this guide help you figure out what height to hang pictures in your space? Drop your questions or share your results in the comments below. We would love to see how your walls turn out!
Frequently Asked Questions
How High Is Too High for Wall Art?
Wall art is too high when the center is more than 60 inches from the floor or more than 8 inches above furniture, causing a visual disconnect and neck strain.
Can I Put a Nail Straight in Drywall to Hang a Picture?
Yes, you can, but it’s generally not recommended for anything heavier than a very light, small frame. Standard drywall is crumbly and lacks the structural integrity to grip a straight nail under tension.
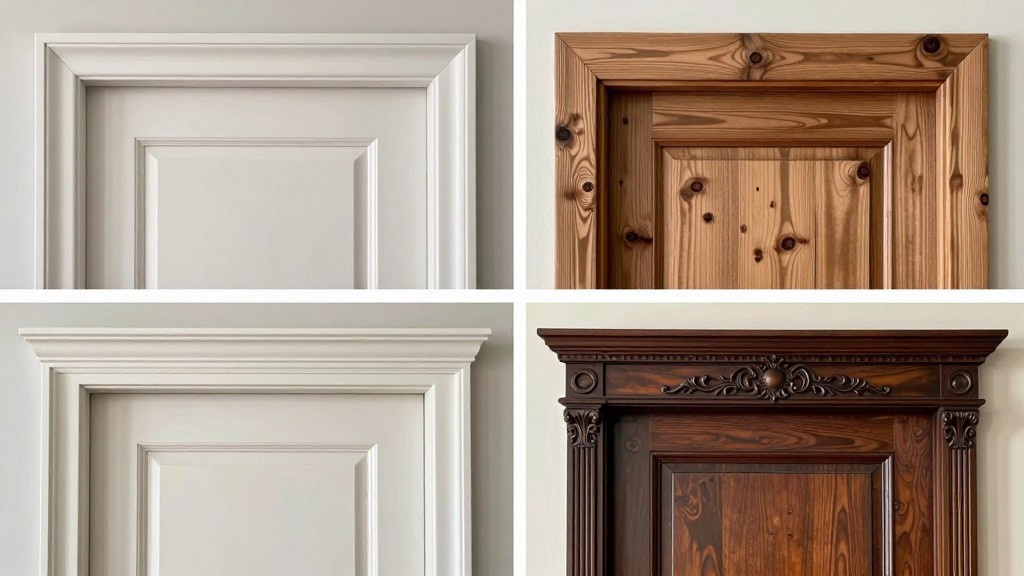
What Does Bad Framing Look Like?
Bad framing features distracting gaps between the art and glass, crooked mounting, or a mat color that overwhelms the artwork rather than subtly drawing the viewer’s eye inward.