Roof leaks are scary. Your ceiling drips. Water stains grow. Your first thought? Time for a costly roof replacement. But here’s the truth: most leaks don’t come from shingles.
They come from flashing. That thin metal barrier seals gaps around vents, chimneys, and skylights.
When flashing fails, water sneaks in fast. The good news? You can repair it yourself with liquid flashing.
This guide walks you through every step. You’ll learn how to spot damage. You’ll find the right materials. You’ll fix the leak permanently without replacing your whole roof.
We’ll show you proven techniques that work. You’ll save money and gain confidence. Your roof will stay dry for years. Let’s get started and stop that leak today.
What Is Roof Flashing and Why Does It Matter
Roof flashing is the protective shield around roof transitions. It directs water away from vulnerable areas. Without it, water pools around vents and chimneys. Think of flashing like a gutter for your roof seams.
It safely channels water away, keeping your home dry. Metal, rubber, or membrane materials do this protective job. The best options are aluminum, copper, or galvanized steel. Each material has strengths in different climates.
Types of flashing protecting your roof:
- Step flashing: L-shaped metal pieces installed around chimneys and dormers in a step-like pattern
- Vent flashing: Rubber boots that seal around vent pipes and penetrations in the roof.
- Valley flashing: Metal strips installed where two roof slopes meet to direct water flow.
- Base flashing: Covers the bottom edge of roof features, such as AC units and curbs.
- Edge flashing: Protects the exposed edges of your roof where it meets siding or fascia.
Flashing protects roof edges, valleys, and junctions between roofing and obstacles such as chimneys, dormers, and vent pipes. When flashing works properly, your roof stays dry inside.
Most homeowners never think about flashing until it leaks. That’s when they call roofers and face big bills. But minor repairs now prevent major damage later. Addressing flashing problems early saves thousands in water damage repair costs.
Why Roof Flashing Fails Over Time
Flashing doesn’t last forever. Multiple factors cause deterioration over time. Understanding these problems helps you fix them right before costly damage occurs.
Main reasons roof flashing deteriorates:
- Traditional tar and asphalt dry out over the years, hardening and cracking, allowing water to seep through every opening.
- Temperature swings cause expansion in summer and contraction in winter, pulling seals apart and stressing joints.
- Metal and rubber respond differently to heat, leading to incompatibility and premature failure.
- UV rays fade protective coatings, while prolonged sun exposure breaks down sealant integrity.
- Heavy rain and wind stress the seams and joints where water pressure finds weak points.
- Debris and leaves pile up and trap moisture against flashing, creating constant damp conditions.
- Poor installation creates weakness from day one with improper overlaps or insufficient fastening.
- Physical damage from storms or falling tree branches can bend, crack, or displace flashing sections.
These issues start small but grow fast if ignored. Catching flashing failures early prevents expensive structural repairs and water damage.
Signs You May Need Roof Flashing Repair
Spotting flashing problems early can prevent significant roof damage later. These signs often appear slowly, so keeping an eye on small changes can save you from bigger repairs.
Indoor Signs to Watch For:
- Water stains are developing on ceilings or upper walls
- Musty or damp smells in the attic after rain
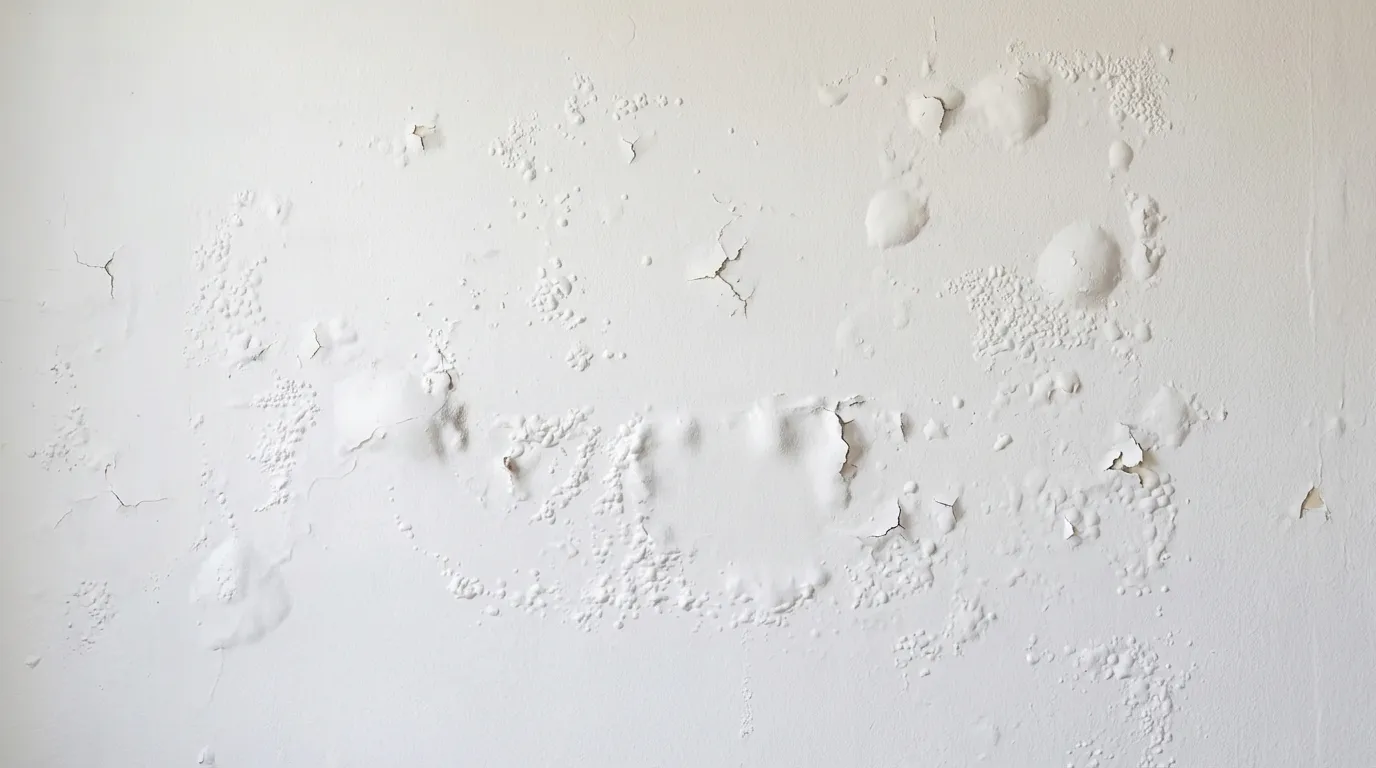
- Peeling paint or bubbling drywall near the roof edges
- Light discoloration around vents or chimneys indoors
Outdoor Signs Around Flashing Areas:
- Cracked or dried-out sealant around chimneys and vents
- Rust spots, corrosion, or bent metal flashing
- Gaps where flashing has lifted or pulled away from the roof
- Dark streaks or soft spots where moisture collects
- Debris buildup around flashing that traps water and accelerates damage
Catching these signs early gives you the best chance to fix the issue before water spreads further and causes costly structural problems.
Steps to Repairing Roof Flashing with Liquid Flashing
Repairing roof flashing with liquid flashing works best when each step is followed carefully, so taking your time here ensures a secure, long-lasting fix.
Materials and Tools Required
| Materials | Tools |
|---|---|
| Liquid flashing sealant | Paint brush or roller (3-4 inch) |
| Reinforcing fleece fabric or mesh tape | Scissors or utility knife |
| Roofing cleaner or degreaser | Putty knife or trowel |
| Clean water for rinsing | Safety glasses and heavy-duty gloves |
| Metal primer (optional) | Sturdy ladder with stabilizer |
| Drop cloth or plastic sheeting | Safety harness (strongly recommended) |
Step 1: Prepare the Area
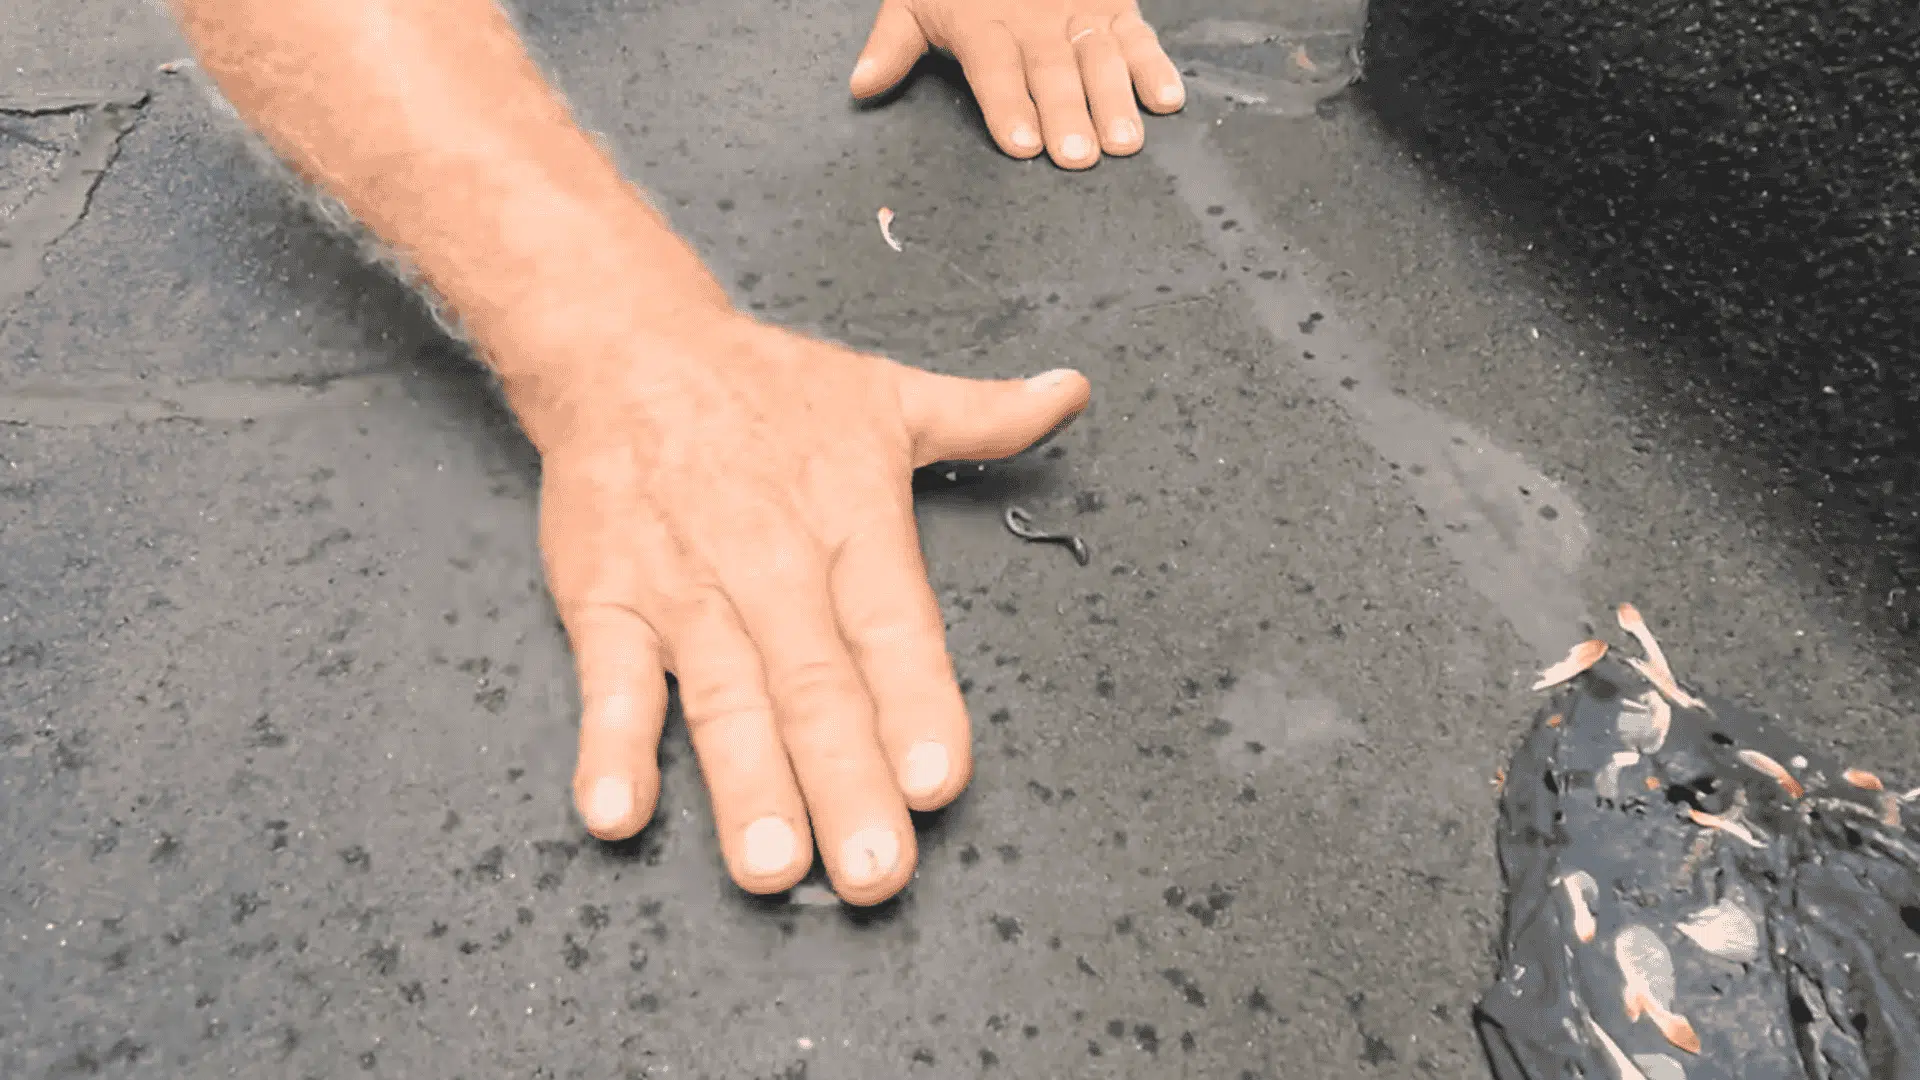
Clear debris from around the leak. Remove leaves, dirt, and standing water. Use a brush to sweep the zone clean. This prep work is critical for adhesion.
Inspect the damaged section carefully. Look for all cracks and gaps. You’ll repair them all in one session. Don’t skip corners or edges.
Step 2: Clean the Surface
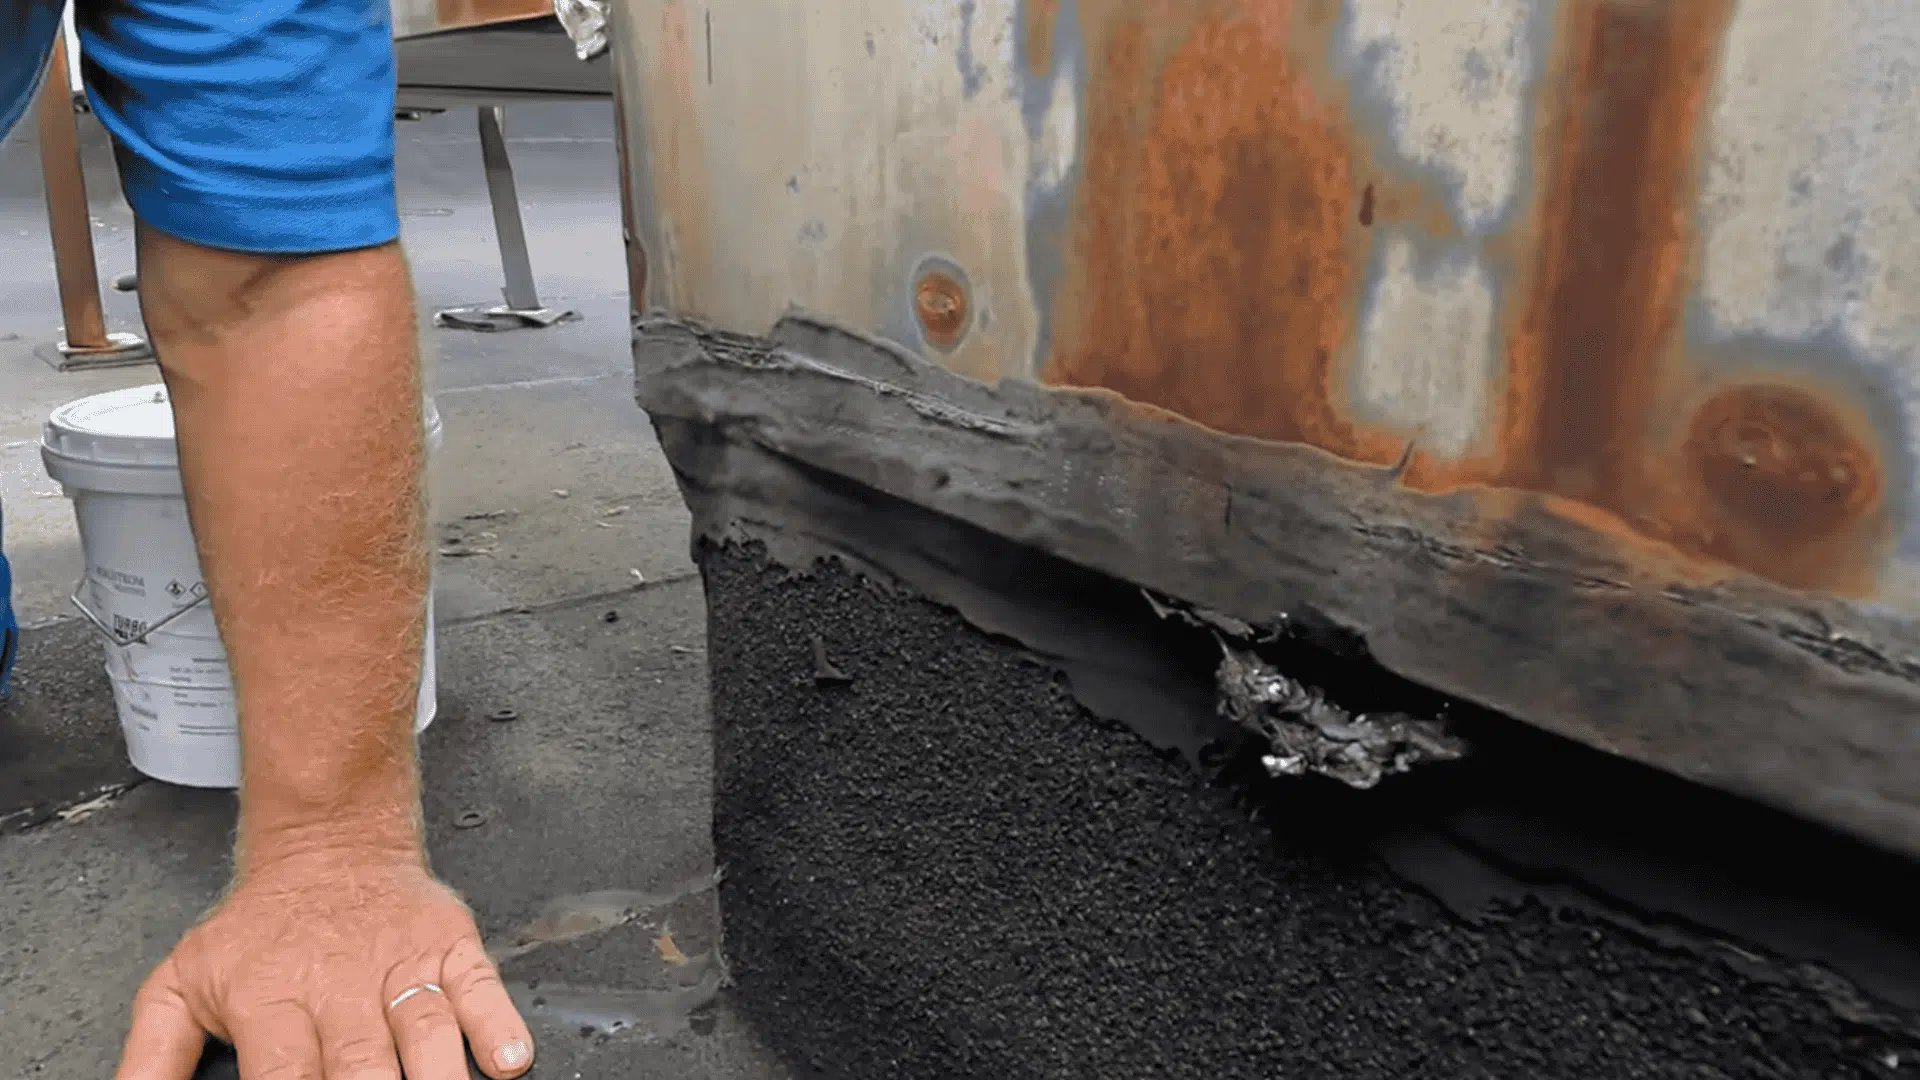
Use a roofing cleaner or degreaser to clean flashing. Wipe down the entire repair zone. Old tar and residue prevent bonding. A clean surface is non-negotiable for success.
Allow the surface to dry completely. Wet surfaces reject liquid flashing. Wait at least one hour after rinsing. Better to wait longer in humid conditions.
For rusty metal, use a wire brush or sandpaper. Rough up the corrosion to bare metal if possible. Apply metal primer to exposed metal. Let primer dry per instructions before proceeding.
Step 3: Open and Prepare the Crack
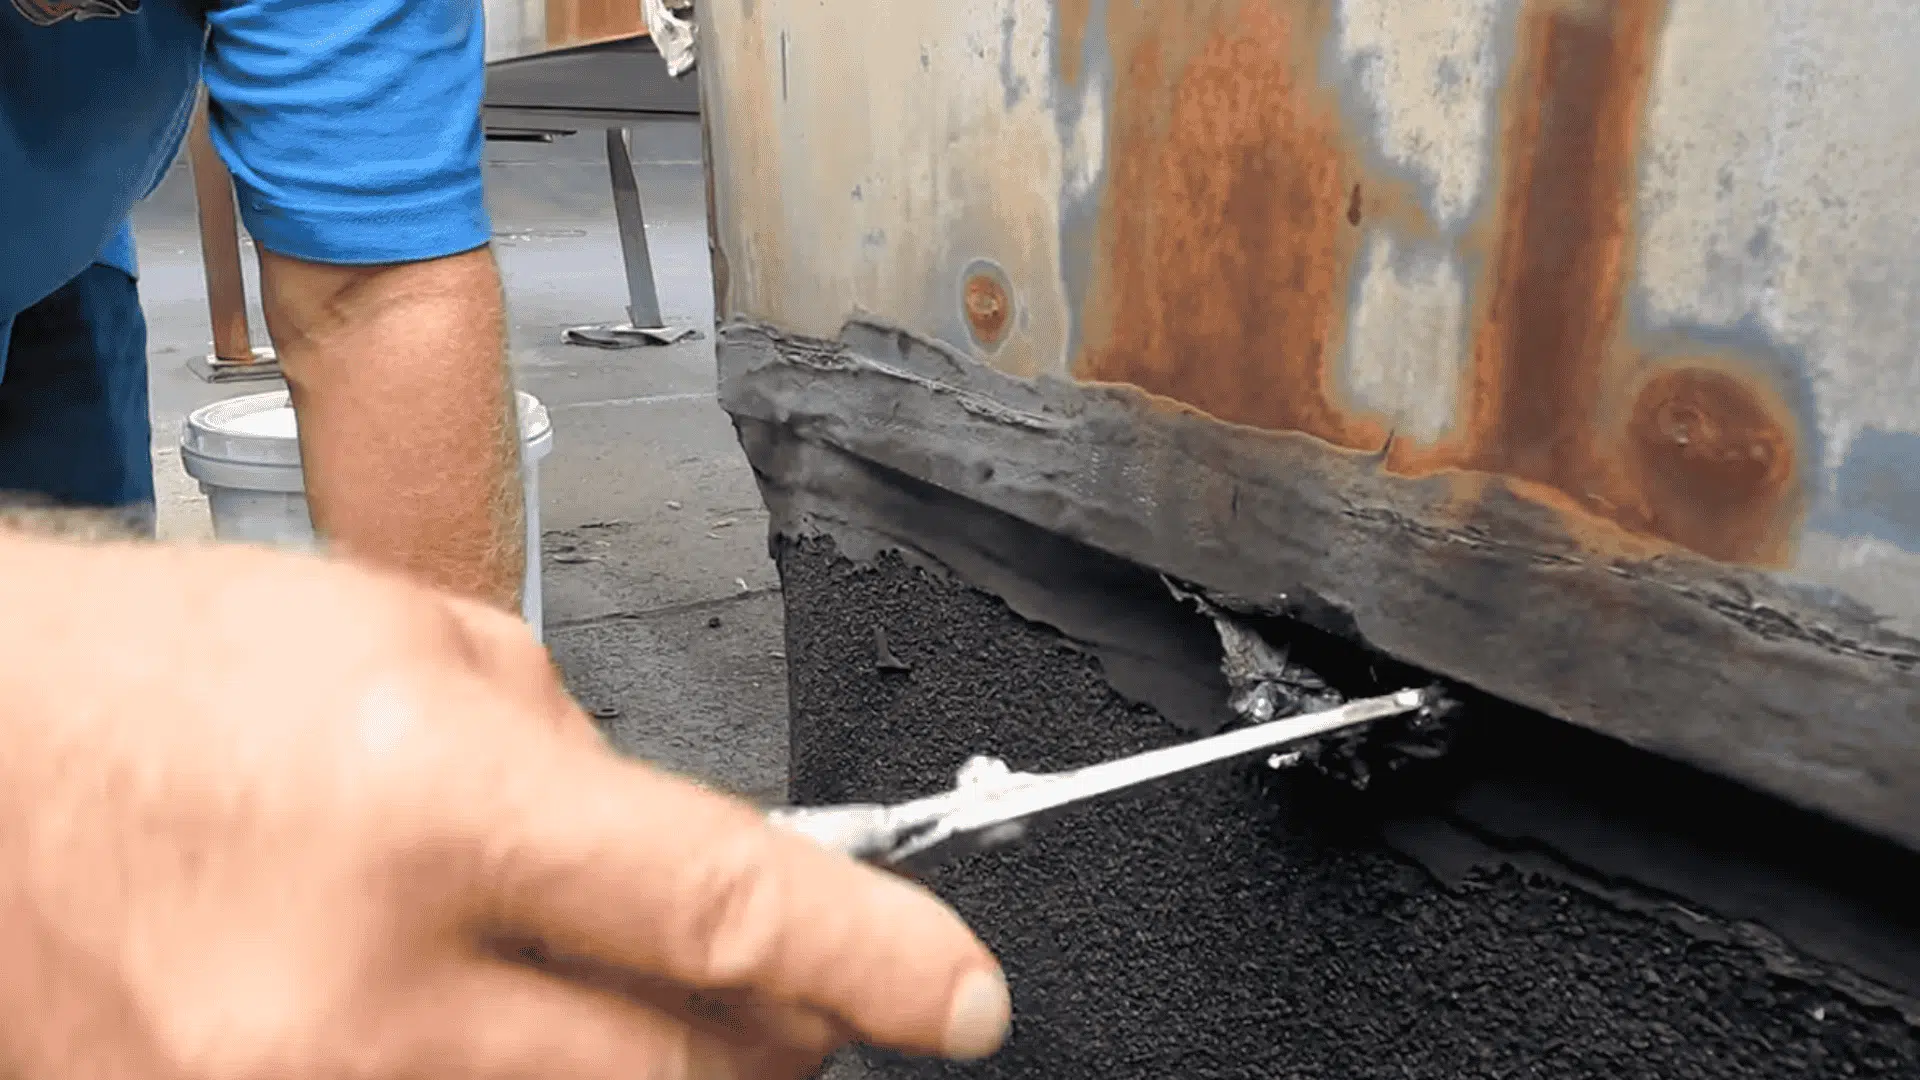
Use scissors or a utility knife to slightly open cracked seams. This exposes the interior for better sealant penetration. Don’t cut too deeply, just enough to create access.
This step seems backward, but it works. The sealant fills the open crack and bonds inside. Sealed-over cracks trap water and fail again. Opening them creates a permanent repair.
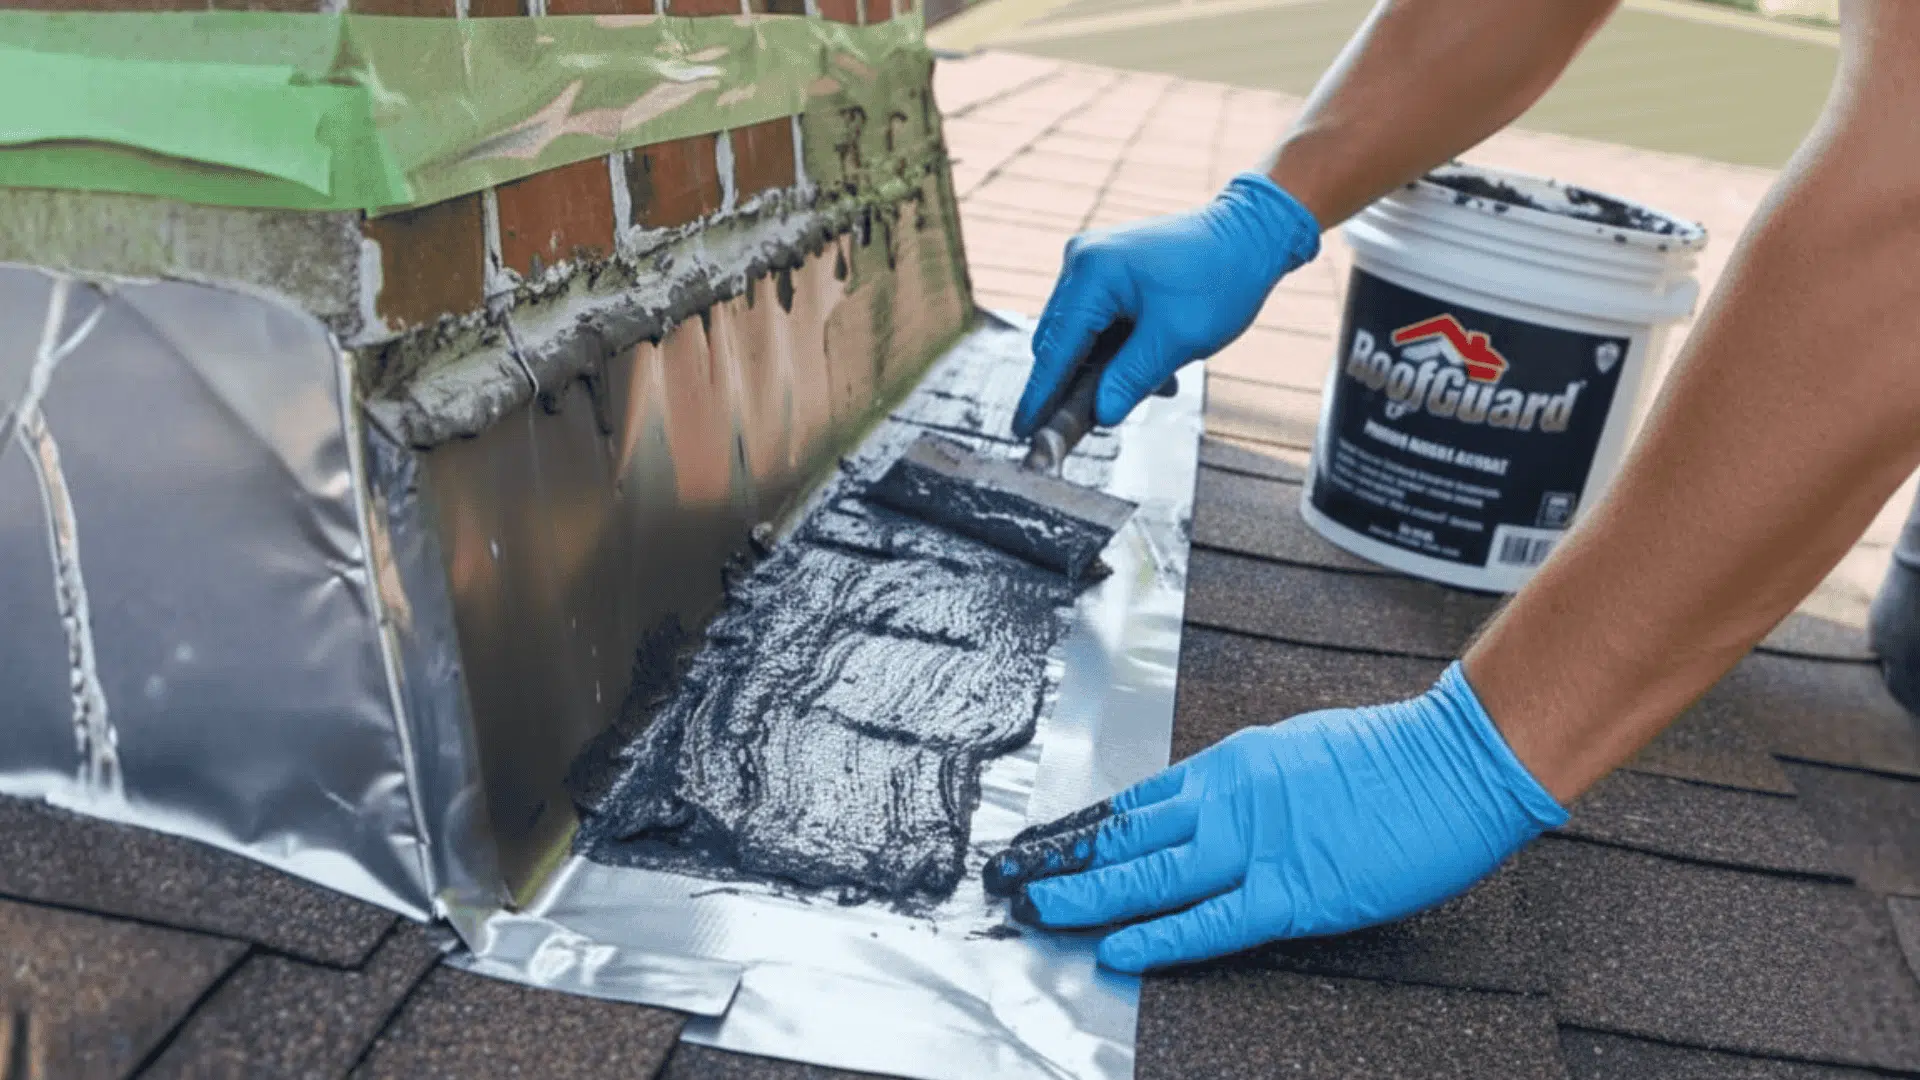
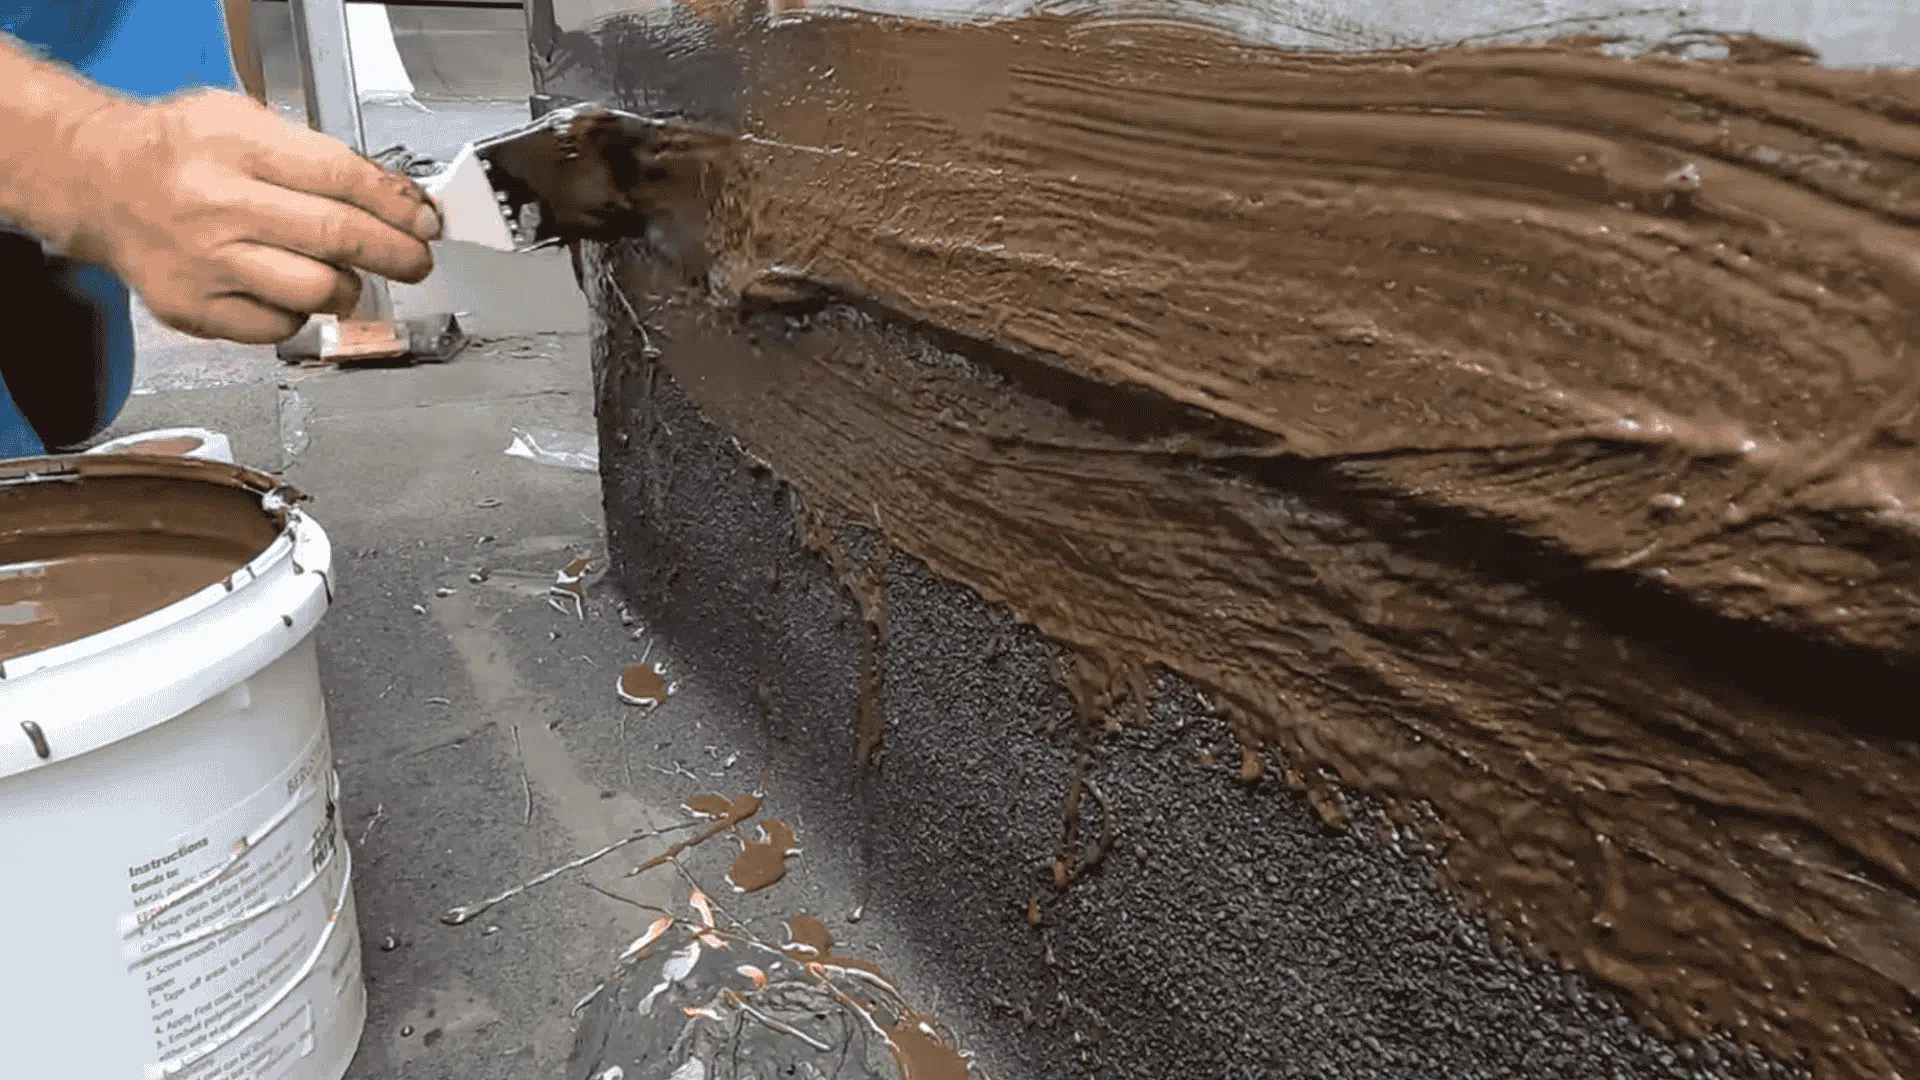
Step 4: Apply the First Coat
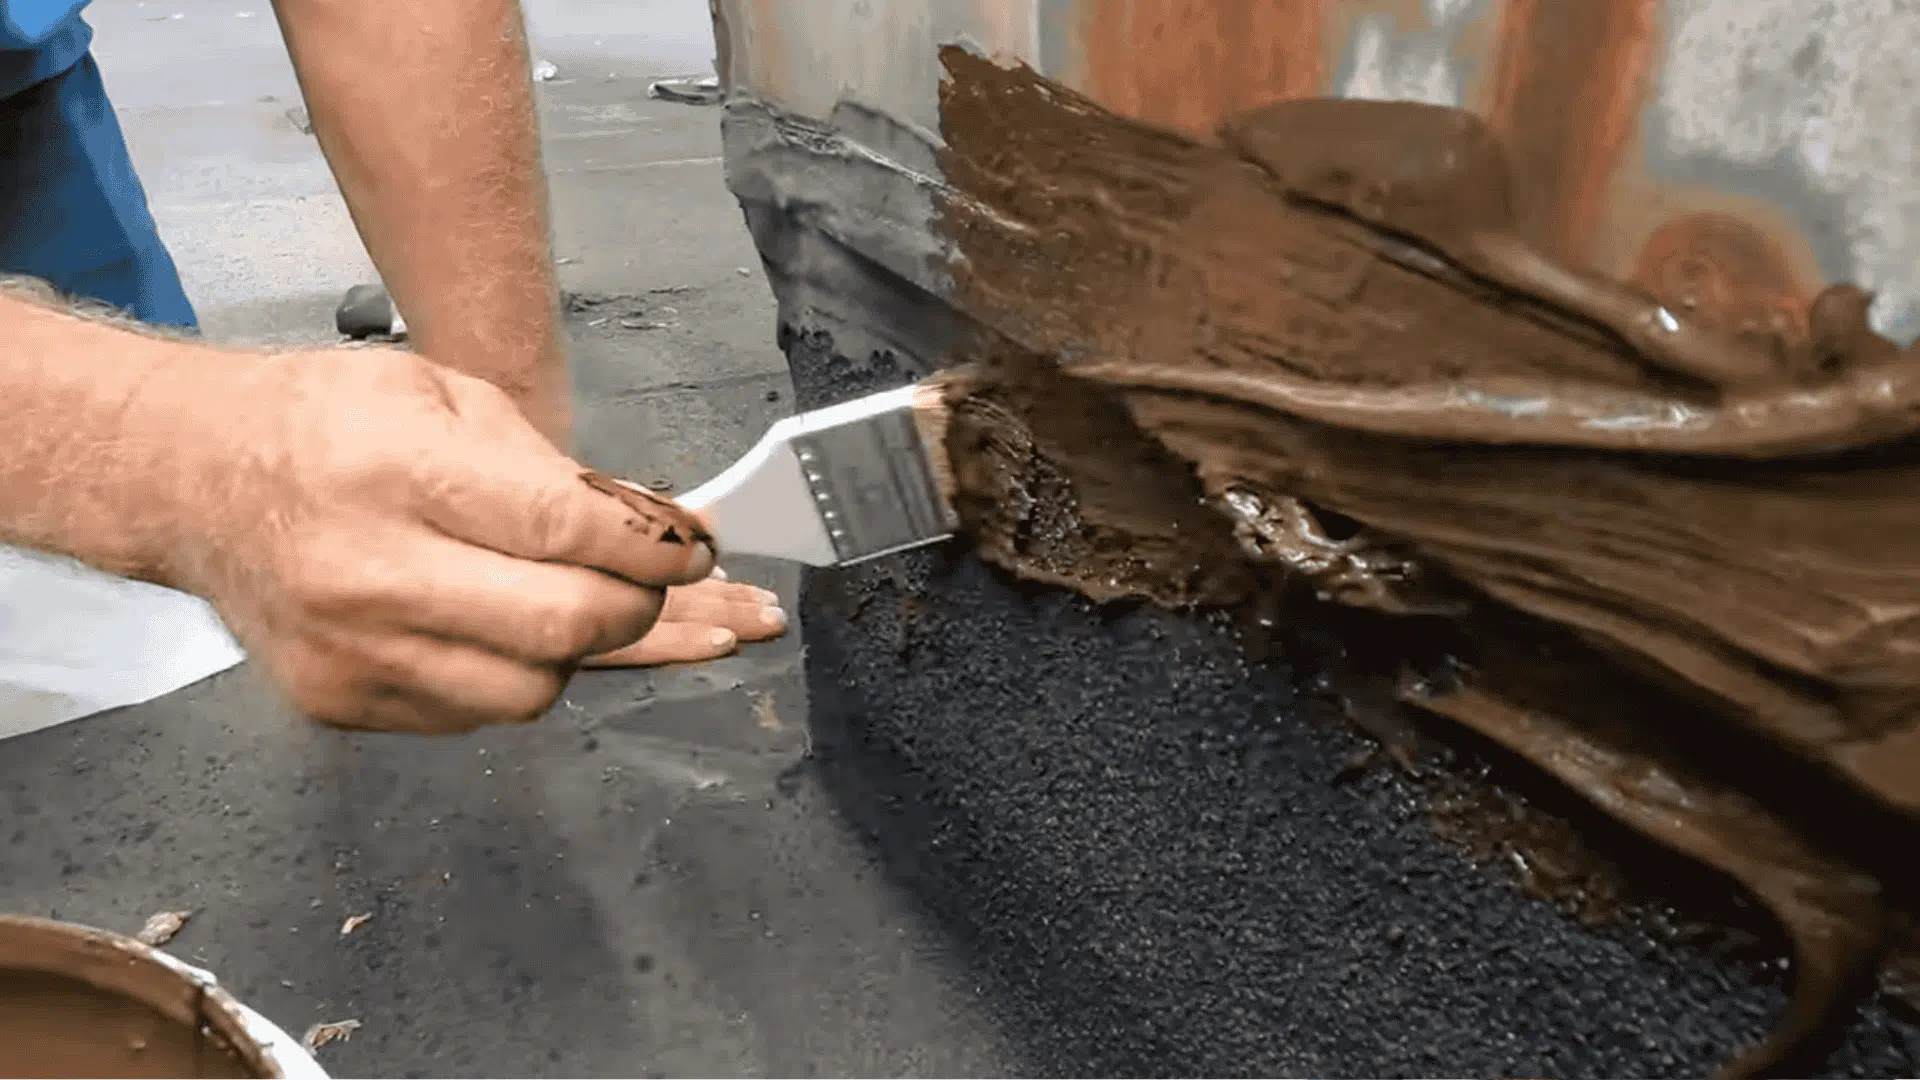
Stir the liquid thoroughly. Separation happens during storage. Mix for 2-3 minutes until uniform.
Using a brush, apply the first coat directly to the crack. Extend coverage 2-3 inches beyond visible damage. Work the sealant into the seam. Don’t just paint it on, push it in.
For larger areas, use a roller for even coverage. Brush edges and corners by hand. Create a uniform layer about 1/8 inch thick.
Step 5: Reinforce with Fleece
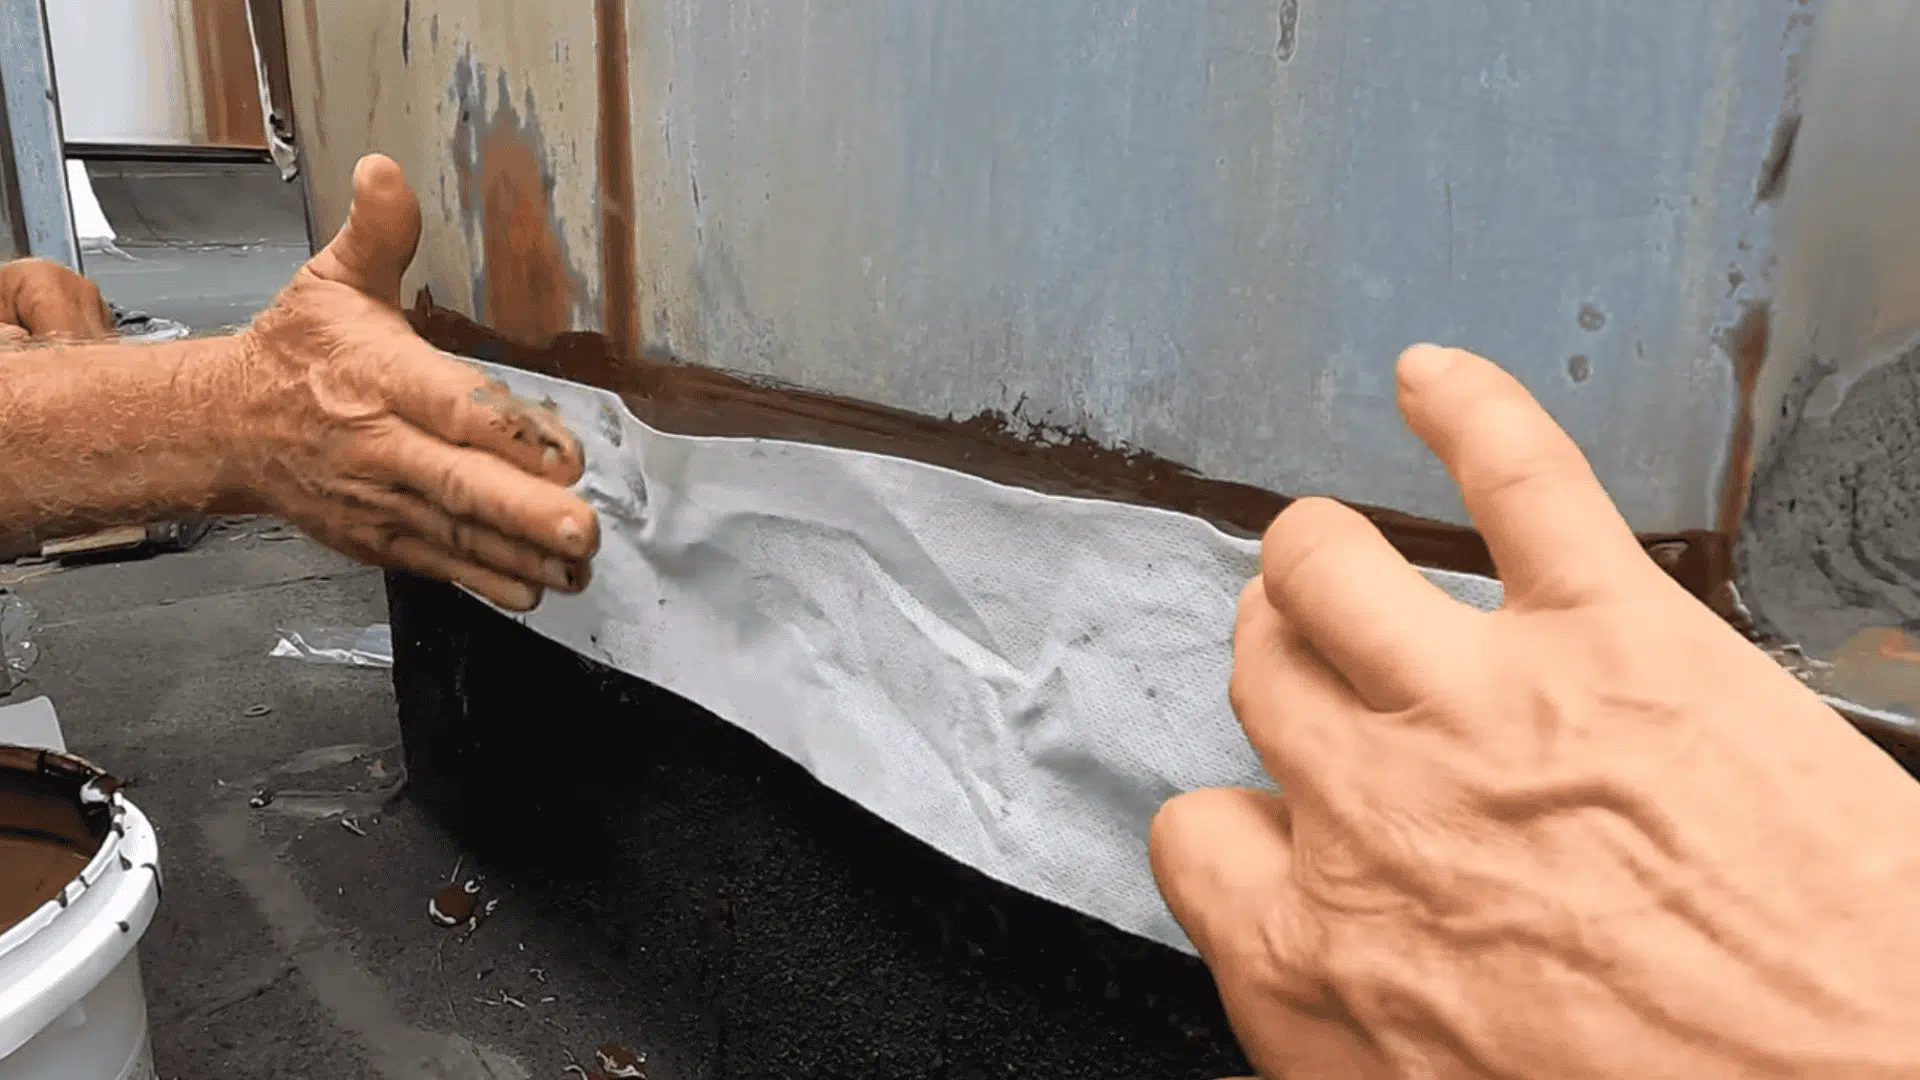
Cut reinforcing fleece to fit the repair area. Position it over the wet first coat. Press down gently to fully embed it.
The fleece acts as a reinforcement layer. It strengthens the repair and prevents cracking. This is what changes a temporary fix into a permanent one.
Immediately apply the second coat over the fleece. Cover the fleece completely. No fleece should be visible when finished.
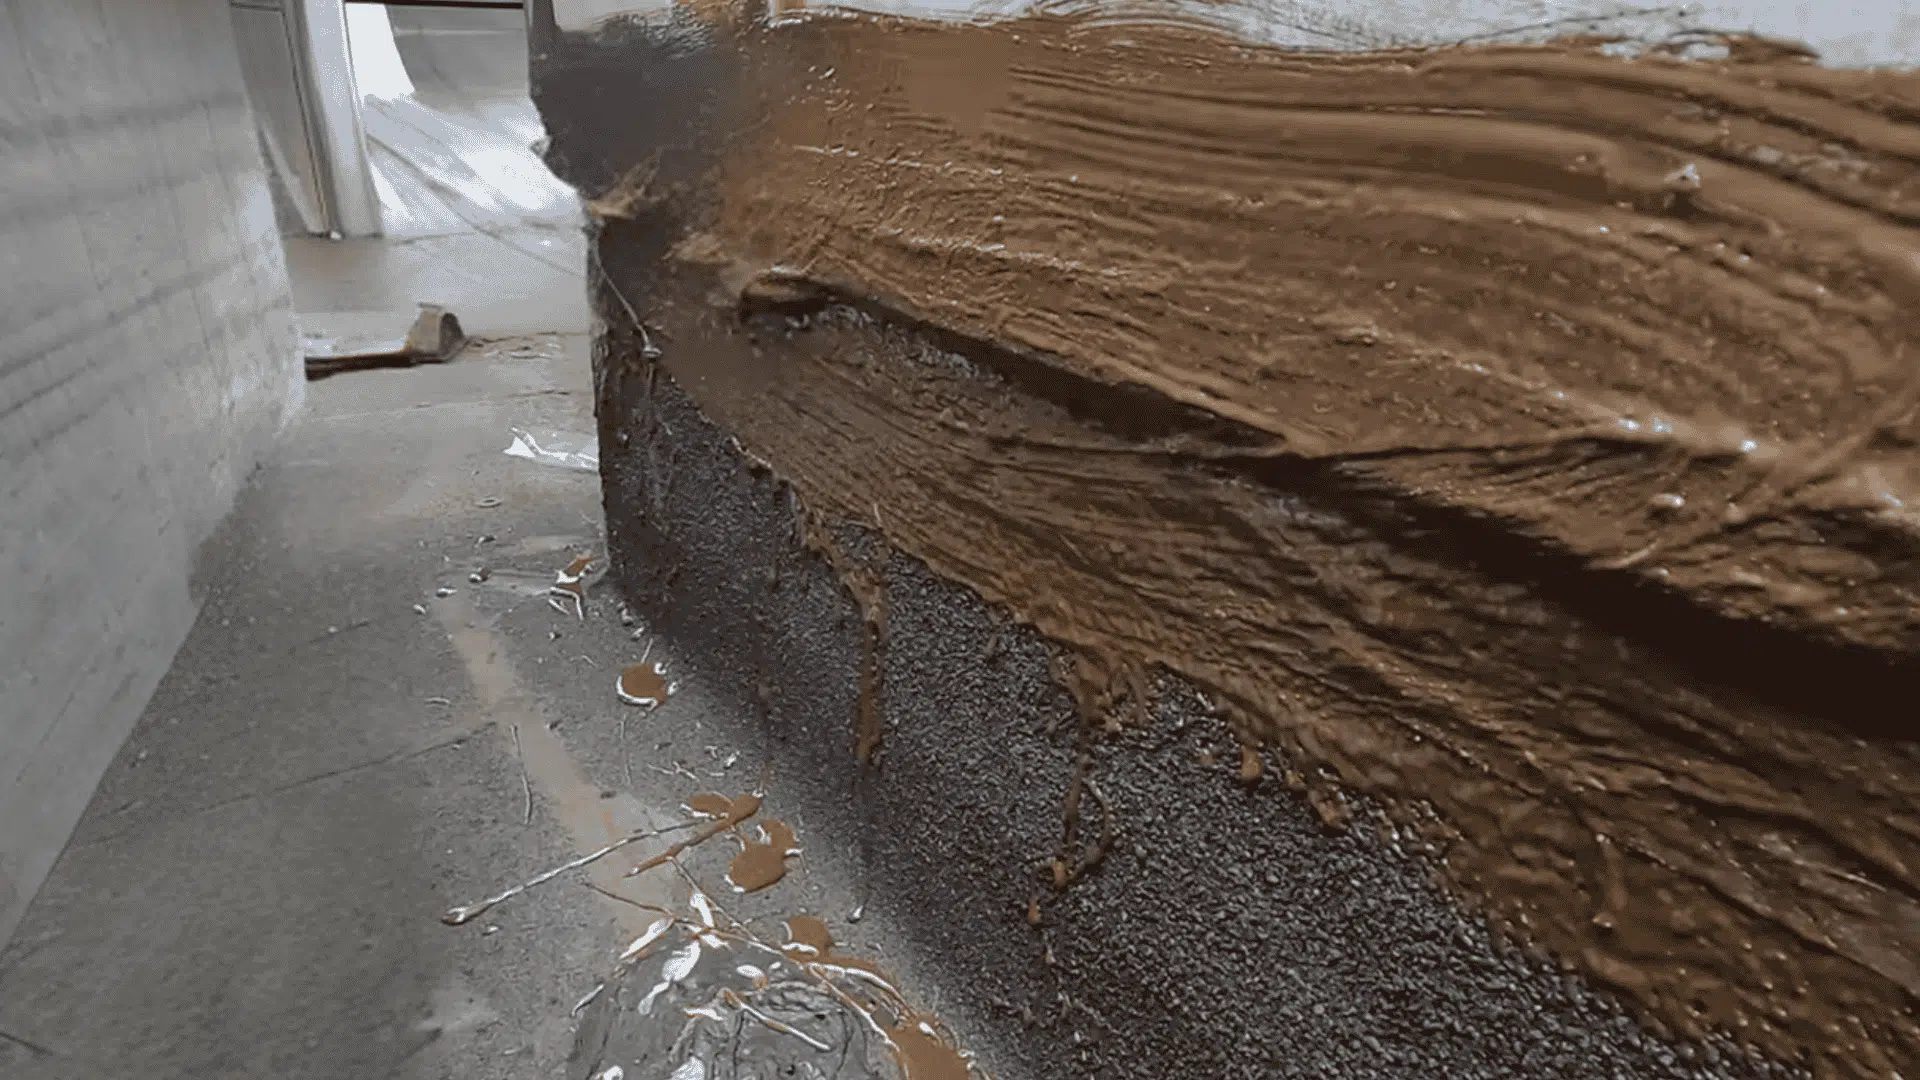
Step 6: Extend and Feather the Edges
Brush sealant past the edges to overlap undamaged areas. This overlap is critical; it prevents water from finding the repair’s edge. Extend at least 2-3 inches past the damage on all sides.
Feather out the edges smoothly. No hard edges should remain. This creates a gradual transition for water drainage.
Step 7: Allow Proper Curing
Don’t touch the repair for at least 24 hours. Check the product label for the exact cure time. Some products need 48 hours in cool or humid conditions.
Once cured, the sealant becomes waterproof and flexible. It will expand and contract with temperature changes. It won’t crack or dry out like old tar.
Once the repair has cured and passed a simple water test, you’ll have a strong, flexible seal that protects your roof and prevents future leaks.
Video Tutorial
I’d like to give credit to Flat Roof Doctor for their informative video, which served as a reference for this guide.
How to Maintain Flashing After a Repair?
Your repair is complete. Now protect your investment with simple maintenance.
Inspect your entire roof twice yearly. Spring and fall are ideal times. Look for new damage before it spreads. Early detection saves money.
Keep flashing clean and debris-free. Remove leaves and dirt regularly. Don’t let moss or algae grow. These trap moisture and cause decay.
Avoid using tar for touch-ups. Tar dries out and cracks like the original problem. If you need a touch-up, use the same liquid flashing method.
Monitor the repair over the first year. During heavy rains, check for leaks. Check your attic after storms. Most issues appear early if they’re going to occur.
In harsh climates, add a new protective layer every 5-7 years. Typically, resealing is recommended every 5-10 years. However, this can vary depending on the quality of the sealant, local climate, and roof condition. This is cheap insurance against future leaks.
Mistakes to Avoid While Repairing the Flashing
Avoiding common errors is key to successful flashing repair. Small mistakes create big problems months later. Learn what to watch for.
- Skipping Surface Preparation: Dirty or wet surfaces prevent liquid flashing from bonding properly. Always clean, dry, and prime (if needed) before applying any sealant.
- Applying Too Thin a Layer: A single, skim coat won’t hold. Liquid flashing needs enough thickness, about ⅛ inch, to embed the fleece and create a waterproof membrane.
- Not Extending the Repair Area Far Enough: Coverage must overlap undamaged roofing by at least 2–3 inches. Stopping short lets water sneak in at the edge of the repair.
- Forgetting to Stir the Product: Unmixed sealant separates in storage. Stir for 2–3 minutes to achieve a uniform consistency and strong adhesion.
- Rushing the Cure Time: Stepping on or exposing the repair too soon breaks the bond. Wait the whole curing period (24–48 hours) before foot traffic or rainfall.
These mistakes turn temporary fixes into permanent problems. Prevent failures by following all steps carefully and patiently waiting for proper curing before exposing repairs to the weather.
When to Call a Professional?
Call a professional when flashing damage is extensive, deeply corroded, or spread across multiple roof transitions. If sections are missing, bent, or pulling away from the roof, expert repair is the safer option.
Steep roofs, high areas, or locations near chimneys and skylights also require trained handling to avoid injury.
A professional can diagnose hidden leaks, ensure the repair lasts, and prevent future water intrusion. When in doubt, expert help protects both your home and your safety.
Closing Remarks
Most roof leaks come from failing flashing, not shingles. Flashing repair is doable for homeowners with the proper guidance.
Liquid flashing is the modern solution. It stays flexible and waterproof for years. Unlike old tar, it won’t crack or fail.
Your repair saves thousands compared to a complete roof replacement. One afternoon prevents months of water damage. Start with a thorough inspection today. Look for cracks and gaps. Follow the steps in this guide carefully.
Ready to stop that leak? Gather your materials and tackle this repair this weekend. Address flashing leaks promptly. Water damage grows fast. Act today and protect your home tomorrow.