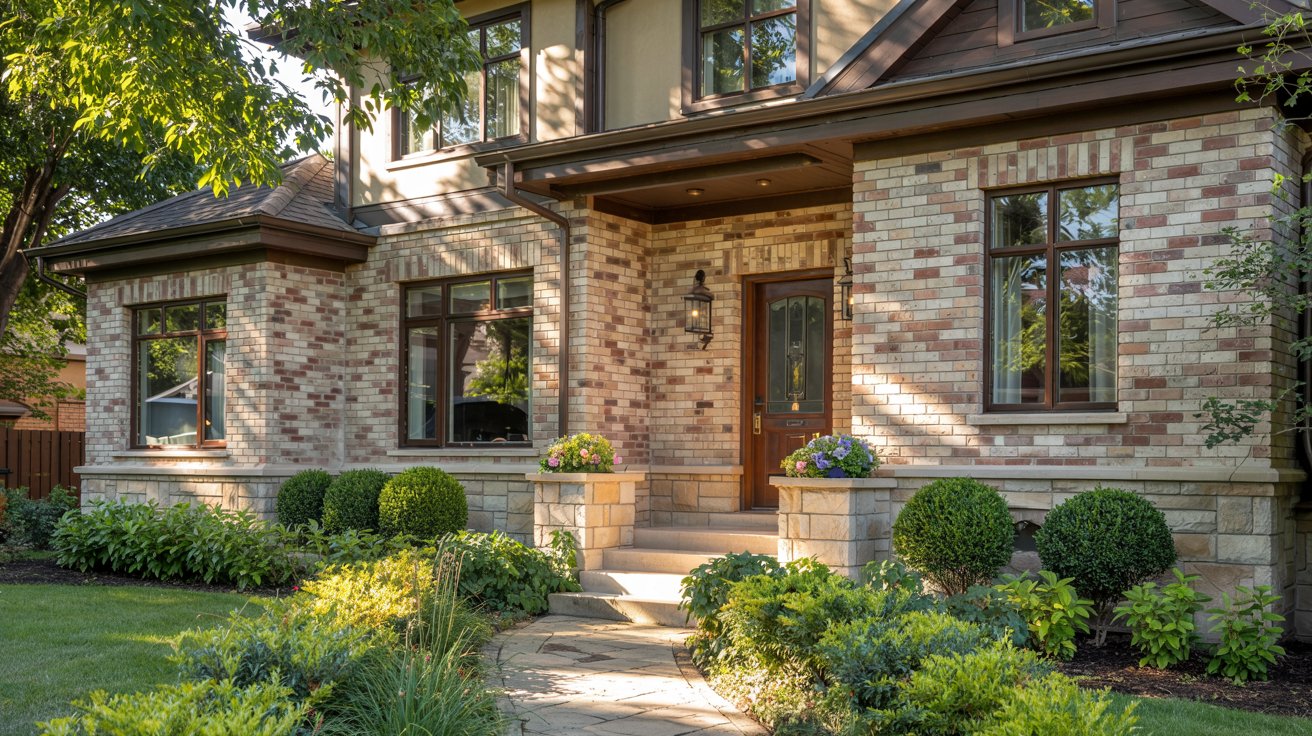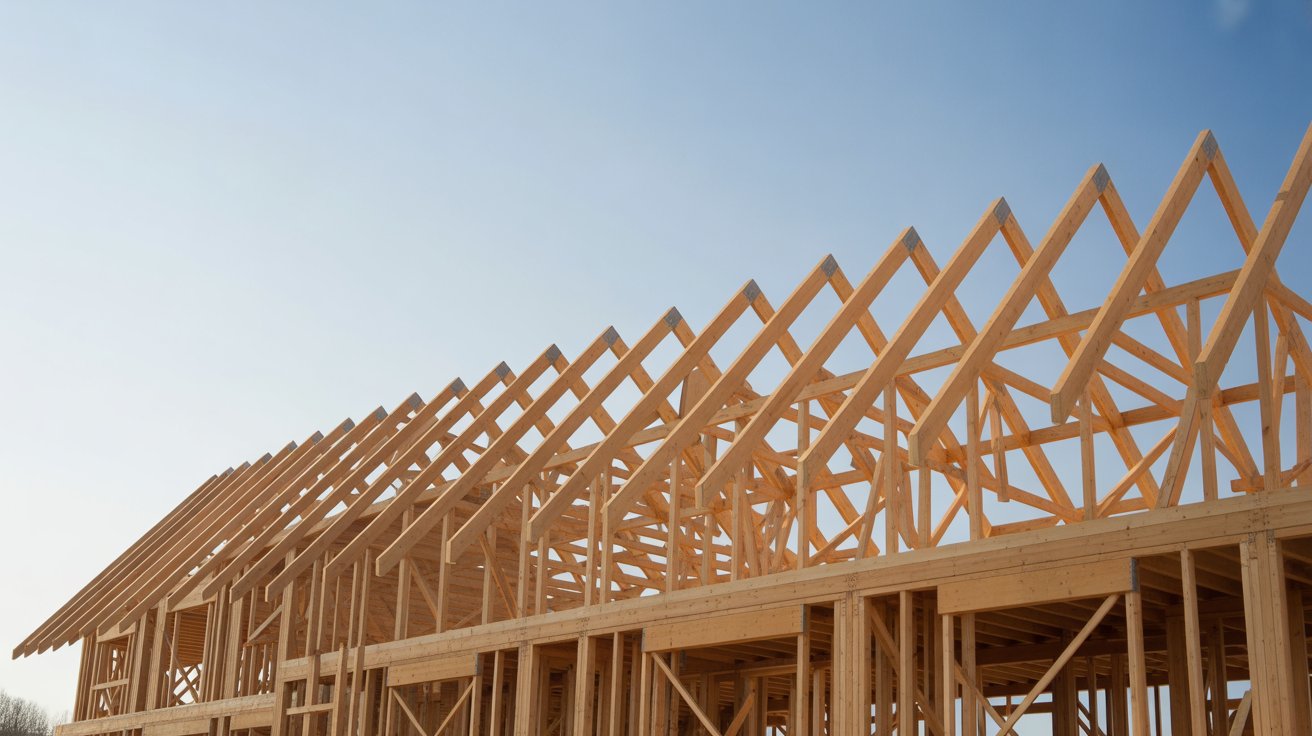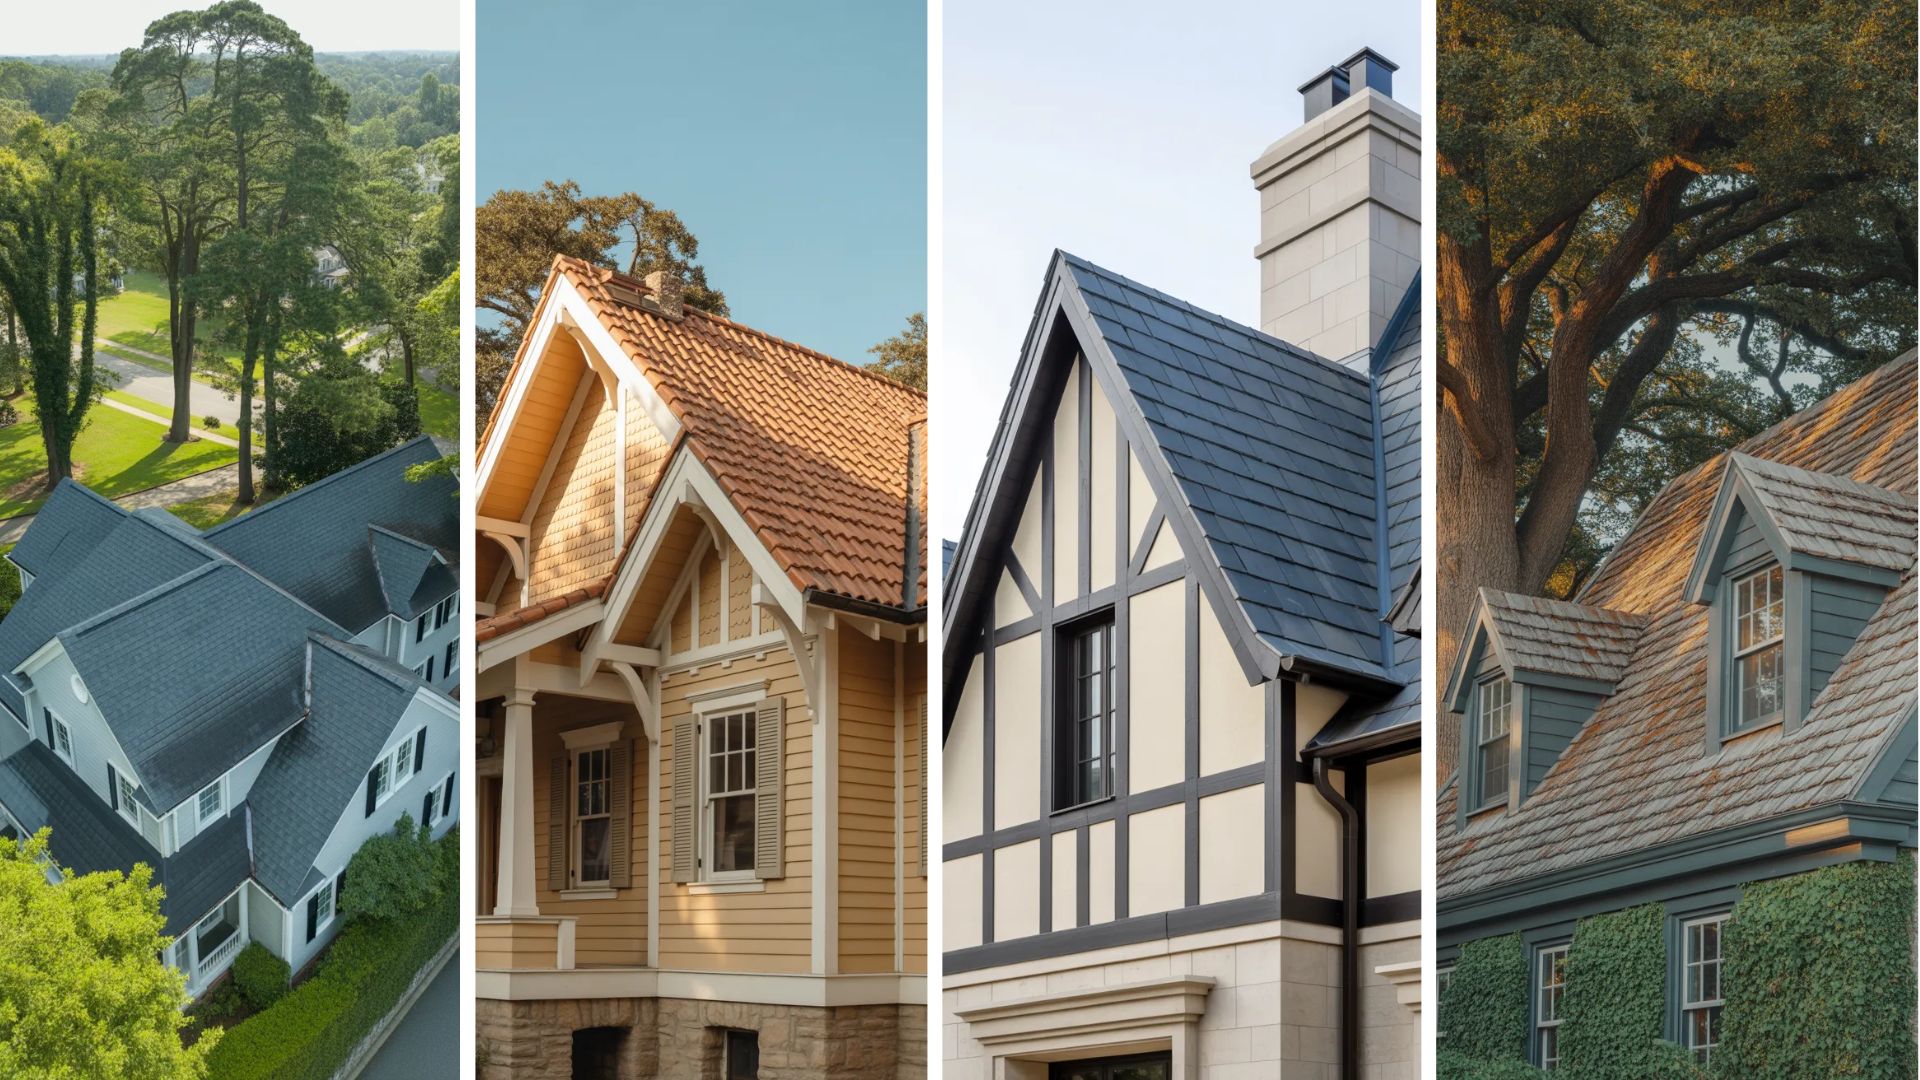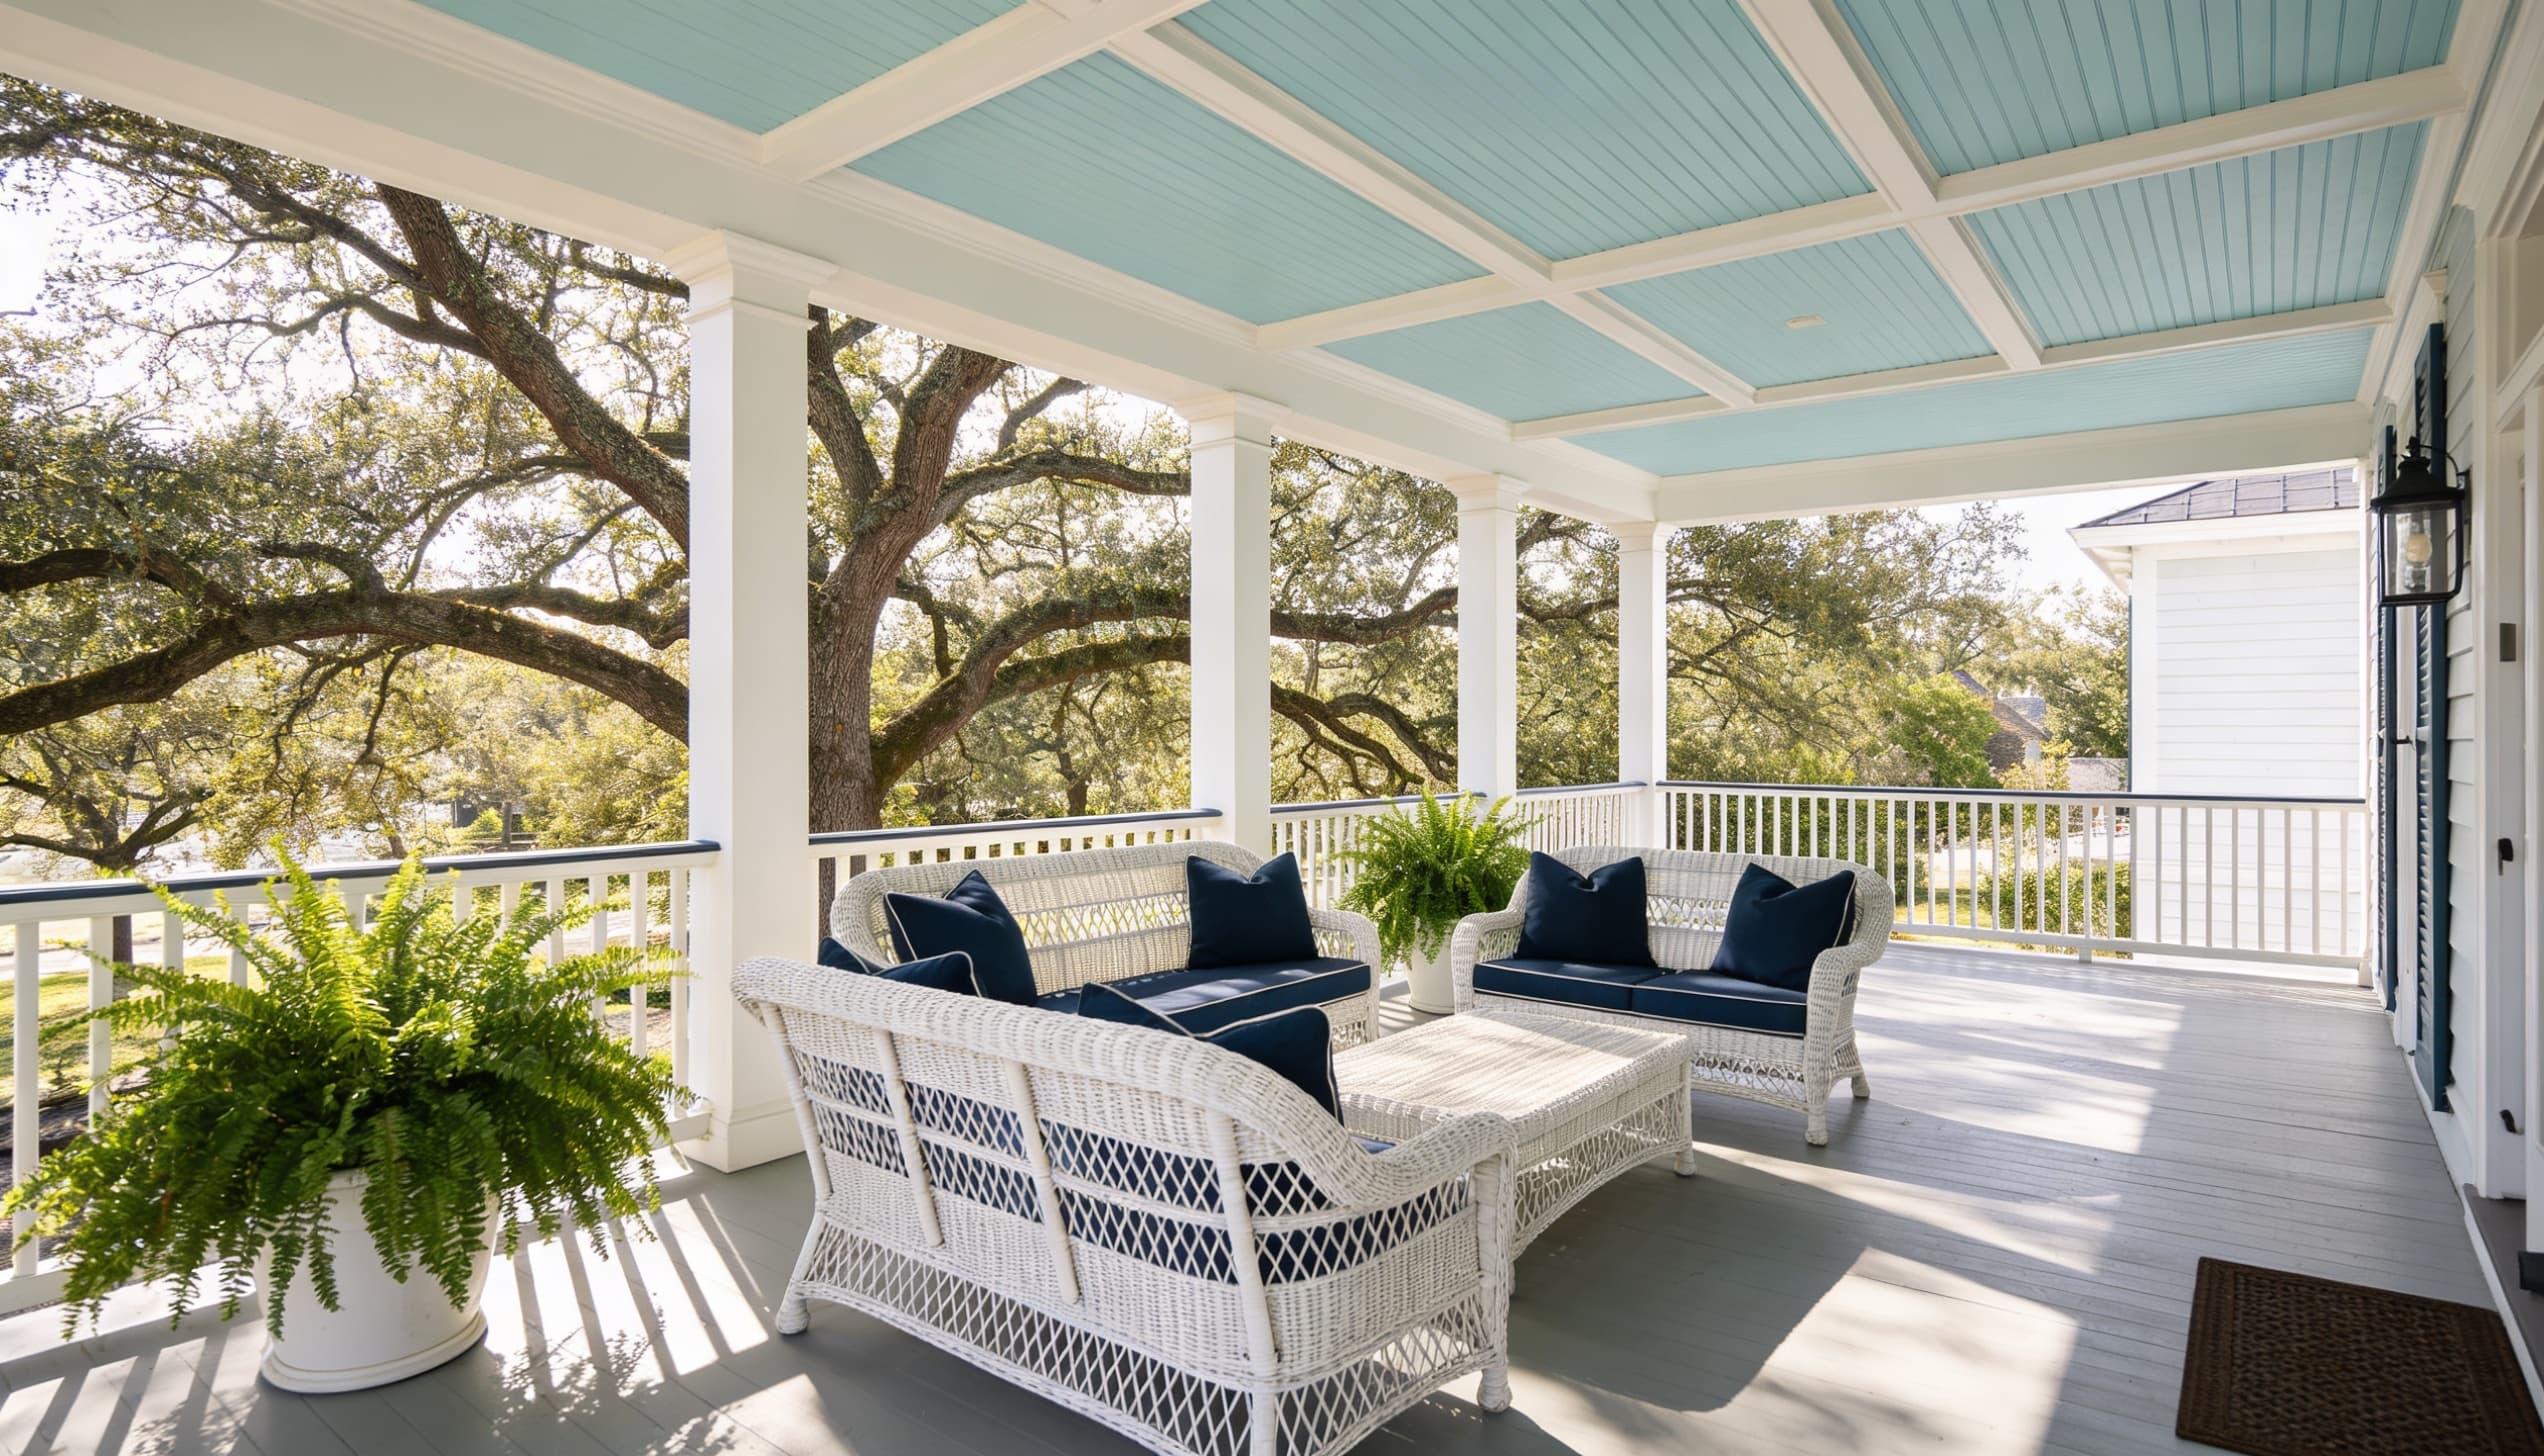
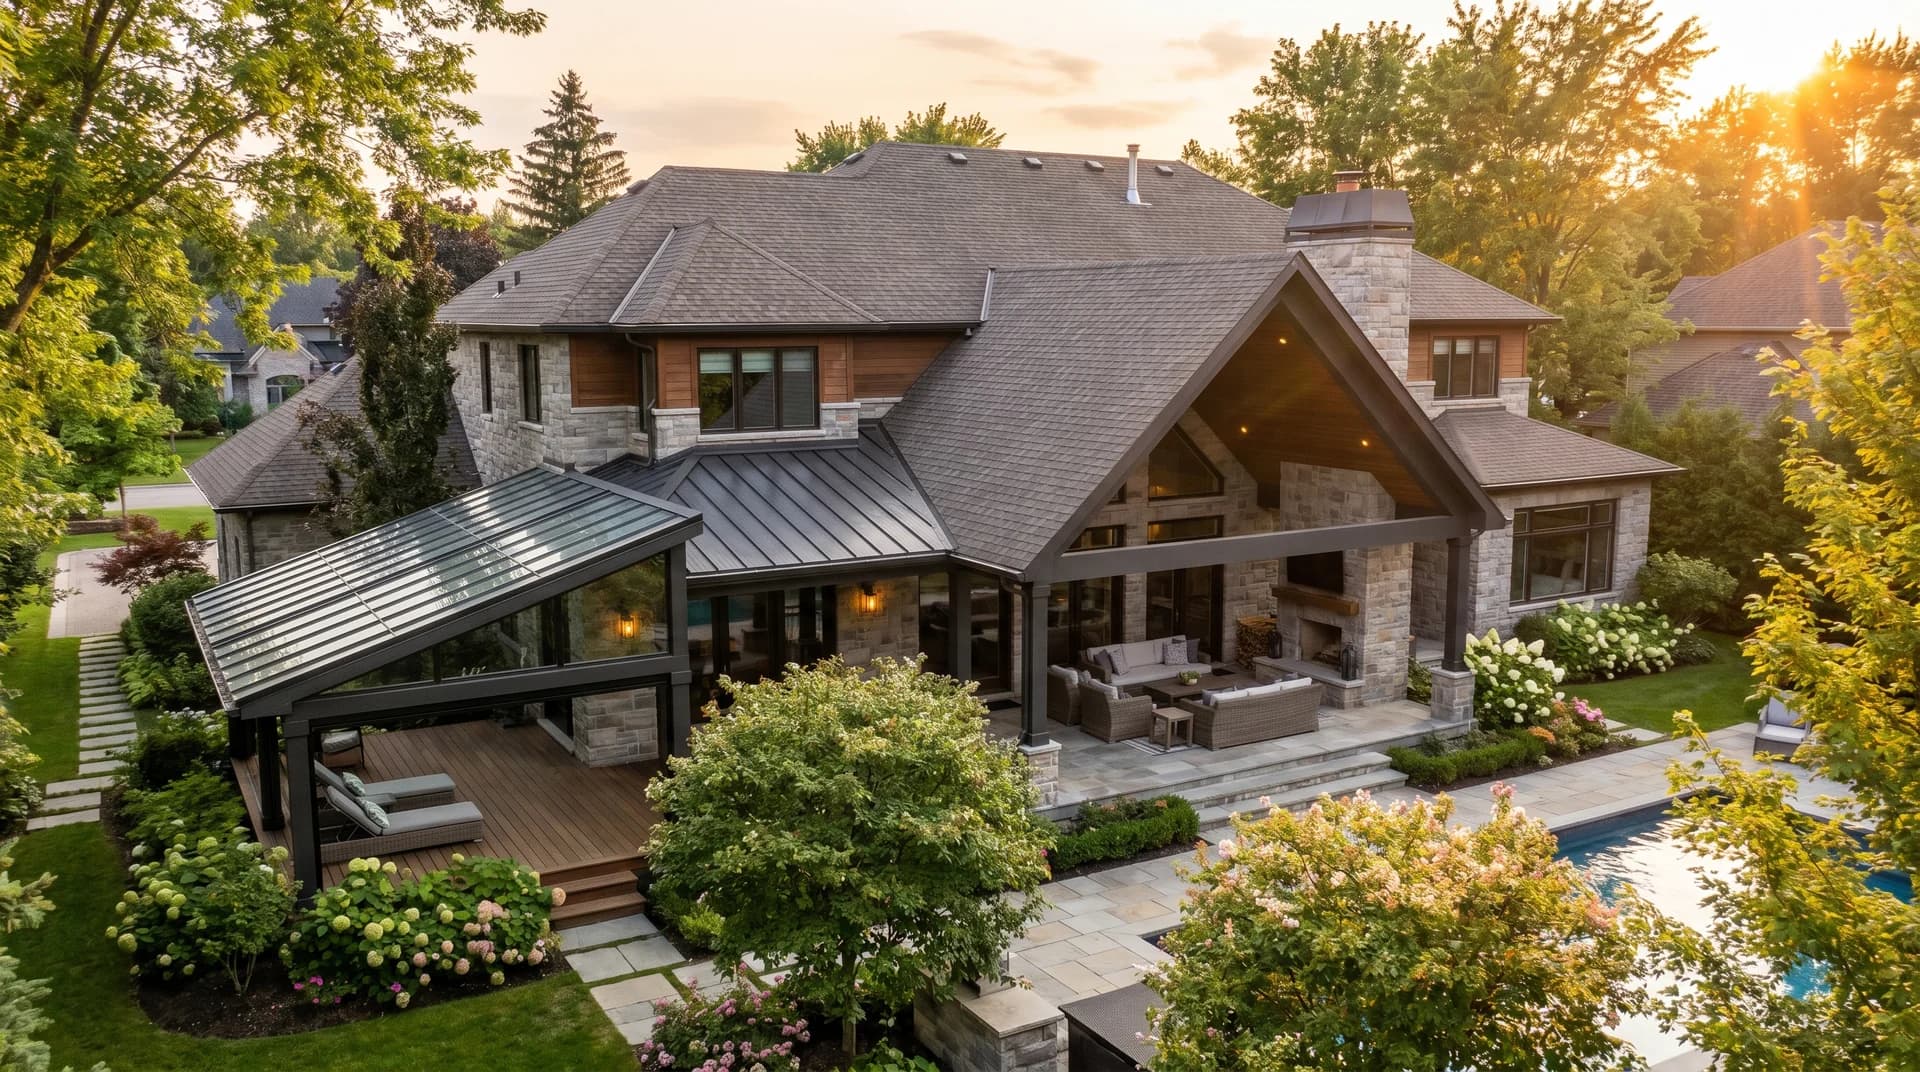
Need more usable space without the cost of a full room addition? A roof extension solves that problem directly.
The right design connects to your existing roofline. It creates covered areas for patios, decks, kitchens, and outdoor living zones. Done well, it adds functional square footage and raises property value. Done poorly, it leaks, looks out of place, and fails inspection.
This post covers popular roof extension ideas. Each section includes the trade-offs, common material choices, and what to watch for at the planning stage. Permit basics and a full planning breakdown are at the end.
Use the sections below to find the design that fits your home, climate, and budget.
What Is a Roof Extension and Why Consider One?
A roof extension adds a covered structure to your existing home. It connects to your current roofline and
A roof extension adds a covered structure to your existing home. It connects to your current roofline and creates extra space without building entirely new walls. Think of it as stretching your roof outward to cover patios, decks, or other outdoor areas.
Owners choose roof extensions for three main reasons:
- More usable space
- Better weather comfort
- Higher property value
Before starting any project, check local building codes. Most areas require permits for structural changes to your roof. Knowing the rules upfront prevents delays and unexpected costs.
10 Popular Roof Extension Designs and Styles
Not every design suits every home. Your choice depends on your existing roof pitch, how you plan to use the new space, your local climate, and your budget. Here are 10 roof extension designs used in residential projects across the U.S., with the key trade-offs for each.
1. Pitched Roof Extension
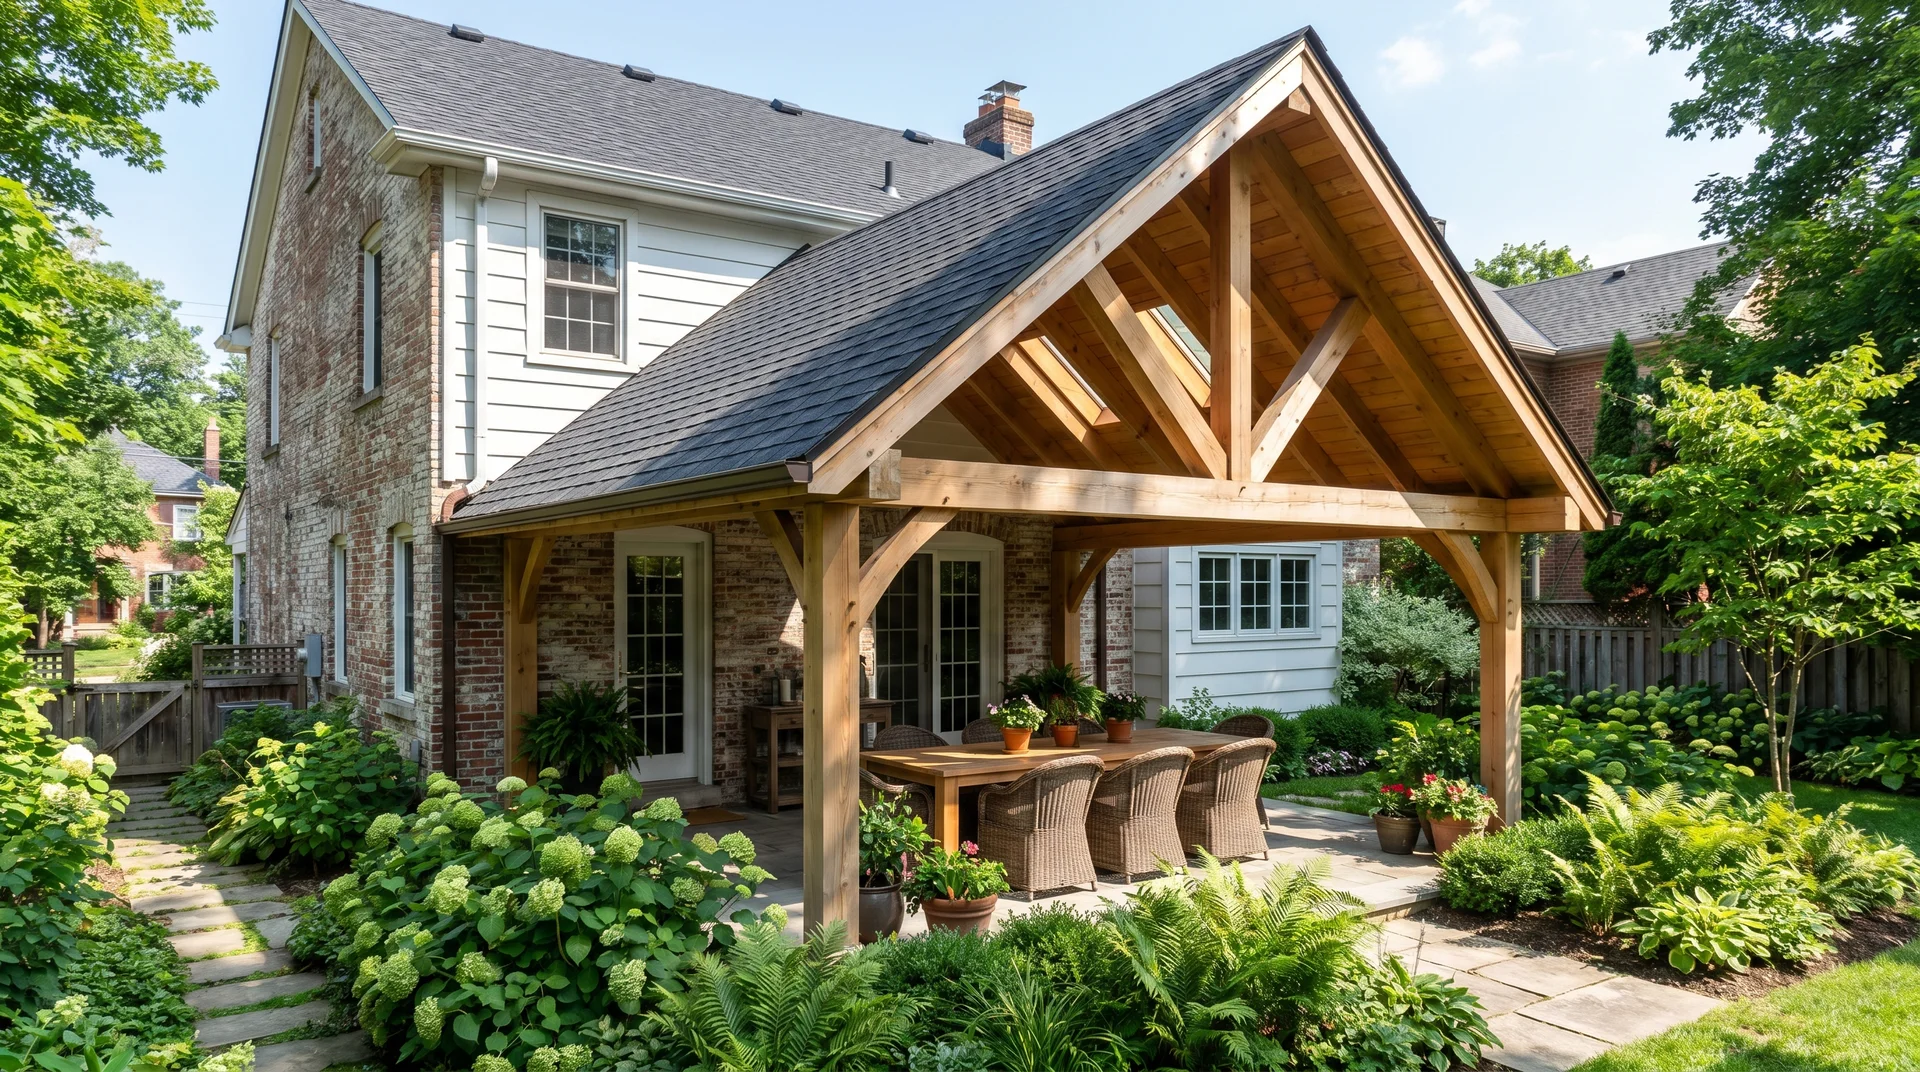
A pitched roof extension uses angled slopes that match your home’s existing roof angle. This design works well with traditional and contemporary homes.
Key benefits:
- Water drains naturally, reducing leak risks
- Fits with gable or hip roofs
- Provides height for better air circulation
- Classic look that holds up over time
2. Flat Roof Extension
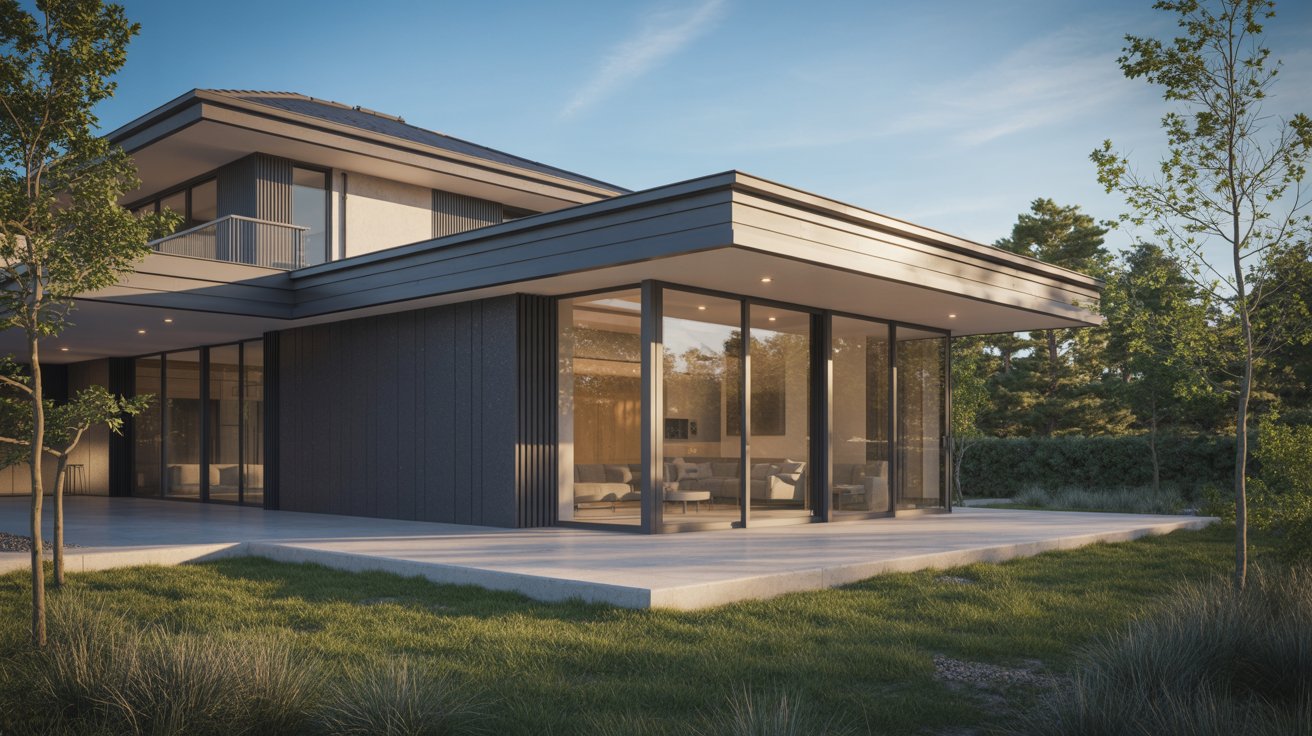
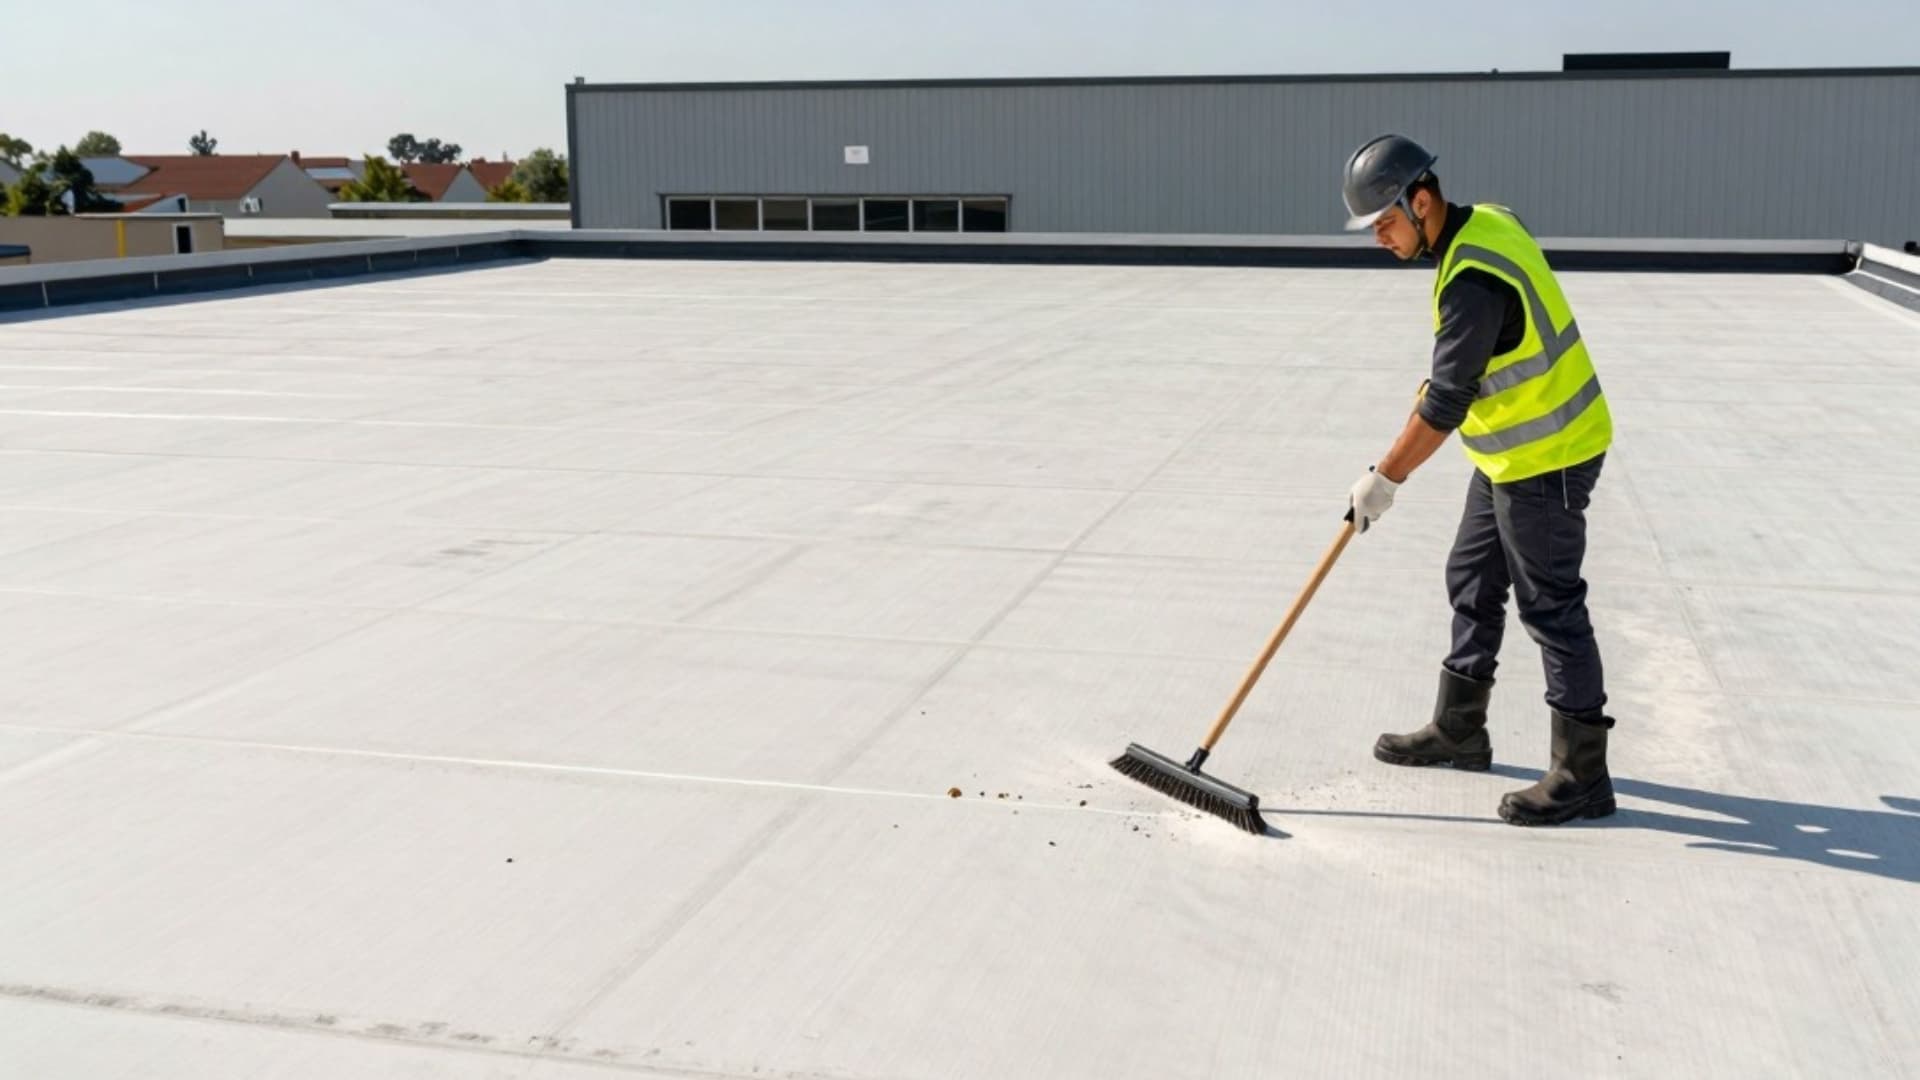
Flat roof extensions have a modern, minimalist look. These roofs carry a slight slope, usually 1 to 2 degrees, for drainage. Modified bitumen roofing and EPDM rubber are the two most common material choices for flat extensions.
Why this style works:
- Lower construction costs: simpler framing needs less material
- Accessible surface for inspections and repairs
- Clean lines suit contemporary architecture
- Roof space can become a rooftop terrace or garden
3. Skillion / Lean-To Roof Extension
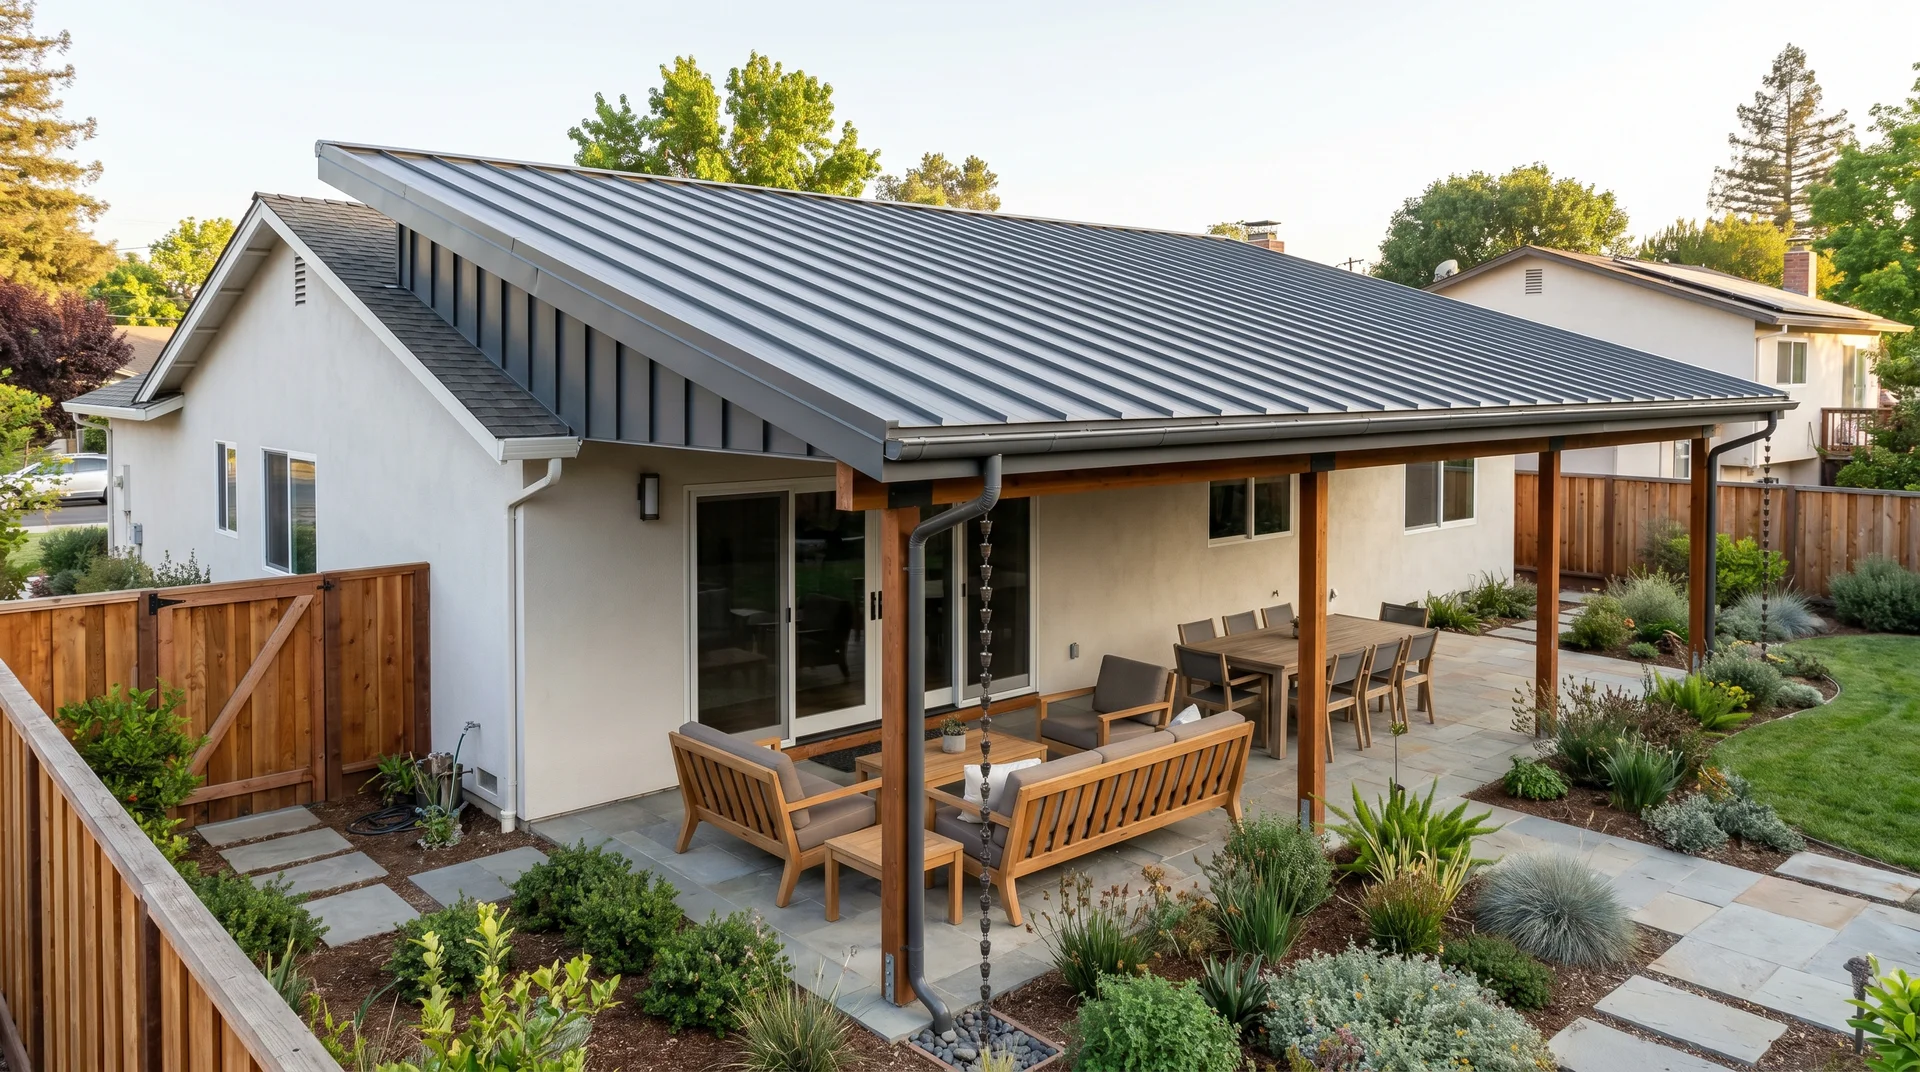
A skillion roof has a single sloped surface. One end attaches high on your existing wall, slanting down to create a covered area below. This design is also called a lean-to.
Practical advantages:
- Simple construction
- Excellent rain runoff
- Lower cost than most other designs
- Works well for narrow side returns and patios
4. Cantilevered Roof Extension
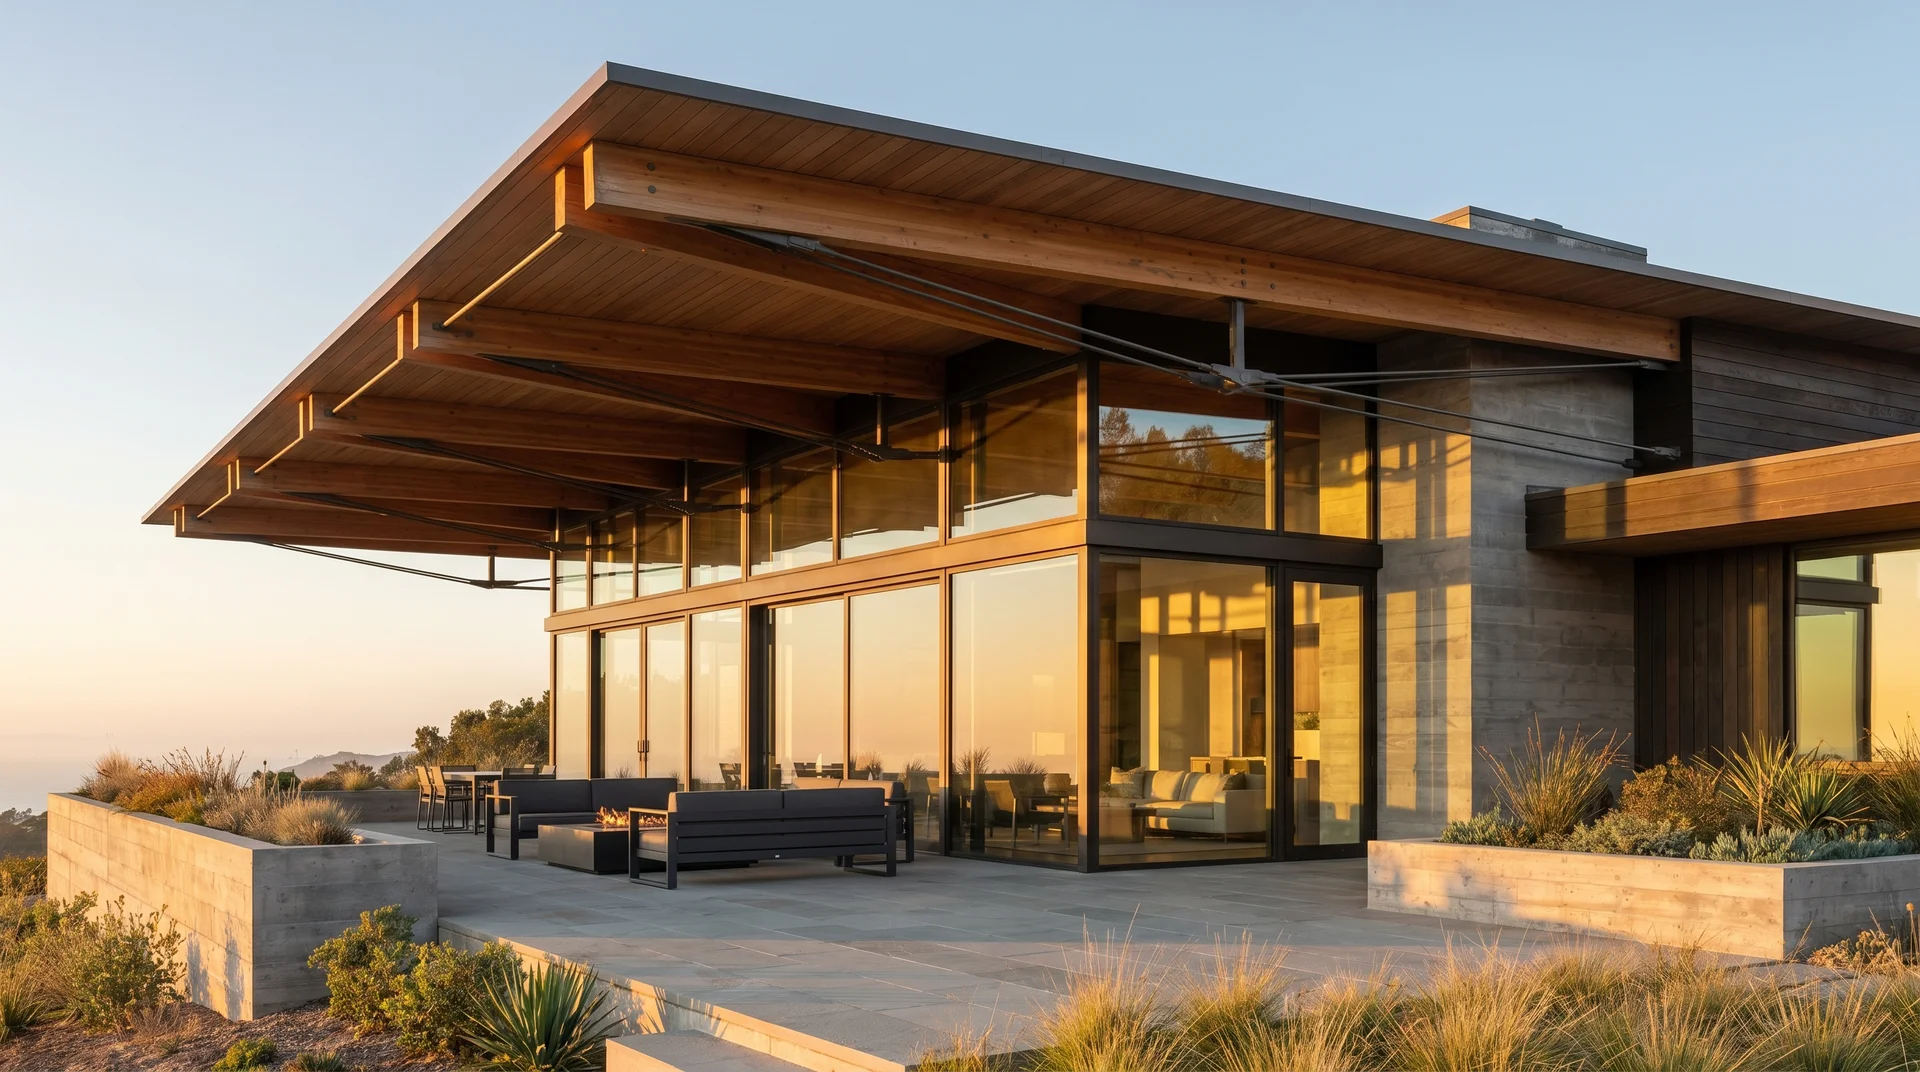
A cantilevered roof extends outward without visible support posts underneath. Strong beams anchor into your home’s frame, creating a floating appearance.
What makes this design work:
- Open space with no obstructing columns
- Bold, architectural look
- Maximizes usable floor area
- Creates sheltered zones without posts
5. Deck or Porch Roof Extension
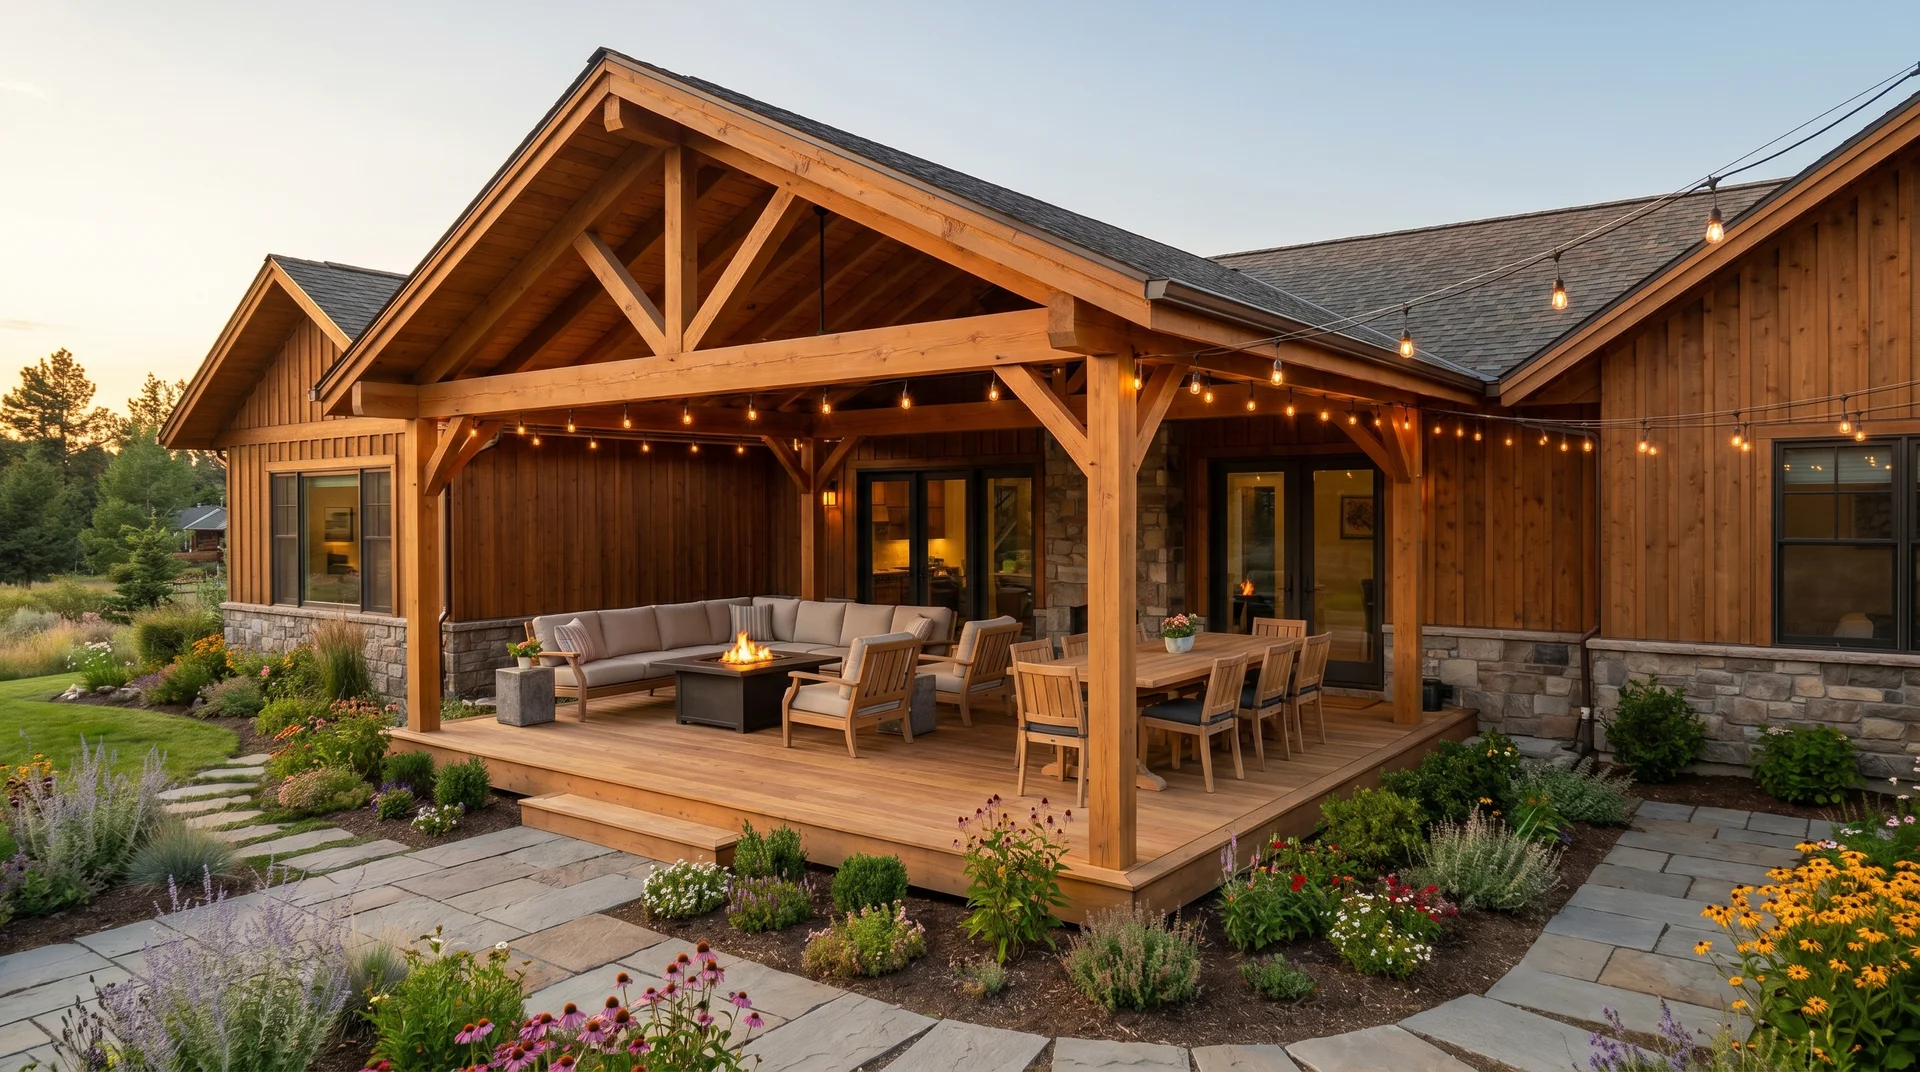
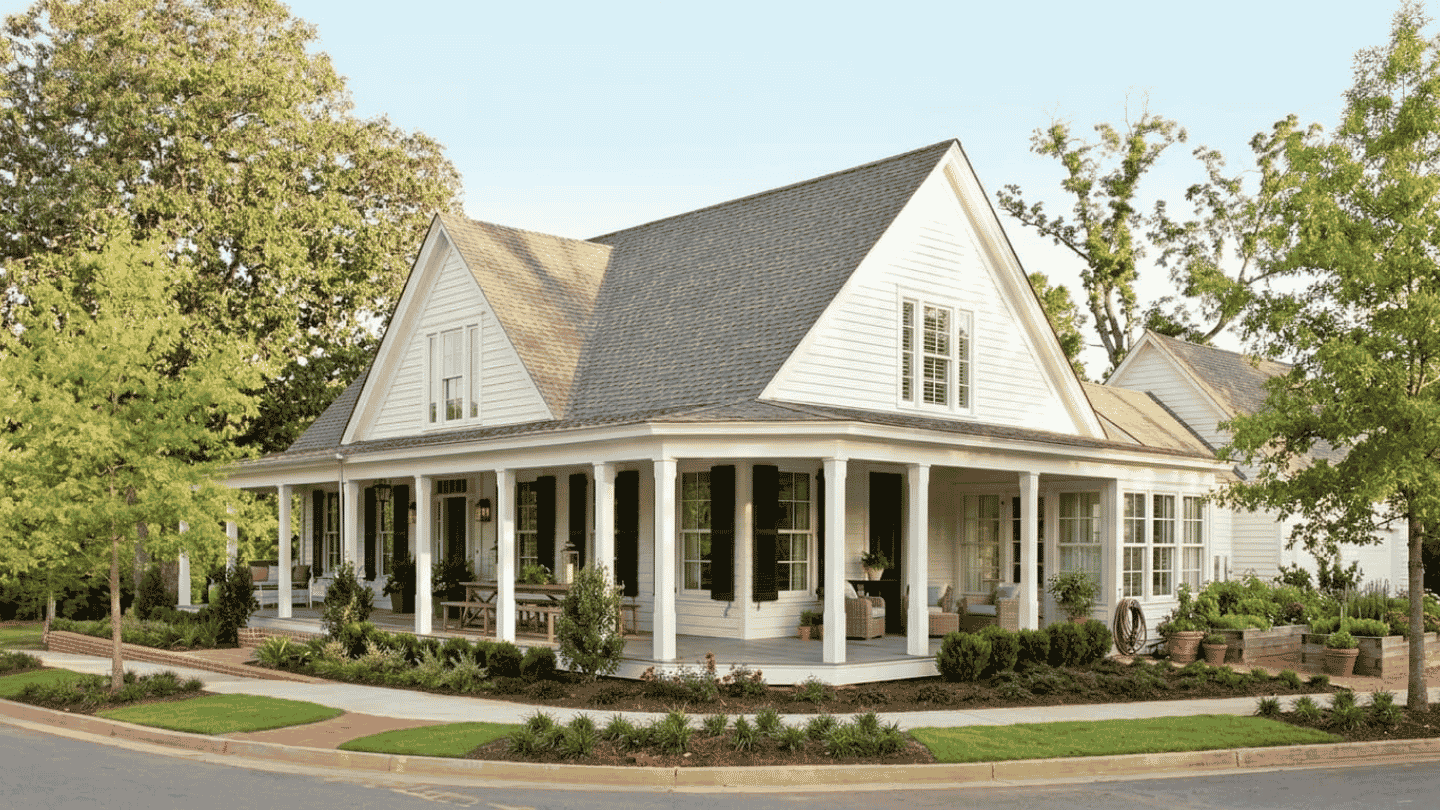
Adding a roof over your deck converts an open outdoor space into a weather-protected room. This design suits back decks, front porches, and side patios equally well.
Common applications:
- Back deck coverage: protects furniture and creates all-weather dining areas
- Front porch roofs: add curb appeal and a sheltered entryway
- Side patios: expand usable square footage without a full room addition
- Veranda extensions: connect multiple outdoor zones
Before committing to the roof structure above, consider whether a deck or patio would better suit your outdoor layout. That decision shapes how the whole project comes together.
6. Glass / Polycarbonate Roof Extension
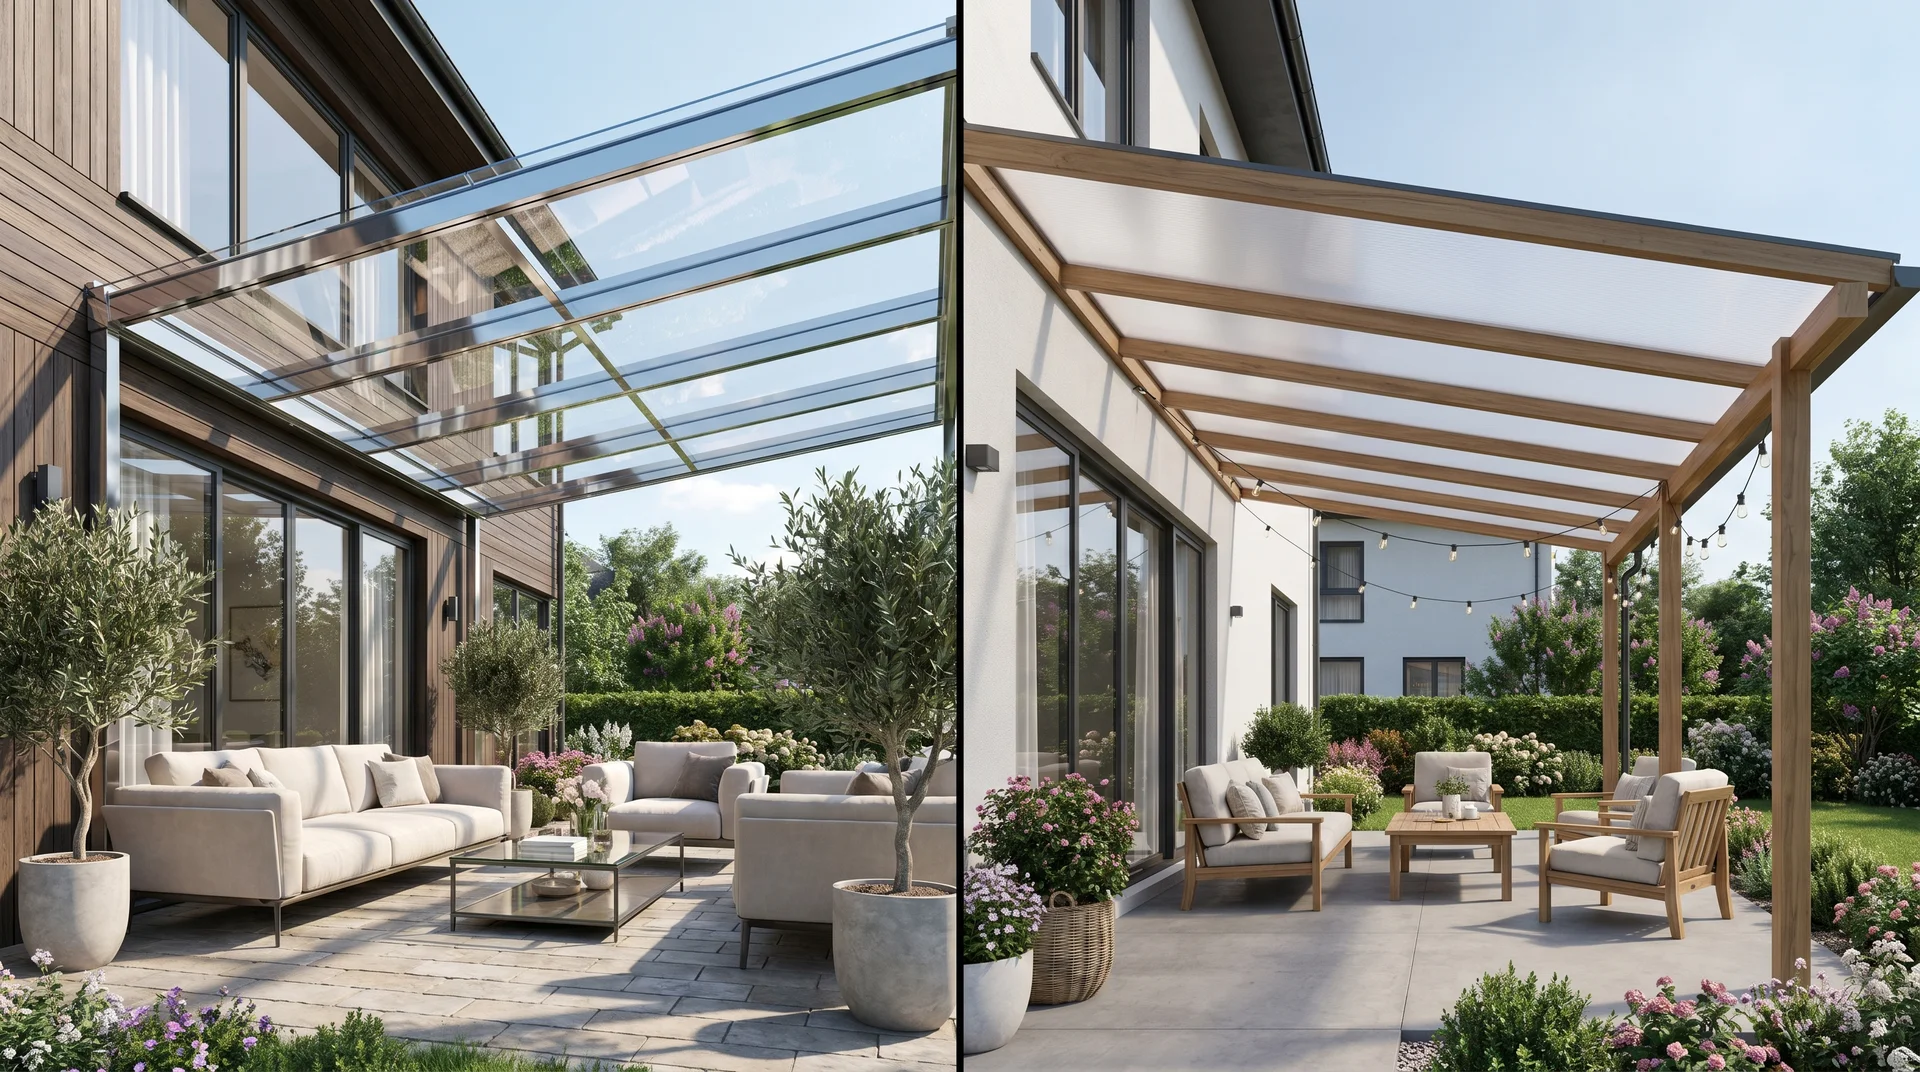
Glass or polycarbonate roofs let natural light flood your covered area while providing weather protection. These materials suit sunrooms, garden rooms, and kitchen extensions.
| Feature | Glass | Polycarbonate |
|---|---|---|
| Clarity | Crystal-clear | Slightly diffused |
| Weight | Heavier | Lighter |
| Insulation | Standard | Better thermal performance |
| Cost | Higher | More affordable |
| Impact resistance | Lower | Higher |
7. Green or Garden Roof Extension
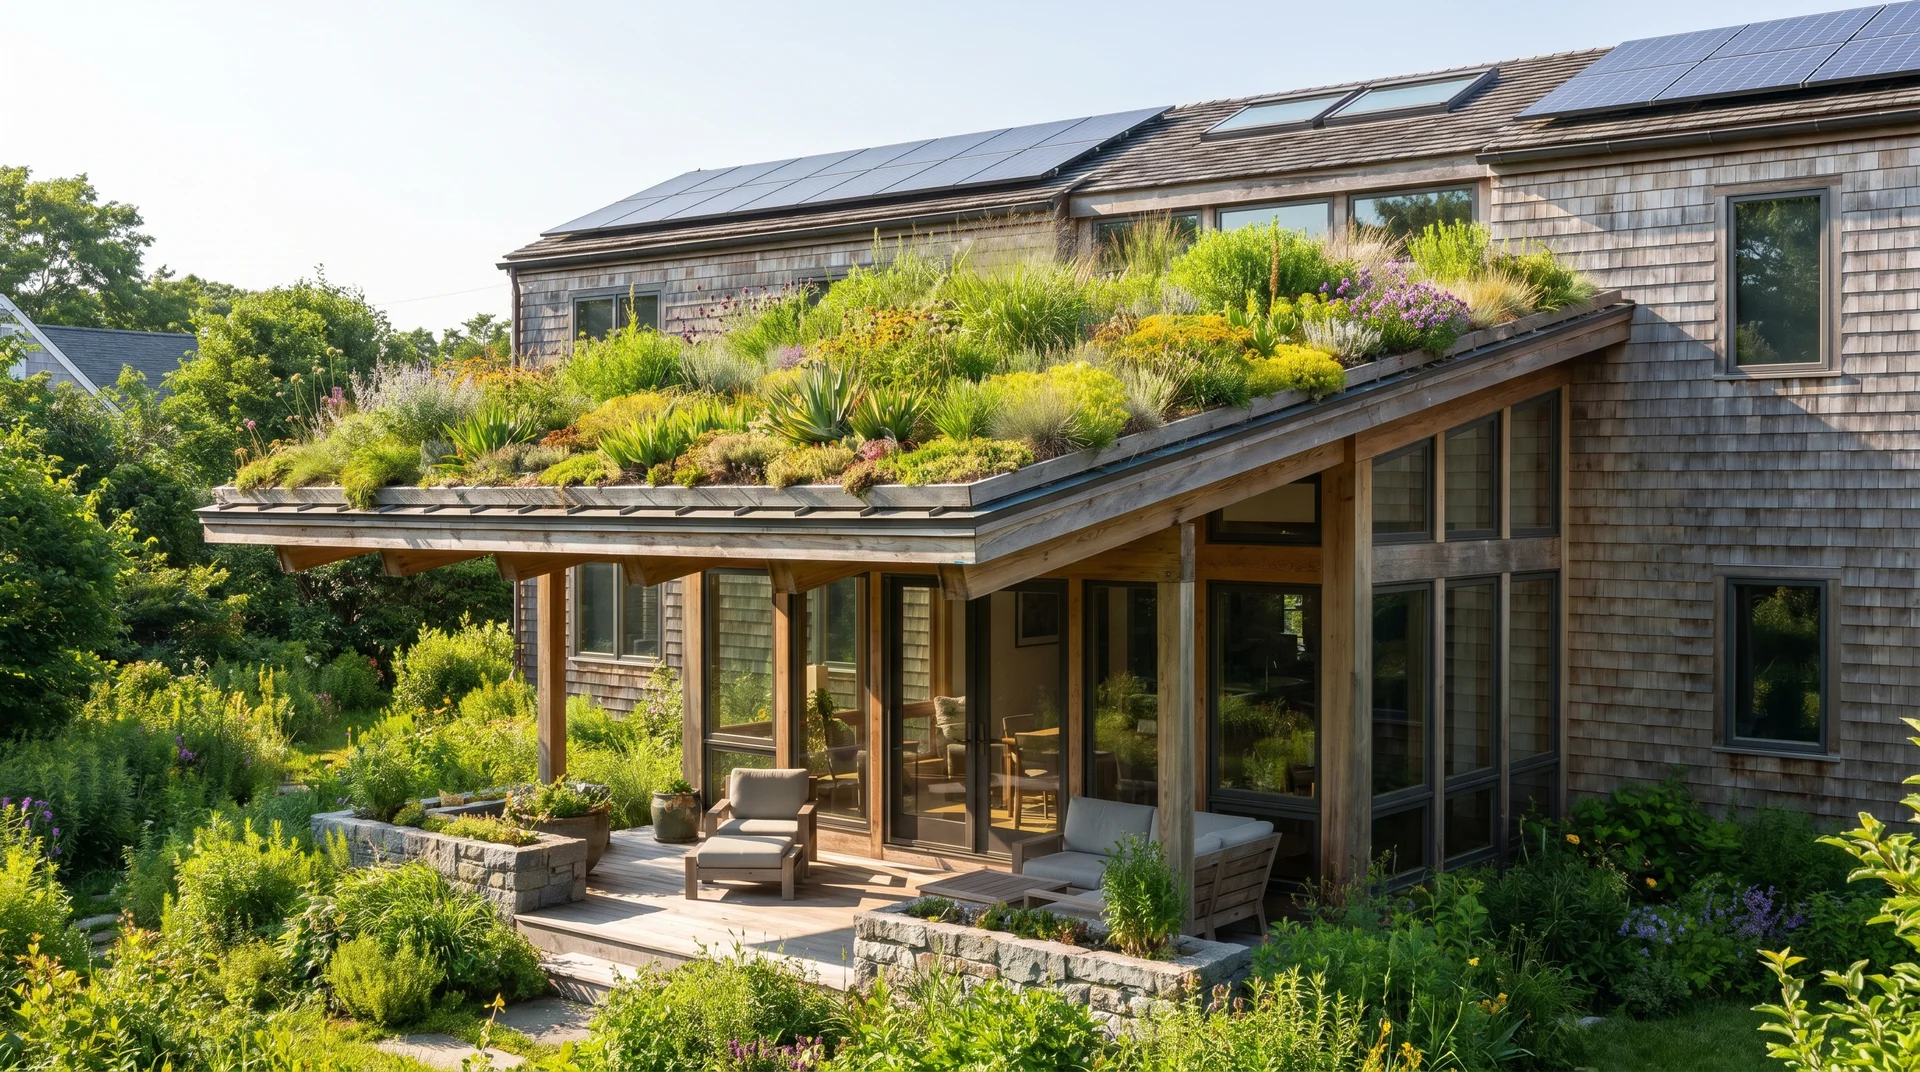
A green roof extension grows living plants on top of the structure. This option works well where drainage, insulation, and visual character are all priorities.
Why it works:
- Soil and plants regulate temperature naturally
- Vegetation absorbs rainwater, reducing runoff
- Plants filter air pollutants
- Supports local wildlife and pollinators
- Creates a distinctive, nature-focused look
8. Metal Roof Extension
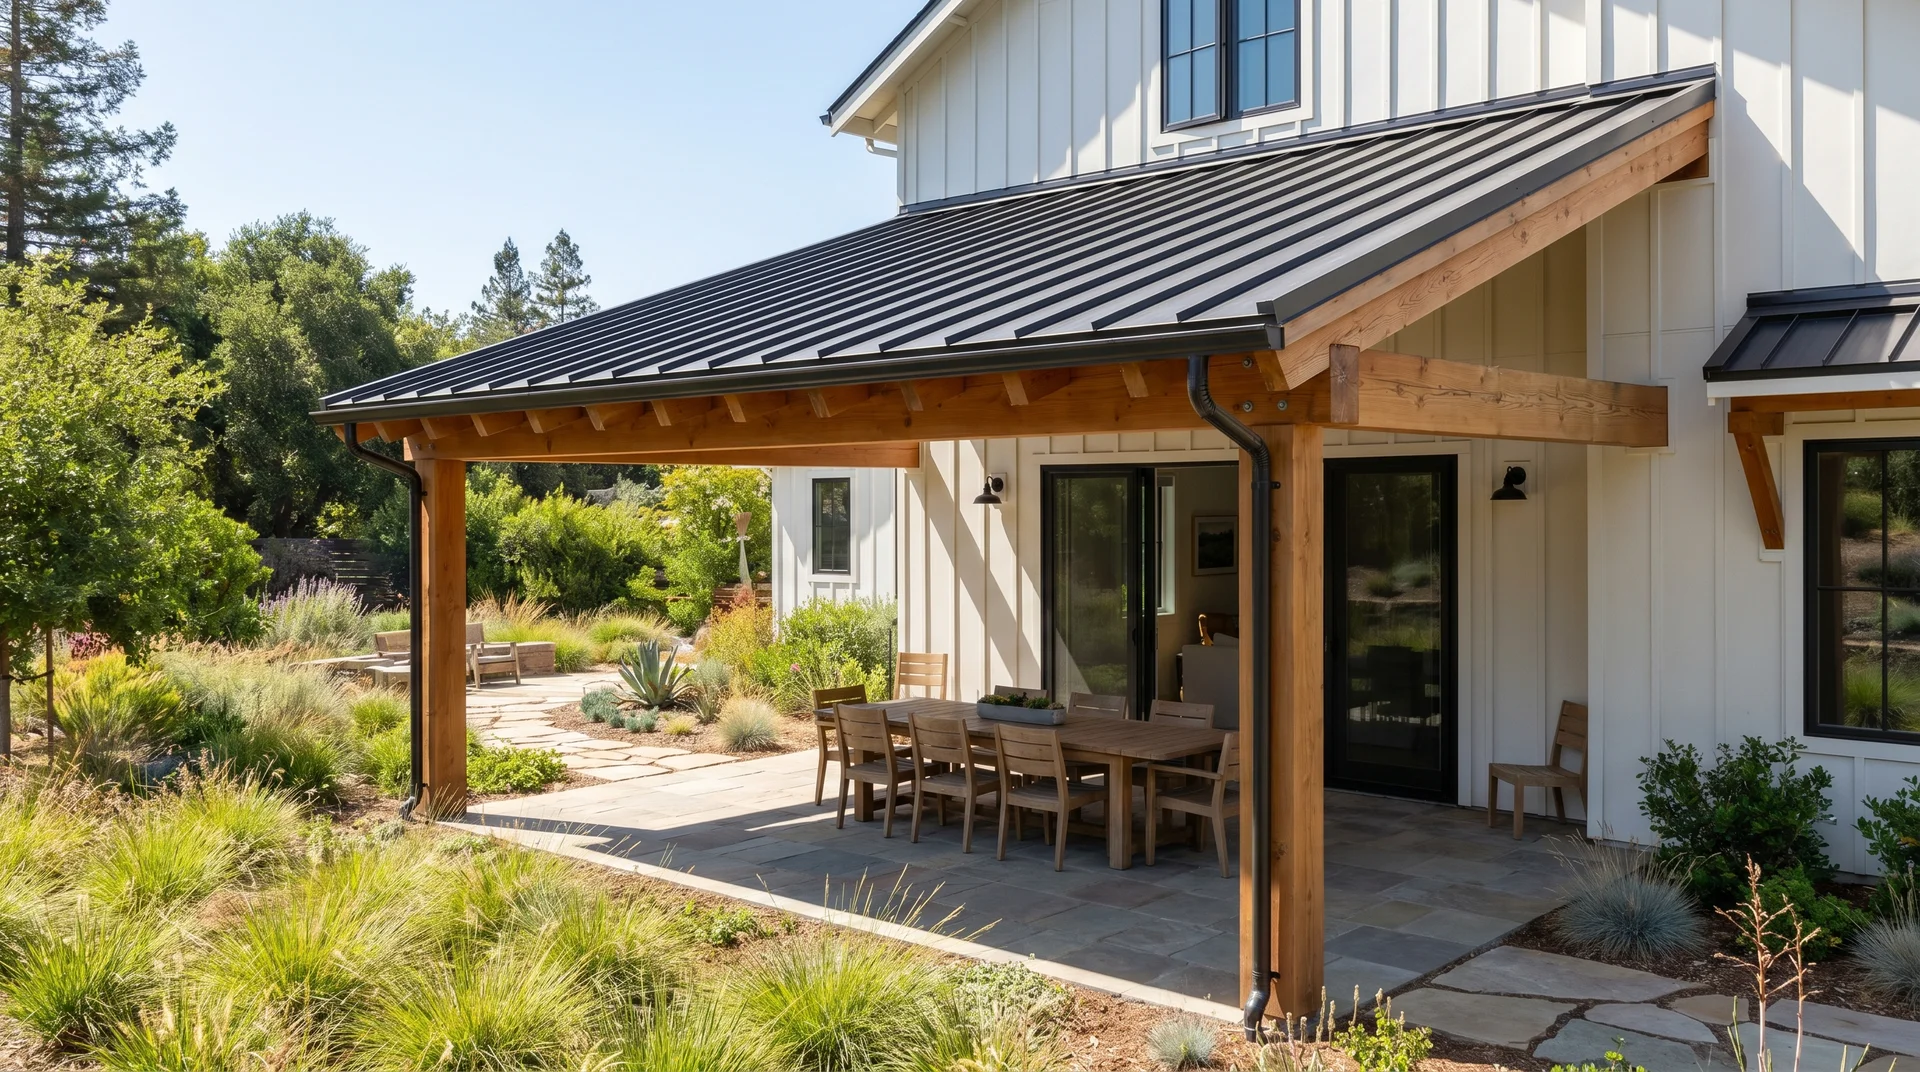
Metal roofing provides long-term durability and a clean, modern look. Steel, aluminum, or copper panels hold up well against heat, wind, hail, and heavy rain.
Key advantages:
- Lasts 40 to 70 years with minimal maintenance
- Handles high winds, heavy snow, and hail
- Non-combustible material
- Reflective coatings reduce heat absorption
- Light enough for most existing structures
9. Gable Roof Extension
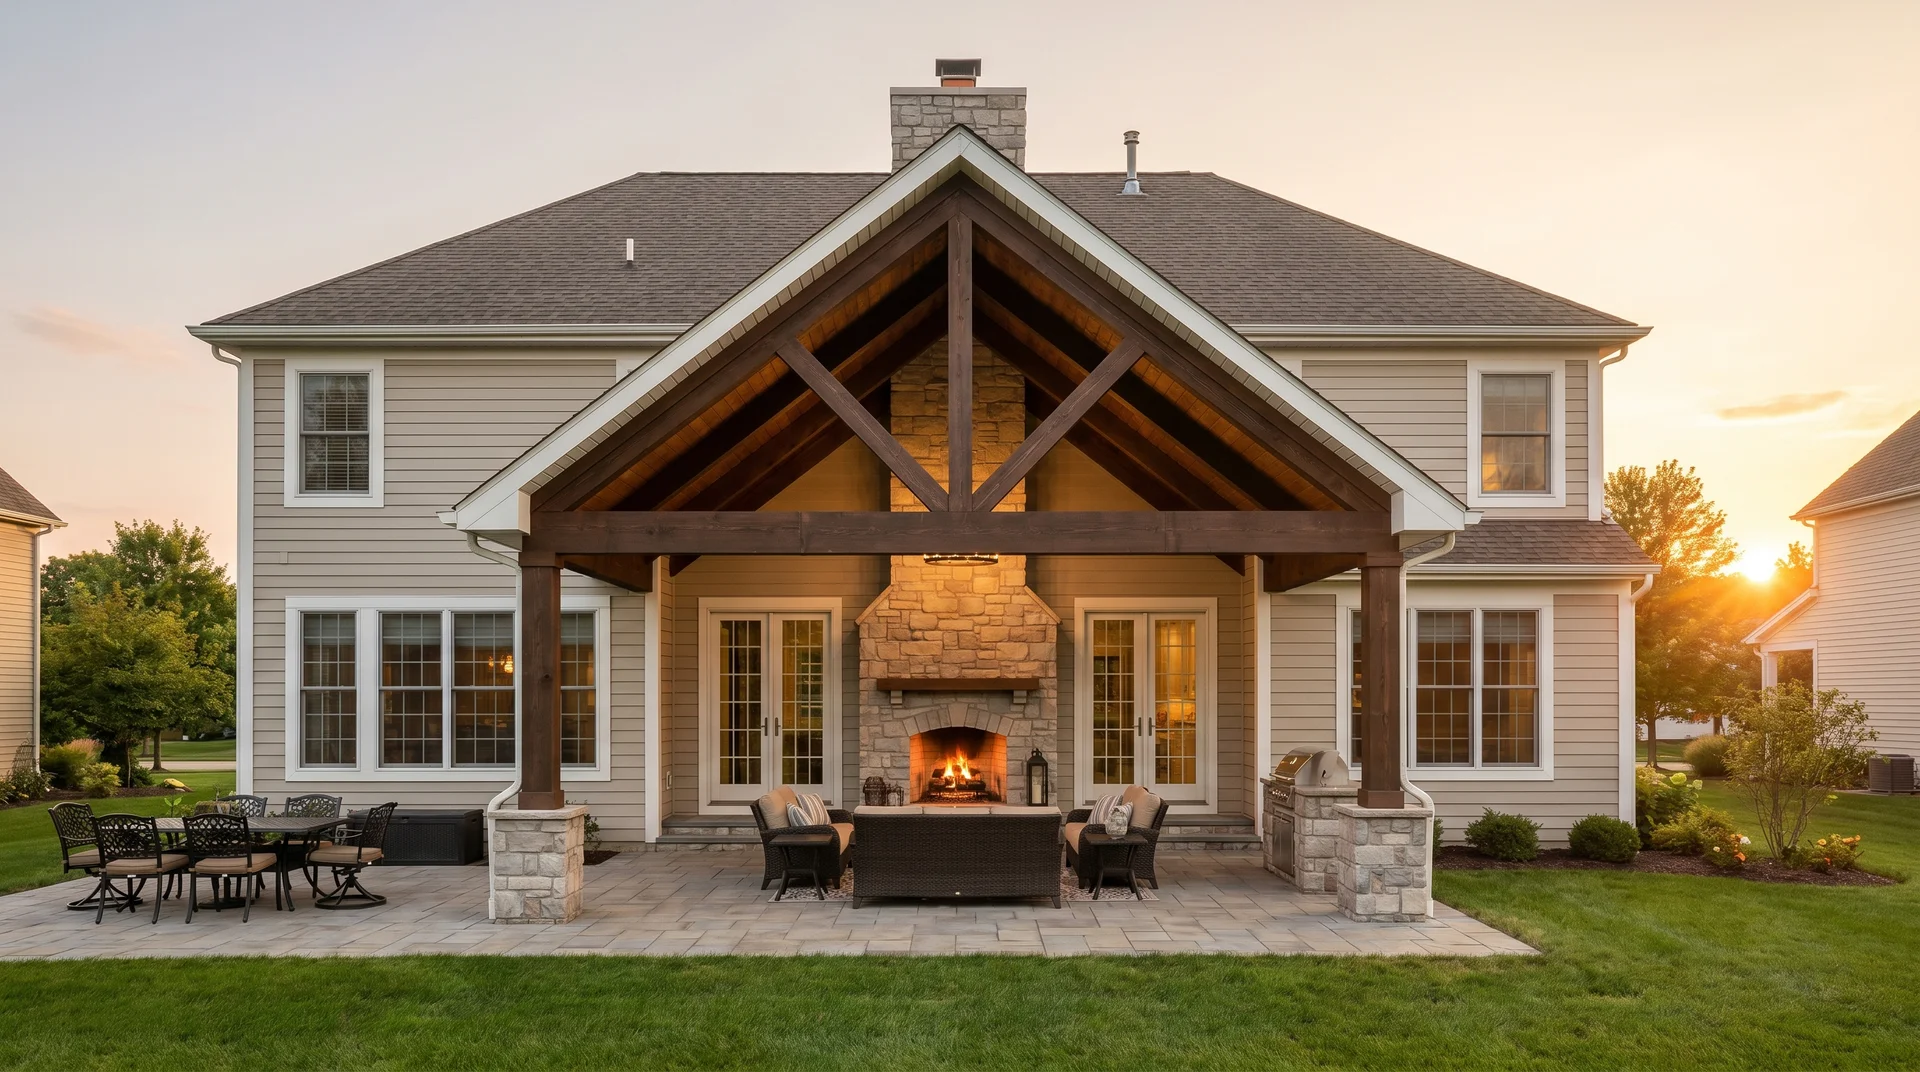
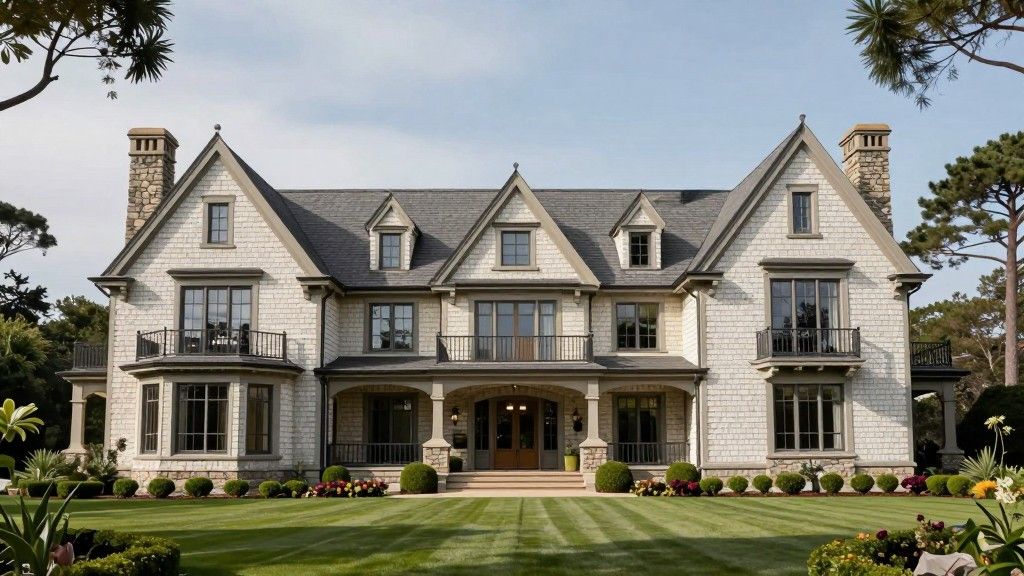
A gable roof extension has two sloped sides meeting at a central ridge. This triangular profile suits traditional home styles and creates strong water runoff on both sides.
Benefits:
- Excellent water runoff
- Increased attic space underneath
- Strong wind resistance when properly braced
- Classic appearance that suits most architectural styles
10. Hip Roof Extension
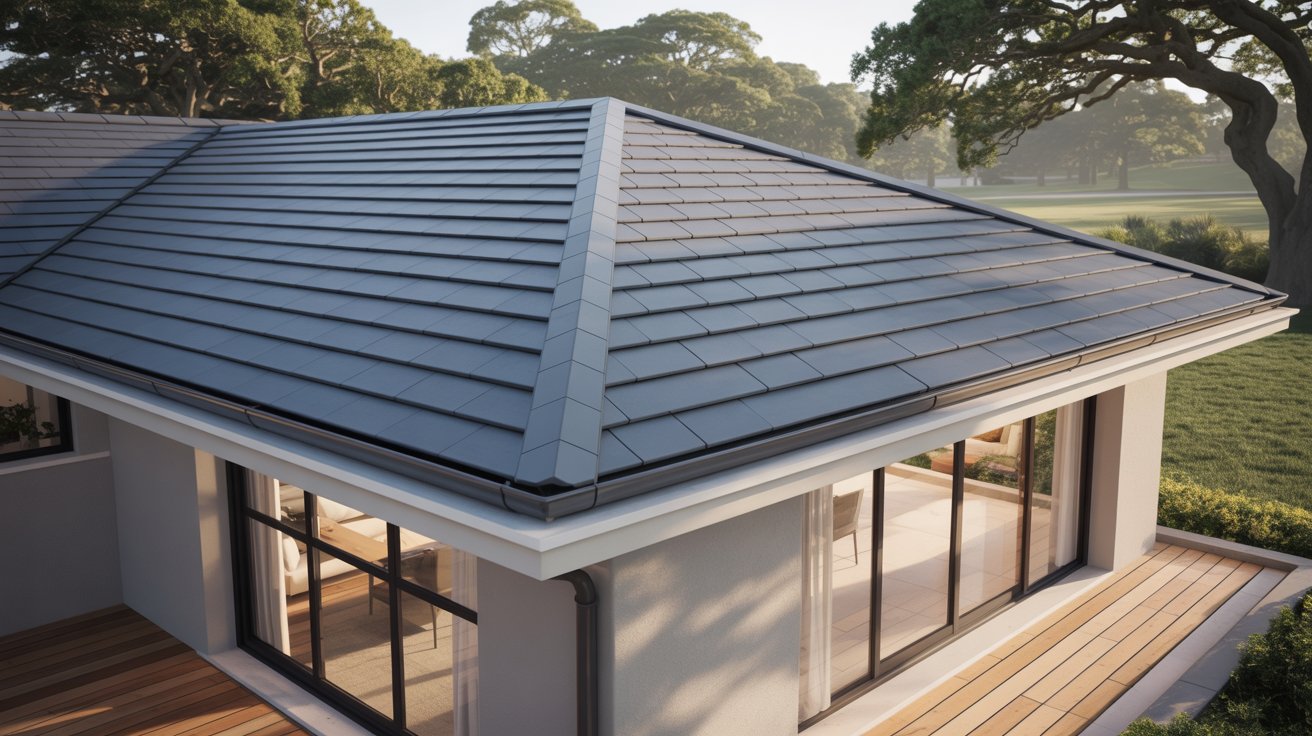
Hip roofs slope on all four sides, with no vertical gable ends. All sides meet at the top ridge or at a central point.
Why this design holds up well:
- Superior wind resistance
- Even weight distribution across the structure
- No gable-end maintenance required
- Balanced appearance that suits most home styles
With the right design in place, a roof extension opens up a world of creative possibilities for how you can use and enjoy your outdoor spaces.
Roof Extension Cost Breakdown
The design you choose has a direct impact on your total project cost. Here is what each type typically runs across U.S. residential projects, based on size, materials, and local labor rates.
| Roof Extension Type | Average Cost Range | Key Cost Factor | Typical Build Time |
|---|---|---|---|
| Lean-To / Skillion | $8,000–$15,000 | Low framing complexity | 1–2 weeks |
| Flat Roof | $10,000–$18,000 | Membrane type and drainage | 2–3 weeks |
| Pitched or Gable | $12,000–$25,000 | Matching the existing pitch | 3–5 weeks |
| Hip Roof | $14,000–$22,000 | Four-sided framing | 4–6 weeks |
| Cantilevered | $15,000–$30,000 | Structural beam engineering | 4–6 weeks |
| Metal Roof | $12,000–$20,000 | Panel type and span width | 2–3 weeks |
| Glass or Polycarbonate | $20,000–$40,000 | Glazing spec and support structure | 4–8 weeks |
| Green or Garden Roof | $18,000–$35,000 | Drainage layers and planting depth | 4–6 weeks |
Estimates based on typical U.S. residential project costs. Final pricing varies by region, site conditions, and contractor rates. Always request itemized quotes before committing.
Creative Ways to Use a Roof Extension
A roof extension isn’t just extra cover; it’s an opportunity to expand your living space in fun and functional ways.
1. Extend Your Outdoor Living Space
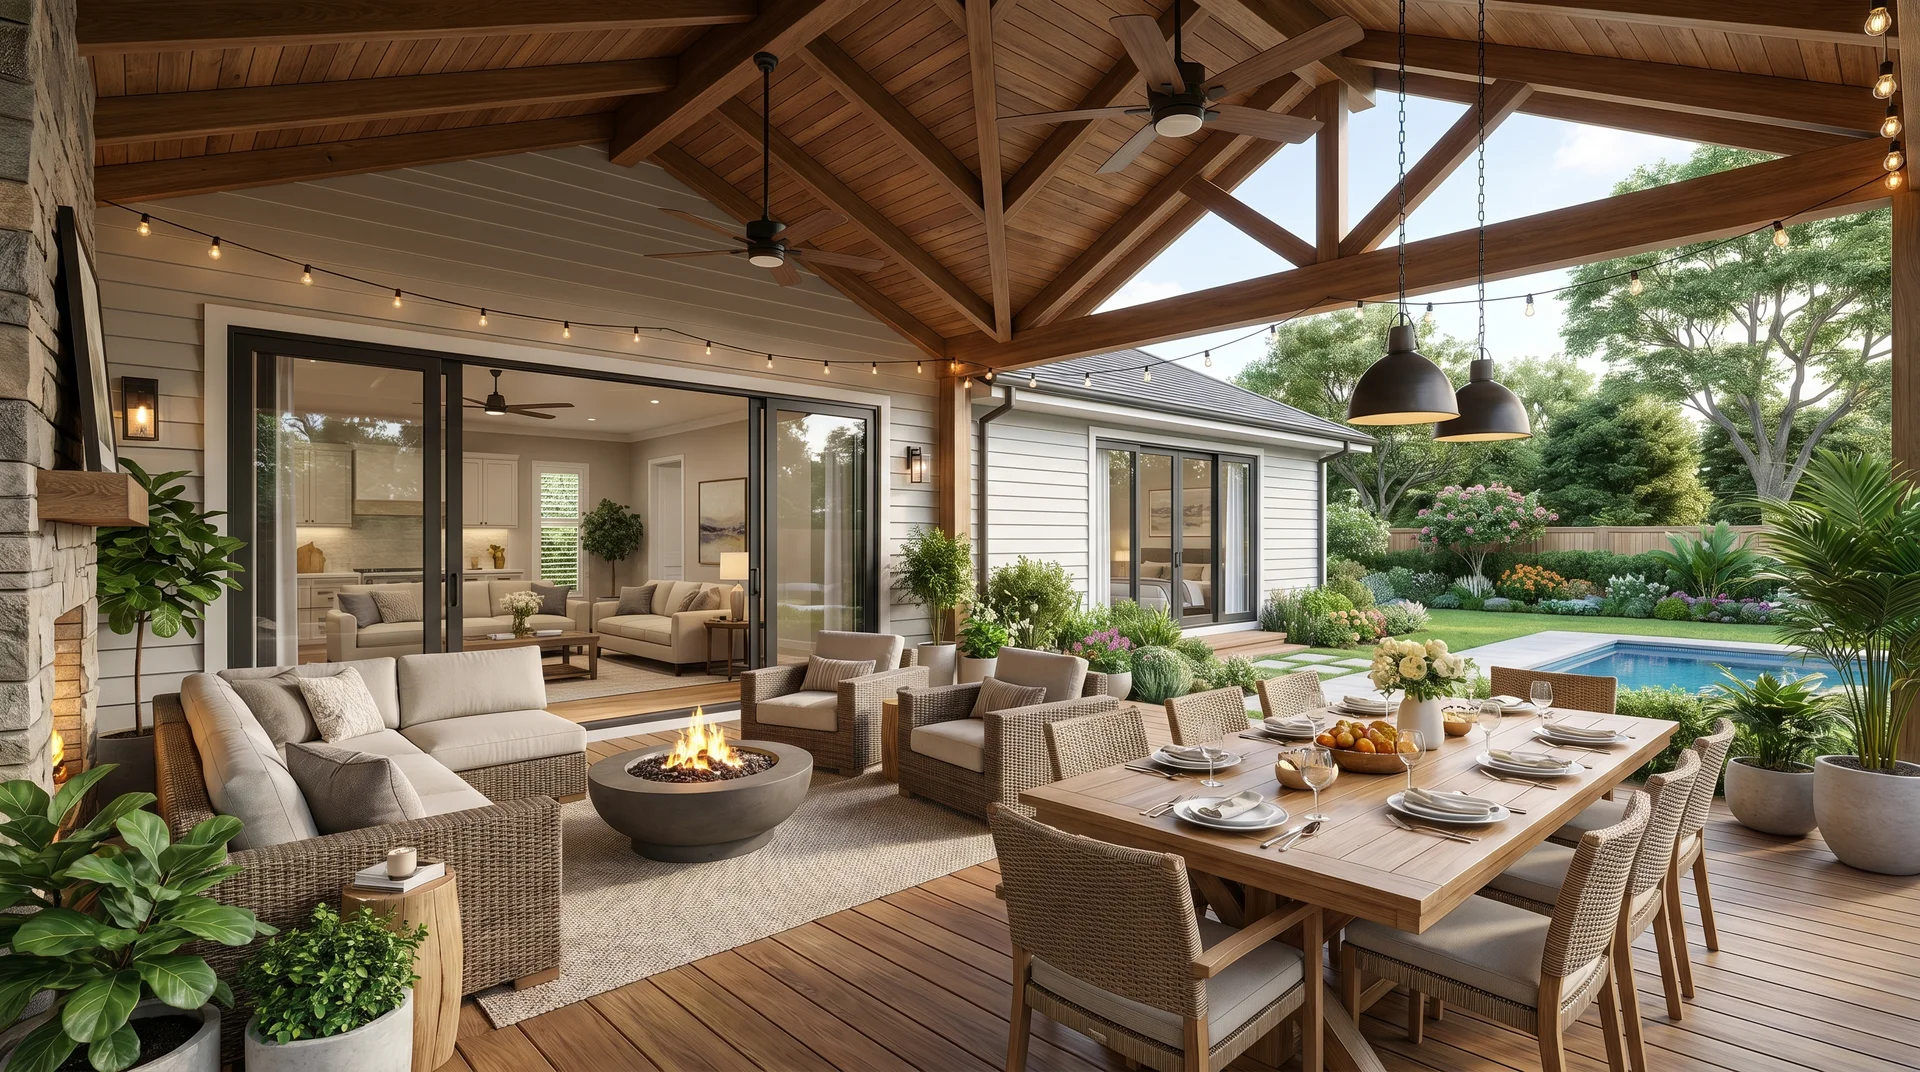
A roof extension converts patios and decks into weatherproof, comfortable spaces for year-round use.
Common uses include:
- Alfresco kitchens with grills and dining areas
- Lounge zones with sofas and entertainment setups
- Safe play areas for children
- Workout spots for yoga or exercise
- Hobby zones for woodworking or art
2. Add Shade & Energy Efficiency
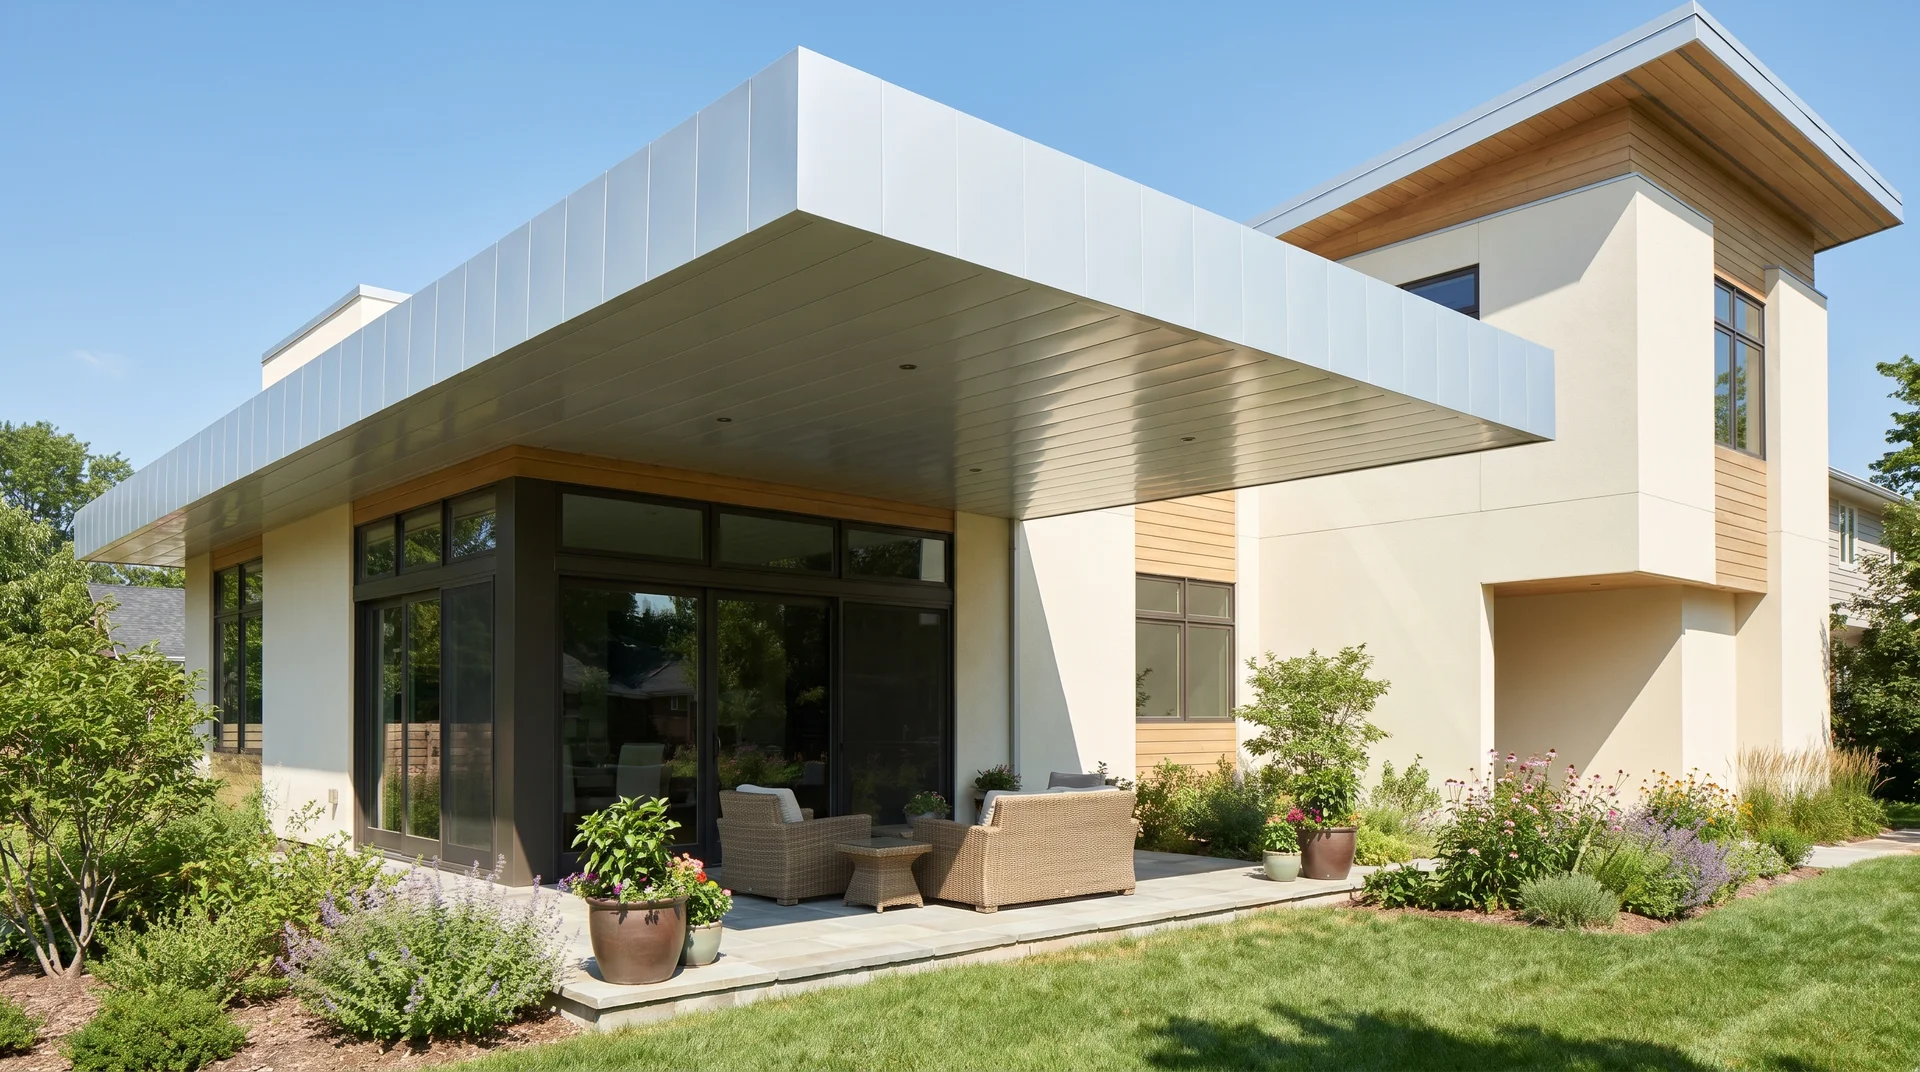
Roof extensions block direct sun, cutting heat gain and lowering cooling costs. They also protect windows from UV damage.
West-facing walls benefit most. Afternoon sun generates the highest heat load. A well-placed extension reduces thermal stress on exterior walls. It also keeps the covered space cooler through the hottest hours of the day. Light-colored roofing materials, such as white or tan, reflect more sunlight and help further.
3. Create a Smooth Indoor-Outdoor Connection
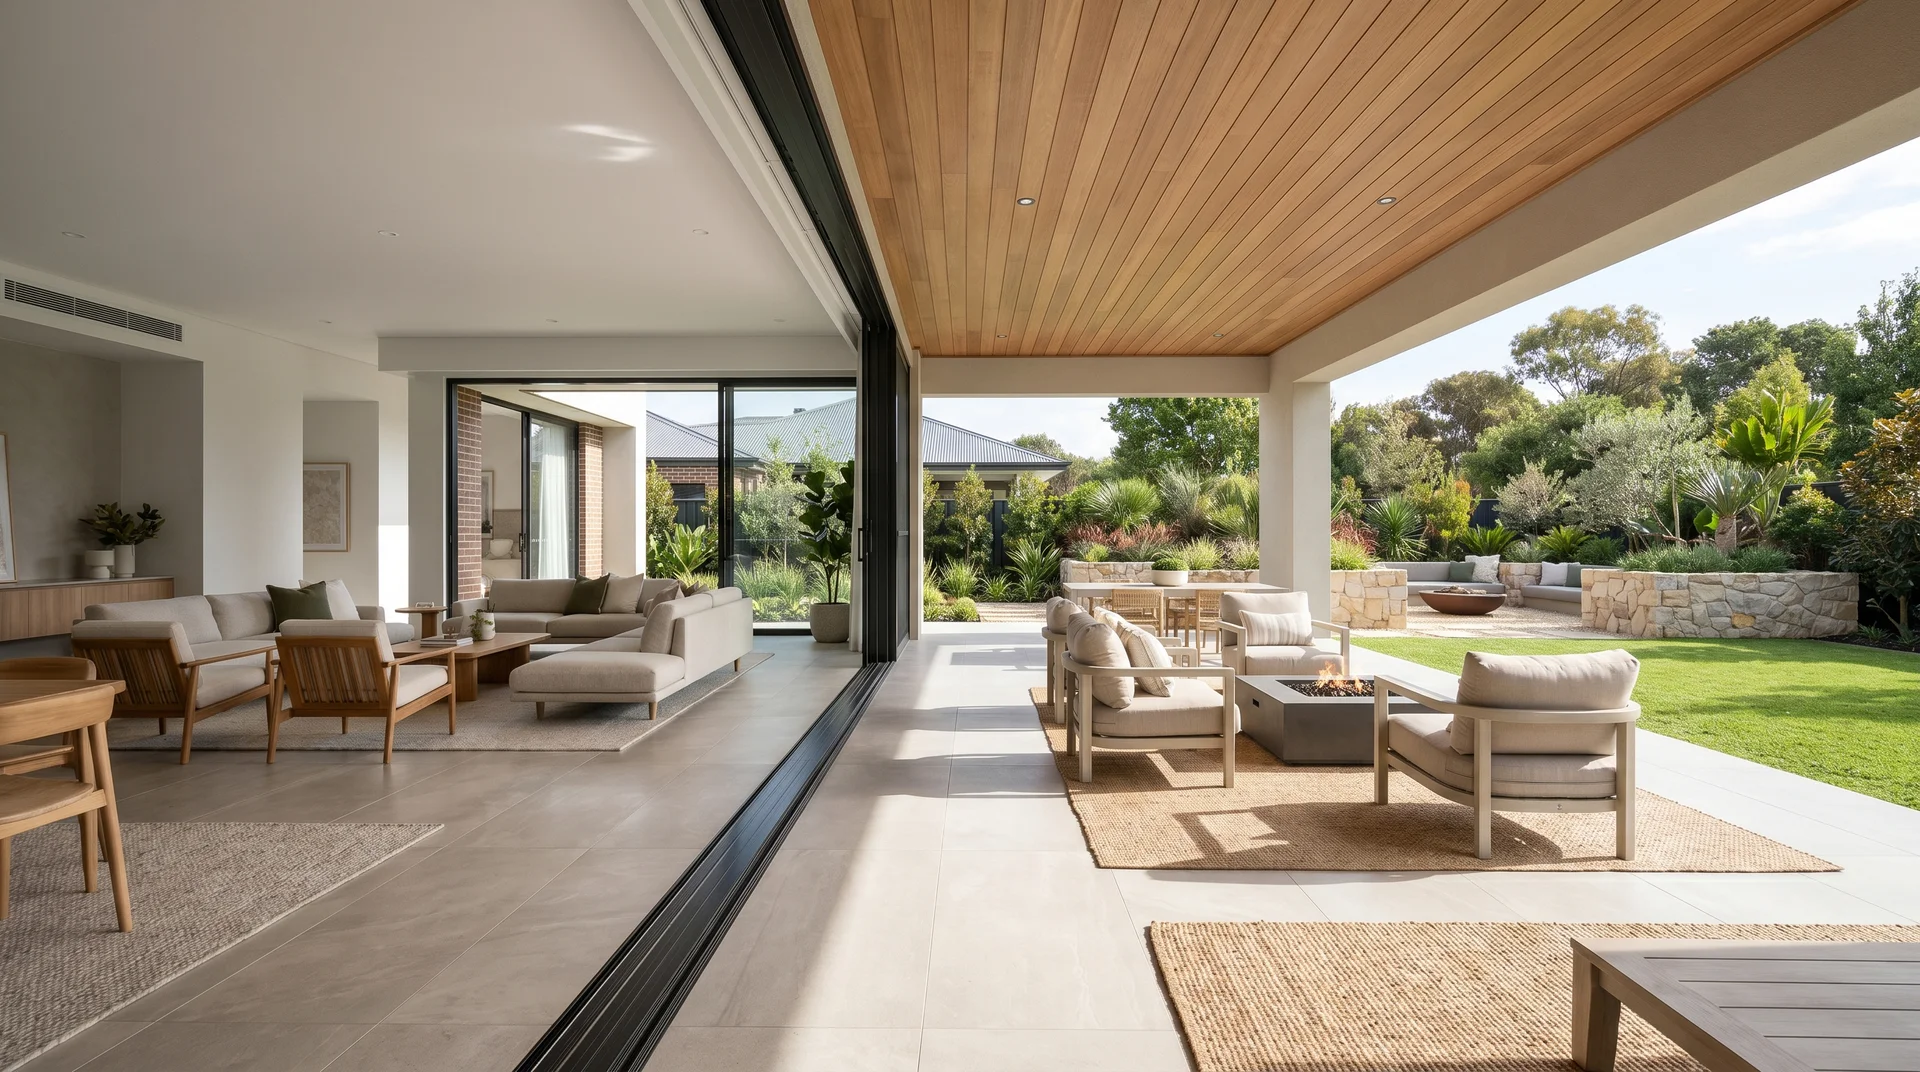
A roof extension can make indoor and outdoor spaces feel like one connected area.
To get this right:
- Match the flooring between the interior and the covered area
- Use a consistent color palette on both sides of the threshold
- Install large sliding or bifold glass doors
- Choose outdoor furniture that works with your indoor pieces
- Align ceiling heights between the two zones
These choices make the transition feel intentional. It reads like one space, not like a structure added on after the fact.
4. Reinforce Architectural Character
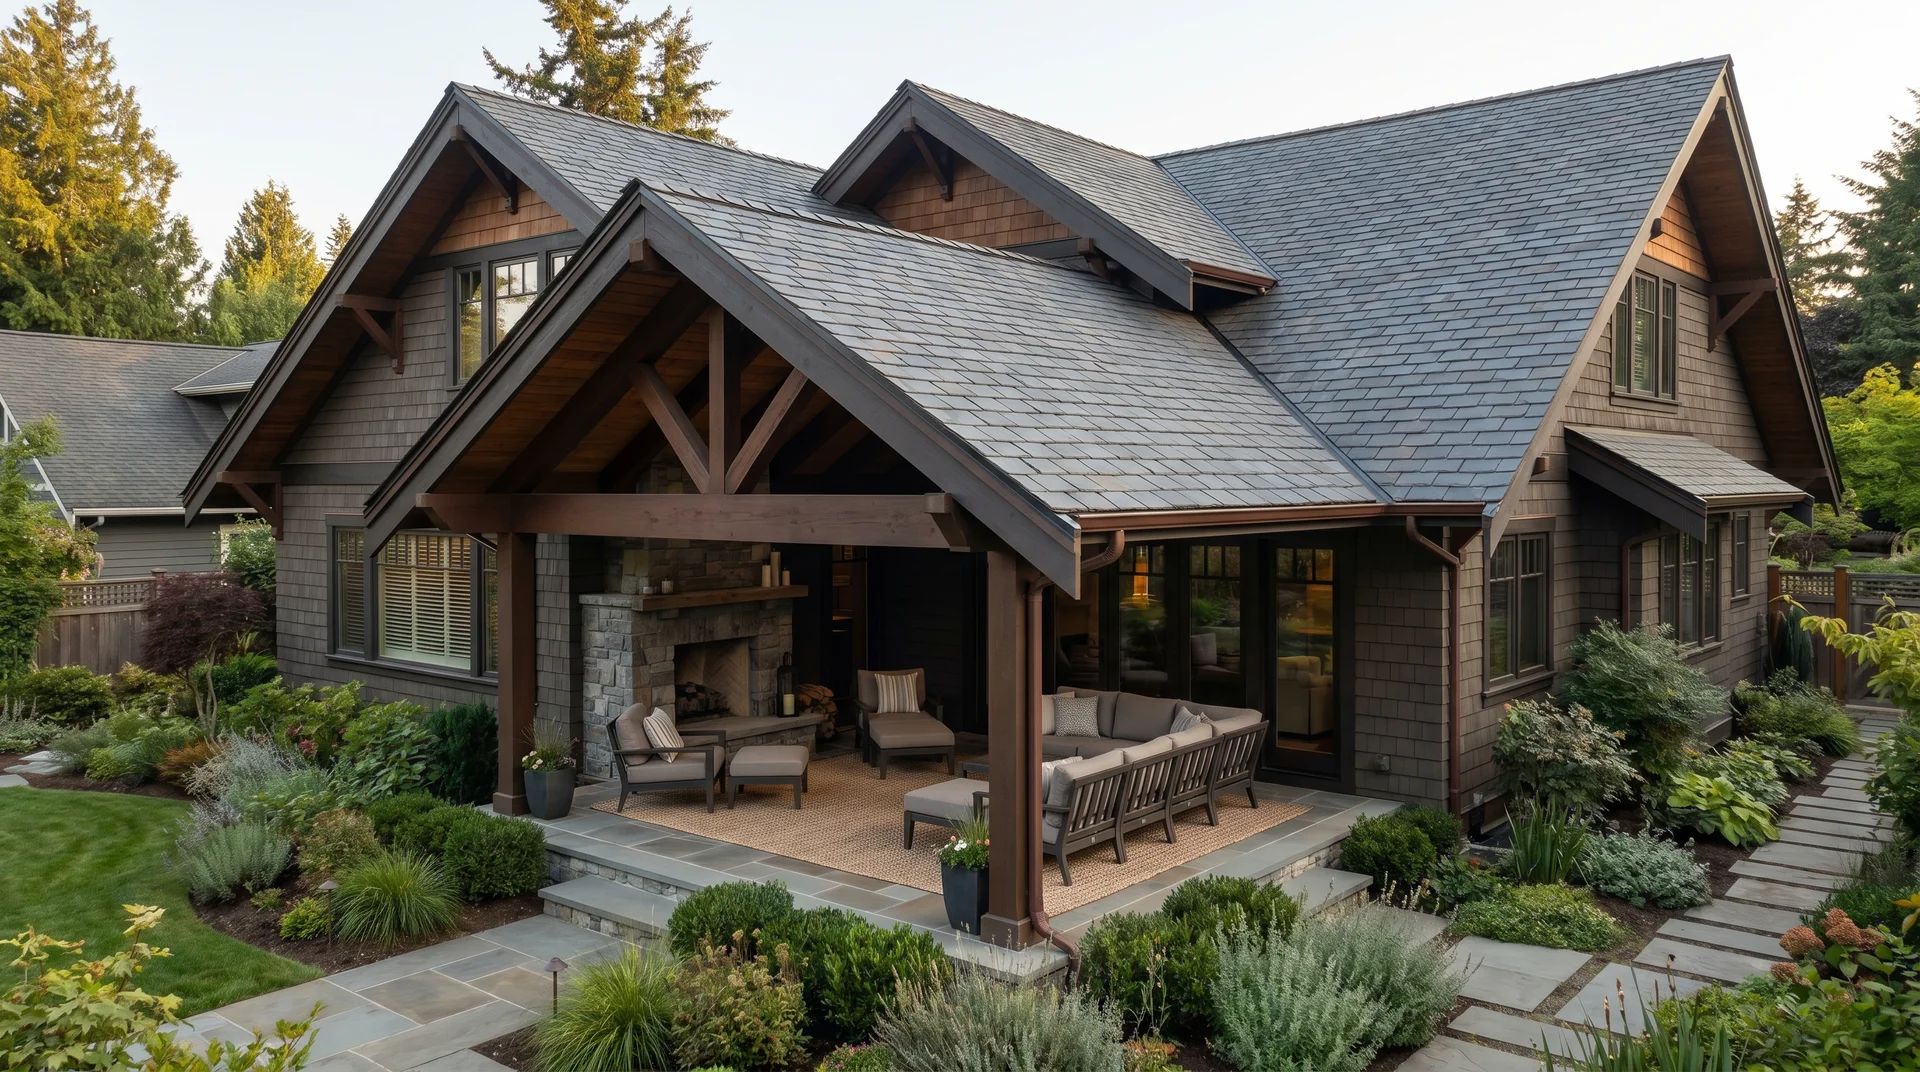
A roof extension either reinforces your home’s existing style or creates a deliberate contrast.
Using the same roof pitch, materials, and trim details creates visual harmony. Contrasting elements work too. A metal roof on a traditional brick home looks bold. Exposed timber beams on a modern build add warmth without looking forced.
Design details that reinforce the look: exposed rafters, clean fascia boards, decorative brackets, or curved edges along the roofline.
Roof Extension Process: Step-by-Step
A roof extension project moves through several distinct stages. Knowing what happens at each step helps you plan timelines and avoid costly surprises.
Step 1: Assess Your Existing Roof and Structure
Before any design work starts, check whether your current roof can support an extension. Your contractor or a structural engineer should inspect the existing framing, wall ties, and foundation. This step prevents expensive rework once construction is underway.
Step 2: Define the Scope and Set a Budget
Decide how the covered space will be used and how large it needs to be. Set a firm budget that covers materials, labor, and permit fees. Add a 10-15 percent contingency for unexpected costs.
Step 3: Check Permits and Zoning Rules
Contact your local building department before hiring any contractor. Find out which permits apply and what structural drawings are required. Also check whether your property has any zoning restrictions on additions or extensions.
Step 4: Finalize the Design and Choose Materials
Work with your contractor to lock in the roof type, pitch, and materials. Match the extension to your existing roofline where possible. Your material choice affects cost, long-term maintenance, and the structure’s performance over time.
Step 5: Get Quotes and Hire a Licensed Contractor
Get at least three itemized quotes from licensed roofing contractors. Compare individual line items, not just final totals. Check references, verify licensing, and confirm the contractor carries liability insurance before signing anything.
Step 6: Site Preparation and Structural Framing
The contractor clears the site, removes debris, and protects the existing structure. Framing goes up next, in accordance with the approved structural plans. The inspector checks all posts, beams, and connections against the spec at this stage.
Step 7: Roofing, Waterproofing, and Final Finishes
Once framing is complete, roofing materials, insulation, and waterproof membranes go in. Installers add flashing and gutters last. A final inspection confirms the work meets local building codes before the space can be used.
Permissions and Legal Requirements for Roof Extensions
Building a roof extension without the right permits is one of the most expensive mistakes a homeowner can make. Check local requirements before starting any work.
What you will likely need:
- Building permit: Required for structural changes. Includes plan review and inspections. Permit fees typically run from $200 to $1,400, depending on your city or county.
- Zoning approval: Confirms your extension meets setback requirements and lot coverage limits.
- HOA permission: Homeowner associations may restrict colors, styles, or sizes.
- Utility clearances: Extensions must maintain safe distances from power lines and gas meters.
- Engineering stamps: Many jurisdictions require structural calculations for roof additions.
Application process:
- Submit plans showing dimensions, materials, and structural details
- Pay permit fees
- Schedule inspections at key stages
- Get final approval before using the space
Building without permits risks fines, forced removal, and complications when you sell. The National Roofing Contractors Association (NRCA) recommends working only with licensed contractors and verifying all local code requirements before any structural roof work begins.
Conclusion
The right roof extension ideas depend on your home’s style, your outdoor layout, and how you plan to use the covered space. A pitched design suits most traditional homes. A flat or skillion roof fits modern builds. A glass or polycarbonate structure brings natural light into a year-round living area.
Good planning separates a project that adds value from one that creates problems. Match the roof type to your existing structure. Build drainage in from the start. Pull permits before work begins.
Costs vary based on size, materials, and local labor rates. Get at least three itemized quotes before committing to a design.
Start with your local building department to confirm permit requirements. Then find a licensed contractor who knows local codes and can advise on what works with your existing structure.