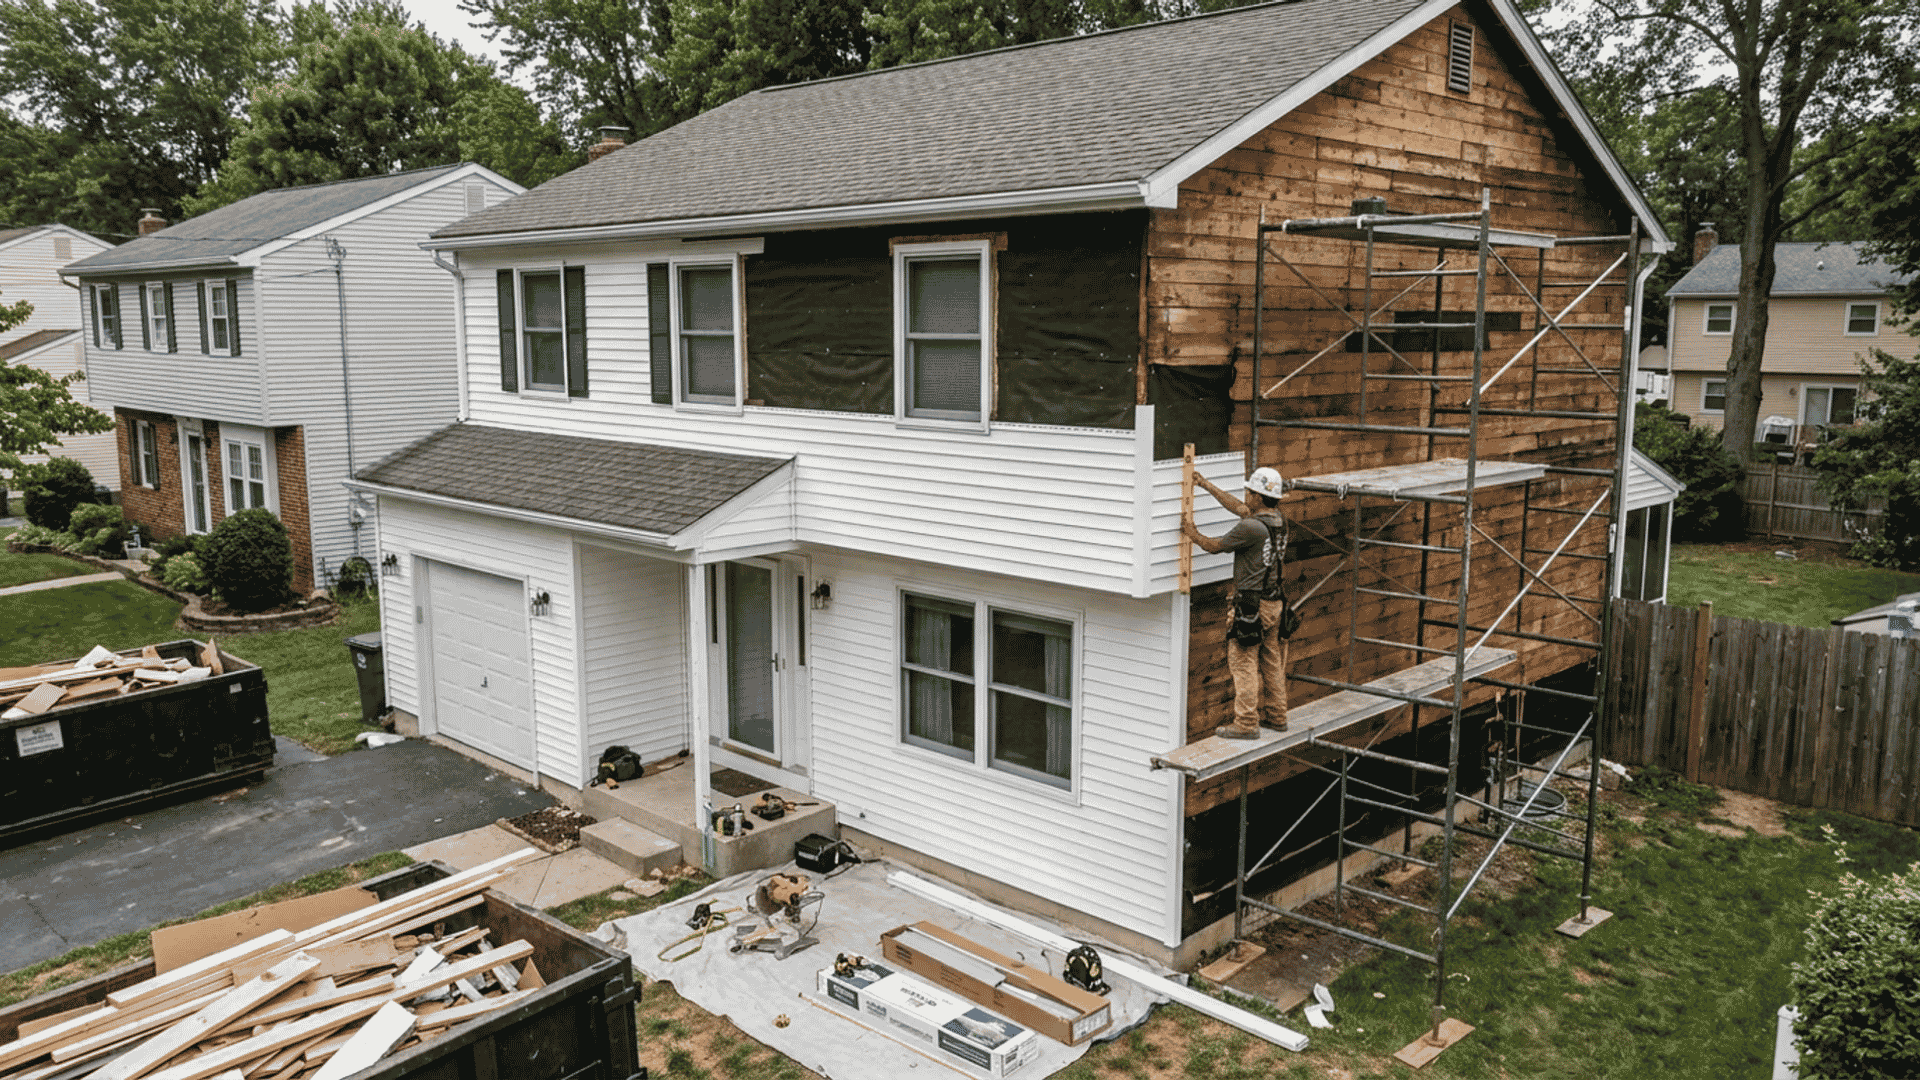
Installing vinyl siding without costly mistakes comes down to a few critical details: a level starting point, proper fastening, and enough room for the panels to expand and contract with changing temperatures.
Get those details right, and the siding will sit straight, resist weather damage, and maintain its appearance for years.
Get them wrong, and problems like buckling, uneven rows, and water intrusion can appear long before the job should need attention.
This guide covers the complete installation process from wall preparation and house wrap to fitting the final course beneath the soffit, along with the mistakes that can affect both appearance and performance.
Why Vinyl Siding Is Worth the Effort
It gives homeowners a real return on the investment. A well-done installation adds to curb appeal and boosts home value without requiring a contractor for most straightforward jobs.
Vinyl siding has held the second-largest share of the U.S. residential cladding market, sitting just behind stucco, according to the NAHB Eye on Housing report.
That popularity is not random. Vinyl does not need painting, resists moisture, holds its color over time, and costs far less than wood or fiber cement.
Tools and Materials You Need Before You Start
Getting the right tools ready before touching a single panel saves you from stopping mid-job.
Tools you will need:
- Tape measure.
- Chalk line.
- Level.
- Tin snips or aviation snips.
- Utility knife.
- Circular saw with a fine-tooth blade (reverse the blade for cleaner cuts).
- Hammer.
- Zip tool (also called a siding removal tool).
- Snap lock punch.
- Safety glasses and work gloves.
Materials you will need:
- Vinyl siding panels.
- Starter strips.
- Corner posts (inside and outside).
- J-channel.
- Undersill trim.
- House wrap or weather-resistant barrier.
- Aluminum or galvanized steel nails.
- Flashing.
Important Tip: Use only aluminum or galvanized nails. Regular steel nails rust, leaving stains that bleed through the siding over time.
How to Install Vinyl Siding Step by Step
A successful installation depends on completing each stage in the correct order.
The steps below cover everything from preparing the walls and installing trim components to securing the final panels, helping you create a straight, weather-resistant exterior that performs as intended.
1. Inspect and Prepare Your Walls
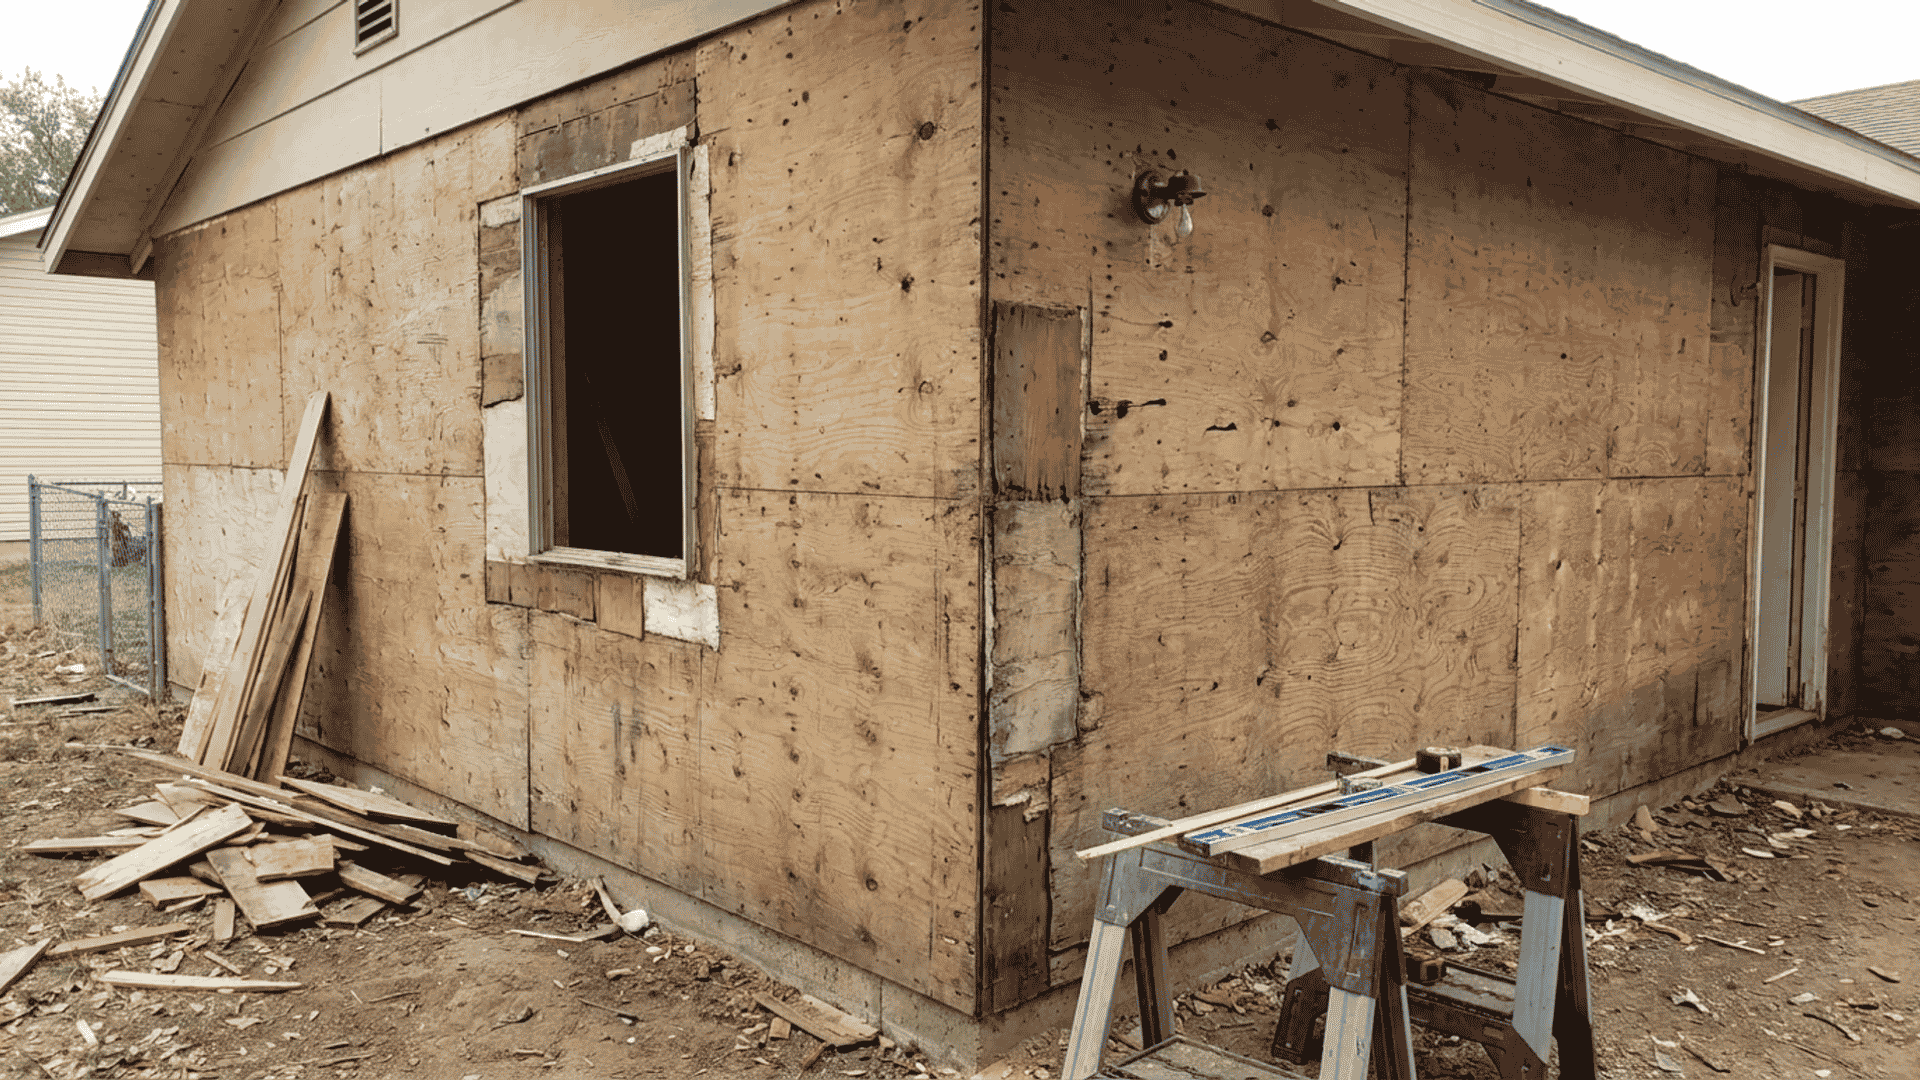
Vinyl siding is an exterior cover, not a structural repair. If the wall underneath has rot, soft spots, or moisture damage, installing siding on top will only seal the problem in.
Walk the full perimeter of your home. Press against trim and sheathing to check for soft areas. Look carefully around windows, door frames, and roof lines for any signs of past water entry.
Repair every damaged area before going further. Replace rotted sheathing, fix cracked trim, and let everything dry completely.
Once the wall is solid, remove all attached items: gutters, downspouts, shutters, exterior light fixtures, and utility covers. The surface needs to be clear and flat before anything else happens.
Check local building codes. Some areas require a permit for exterior re-siding. A quick call to your local building department takes just five minutes and keeps you from facing fines later.
2. Install the House Wrap
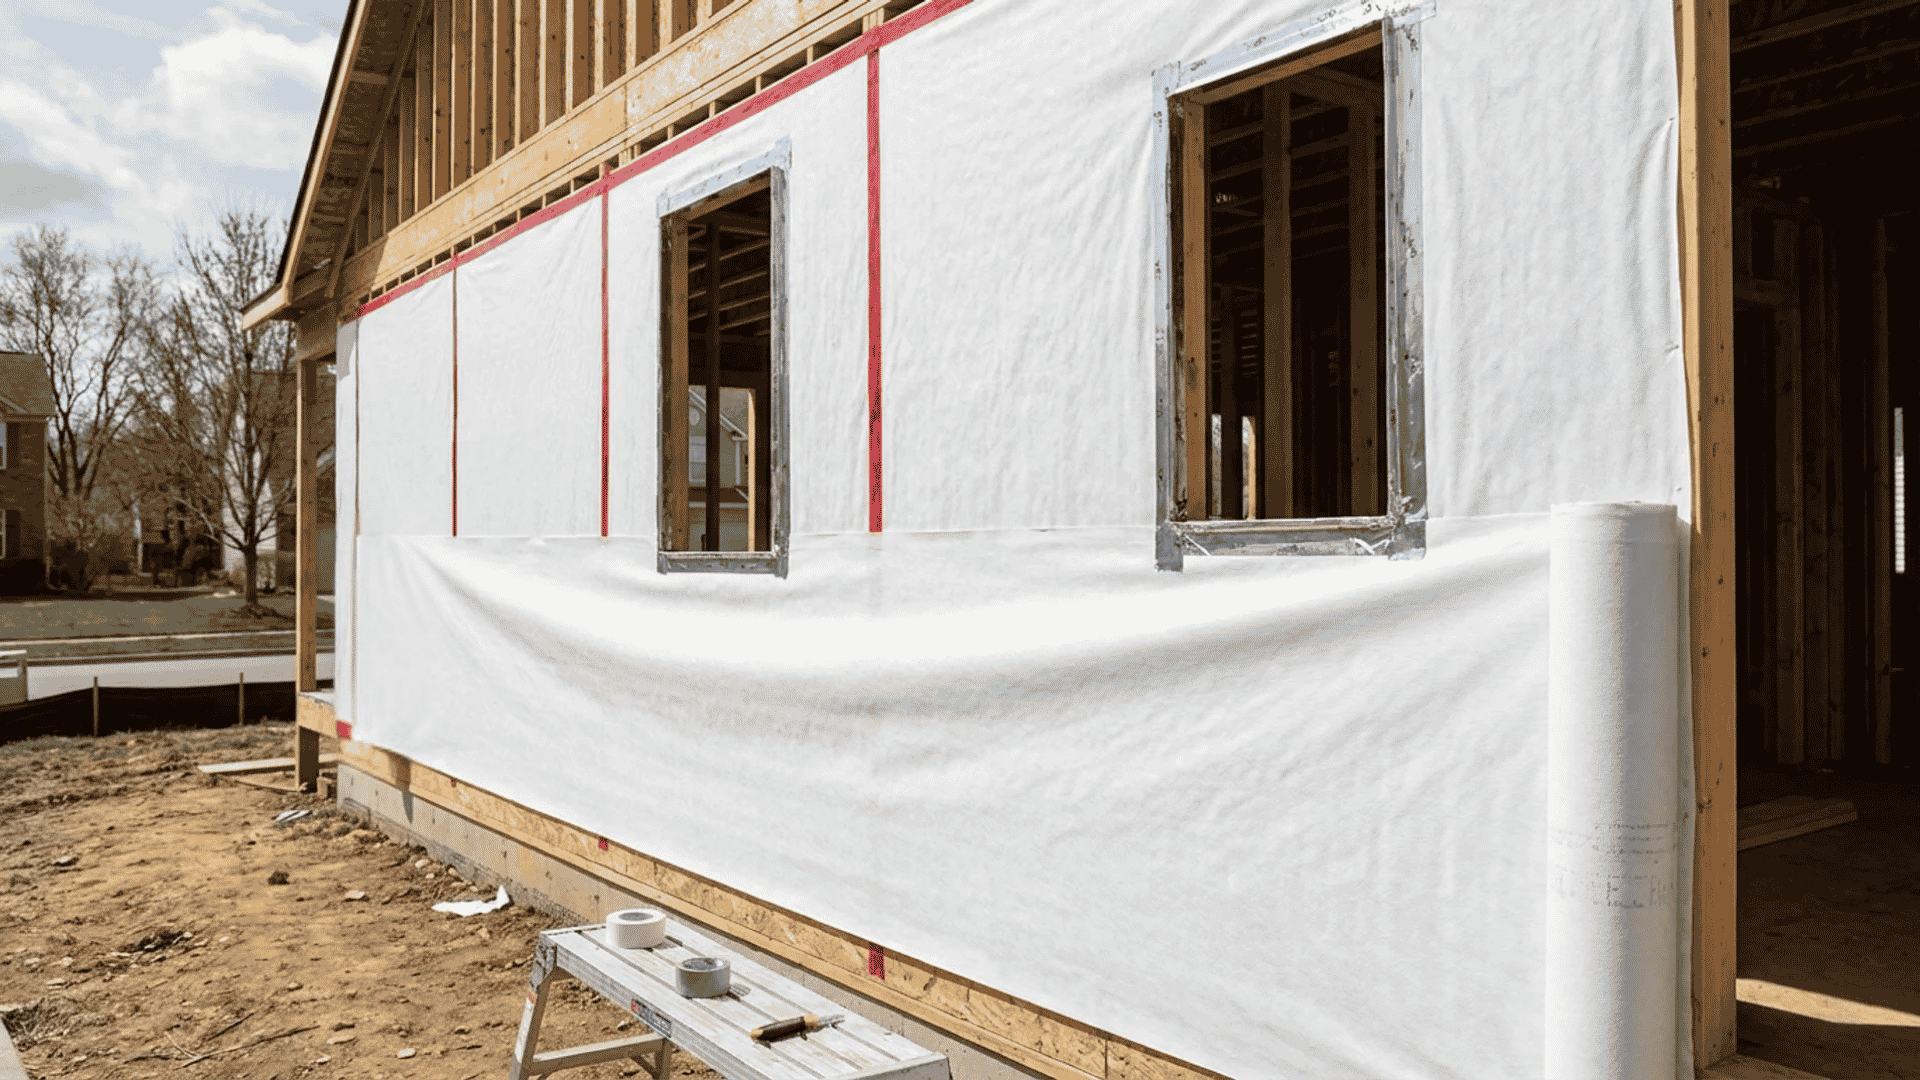
A weather-resistant barrier, most often house wrap, protects your wall assembly from moisture that gets behind the siding. Vinyl panels are not fully waterproof, so this layer matters.
Start at the bottom of the wall and roll the house wrap upward. Overlap each horizontal course by at least two inches so water naturally sheds downward.
Tape all seams tightly with approved tape. Use nails or staples fitted with wide plastic caps to avoid tearing the wrap when fastening.
Carefully wrap the material around the window and door openings. Those edges are where water most commonly finds its way in.
If you are adding rigid foam insulation over the house wrap for extra energy efficiency, follow the siding manufacturer’s guidance on maximum foam thickness so the wall does not become too thick.
3. Snap a Level Chalk Line and Install the Starter Strip
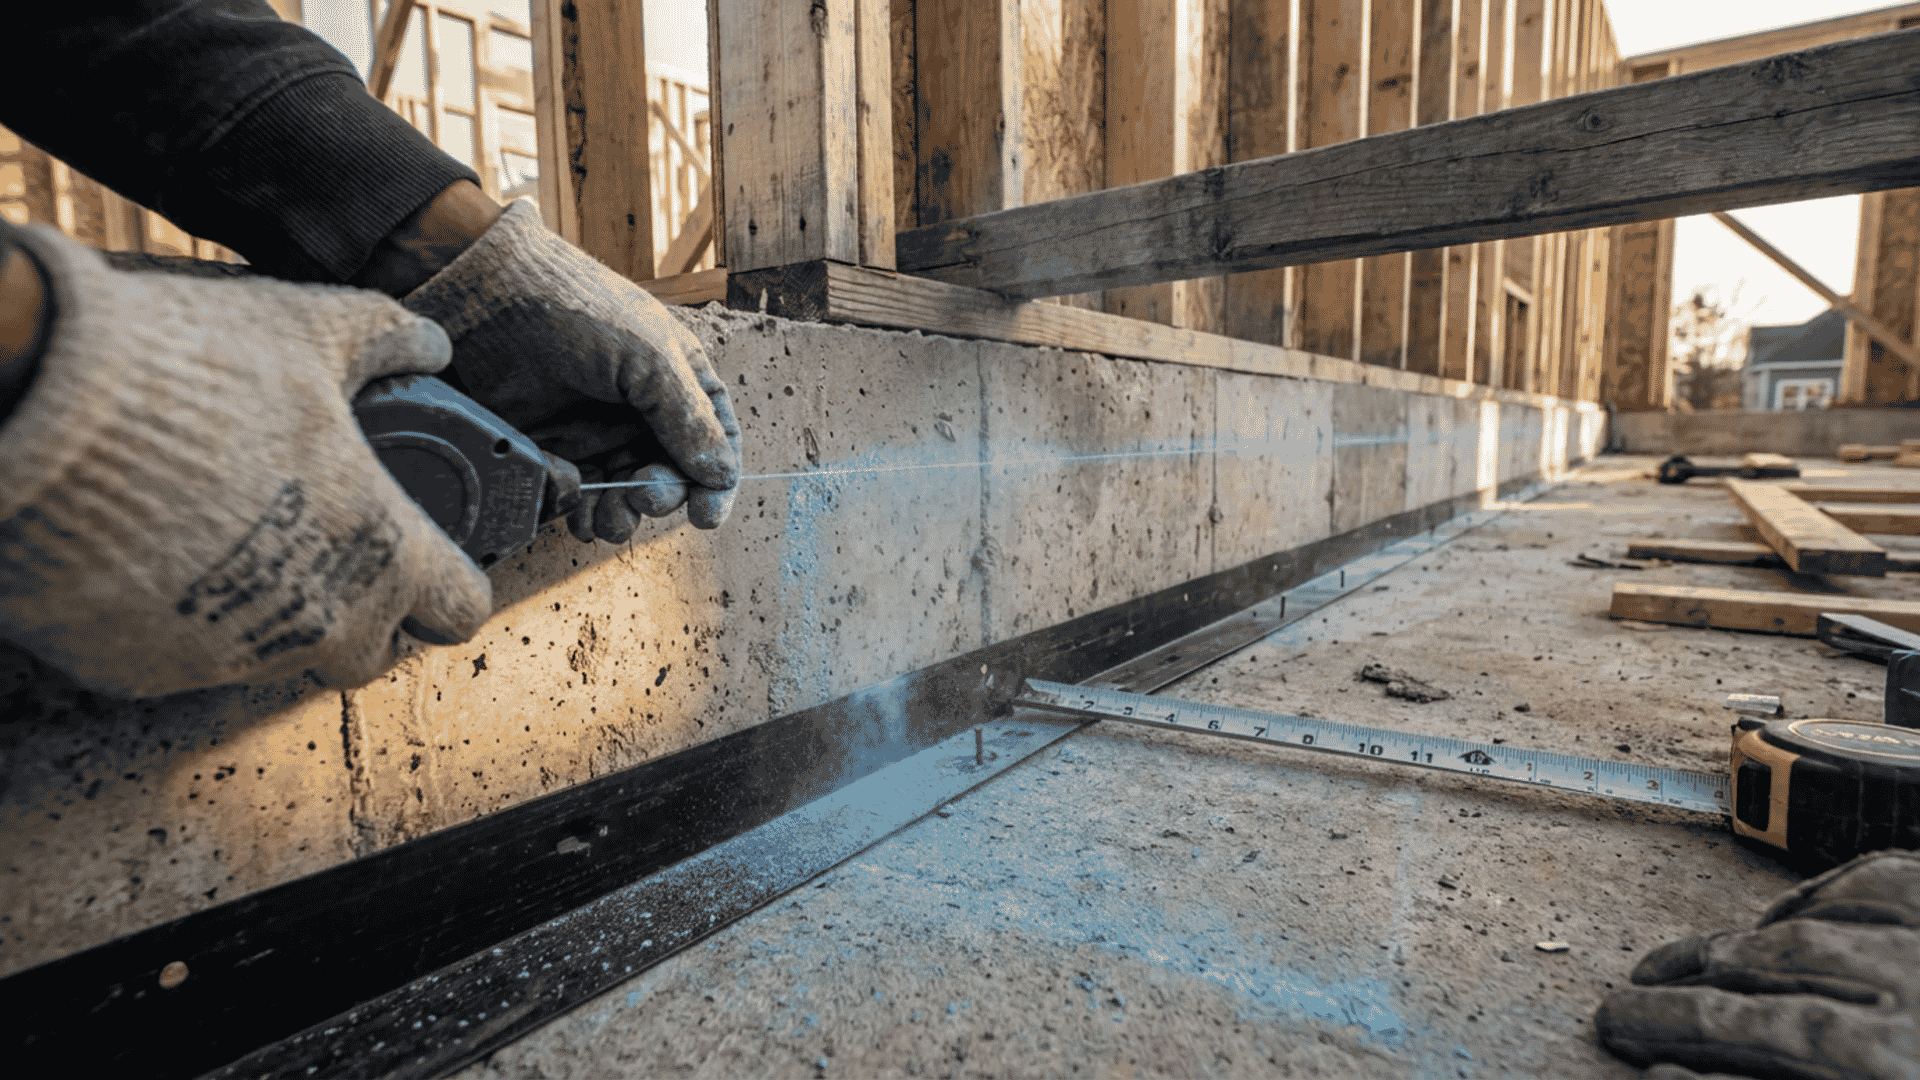
This step sets up every single row that follows. If the starter strip is not level, the misalignment grows more visible with every course you add.
Measure up from the base of the foundation to find your starting point. The bottom of the starter strip should sit at least one inch below the top of the foundation to protect the sheathing from rain and pests.
Snap a chalk line all the way around the house at that height. Check the line at multiple points, especially on homes with uneven foundations.
Align the starter strip with the chalk line and nail it in place. Nail every 12 to 16 inches. Leave small gaps between starter strip sections, about a quarter inch, to allow for expansion.
4. Install Corner Posts and J-Channel
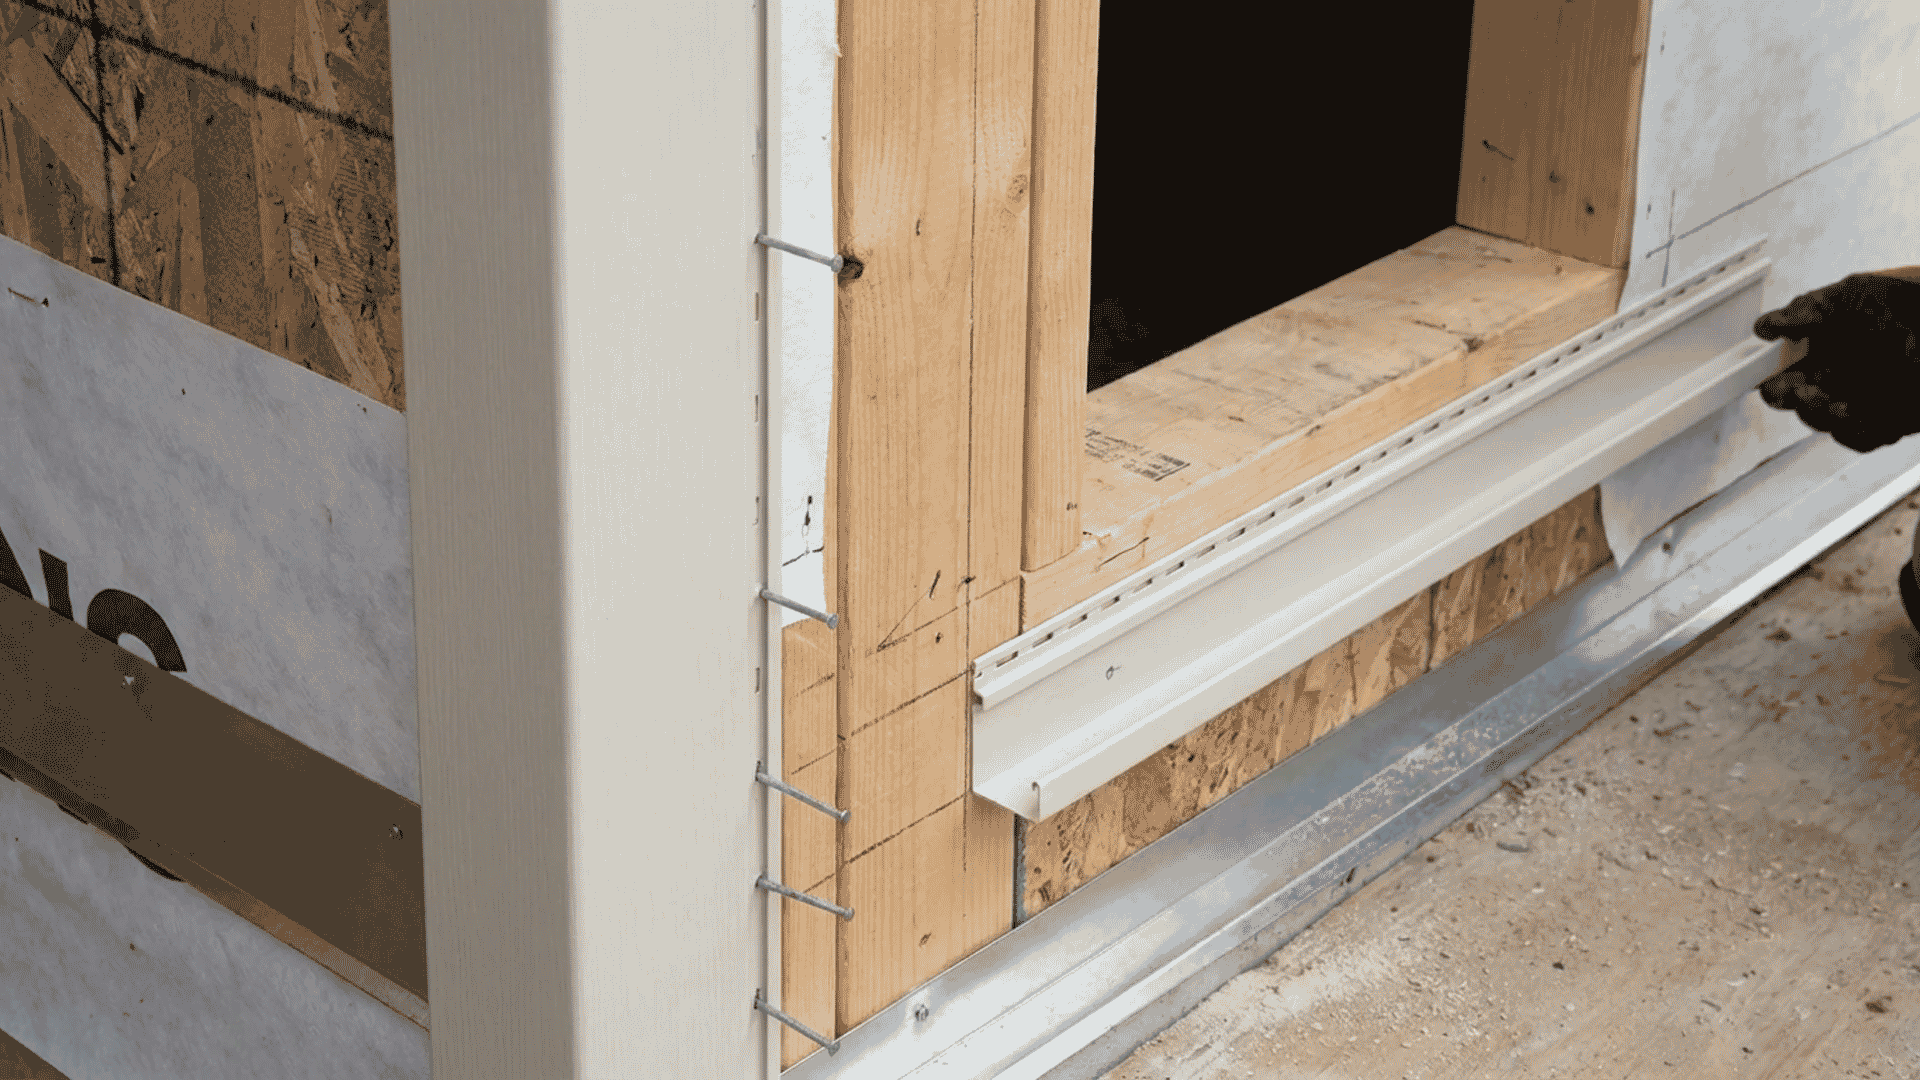
Corner posts go on before any siding panel. They create clean edges at every corner and give the panel ends a place to tuck in.
Attach each corner post so it extends slightly below the starter strip. Check that each post is perfectly plumb before driving the nails. Even a small tilt will throw off alignment across the entire wall.
When extending posts, overlap sections by three-quarters of an inch for a solid connection. Leave a 1/16-inch gap under each nail head so the post can move slightly with temperature changes.
J-channel goes around every window, door, roofline, and gable end. It covers the raw cut edges of the panels and redirects water away from the wall.
At windows and doors, install the bottom piece first, then the sides, and finally the top. This order ensures water drains outward naturally rather than running behind the channel.
5. Install the First Course of Siding Panels
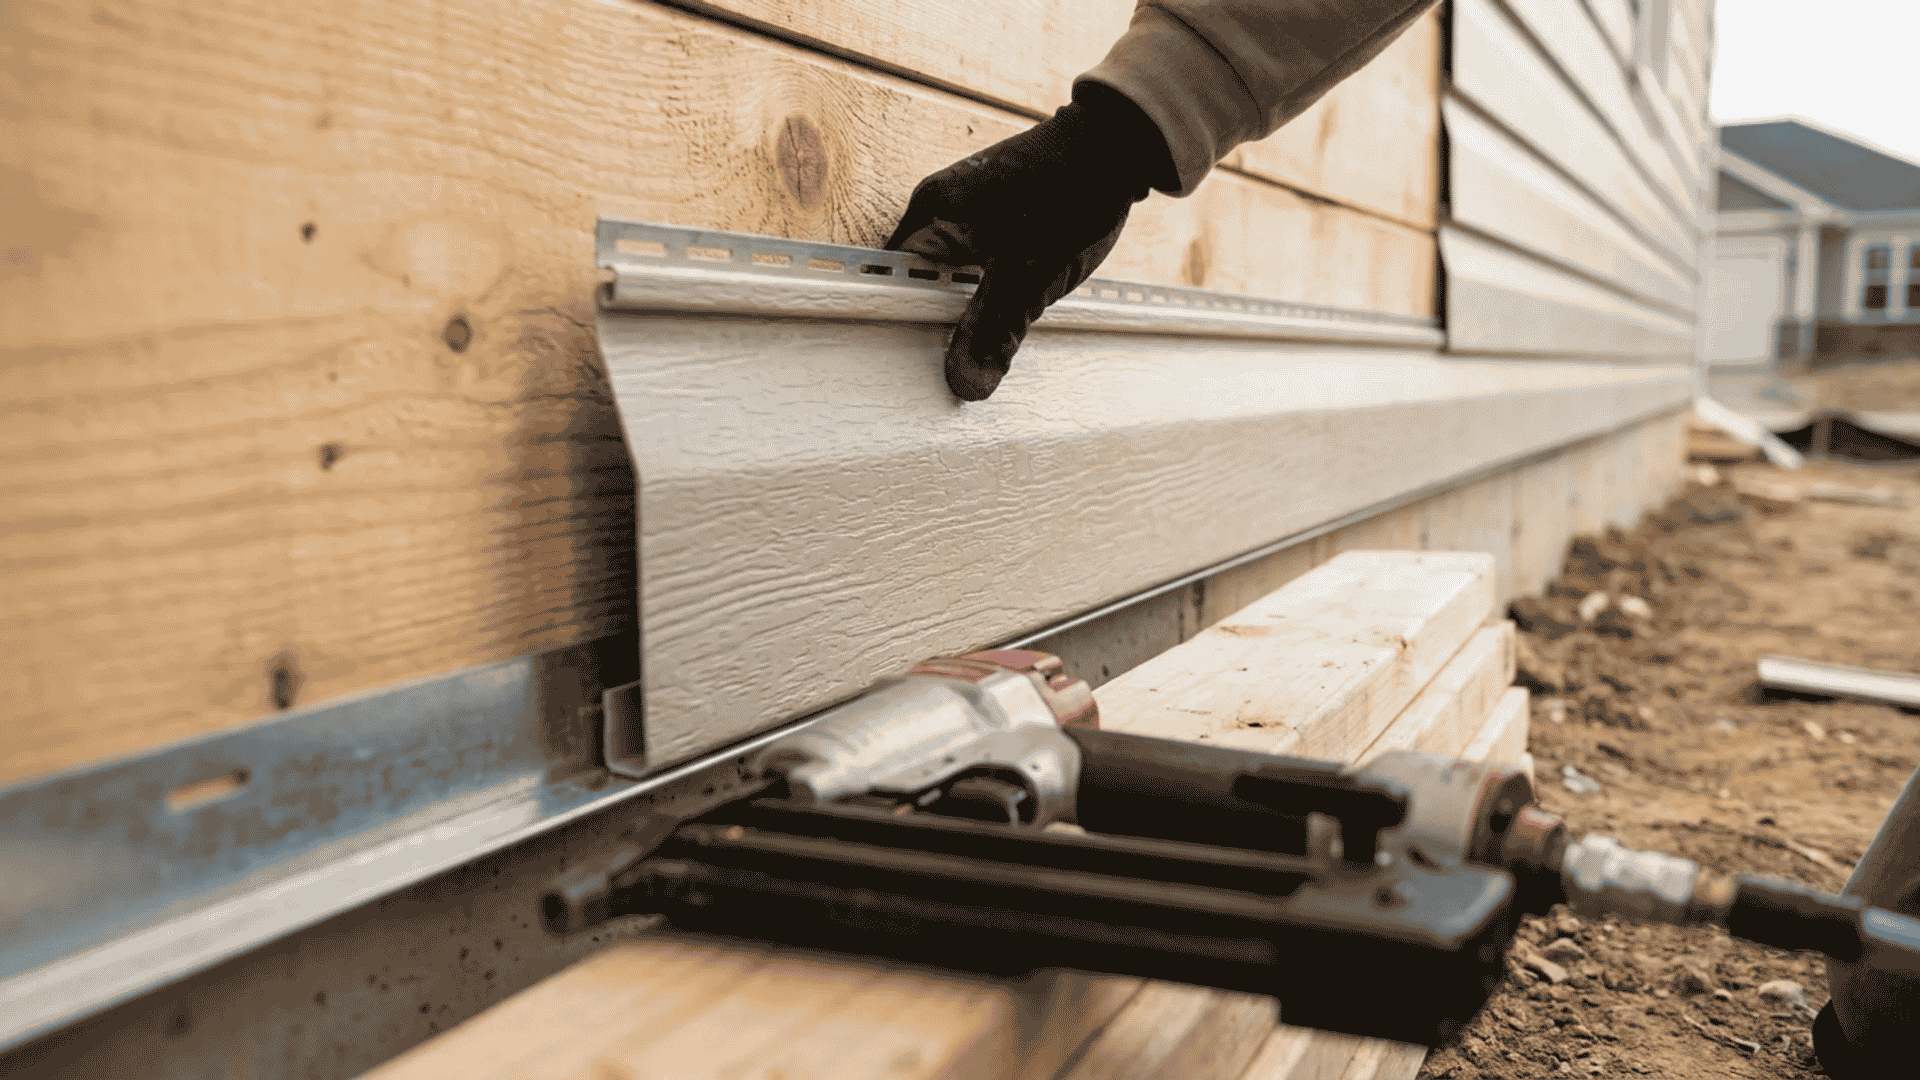
Hook the bottom lip of the first panel into the starter strip. Start at a back corner so that panel seams face away from the street view.
Leave a quarter-inch gap inside each corner post. This gap is not a flaw. It gives the panel room to expand in hot weather without buckling against the post.
Now nail the panel through the top hem. Center each nail in the nail slot. Drive it in until the head is about 1/16 of an inch away from the panel face, roughly the thickness of a dime.
The panel must be able to slide side to side by hand after nailing. If the panel cannot move, the nail is too tight, and the siding will ripple on hot days.
This is one of the most common mistakes in any vinyl siding installation, and it is entirely avoidable.
Apply light upward pressure as you nail each piece to keep the panel locked against the one below it. Do not lift hard enough to stress the nailing hem.
6. Work Your Way Up the Wall
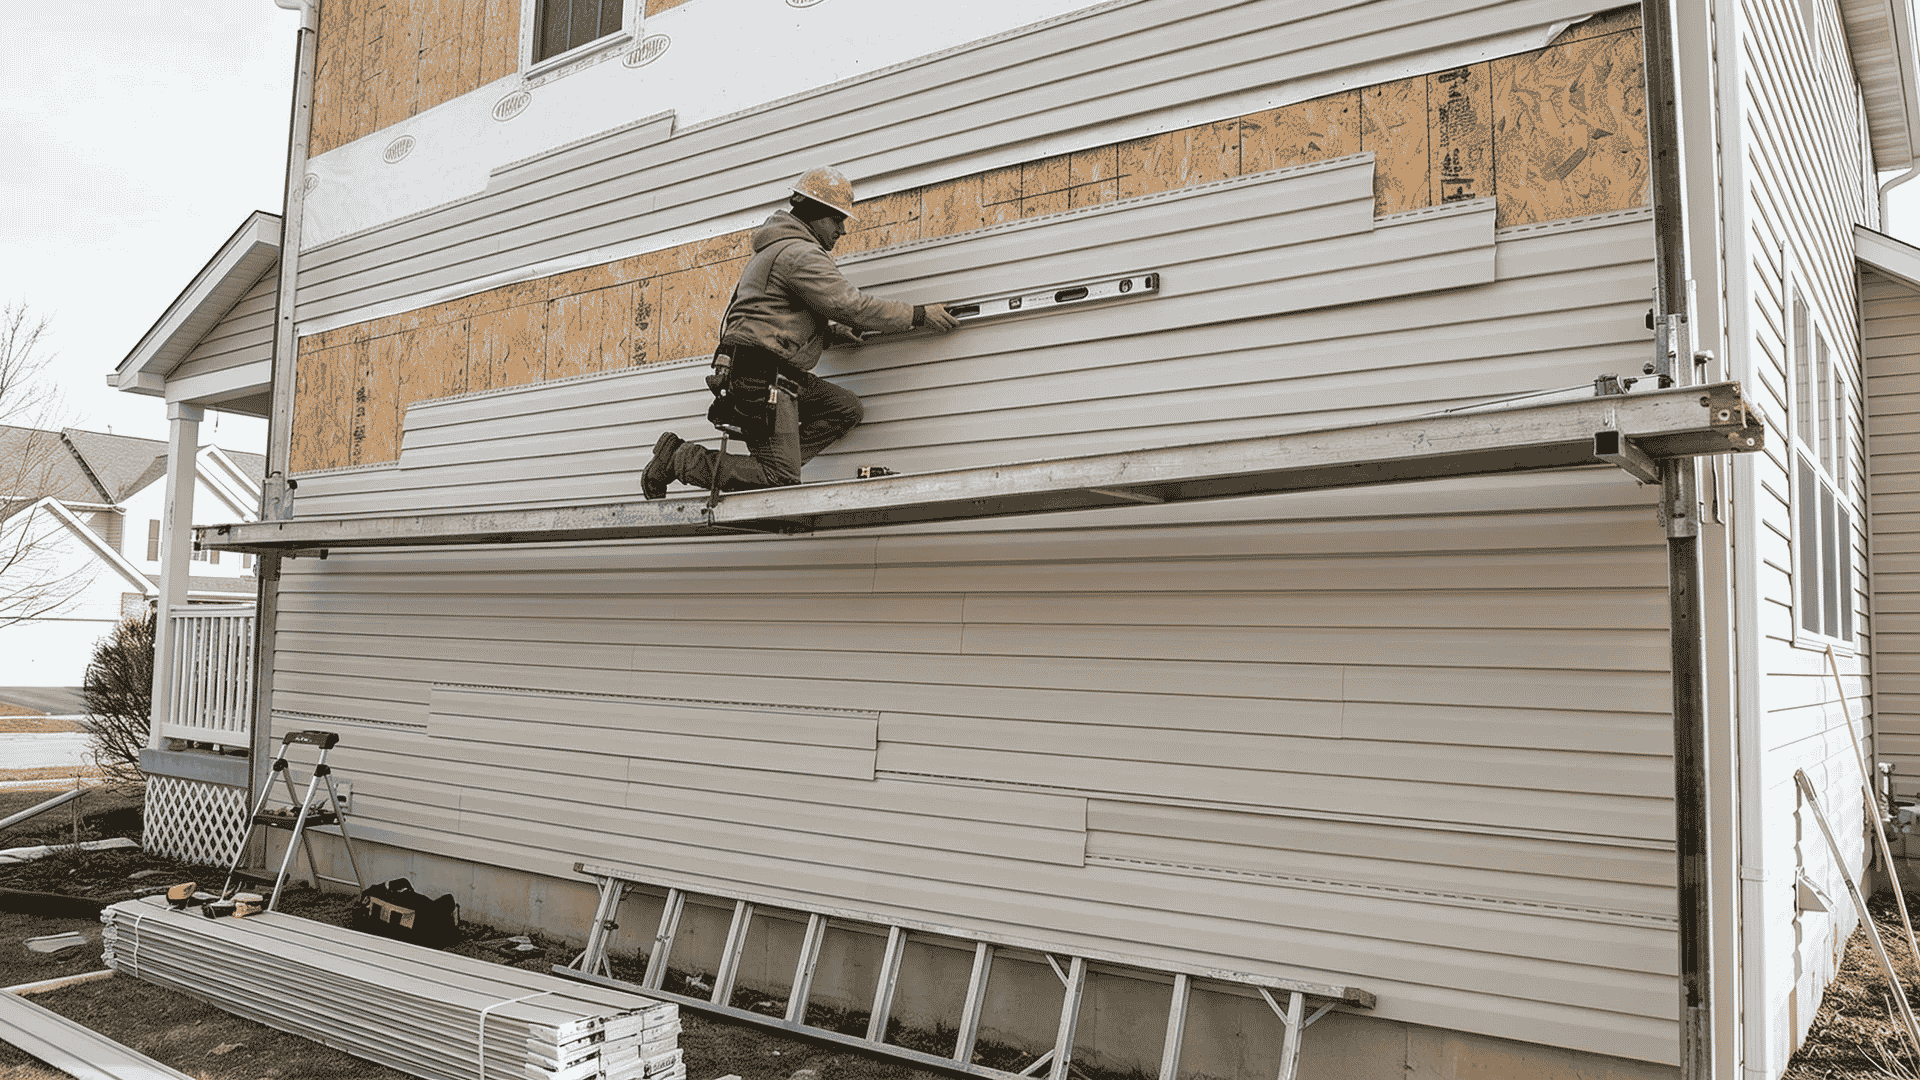
Each new panel locks into the top edge of the one below it. Work from one side to the other across each course before moving up.
Check alignment with a level every few rows. Even if the starter strip was correct, long walls can drift slightly. Catching it early is easy. Catching it near the roofline is frustrating.
Plan your seam locations before you start each row. Overlap each panel by at least one inch. Stagger the seams so they do not line up vertically from row to row.
Random, staggered seams almost disappear from the street. Seams stacked in a line draw attention to every joint.
On the front and back of the house, lap the seams so they face away from the areas where you spend the most time, such as the front door or a patio.
If prevailing winds matter in your area, lap the seams so wind blows over them rather than into them.
7. Cut and Fit Panels Around Windows and Doors
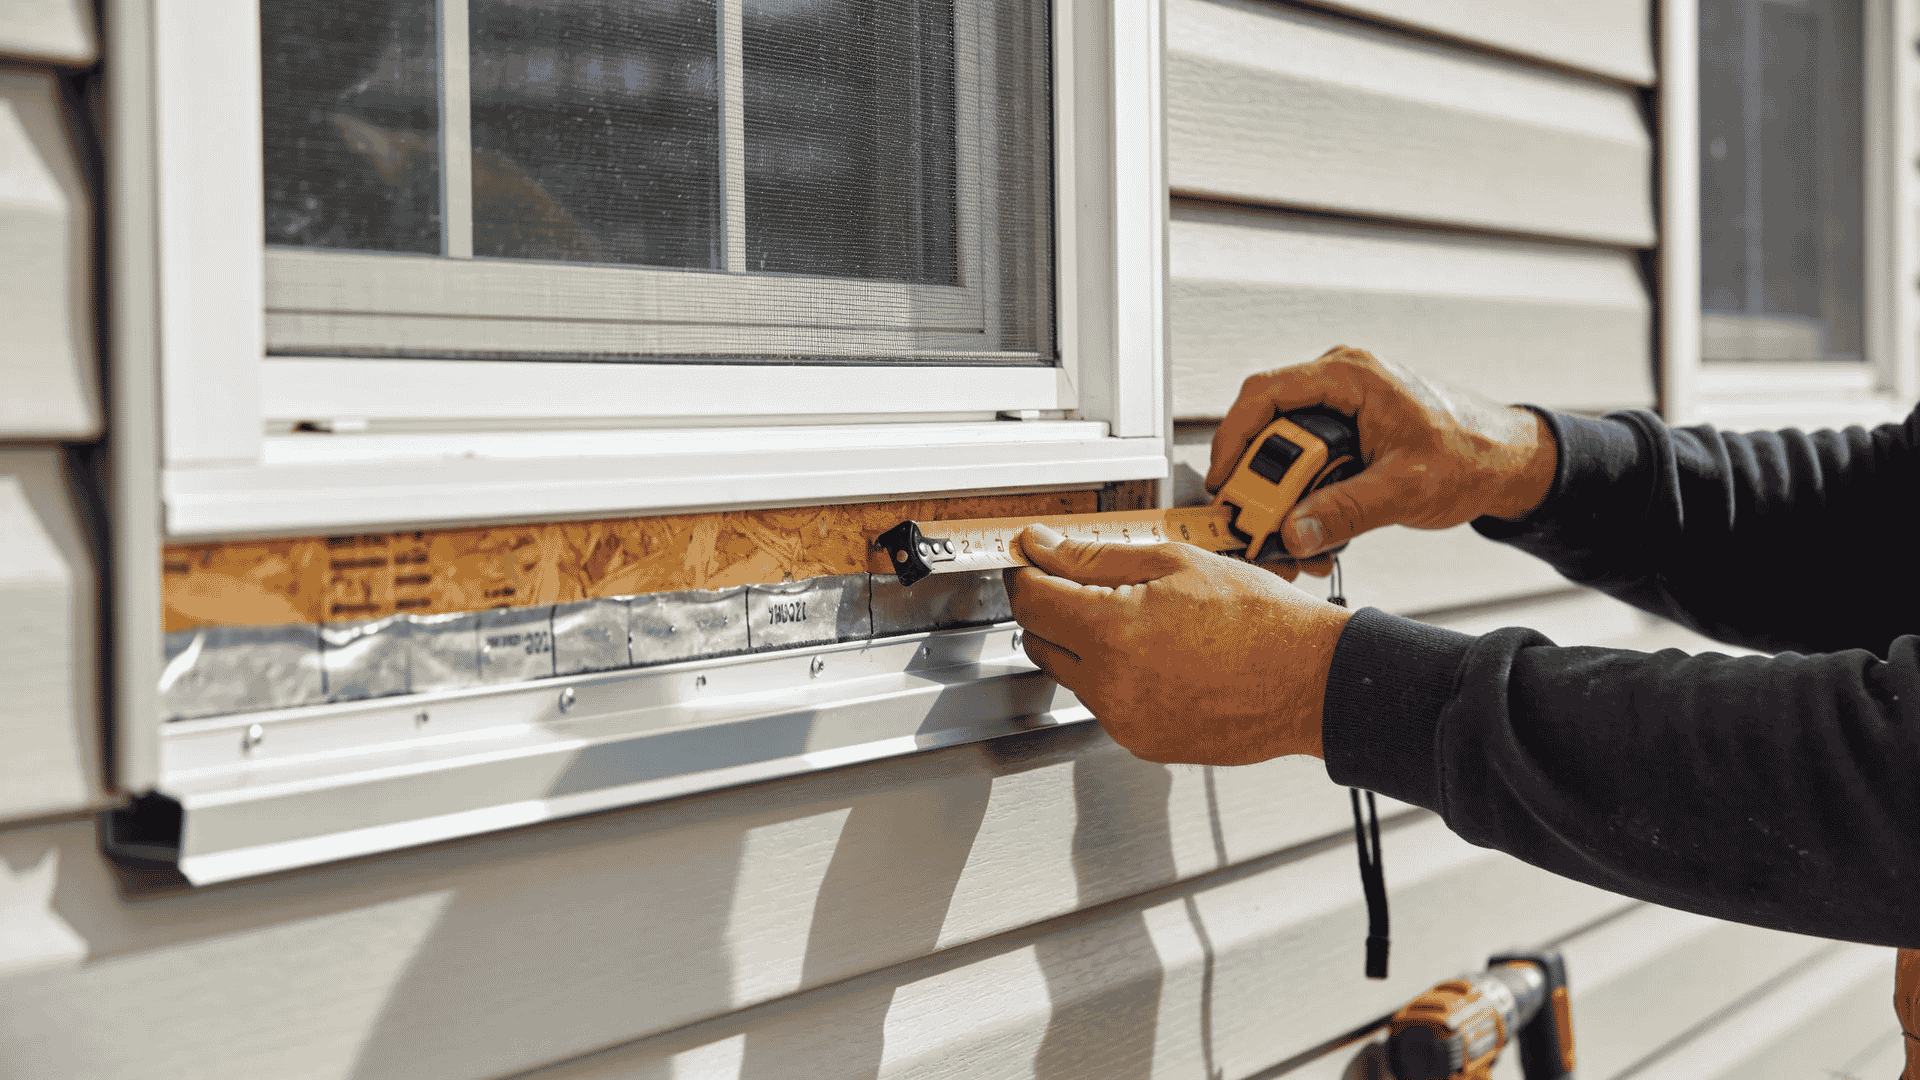
This is where the job looks either clean or clumsy. Take your time here.
Measure each opening twice before cutting. Cut the J-channel pieces for window sides about two inches longer than the window itself.
Score the extra length and bend it to create a small flap that overlaps the sill channel at the bottom. This creates a drip edge that keeps water from sitting at the corners.
At the top of the window, cut the head channel two inches longer as well and create the same flap to overlap the side channels.
Install undersill trim below the window sill before fitting the panel. The top edge of the cut panel slides into the undersill trim and locks in place.
When working on each side of a window, start on the side that needs the longer panel. Longer panels are harder to adjust once they are in position, so fitting them first gives you better control.
Cut the felt paper flashing and press it into the lower corners of each window before the side J-channel goes on. Any water that runs inside the channel will drain out over the siding below rather than behind it.
8. Finish the Top Course and Secure to the Soffit
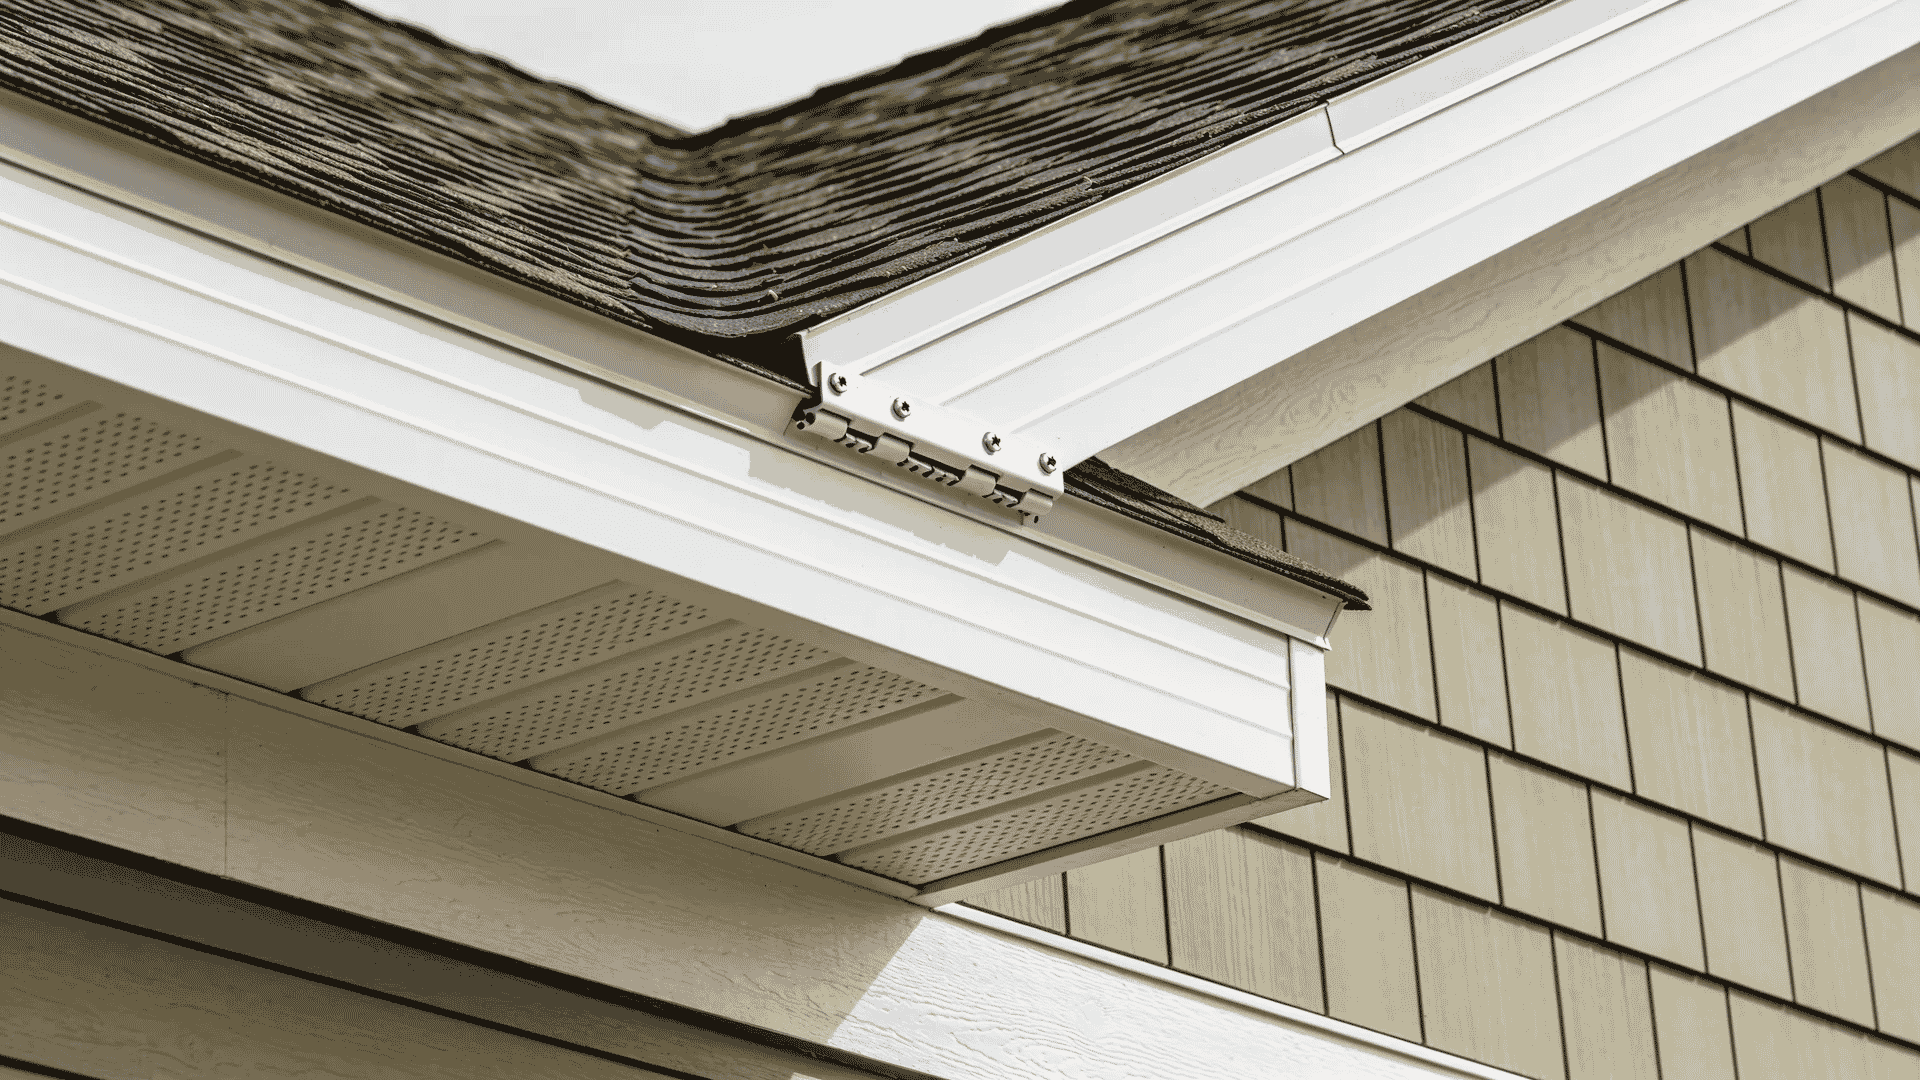
As you get close to the soffit, the last few panels need to be ripped to width. Measure the gap carefully and cut the panel to fit.
Use a snap lock punch to create tabs along the trimmed top edge of the last panel. These tabs grip the undersill trim or utility trim that runs just below the soffit, holding the panel securely even in high wind.
Nail utility trim to the wall just below the soffit before the final panels go on. The trimmed top edge of the last panel slides up into this trim.
Two options exist for securing the very top: drive color-matched nails, or use aluminum clips that fasten the siding to the soffit edge. Professionals often prefer the clip method for a cleaner finish with no exposed fasteners.
Mistakes That Ruin a Good Installation
Even careful DIYers make these errors. Knowing them in advance is the simplest way to avoid them.
- Nailing too tight: Panels must float. A nail driven flush against the panel face causes buckling in summer heat.
- Skipping the house wrap: No moisture barrier means water gets trapped behind the panels, silently damaging the sheathing over months.
- Using the wrong saw blade: A standard wood blade shatters vinyl, especially in cold weather. Use a fine-tooth blade or one made specifically for vinyl.
- Caulking at corner posts or J-channel ends: Vinyl needs to drain. Caulking those joint seals in moisture.
- Stacking seams vertically: Seams lined up in a column look amateurish and allow wind-driven rain to find a path behind multiple panels at once.
- Installing in extreme cold without adjusting the nail gap: According to the Vinyl Siding Institute, nail clearance should increase to 3/8 inch when temperatures drop below 40°F.
Conclusion
Vinyl siding installation is not complicated, but precision matters at every stage.
Proper wall preparation, a level starter strip, correctly spaced fasteners, and carefully fitted trim pieces all contribute to a finished exterior that looks clean and withstands weather exposure over time.
By following the installation sequence carefully and allowing for seasonal expansion and contraction, you can avoid common problems such as buckling, uneven courses, and moisture-related damage.
With the right preparation and attention to detail, vinyl siding can provide decades of reliable protection and curb appeal.
Do you have questions about a specific part of the process? Drop them in the comments below.
Frequently Asked Questions
Can I Install Vinyl Siding Over Old Siding?
You can, but removing the old siding first is better. It lets you inspect and repair the wall underneath before covering it again.
Do I Need a Permit to Install Vinyl Siding?
It depends on your local building department. Check before you start. Requirements vary by city and county.
What Type of Nails Should I Use for Vinyl Siding?
Use aluminum or galvanized steel nails. They resist rust and corrosion. Nails should penetrate at least 3/4 of an inch into framing or furring.