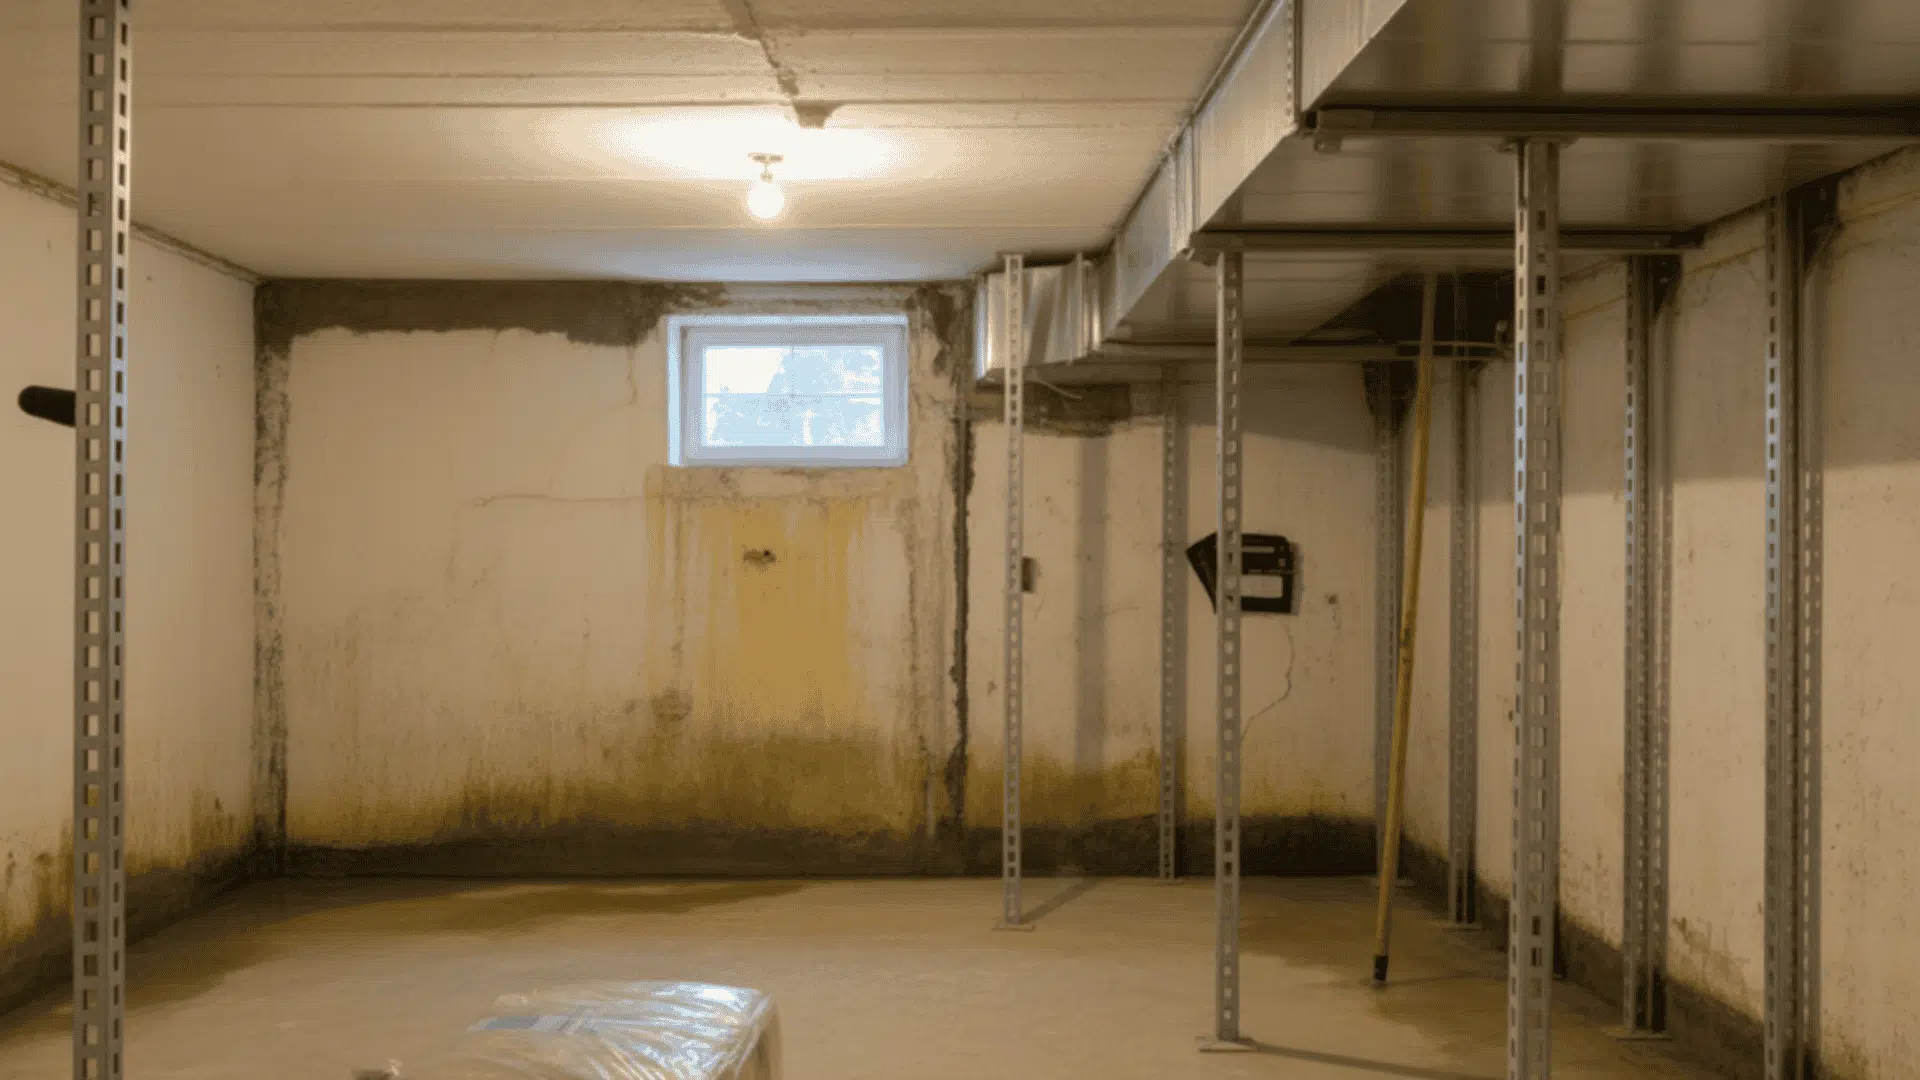
Bowing basement walls are one of the most common early signs of foundation stress, and ignoring them can quickly turn a minor issue into a costly repair.
When a wall leans inward, it’s usually caused by outside soil pressure, moisture buildup, or poor drainage, and the longer it’s left alone, the worse it becomes.
The good news is that minor bowing of less than 2 inches can often be stabilized safely with DIY bracing before the damage spreads.
Understanding why walls fail and how bracing works is the key to preventing further movement and restoring stability.
In this guide, you’ll learn when bracing is appropriate, how walls typically fail, and the step-by-step method to brace a bowing basement wall correctly.
What is Basement Wall Bracing?
Basement wall bracing is a method that reinforces weakened foundation walls. It stops walls from bowing inward. It prevents cracks from spreading. And it keeps your basement structurally sound.
Think of bracing as an internal support system. It holds your wall in place against outside pressure from soil and water. Without it, walls can buckle, crack, or even collapse over time.
The support system distributes pressure evenly across your wall. This reduces stress on weak points where damage is most likely to start.
Bracing materials bond to or anchor into the concrete, creating a reinforced barrier. They counteract the lateral force pushing against your foundation. This stabilization protects your home’s structural integrity for decades.
When is bracing appropriate?
- When hydrostatic pressure pushes against your foundation
- When you notice minor wall displacement (under 2 inches)
- When early signs of bowing appear, but haven’t worsened
- When you want to prevent future structural damage
Bracing is most effective when used as an early intervention. The sooner you address wall movement, the easier and cheaper the fix becomes.
How Basement Walls Typically Fail?
Basement walls don’t fail overnight. Soil pressure from expansive clay soil, water intrusion from poor drainage, freeze-thaw cycles in cold climates, and heavy surface loads from driveways or patios all combine to weaken your foundation over time.
These pressures create visible warning signs that indicate you need bracing:
- Horizontal cracks: running across the wall usually appear at mid-height where soil pressure is strongest. These cracks indicate your wall is bending inward under external force.
- Stair-step cracks: follow the mortar lines in block walls, creating a zigzag pattern. This happens when one section of the wall shifts more than the adjacent sections.
- Inward bowing of less than 2 inches means your wall has curved inward from its original position. Measure this by placing a straight board against the wall and checking the gap at the deepest point.
- Efflorescence: appears as white, chalky deposits on your basement walls. These mineral stains signal that water is seeping through your foundation and evaporating on the surface.
- Misaligned doors and windows: those that stick or won’t close properly suggest your foundation has shifted. This movement affects the frames and prevents proper operation.
- Gaps between walls and floor joists: This indicates the top of your wall has pulled away from the structure above. This separation compromises the connection between your foundation and house framing.
- Tilting walls: visible from inside the basement, show severe displacement. If you can see the lean without measuring tools, your wall needs immediate attention.
Fix Bowing Basement Walls Yourself: Step-by-Step Guide
This section provides a proven 7-step process based on professional installation methods. We’ll focus on carbon fiber strap installation, the most DIY-friendly option.
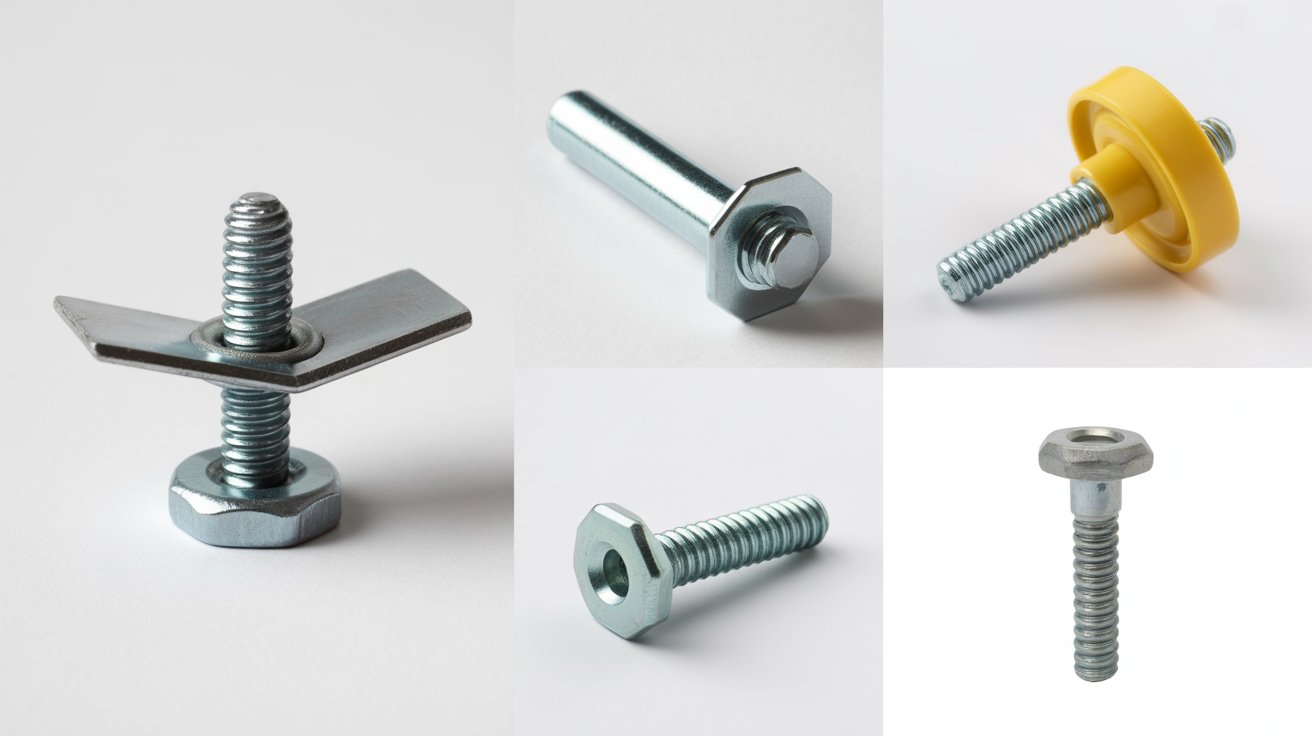
Tools & Materials Checklist
| Tools | Materials |
|---|---|
| Hammer drill | Wall bracing straps |
| 3/8-inch concrete bit | 3/8-inch concrete expansion anchors |
| Smaller masonry bit | Epoxy adhesive |
| Tape measure | Rim joist/sill plate fasteners |
| Chalk line or marker | Patch/repair material (optional) |
| Level | Protective gloves & safety gear |
| Tin snips | Cleaning supplies (brush, cloth) |
Once you have your tools and materials ready, follow these seven steps to install carbon fiber straps correctly:
Step 1: MeasureWall Height & Backfill Depth
Measure your wall from the basement floor to the bottom of your floor joists and write this down for cutting straps to length.
Identify the backfill depth by looking for a color or texture change where the basement concrete meets the original foundation.
This area experiences the most pressure, so you’ll place most straps here. Measure at several points since walls and joist heights vary.
Step 2: Mark Strap Locations Correctly
Space carbon fiber straps 4 to 6 feet apart along the wall. Use a chalk line to mark perfectly vertical lines for each strap, starting at one corner.
Center straps over existing cracks when possible and avoid utility locations. Use a level to verify each line is truly vertical and mark the top and bottom endpoints clearly.
Step 3: Install the Top Anchor
Locate a solid floor joist above your strap location and drill pilot holes through the rim joist or sill plate. Hold the top anchor bracket against the joist, mark hole locations, then drill through the wood into the concrete sill plate.
Insert concrete expansion anchors, attach the bracket with lag screws, and tighten firmly. Ensure the bracket sits flush against the wood.
Step 4: Align & Tension the Strap
Unroll your carbon fiber strap from the top anchor and let it hang down the wall along your marked line. The strap should lie completely flat with no twists or wrinkles.
Keep it centered on your chalk line and press it firmly against the wall surface. The textured side should face the wall. Hold it temporarily with masking tape while you work on the bottom anchor.
Step 5: Install the Bottom Anchor
Use your hammer drill with the 3/8-inch concrete bit to drill straight down through the strap into the concrete floor. Drill to the anchor’s specified depth, usually 3-4 inches, then clean the hole thoroughly.
Insert the concrete expansion anchor through the strap, tap it flush with a hammer, and tighten the bolt to expand it. The strap should now be taut at both ends.
Step 6: Drill & Epoxy Intermediate Holes
Drill holes every 12-16 inches along the strap length, to a depth of 2-3 inches into the wall. Clean each hole, then mix the two-part epoxy and inject it into each hole with a caulk gun.
Insert expansion anchors through the strap and tap them in until tight against the wall. Work quickly as epoxy sets in 20-30 minutes. Apply a thin layer of epoxy to the entire strap surface for full bonding.
Step 7: Finish & Secure the Top
Check that all screws are tight and the strap is taut from top to bottom. Trim excess strap material with tin snips and wipe away excess epoxy before it hardens.
Apply a final epoxy coat over the entire strap if desired. Let the system cure for 24-48 hours before painting. Verify the strap is vertical, has no gaps with the wall, and all anchors are secure. Repeat for each strap location.
Video Tutorial
I’d like to give credit to Nolan Engineering, PLLC, for their informative video, which served as a reference for this guide.
Basement Wall Bracing Cost: DIY vs Professional
The financial difference between DIY and professional repairs can help you make the right choice for your situation.
| Repair Method | DIY Cost | Professional Cost |
|---|---|---|
| Carbon Fiber Straps | $840-$2,310 (6 straps, materials + tools) | $2,400-$4,800 (installed) |
| Steel I-Beams | $1,000-$2,000 (5 beams, materials) | $2,500-$6,000 (installed) |
| Wall Plate Anchors | $2,250-$5,000 (5 anchors + excavation) | $5,000-$12,500 (installed) |
| Gorilla Wall Braces | $1,250-$2,350 (5 braces) | $3,000-$5,000 (installed) |
DIY savings: 50-70% on materials, but no warranty or guarantees.
Professional benefits: 25-year to lifetime warranties, expert installation, permits handled, and transferable warranties that protect home value.
When to call a professional? Wall bowing exceeds 2 inches, multiple cracks appear, floors sag, or your home is over 50 years old. Structural engineer consultations cost $300-$800 and provide an expert assessment of damage severity and repair options.
Final Thoughts
Fixing a bowing basement wall doesn’t always require professional help. If your wall shows no signs of severe structural damage, DIY bracing is achievable.
With the right tools, materials, and careful work, you can stop wall movement and protect your home’s foundation. Carbon fiber straps work well for minor bowing and are the easiest DIY option.
Steel I beams and Gorilla Wall Braces handle moderate displacement. Wall plate anchors address severe problems but require excavation. Choose the approach that matches your skills, budget, and comfort level.
Ready to start your repair? Review the steps, gather your materials, and work carefully. When in doubt, always err on the side of caution and seek professional advice.
Your basement wall can be stabilized. Take action today.