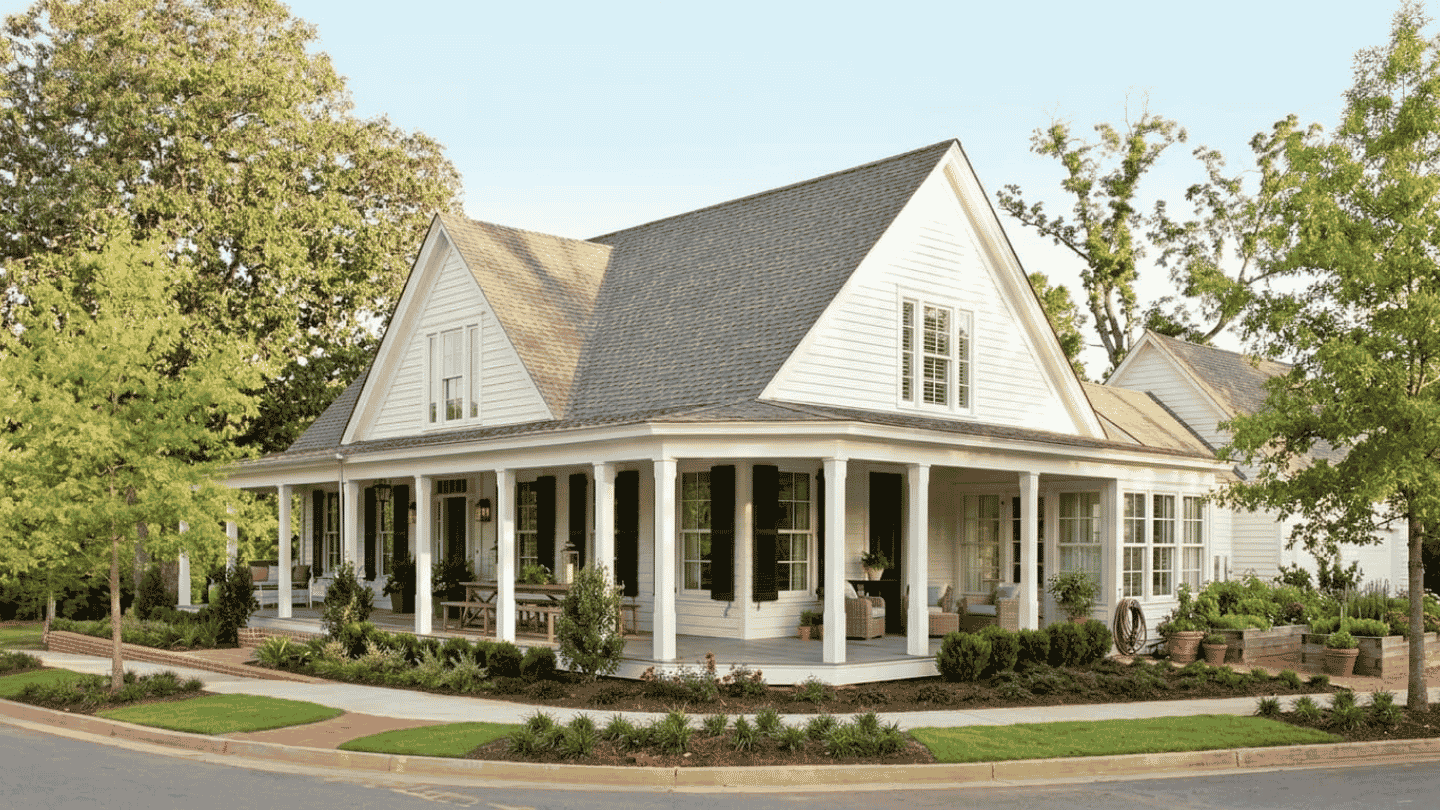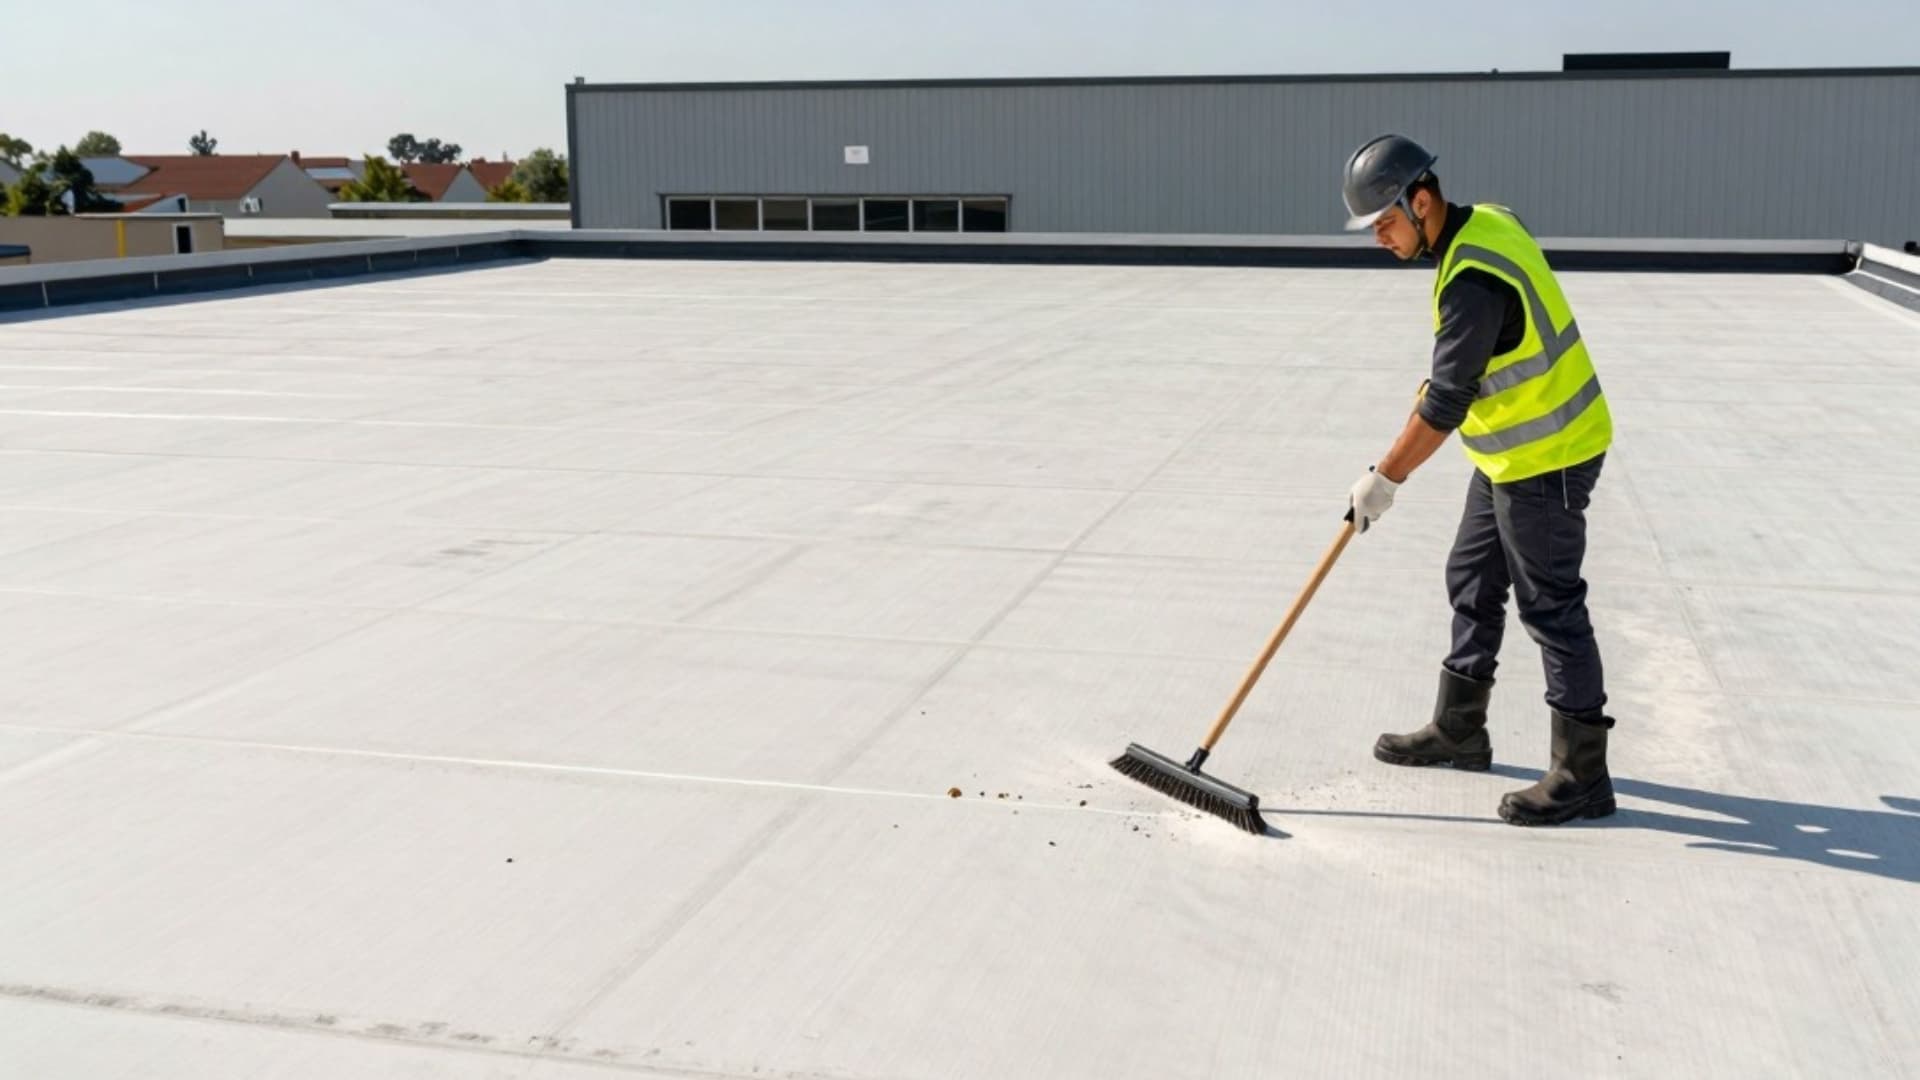
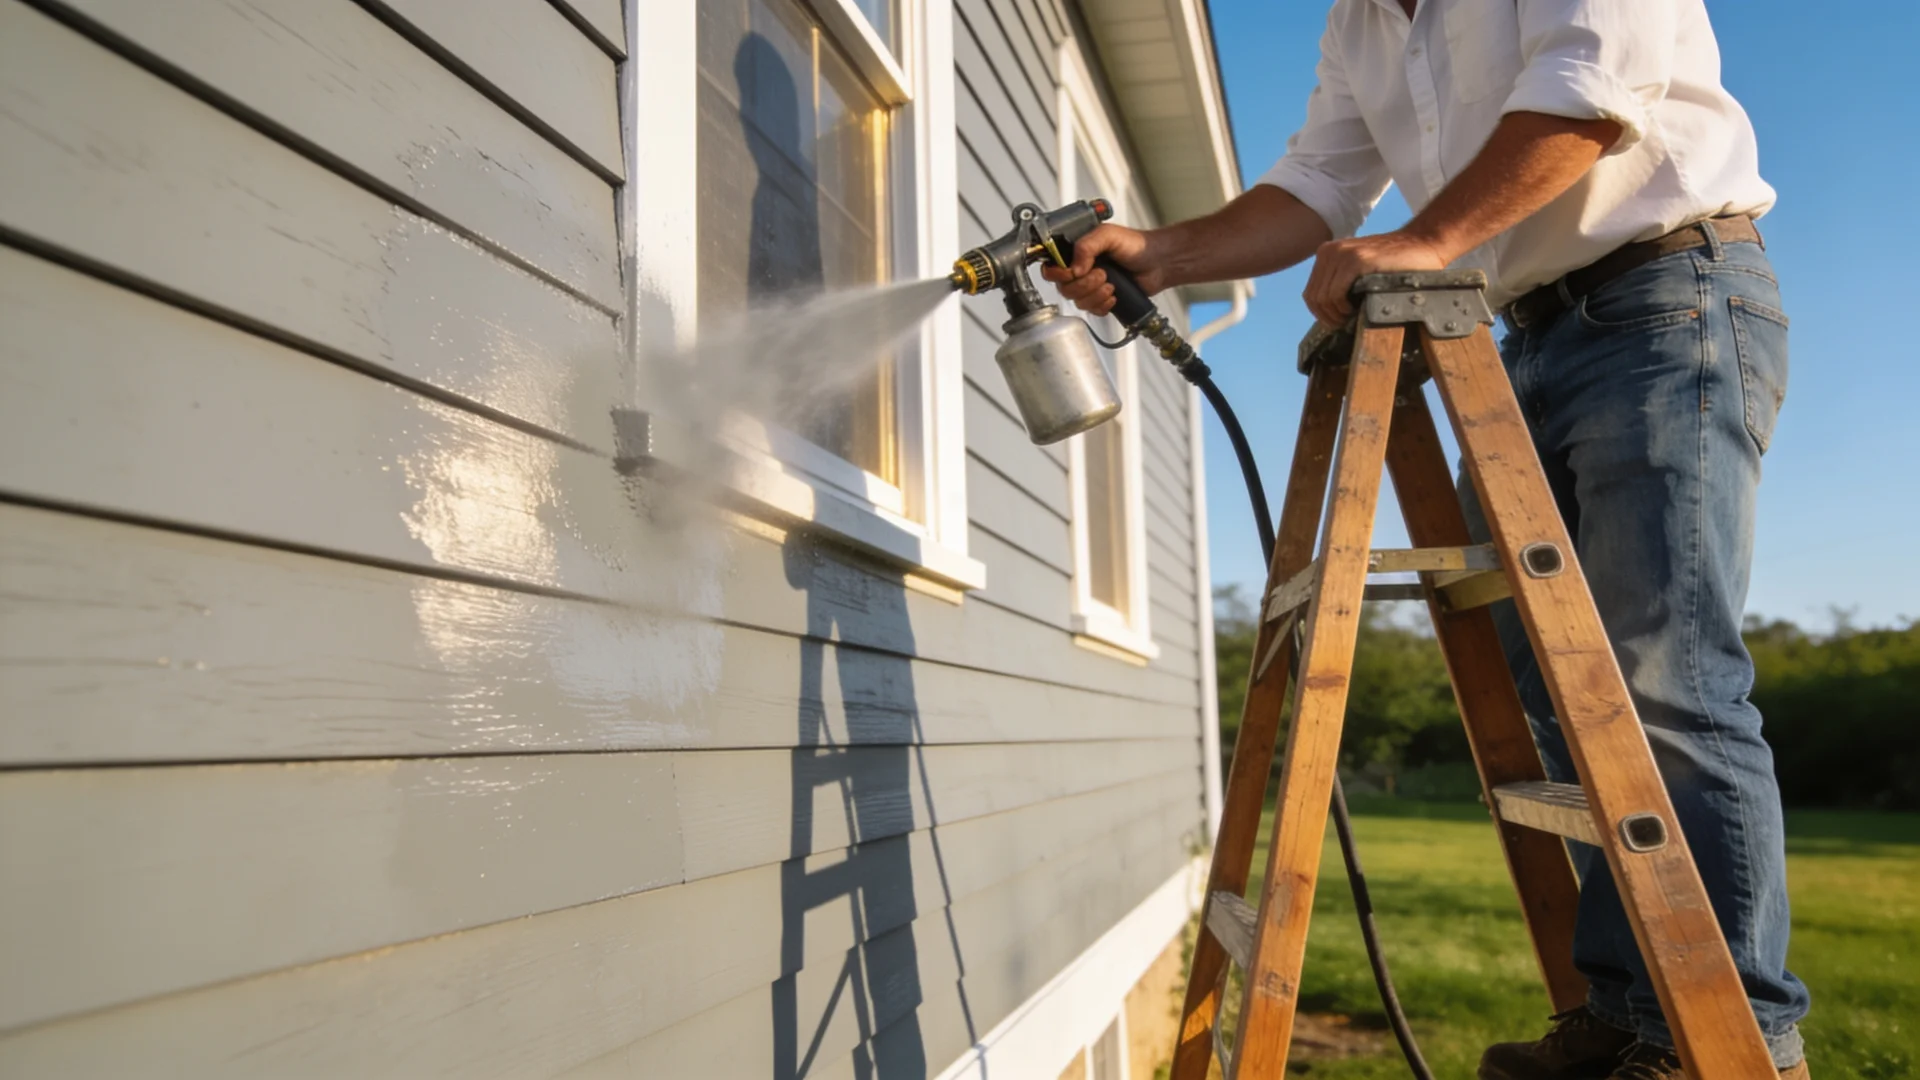
Yes, you can paint vinyl siding. But there is a right way to do it and a wrong way, and the wrong way can cost you more than if you had done nothing at all.
I have seen homeowners skip one step, use the wrong product, and end up with warped panels, peeling paint, or a color shift that shows through every winter.
The good news is that none of those outcomes are hard to avoid. This guide covers what vinyl-safe paint actually means, how vinyl differs from aluminum, what tools you need, the ten steps to paint it correctly, and the one downside of vinyl siding.
Why Vinyl Siding Is Different When It Comes to Paint
Vinyl siding is plastic. That sounds obvious, but it matters more than most people realize when it comes to paint.
Because vinyl is plastic, it responds to heat differently from wood or aluminum. When vinyl siding is manufactured, it is rated to absorb a specific amount of heat at its original color.
Lighter colors are rated for less heat absorption. Darker colors are rated higher.
Before vinyl-safe paints existed, painting vinyl a darker color than its original shade was a real problem.
The darker paint absorbed more heat than the material was designed to handle, causing the vinyl to warp, buckle, or, in more serious cases, melt. I have seen photos of it. It is not a subtle issue.
What Vinyl-Safe Paint Does Differently
Vinyl-safe paint is formulated without black in the tint base. Black pigment is the primary driver of heat absorption, and removing it from the formula prevents the painted surface from absorbing more heat than the underlying material can handle.
Every major paint manufacturer produces a vinyl-safe line. When you are shopping, look for the term “vinyl-safe” on the label or confirm with the manufacturer that the formula contains no black pigment.
With that product, you can change the color of your siding the a darker shade without the material warping. A lot of homeowners assume they are stuck with whatever color their siding came in. They are not.
Tools and Materials for Painting Vinyl Siding
Before picking up a sprayer, gather everything. Working through a paint job while hunting for a missing tool is how spills, drips, and uneven coverage happen.
| Tools and Materials | Quantity |
|---|---|
| Airless paint sprayer | Rent at most US hardware stores or rental centers |
| Garden hose or pressure washer | One |
| Drop cloths | As needed |
| Painter’s tape | As needed |
| Ladder | Rated for your siding height |
| Safety glasses or goggles | One pair |
| Chemical-resistant gloves | One pair, if using cleaning solutions |
| Vinyl-safe exterior paint | Enough for your square footage plus 10% overage |
| Exterior cleaner or mildew-removing wash solution | As needed |
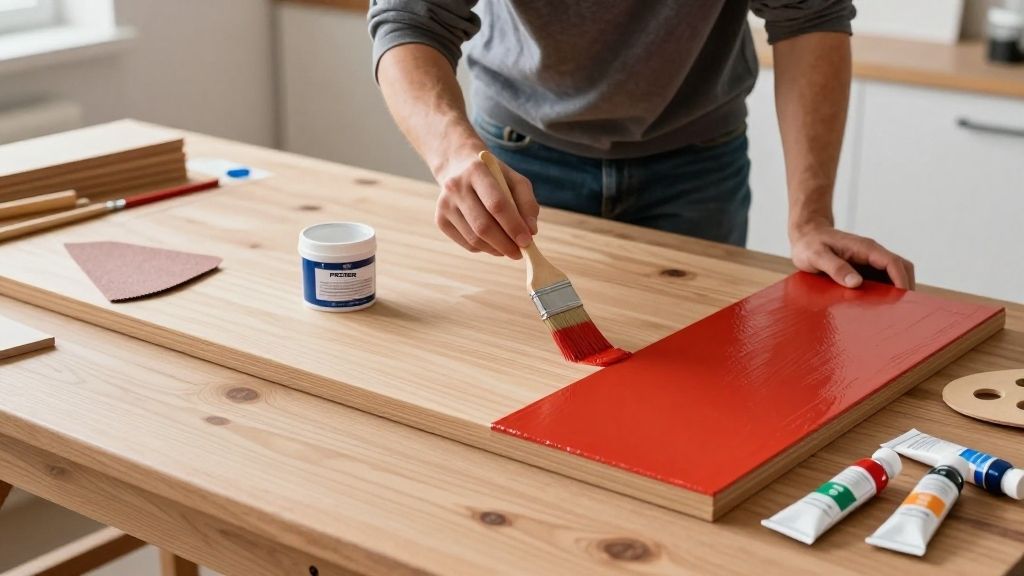
| Primer | Only if the siding is bare or heavily faded |
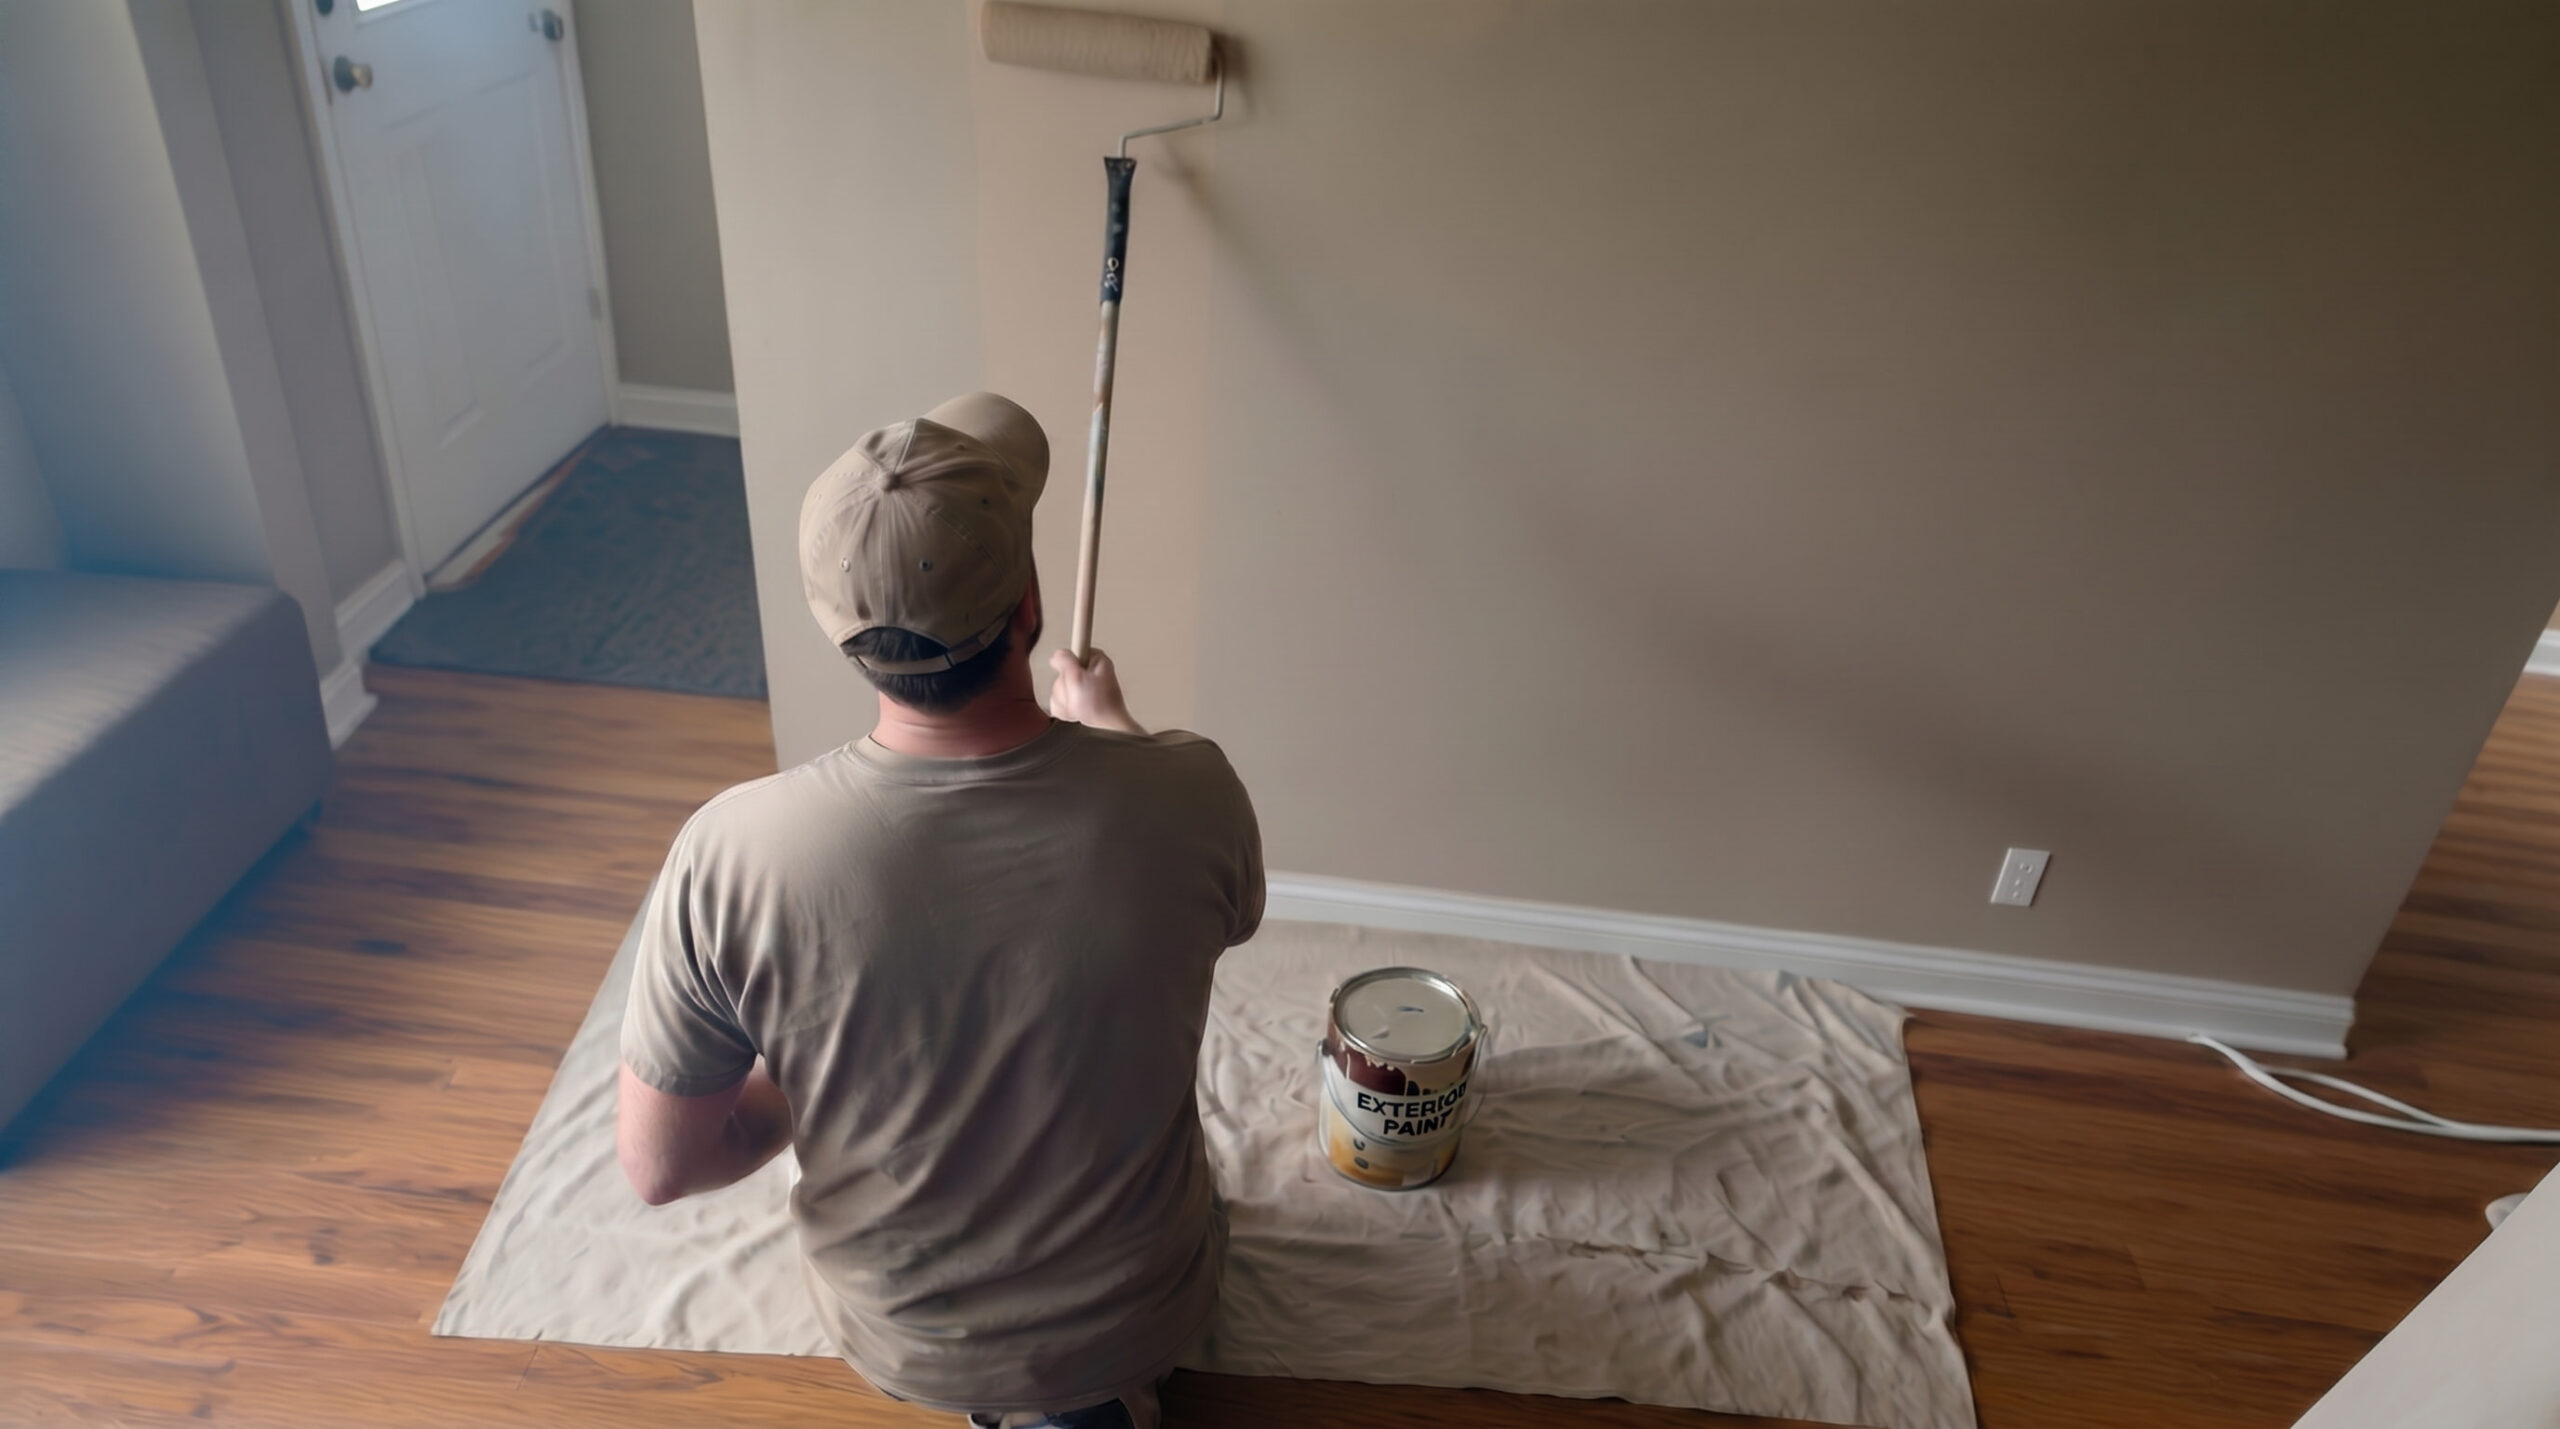
Many homeowners ask whether they can brush and roll instead of using a sprayer. You can, but an airless sprayer is far more efficient on vinyl. Paint does not absorb into the surface the way it does on wood. It sits on top.
A sprayer lays that film down more evenly and faster. If you do not own one, rentals are inexpensive, and staff at most rental centers will walk you through setup.
How to Paint Vinyl Siding
Prep is everything with vinyl siding. Follow these ten steps in order, and the job holds up for years.
Step 1: Inspect the Siding Before You Start
Walk the full perimeter of your home and check every panel. Look for cracks, warping, loose panels, or spots where the siding has pulled away from the wall.
Paint will not fix structural problems. Address any damage before you pick up a brush or sprayer.
Step 2: Clean the Surface Thoroughly
This is the step that most DIY paint jobs skip or rush, and it is the one that matters most. Vinyl siding collects mildew, algae, dirt, and organic growth over time. Any of that left on the surface will prevent the paint from bonding correctly.
Use an exterior cleaner rated for siding, then scrub or pressure-wash the entire surface. Do not assume it looks clean enough. Get it actually clean.
Step 3: Let the Siding Dry Completely
After cleaning, wait. Full dry time before painting is not optional. Applying paint over damp vinyl traps moisture beneath the film, leading to peeling, bubbling, or poor adhesion.
Depending on the weather and humidity, this can take anywhere from a few hours to a full day.
Step 4: Choose a Vinyl-Safe Paint and Confirm the Tint
Verify that the paint you selected is labeled vinyl-safe and confirm with the manufacturer or the paint desk that the tint base contains no black pigment. This step applies regardless of how light or dark your color choice is.
Step 5: Mask Off Windows, Doors, Trim, and Fixtures
Use painter’s tape and drop cloths to protect everything that should not get painted. Cover windows, doors, light fixtures, outlets, and any trim you are not painting.
Lay drop cloths on the ground along the base of the house. Overspray travels further than you expect.
Step 6: Set Up and Test the Airless Sprayer
Before you start on the house, test your sprayer on cardboard or a scrap surface. Check the pressure, spray pattern, and tip size.
Most exterior paints have a recommended tip size listed on the can. Get the sprayer dialed in before it goes anywhere near the siding.
Step 7: Keep the Sprayer at an Even Distance
Once you start painting, maintain a consistent distance between the sprayer tip and the siding surface throughout each pass.
Moving closer or further as you go creates uneven film thickness, which shows up as streaks or thin spots once the paint dries.
Step 8: Do Not Twist Your Arm at the Ends of Each Pass
This is a technique detail that makes a real difference. At the end of each horizontal pass, do not let your wrist rotate or your arm angle change.
That twist sends overspray in a direction you do not intend. Keep the motion parallel to the surface all the way through.
Step 9: Work Panel by Panel, Top to Bottom
Start at the top of the wall and work down. Any drips or runs fall onto the unpainted surface below, not over the work you have already finished. Move across each section before moving to the next.
Step 10: Allow Full Dry Time Before Removing Masking
Once the paint is on, leave it. Let the film cure fully before pulling tape or moving drop cloths.
Check the paint manufacturer’s recommended dry time, and add extra time if conditions are humid or cooler than ideal. Pulling tape too early lifts paint edges.
Video Reference
Special thanks to Tribble Painting Company for providing valuable insights in their video, which I referenced while creating this guide.
Vinyl Siding vs. Aluminum Siding: What Changes When You Paint Each
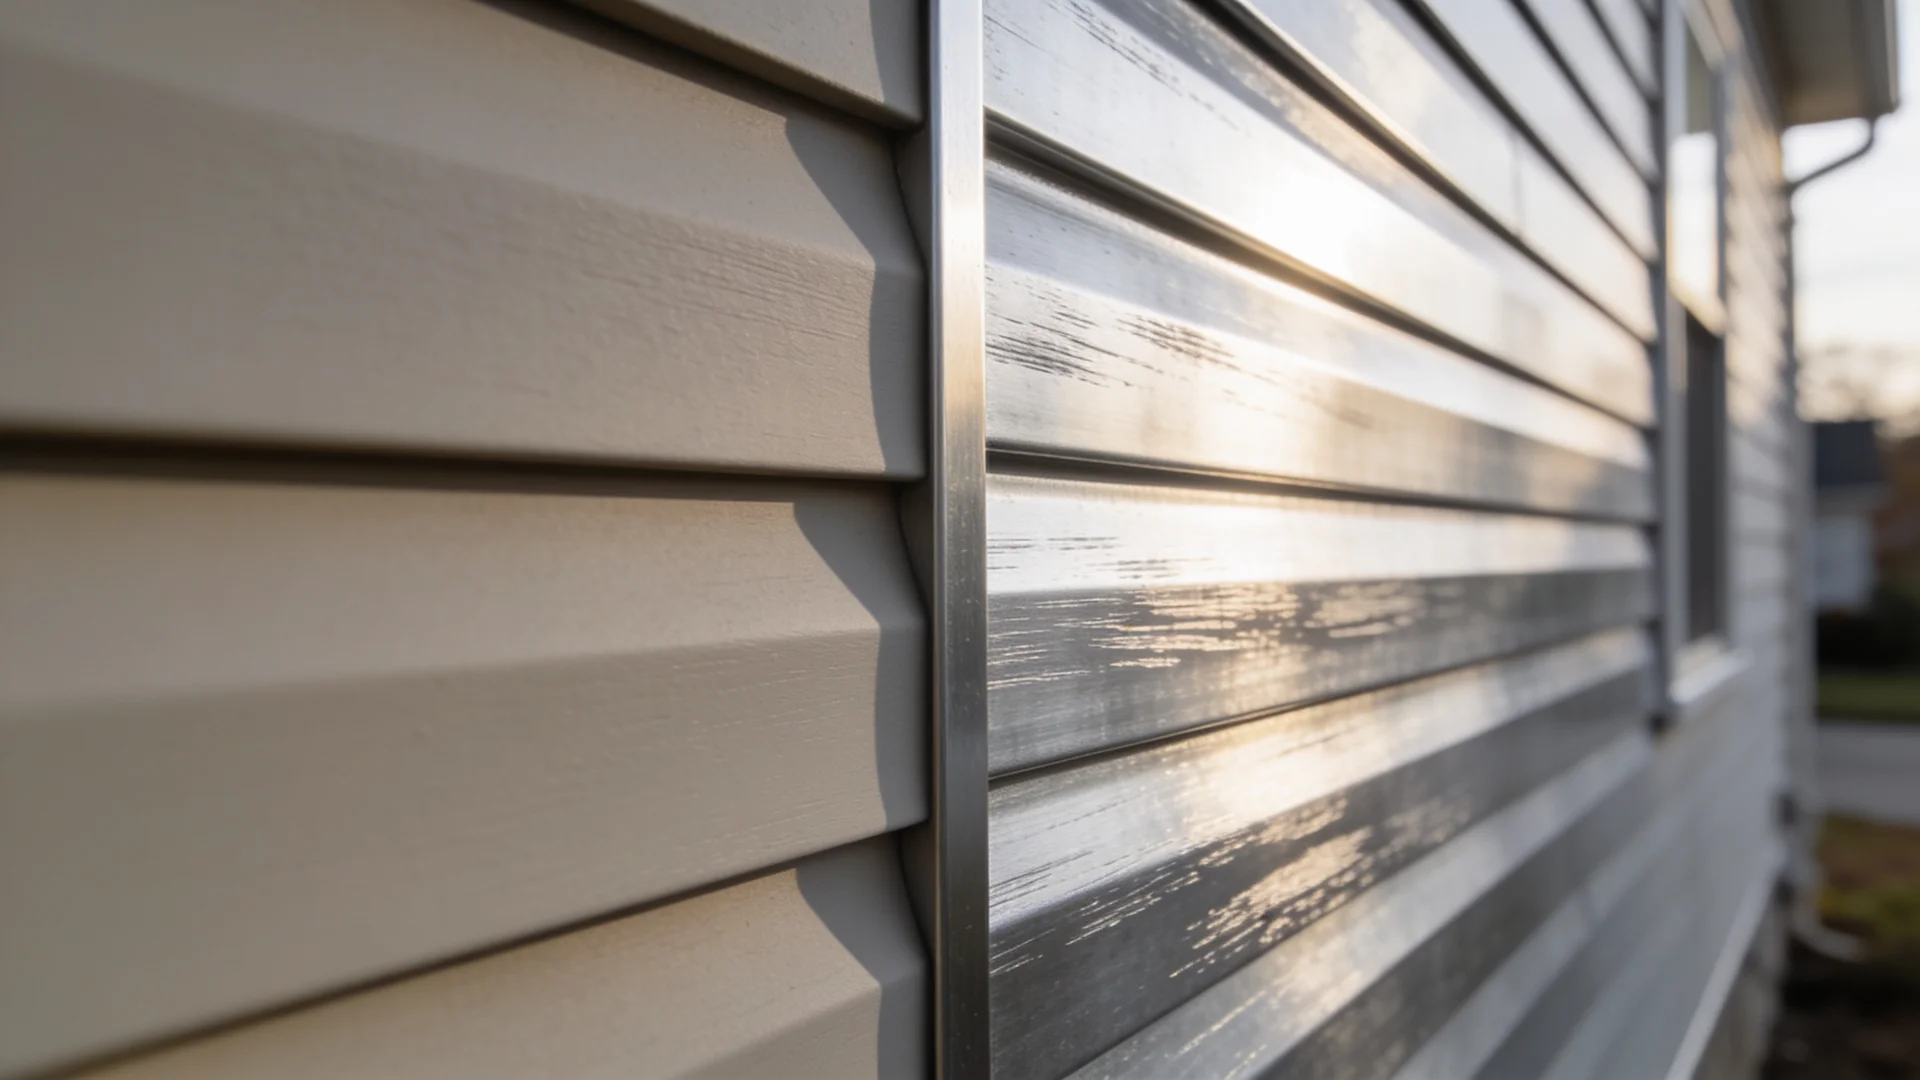
The preparation process differs between the aluminum siding and vinyl siding materials in one important way.
| Factor | Aluminum Siding | Vinyl Siding |
|---|---|---|
| Surface issue over time | Develops chalky oxidation, usually around the 20-year mark | No oxidation, but moves seasonally with temperature changes |
| Prep required | Wash or lightly scuff the sand to remove oxidation before painting | Clean thoroughly; no sanding needed |
| Expands and contracts? | No | Yes, up to half an inch between seasons |
| Color-bleed risk? | No | Yes, the original color can show at panel overlaps in cold weather |
| Adheres to paint? | Yes, once oxidation is removed | Yes, with a vinyl-safe formula |
Downside to Painting Vinyl Siding Nobody Tells You About
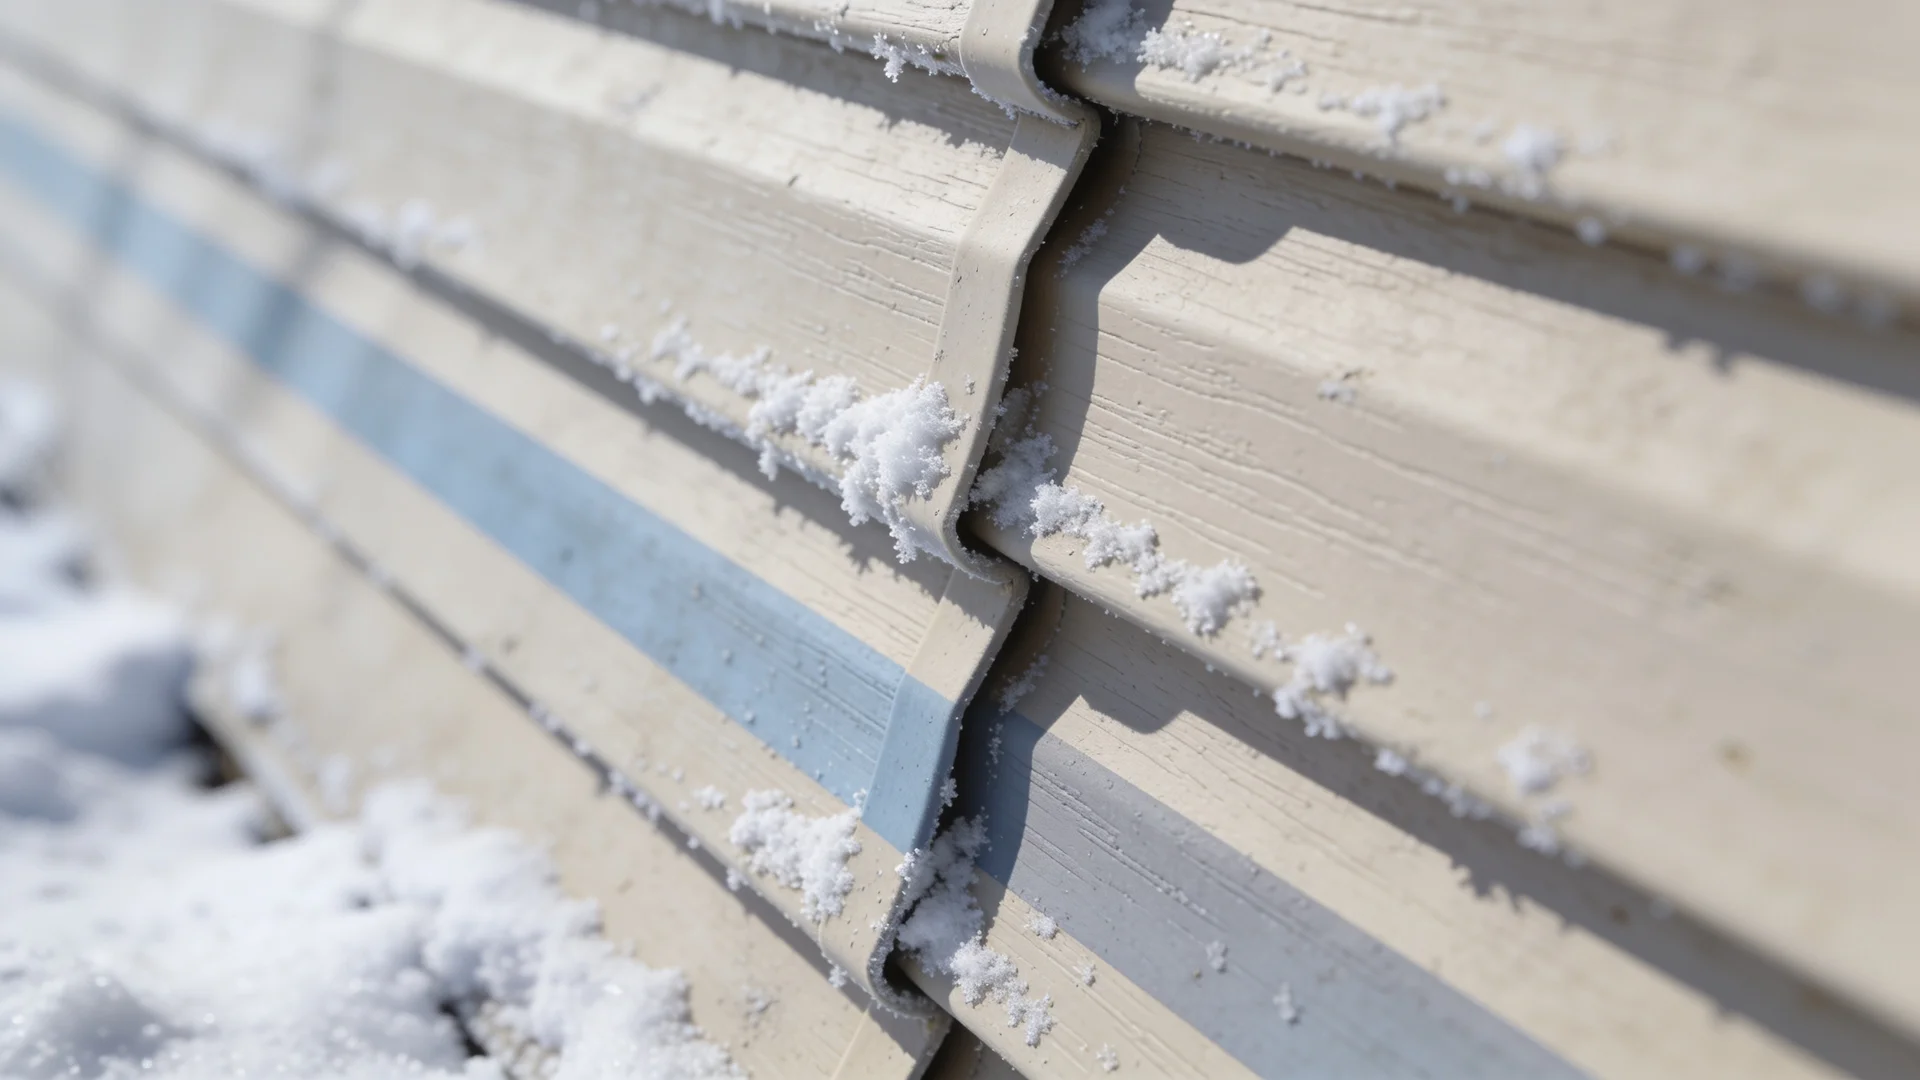
When vinyl is in its original factory color, seasonal expansion and contraction are invisible. The color behind the panel overlap matches the front. Once you repaint the siding, that changes.
The paint covers the visible face of each panel but does not reach into the overlap joint. When the vinyl contracts in cold weather and the panels shift, the original color shows through as a thin stripe along every panel edge.
This is not a defect in the paint job. It is just how vinyl moves. A yellow house repainted blue will show yellow stripes at the panel overlaps in November. By the time warm weather returns and the panels expand back, the stripes disappear.
I have never had a client walk away from painting their vinyl siding after hearing this. But I have had clients who saw those stripes in January and panicked because nobody warned them. Now you know. Go in with that expectation, and it is a non-issue.
Common Mistakes When Painting Vinyl Siding
- Using black in the paint tint: This is the most consequential mistake on the list. It does not matter how light the finished color looks. If the tint base contains black, the paint will absorb heat that the vinyl was not built to handle.
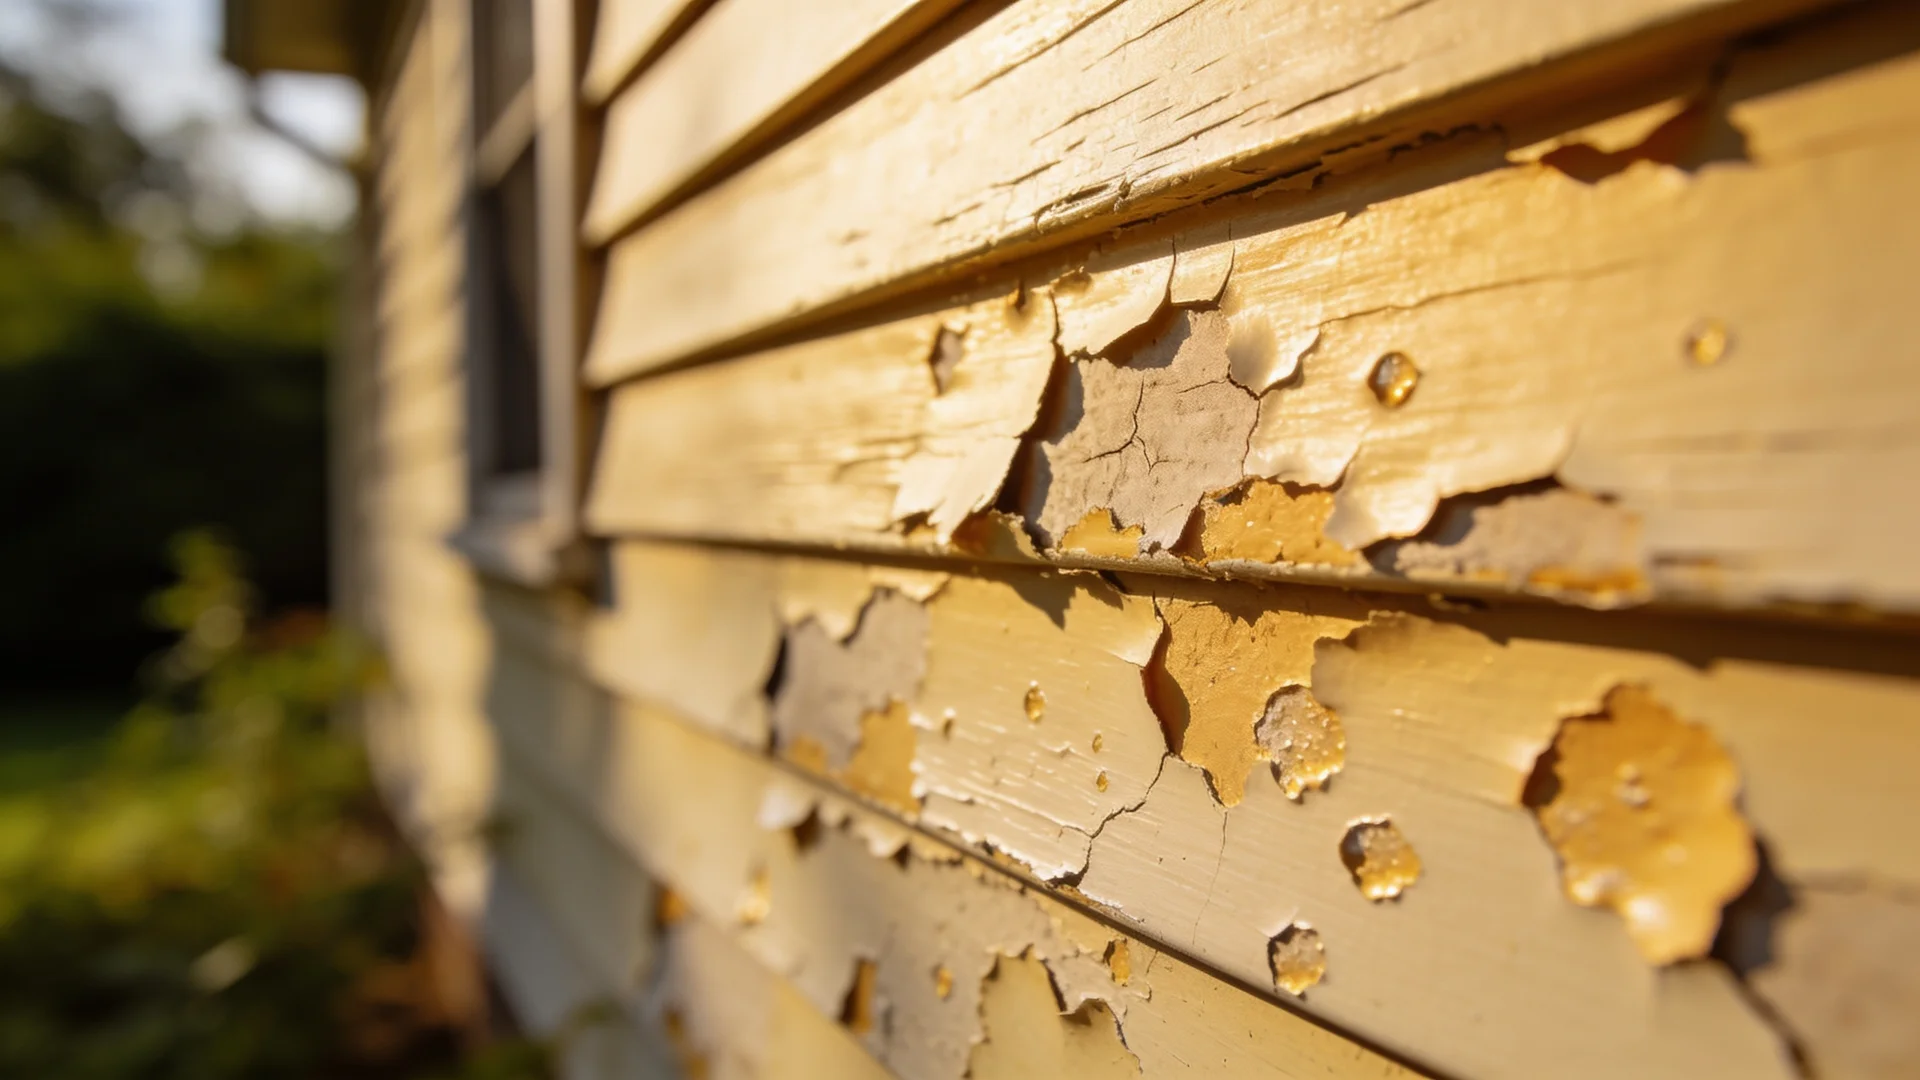
- Skipping the cleaning step: Paint applied over dirt, mildew, or organic growth will not bond. It will peel. The surface has to be completely clean and dry before anything goes on it.
- Back-rolling or back-brushing after spraying: On wood, back-rolling works paint into the grain and improves adhesion. Vinyl has no grain. The paint sits on the surface. Back-rolling after spraying creates streaks and drag marks. Spray and leave it.
- Painting over damp siding: If the surface is not fully dry, the paint film traps moisture. That moisture has nowhere to go, and the result is bubbling, peeling, or adhesion failure within the first season.
- Going darker without confirming the formula is vinyl-safe: Even if you are going only one or two shades darker, confirm the product is rated for vinyl before you start. Not all exterior paint is vinyl-safe.
Conclusion
Painting vinyl siding is an affordable way to change the look of your home without replacing the material. The process works when you follow three rules: clean the surface completely, use a vinyl-safe paint, and apply it with an airless sprayer for even coverage.
Know going in that seasonal expansion will reveal the original color at panel overlaps in colder months. That is normal, not a mistake. Do the prep correctly, use the right product, and a painted vinyl exterior holds up for a decade or more.
It is one of the most cost-effective exterior upgrades a US homeowner can make, and the color options are far wider than most people assume when they think they are stuck with factory vinyl shades.
Frequently Asked Questions
Is it a Good Idea to Paint Vinyl Siding?
Yes, if the siding is structurally sound. It is one of the most cost-effective exterior updates a homeowner can make, far cheaper than full replacement.
What Kind of Paint do You Use on Vinyl Siding?
Use a 100% acrylic latex exterior paint labeled vinyl-safe. It flexes with the siding as temperatures change and will not crack or peel prematurely.
How Much Does it Cost to Paint Vinyl Siding?
Painting a 2,000-square-foot home averages around $4,000, with costs varying by location, number of coats, siding age, and whether you hire a professional or do it yourself.
Is it Better to Paint or Replace Vinyl Siding?
Paint if the siding is clean, solid, and not warped. Replace if panels are cracked, brittle, or moisture-damaged. Paint cannot fix structural failure.