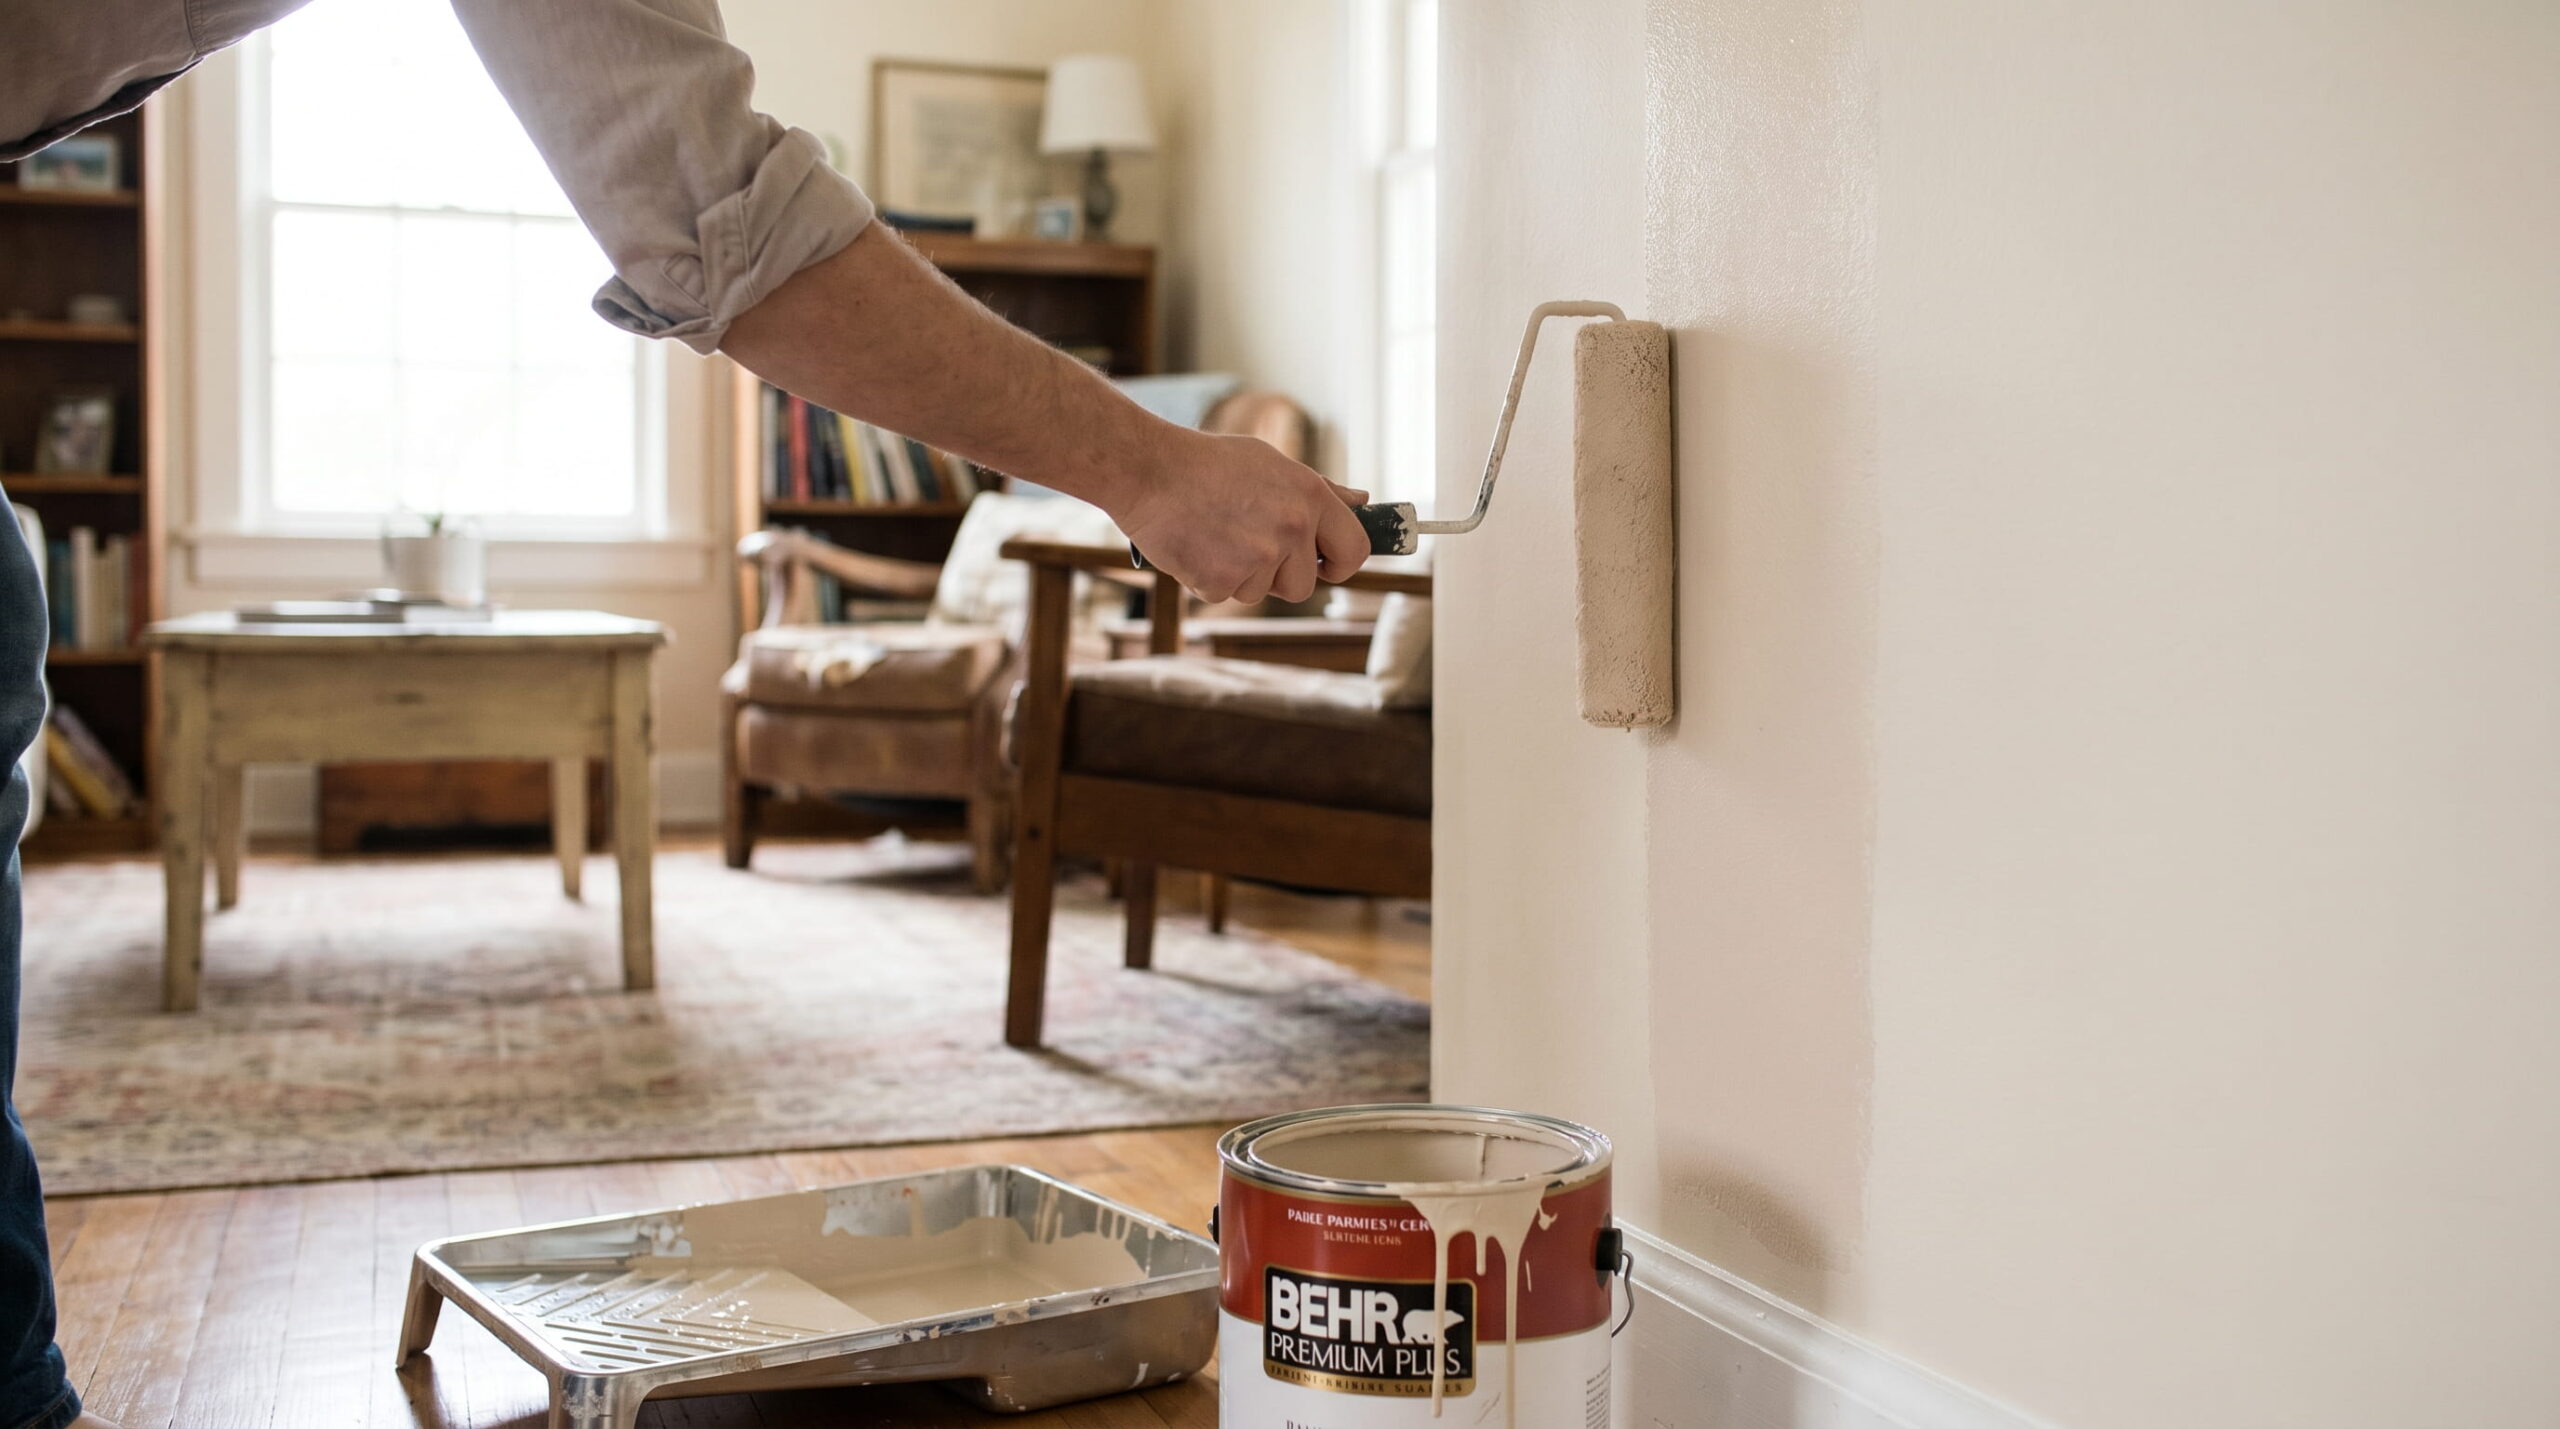
Acrylic paint on wood is one of the most popular choices for DIY projects, furniture makeovers, and crafts because it is easy to use, fast-drying, and widely available.
However, many people struggle with peeling, patchy color, or rough finishes because the surface is not prepared correctly. Wood is naturally absorbent, so it needs the right prep, primer, and sealer to achieve a professional result.
This post explains everything step by step so your painted wood looks smooth, even, and lasts for years.
Can You Use Acrylic Paint on Wood, and Will It Last?
Yes, you can use acrylic paint on wood, and it can last a long time when applied correctly. Wood is a porous surface, so the paint needs proper preparation to stick well.
This usually means sanding the wood to smooth the surface, applying a suitable primer, then adding thin, even layers of acrylic paint.
Once the paint is fully dry, sealing it with a clear protective coat helps lock it in and protect it from moisture, scratches, and fading.
For Indoor Use, a well-prepared and sealed acrylic-painted wooden piece can last for years. Outdoors, it can also last well, but it will need a stronger weather-resistant sealer and occasional maintenance to handle sun and moisture exposure.
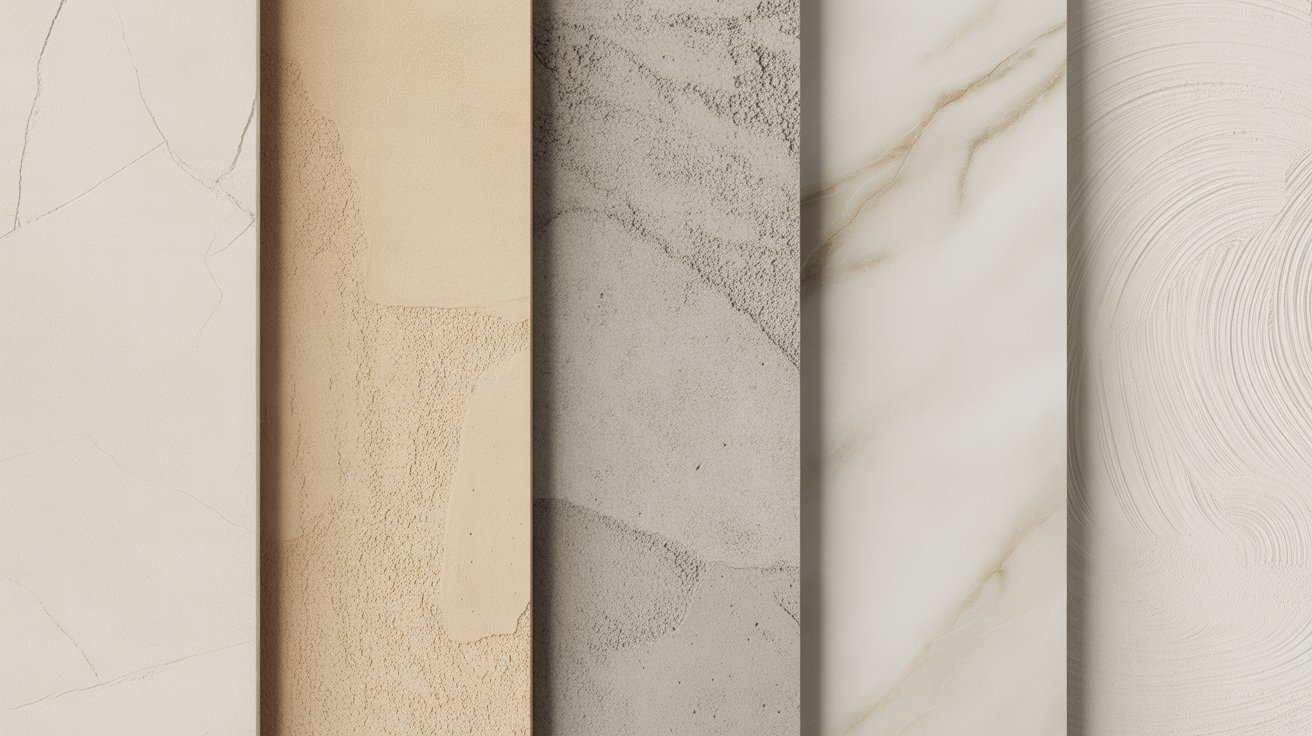
Types of Wood and How They Affect Paint Results
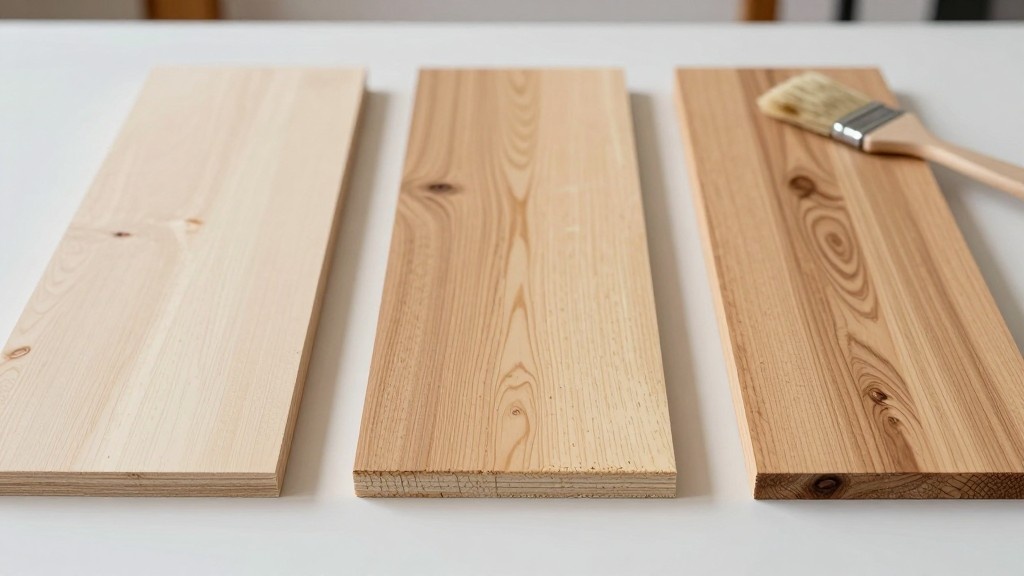
Different types of wood respond differently to acrylic paint because of their texture, density, and moisture absorption. Choosing the right surface and understanding how it behaves can make a big difference in the final finish and durability.
1. Softwoods
Softwoods like pine and cedar are more porous, so they absorb paint more quickly and sometimes unevenly. This can lead to blotchy coverage if the surface is not properly primed. They usually need extra sealing to create a smooth, even finish.
2. Hardwoods
Hardwoods such as oak and maple have a tighter grain structure, so they don’t absorb paint as quickly as softwoods. This helps create a smoother finish, but it can be harder for paint to grip without proper sanding and priming beforehand.
3. Plywood and MDF
Plywood and MDF are commonly used for DIY projects because they are affordable and easy to work with. However, they absorb moisture and paint unevenly if left unsealed, so priming is essential to prevent swelling and patchy results.
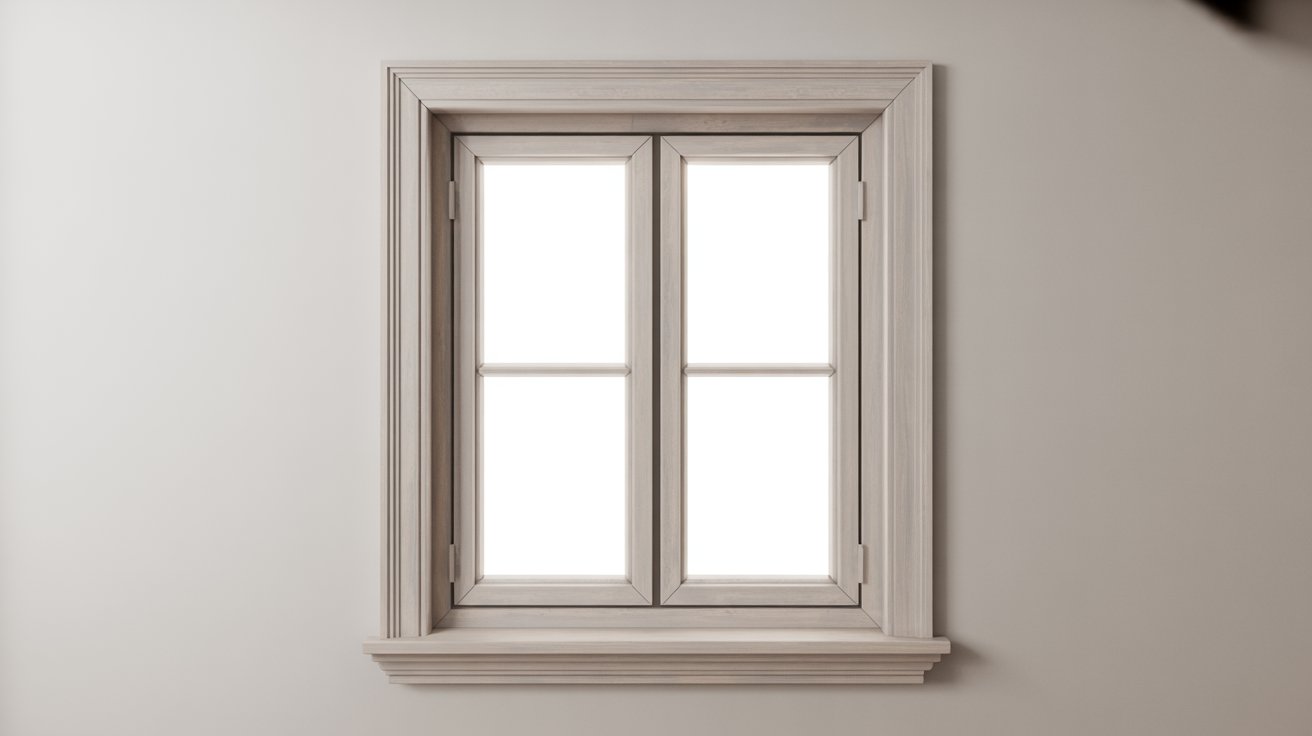
4. Previously Painted or Stained Wood
Wood that already has paint or stain needs extra preparation before applying acrylic paint. Sanding is important for removing gloss and creating grip for the new layer. Without this step, the fresh paint may peel or chip over time.
One thing to know: acrylic paint dries in 20–30 minutes but takes up to 24 hours to cure fully. Drying means the surface feels dry. Curing means the paint has hardened all the way through. Don’t stress-test the surface until it’s fully cured.
How to Prepare Wood Before Painting
Proper preparation and priming are essential for smooth adhesion and long-lasting acrylic paint results on wood. Skipping or rushing these steps is one of the main reasons paint peels, looks patchy, or wears out quickly.
- Clean the surface: Remove dust, oils, and debris using a mild cleaner or damp cloth. Let the wood fully dry before moving to the next step, because even slight moisture can affect how the paint bonds.
- Sand the wood: Start with 120-grit sandpaper for rough areas, then move to 180-grit, and finish with 220-grit for a smooth surface. This sanding progression helps the paint grip properly and prevents early peeling or uneven texture.
- Remove dust: After sanding, wipe the surface using a tack cloth or damp microfiber cloth. Any leftover dust can create bumps in the paint and stop it from spreading evenly.
- Apply primer: Use a suitable primer to seal the wood and create a uniform base for acrylic paint. This step improves adhesion, reduces paint absorption, and gives a more even and vibrant finish. Allow proper drying time before painting.
- Check the wood type and condition: MDF may need edge sealing, softwoods may need an extra primer coat, and previously stained wood often requires more thorough sanding. Adjusting prep based on wood type helps prevent patchy or weak finishes.
- Control drying time and conditions: Let each step fully dry before moving forward, especially the primer. Avoid painting in very humid or damp conditions, as moisture can weaken adhesion and cause long-term paint failure.
- Quick checklist before painting: Make sure the wood is fully clean, smoothly sanded, dust-free, properly primed, and completely dry. Skipping any of these steps can significantly reduce the durability of your acrylic paint finish.
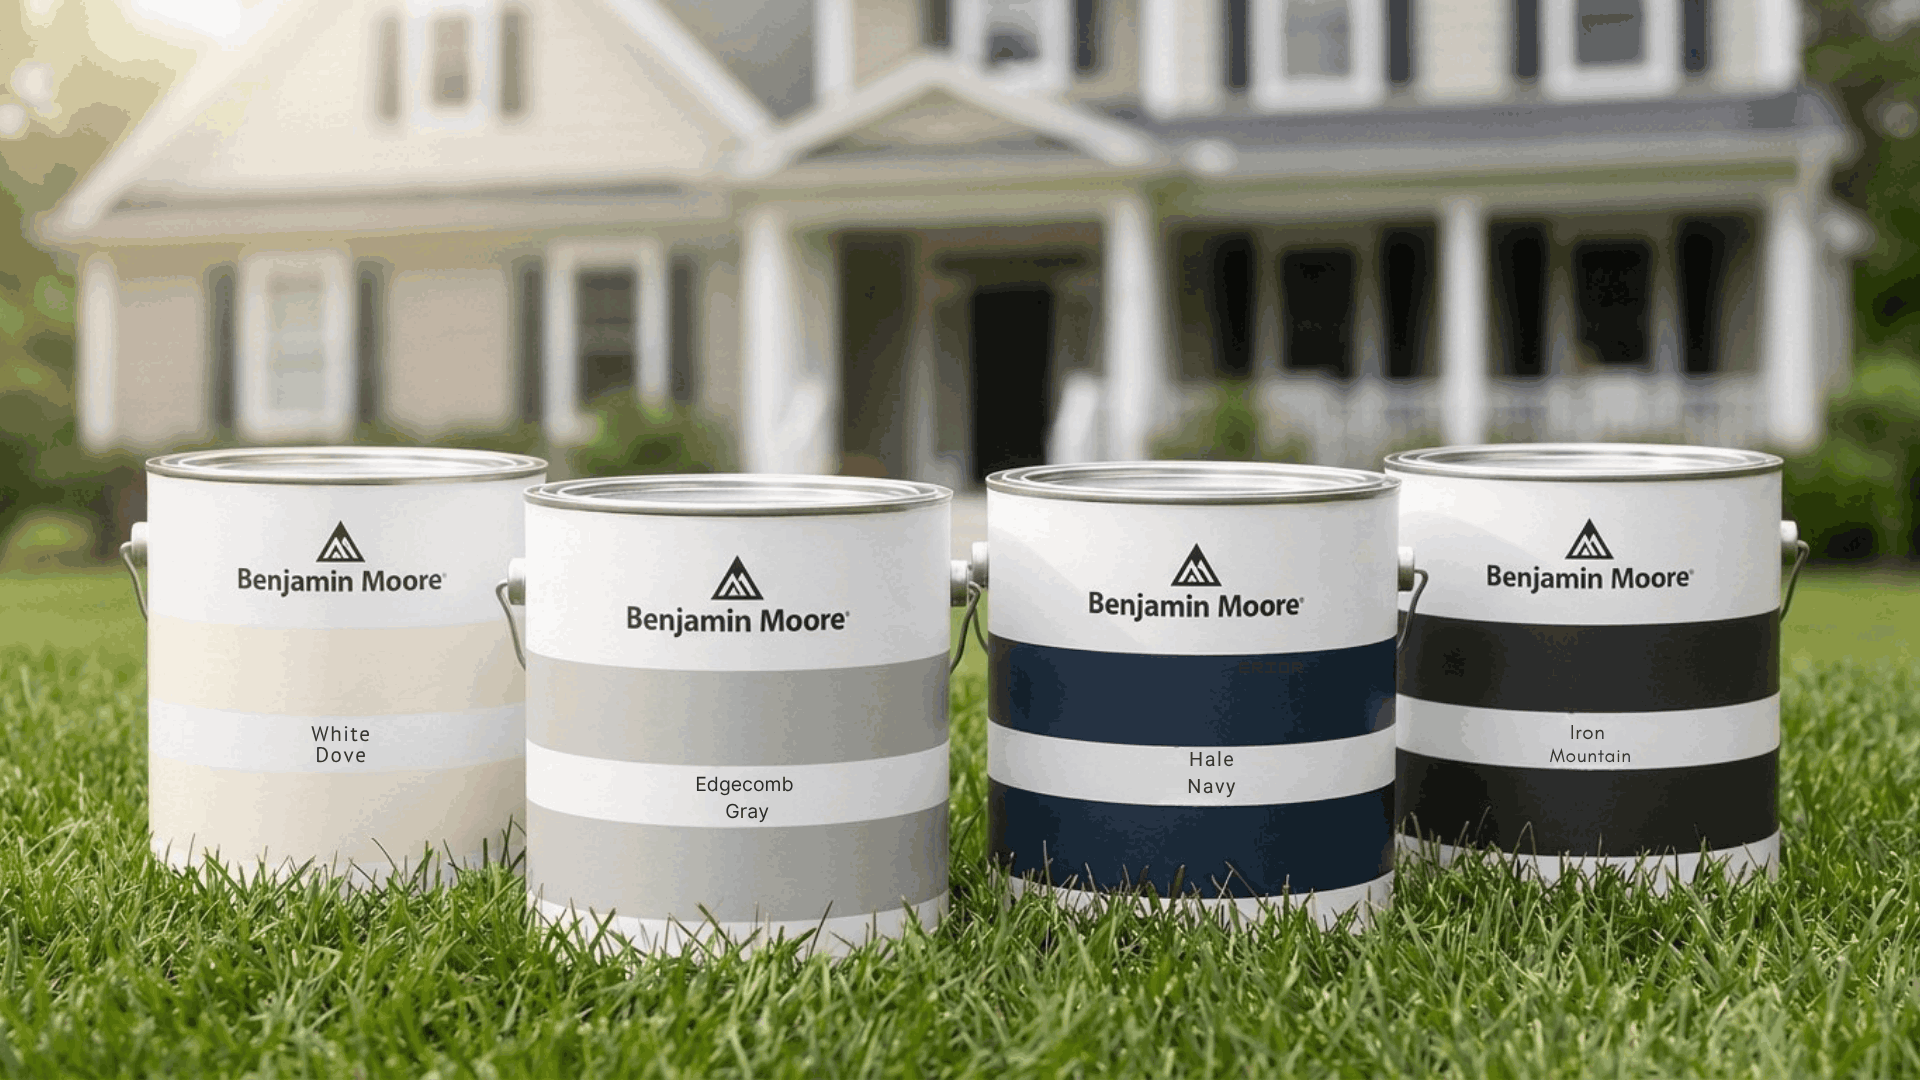
Choosing the Right Acrylic Paint for Wood
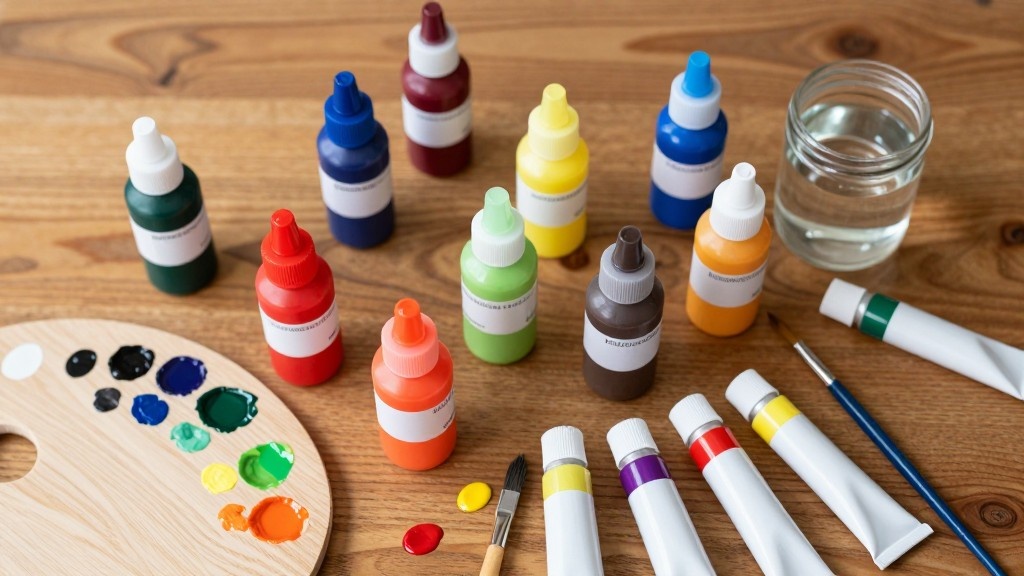
Not all acrylic paints are the same. Some work better for wood projects than others. Picking the right paint from the start saves you time, money, and a lot of frustration. Here’s what you need to know before buying.
Craft vs Artist-Grade Acrylic
Craft acrylic paints are budget-friendly and widely available. They work well for simple DIY projects, decorations, and beginner use. However, they contain less pigment, so colors may look less vibrant and fade faster over time.
Artist-grade acrylic paints have a higher pigment concentration, resulting in richer color and better durability. They are ideal for detailed work or pieces that need a longer-lasting finish. While more expensive, they provide stronger coverage and professional results.
Matte vs Gloss Finish
The finish you choose for your paint changes the final look of your wood project.
Matte finish gives a flat, non-shiny appearance and works well for rustic or natural styles. It hides brush marks better but is slightly harder to clean.
Satin finish offers a soft sheen and balanced look. It is the most versatile option for furniture and décor.
Gloss finish creates a shiny, reflective surface. It enhances color vibrancy and is easier to clean, making it ideal for high-use surfaces such as tables and trays.
Paint Consistency Tip: If your acrylic paint feels too thick, you can thin it slightly with water. Add small amounts gradually, but avoid exceeding 20 to 30 percent water content. Too much water breaks down the paint binder and reduces durability.
How to Apply Acrylic Paint on Wood
Applying acrylic paint to wood is not complicated. But doing it the right way gives you a much cleaner and longer-lasting finish. Follow these steps, and you’ll get great results every time.
Tools and Materials You Need
| Category | Tools and Materials |
|---|---|
| Paint Supplies | Acrylic paint, primer, clear sealant, or varnish |
| Application Tools | Synthetic brushes, foam rollers, and paint tray |
| Surface Prep Tools | Sandpaper (various grits), tack cloth, mild cleaner or degreaser |
| Protection Items | Drop cloth, gloves, masking tape |
Everything you use for preparation, painting, and sealing directly affects how well the acrylic paint adheres and how durable the final result will be.
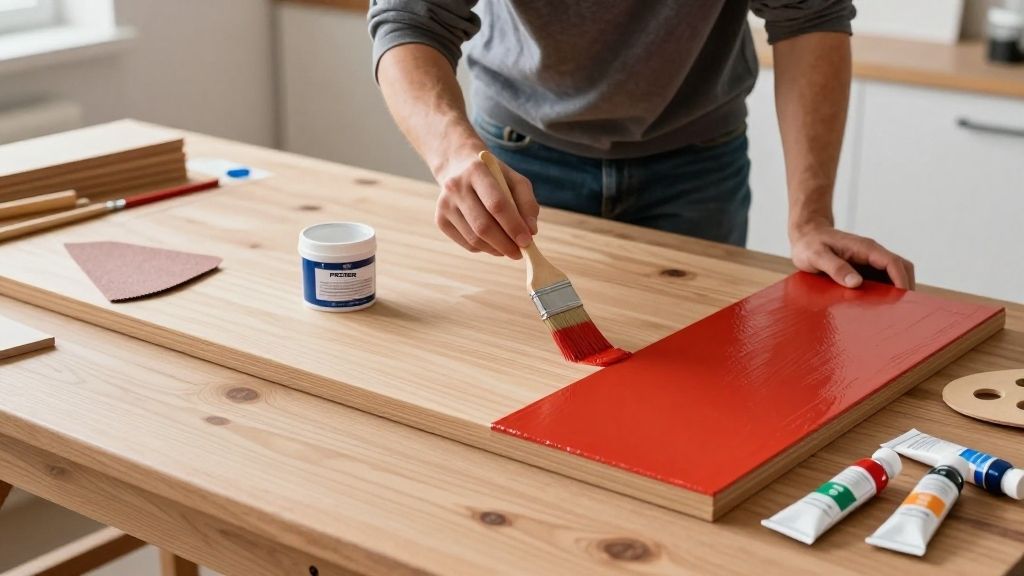
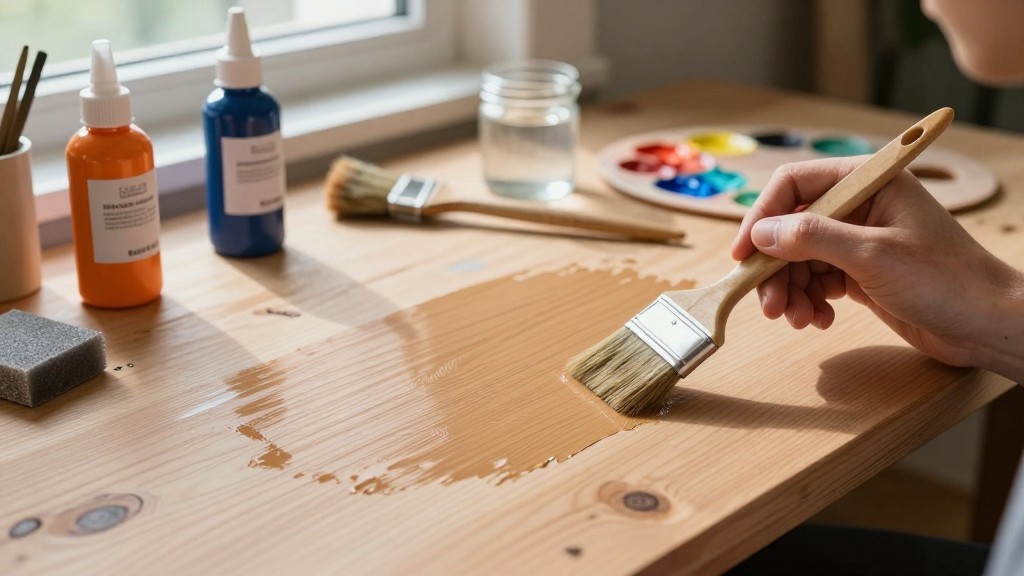
Step 1: Apply the Base Coat
Use a flat brush or foam roller. Apply a thin, even coat across the entire surface. Work in one direction to avoid streaks.
Don’t overload the brush with too much paint. A thin first coat dries faster and bonds more effectively to the wood. It also lays a solid foundation for the layers that follow.
Brush vs. foam roller: A foam roller gives a smoother, streak-free finish on flat surfaces. Use a soft flat brush for edges, corners, and any detailed areas.
Step 2: Build Layers Evenly
One coat is rarely enough. Wait for each coat to dry before adding the next one. Apply thin layers each time. Two to three coats usually give the best coverage.
Check for missed spots after each layer dries. Thick coats may look uneven and take much longer to dry. Patience here really pays off in the end.
Step 3: Let the Paint Dry Properly
Let each coat dry for at least 20 to 30 minutes. Avoid touching the surface while it’s still wet. Keep it away from dust and moisture during this time.
Rushing this step can smudge the paint or ruin the finish. Once all coats are complete, let them cure for a full 24 hours before handling.
Step 4: Seal the Surface
Apply a sealer after the paint fully dries. This provides the wood with extra protection against scratches, moisture, and daily wear.
Use a clear varnish or Mod Podge for best results. One to two coats of sealer are usually enough. Let each coat dry fully before applying the next one.
Protecting Acrylic Paint on Wood
Painting is just one part of the process. Protecting that paint is just as important. Without a proper finish, your work can fade, scratch, or peel over time. A good protective layer keeps the color looking fresh and the surface strong.
Choosing the Right Sealer
Not all sealers work the same way. Picking the right one depends on your project and where it will be placed.
A clear acrylic varnish is one of the most common choices. It dries clear and holds up well over time.
Mod Podge is another popular option, especially for small crafts and decorative pieces. For furniture or high-use surfaces, a polyurethane sealer works better.
It’s tougher and more resistant to scratches and daily wear. Always apply the sealer in thin, even coats. Let each coat dry fully before adding the next. Two coats are usually enough for most projects.
Indoor vs Outdoor Use
The location of your project changes everything. Indoor pieces don’t face harsh weather, so a basic varnish or acrylic sealer works just fine. Outdoor pieces are a different story. They face sunlight, rain, and temperature changes.
For outdoor wood, use a waterproof, UV-resistant sealer. This stops the paint from fading or cracking in the sun.
Reapply the sealer every year or two to keep the protection strong. Always check the label before buying to make sure it’s suitable for outdoor use.
Problems with Acrylic Paint on Wood and How to Fix Them
Even with good prep, things can go wrong. Here are the most common problems people encounter when using acrylic paint on wood, along with solutions.
1. Paint Peeling Off: This happens when the surface wasn’t prepped well or the wood had moisture in it. Sand the peeling area back to bare wood. Wipe it clean, let it dry completely, then prime before repainting.
2. Uneven or Patchy Color: Patchiness usually means the coat was too thick or applied before the last one dried. Let each layer dry fully, then add another thin coat. Sand lightly between coats with 220-grit sandpaper to achieve a smoother surface.
3. Brush Strokes Showing: Switch to a foam roller for flat surfaces. If you prefer a brush, use a soft-bristle flat brush and thin the paint slightly with water. Strokes are also more visible on under-primed or rough wood. Go back and add a proper primer coat.
4. Colors Looking Dull After Drying: Acrylics dry slightly darker and flatter than they look when wet. This is normal. A gloss or satin varnish over the top brings back the brightness. If the color is dull before sealing, add one more thin coat of paint. You may just need more coverage.
5. Paint Cracking Over Time: Cracking usually has two causes: the paint went on too thick, or the wood was never sealed and absorbed moisture unevenly over time. Sand the cracked area, seal the bare wood, and repaint in thin layers.
6. Paint Won’t Stick to the Surface at All: This usually means the wood has a residue, such as wax, oil, or an old varnish that wasn’t fully removed. Clean it with isopropyl alcohol, let it dry, then sand and prime before repainting. Don’t skip the alcohol wipe on any surface with an existing finish.
7. Bubbles or Bumps in the Dried Surface: Bubbles form when you paint over a surface that’s too warm or apply coats too fast. Work in a room-temperature space. If bubbles appear, let the coat dry fully, sand lightly, and apply the next coat slowly.
Conclusion
Acrylic paint on wood is one of the easiest and most effective ways to transform furniture, crafts, and décor pieces.
However, the quality of the result depends far more on preparation and technique than on the paint itself.
When the wood is properly cleaned, sanded, primed, painted in thin layers, and sealed correctly, the finish becomes smooth, durable, and long-lasting.
With the right process, even simple DIY projects can achieve a professional look that holds up over time. The key is patience, consistency, and attention to detail at every step.