
We have all been there. You finish a painting project, set the brushes down “just for a minute,” and wake up the next morning to bristles that feel like a chew toy.
Good paint brushes are not cheap, and replacing them every few months because of poor cleaning habits adds up fast.
The good news is that learning how to wash paint brushes properly takes under ten minutes, and once you get the routine down, your brushes will last for years.
This guide covers every paint type, the best rescue method for dried brushes, drying and storage, and tips that regular forum communities swear by that most blogs never mention.
Why Cleaning Brushes Matters More Than You Think
A quality paintbrush can cost between $10 and $40. Ruining three or four of them a year means spending over $100 on replacements that proper care could have prevented.
Beyond cost, dried paint that builds up near the ferrule (the metal band holding the bristles in place) causes bristles to splay outward and split, making every stroke streaky, no matter how steady your hand is.
There is also an environmental side to consider. Water-based paint rinsed directly into drains carries microplastics and chemical residue into the water supply.
Using a bucket for rinsing and disposing of the wastewater responsibly is a small habit that makes a real difference.
What You Need Before You Start
Gathering supplies before you begin saves time and keeps paint off cabinet handles.
1. For water-based and acrylic paints, you need warm water, mild dish soap or a dedicated brush cleaner, a brush comb, and a clean rag.
2. For oil-based paints, add mineral spirits or paint thinner, a glass or metal container, and rubber gloves. Work in a well-ventilated space. OSHA guidelines consistently flag solvent fumes as a real health concern for home painters, not just professionals.
3. For shellac or varnish, you will need household ammonia mixed with warm water. This is the paint type that soap and mineral spirits both fail on.
How to Wash Paint Brushes by Paint Type
Not all paints clean up the same way, and using the wrong method is the fastest way to ruin a brush. Here is exactly what to do, based on what you painted.
1. Latex and Water-Based Paint
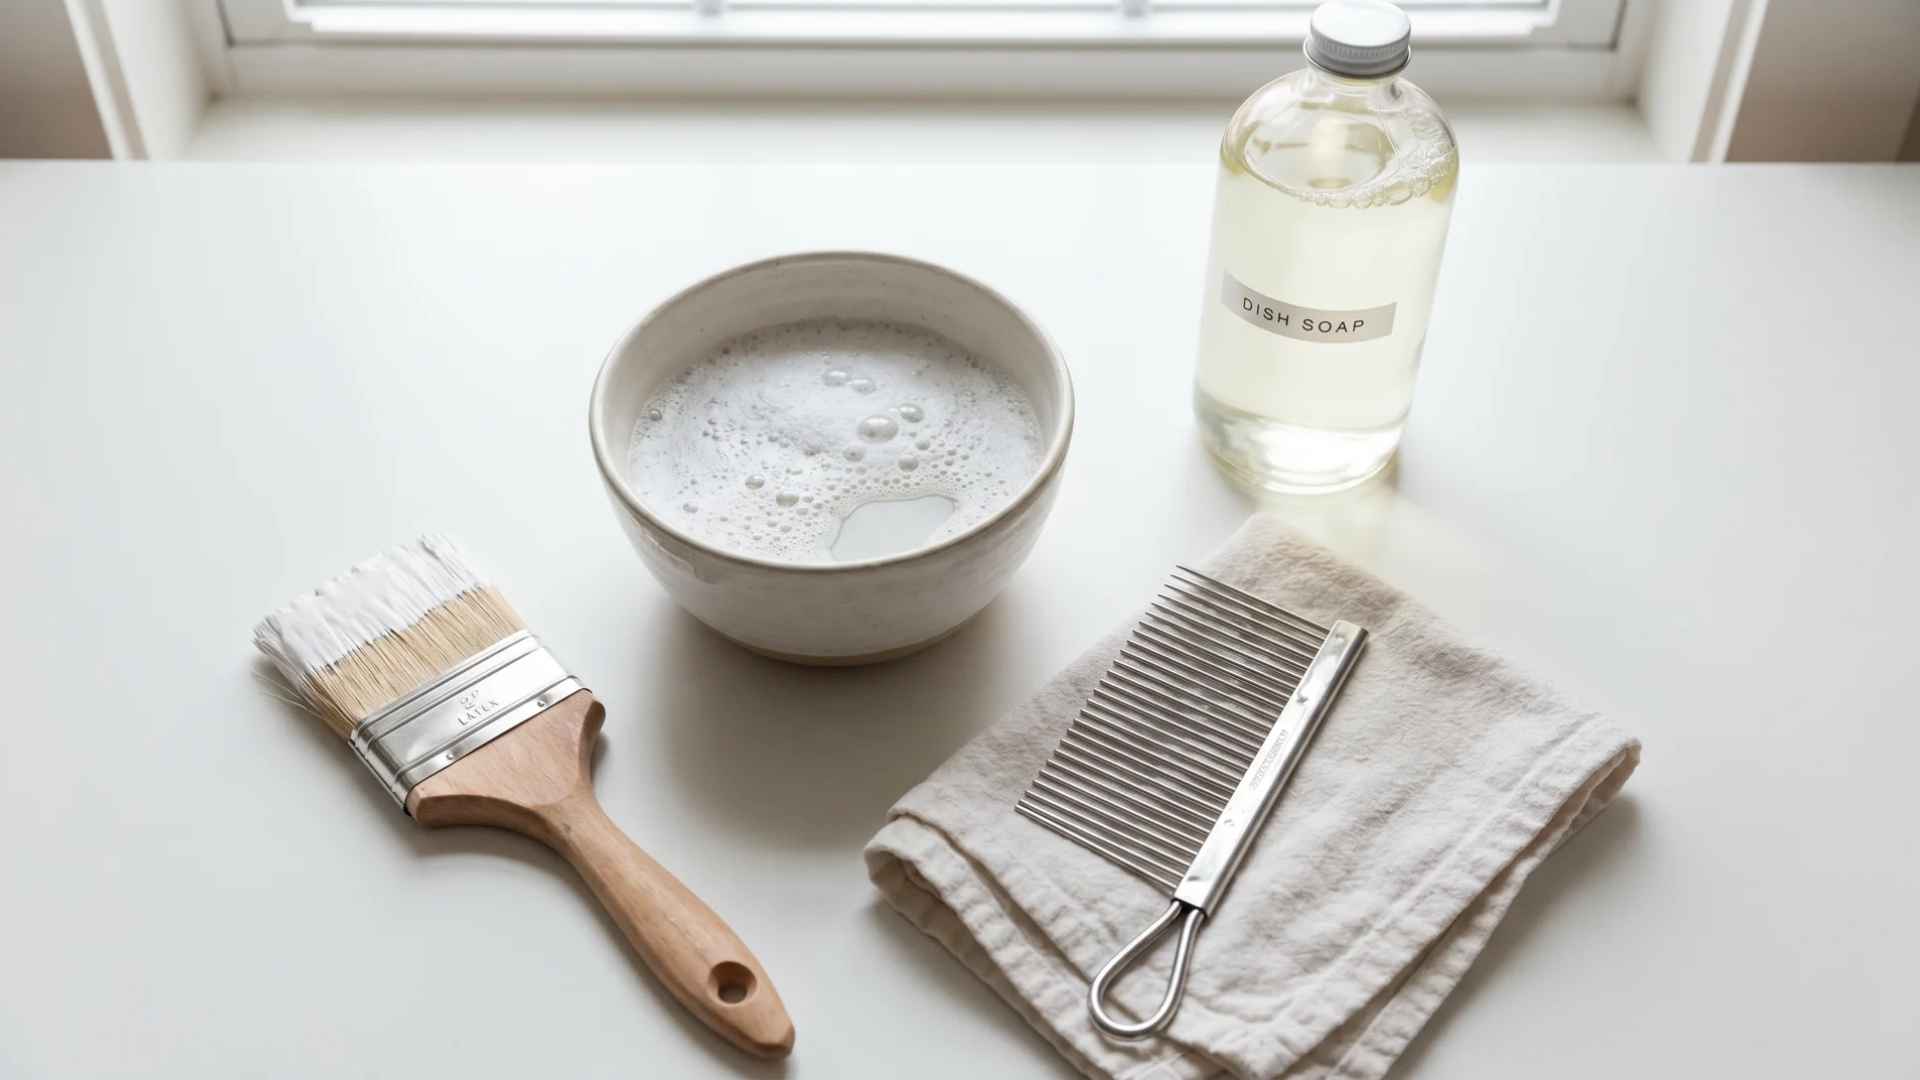
Latex is the most forgiving paintbrush to clean because it is water-soluble while it is still wet. The key is acting before that window closes.
Steps:
- Scrape excess paint off the bristles against the rim of the can or onto a rag. This single step cuts your washing time in half.
- Hold the brush bristles down under warm running water and work in a squeeze of dish soap.
- Move your fingers through the bristles from the base toward the tips to push the paint out.
- Use a brush comb to clear any remaining paint from near the ferrule.
- Rinse until the water runs completely clear.
- Press out excess water with a cloth, gently reshape the bristles, and lay the brush flat or hang it bristles-down to dry.
2. Acrylic Paint Brushes
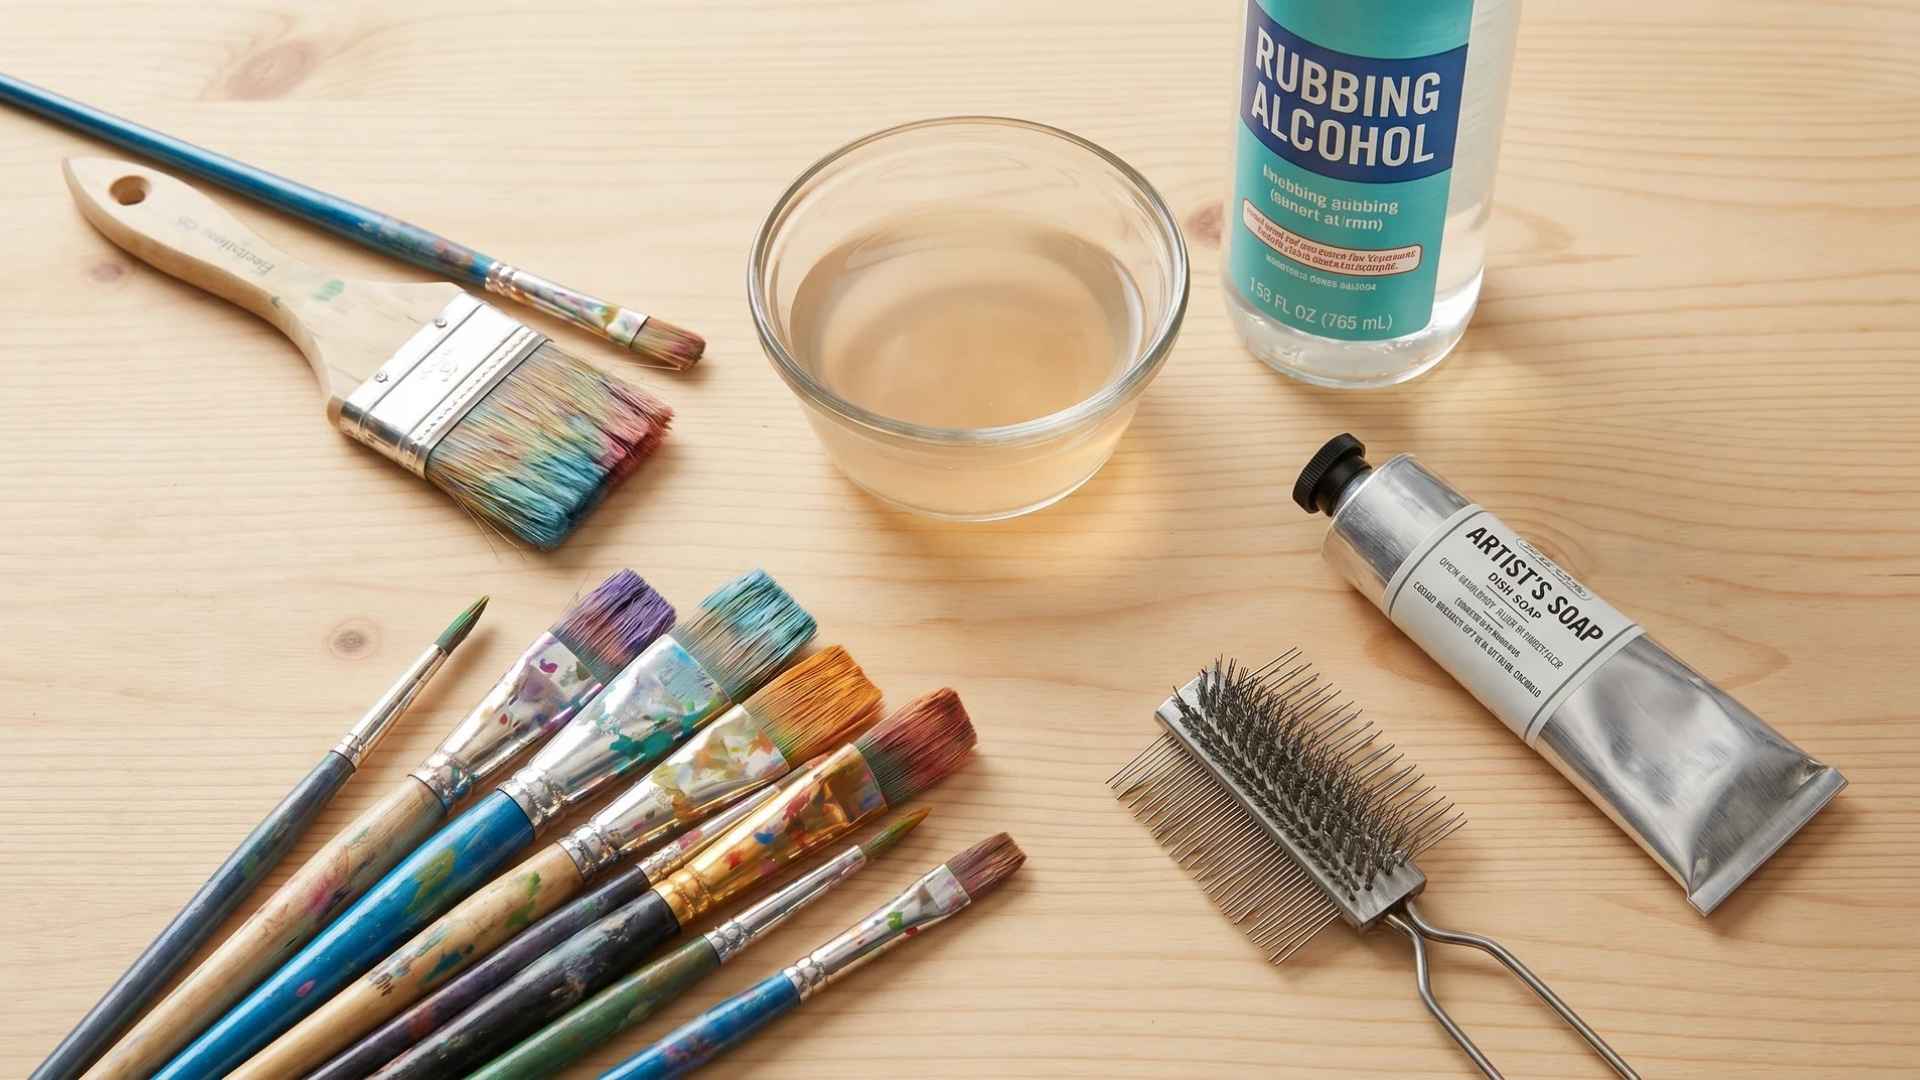
Acrylic paint behaves like latex when wet but becomes water-resistant once it dries, which makes it tricky to work with. The method is similar to Latex, but a few details matter more than people realize.
Steps:
- Rinse the brush immediately under warm, not hot, water. Hot water causes acrylic to bind more aggressively to the bristles and can loosen the glue holding the ferrule.
- Apply a small amount of dish soap and work it through the bristles gently with your fingers. Scrubbing hard damages synthetic bristles over time.
- Use a brush comb to clear paint from the base of the bristles near the ferrule.
- For stubborn residue that will not shift, dip a fingertip in rubbing alcohol and work it into the affected area. Rubbing alcohol dissolves dried acrylic without damaging the bristles.
- Rinse thoroughly until the water runs clear, reshape the tip, and dry flat.
For color switches during a painting session, a quick rinse under running water is enough. You do not need a full wash every time; make sure the water runs clear before picking up a new shade.
3. Oil-Based Paint
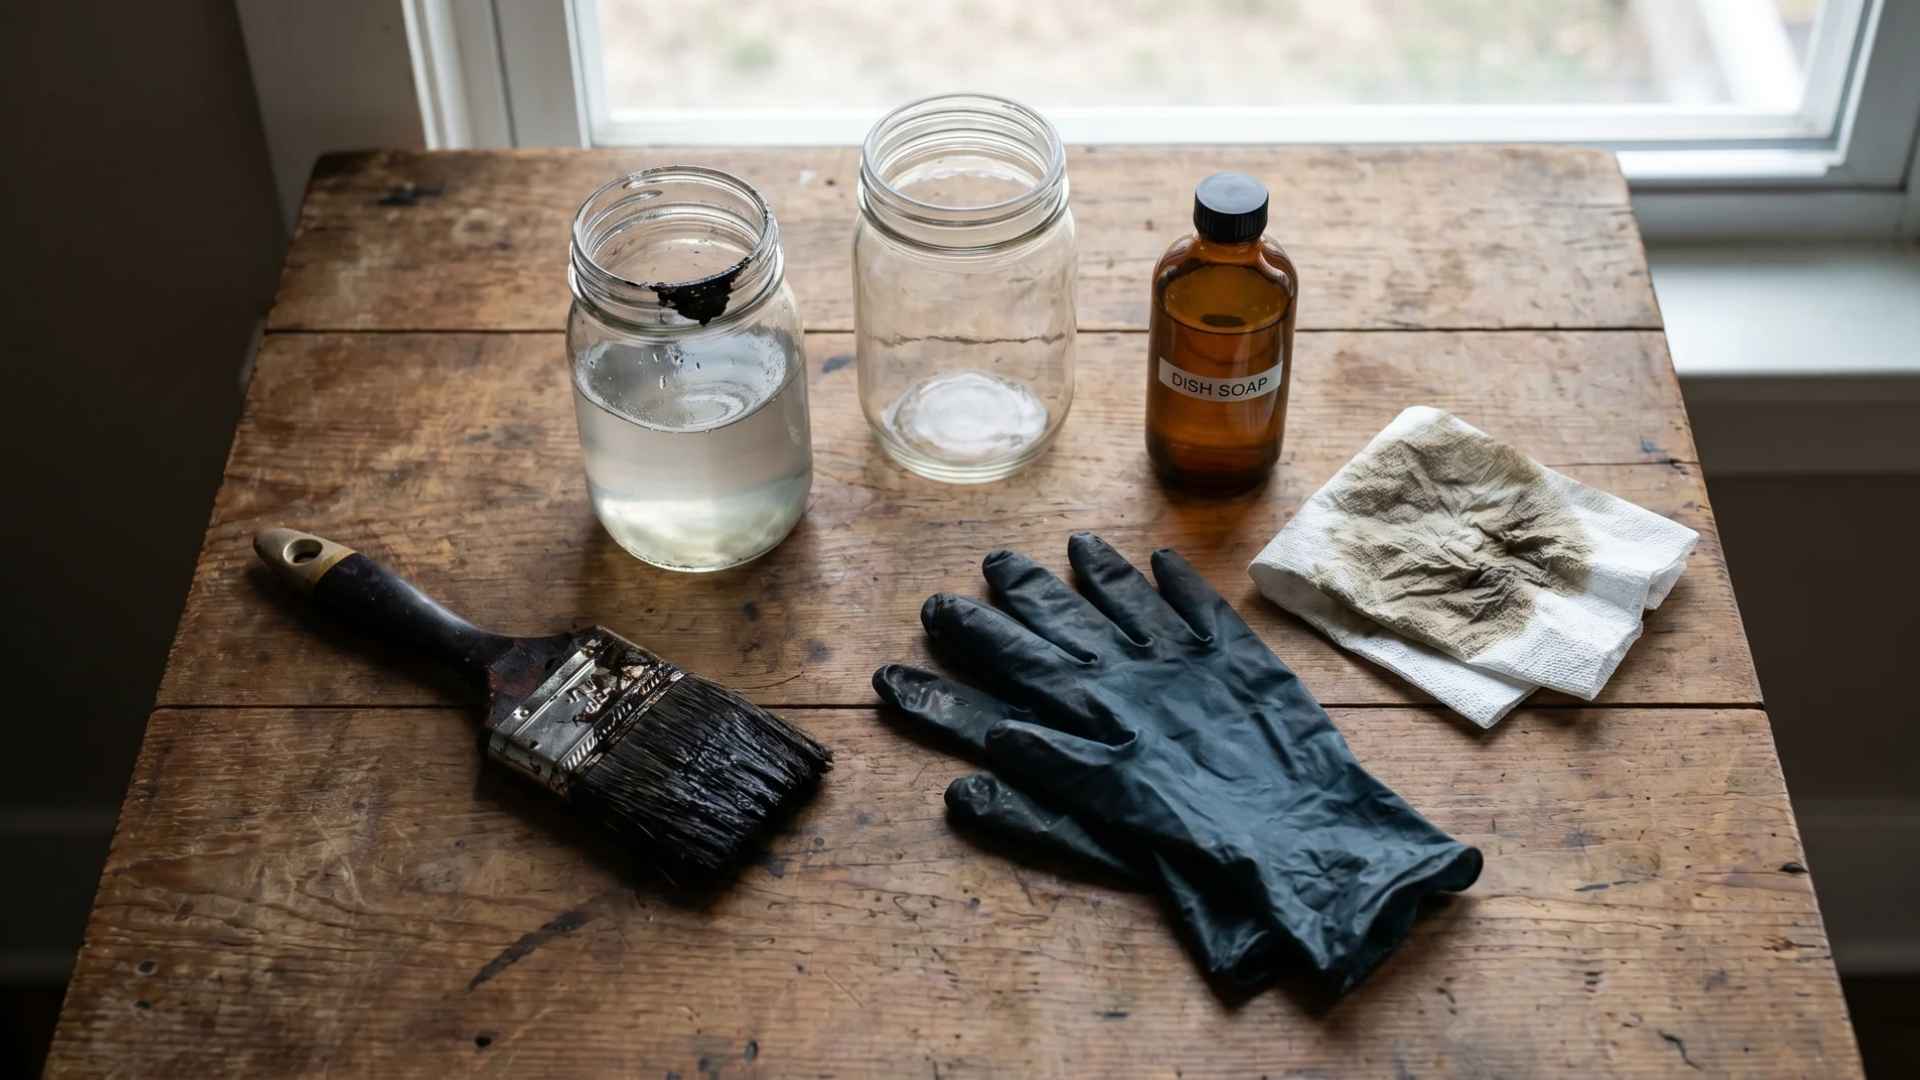
Oil-based paint cannot be broken down with water alone. You need a solvent first, and ventilation is non-negotiable throughout this process.
Steps:
- Pour 2 to 4 ounces of mineral spirits into a glass or metal container.
- Dip the brush into the solvent, then swirl it, gently pressing the bristles against the bottom to release the paint.
- Pour the used solvent into a second clean container, then repeat with fresh mineral spirits. Two to three rounds are usually enough for the solvent to stay mostly clear.
- Wash the brush with dish soap and warm water to remove any remaining thinner residue from the bristles.
- Rinse until no solvent smell remains, reshape, and dry flat.
Never pour used mineral spirits down the drain. Seal the container, let the paint solids settle for a day or two, then pour off the clean solvent from the top for reuse. Dispose of the remaining sludge through your local hazardous waste program.
4. Shellac and Varnish
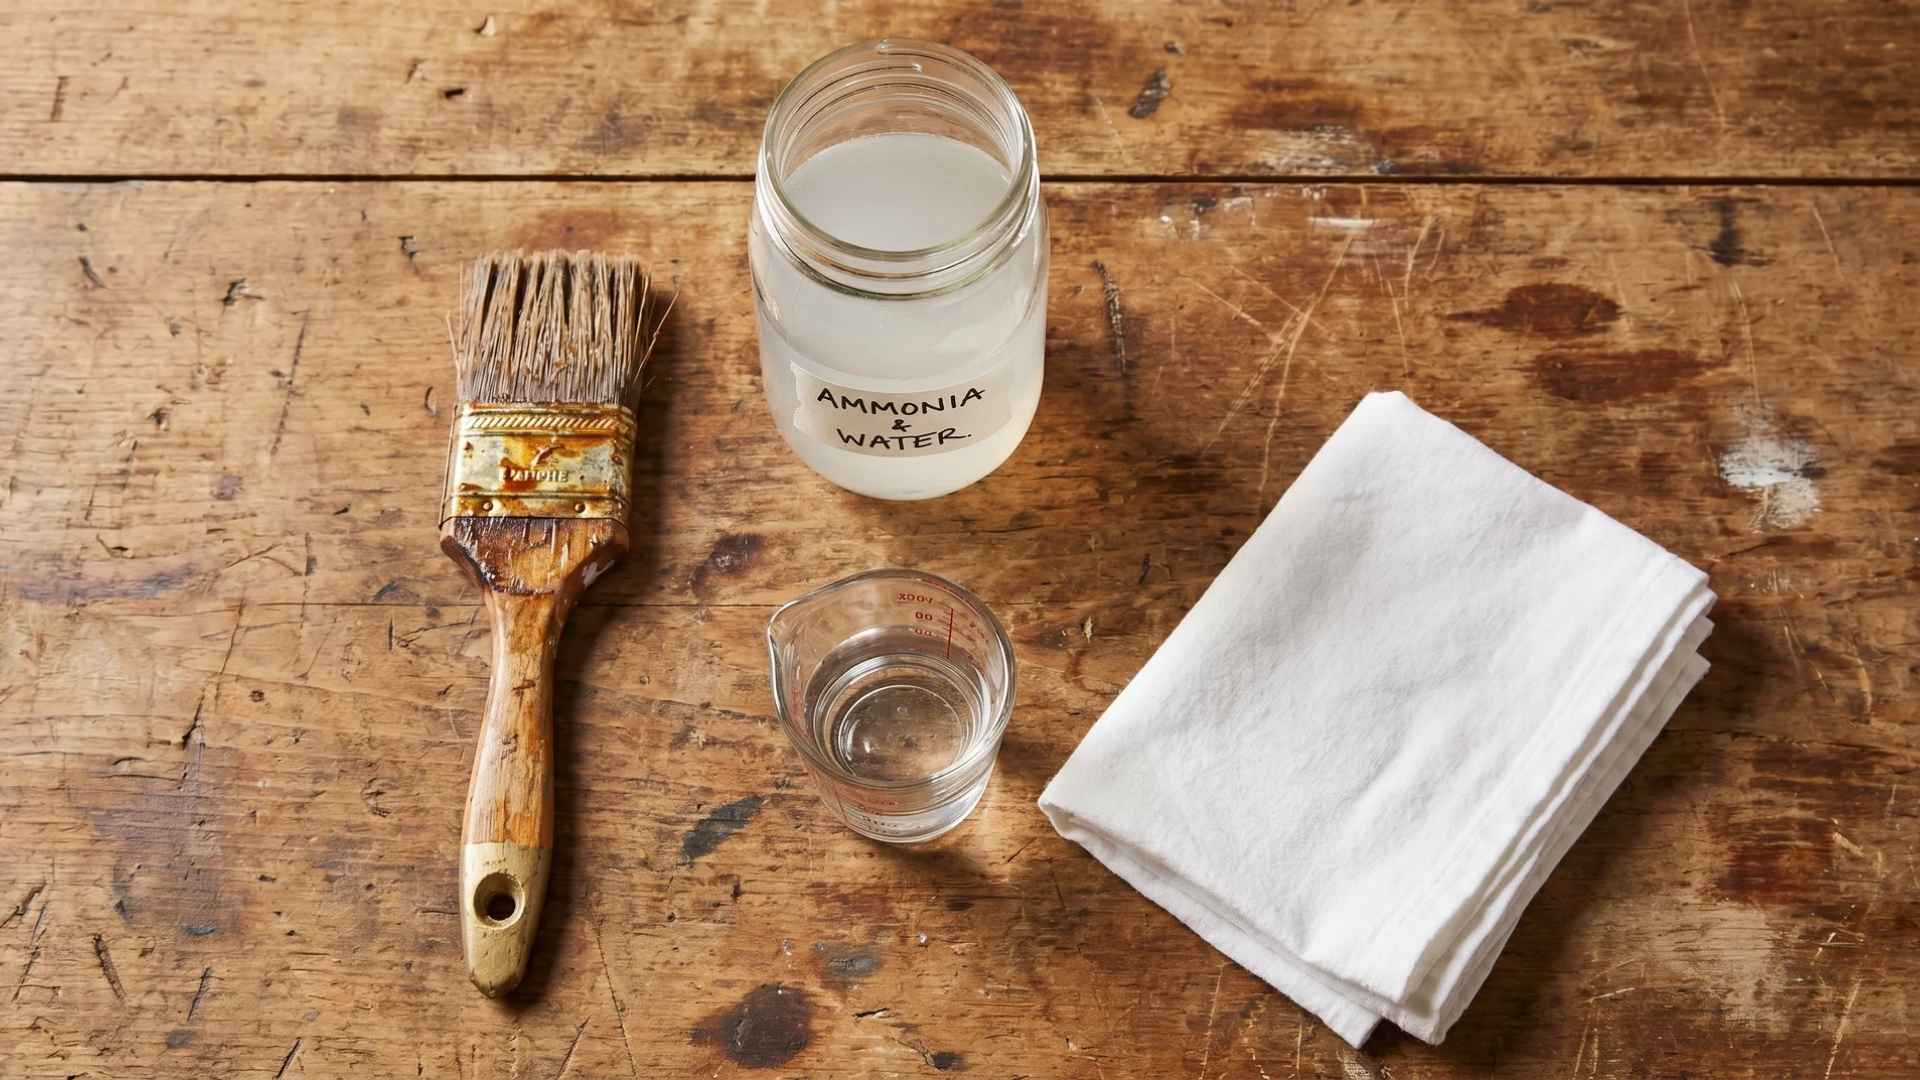
This is the one paint type that trips most people up because soap and mineral spirits both fail on shellac. Ammonia is the only household product that cuts through it effectively.
Steps:
- Mix one part household ammonia with two parts warm water in a glass container.
- Submerge the bristles and let the brush soak for 10 to 15 minutes.
- Work the bristles back and forth with your fingers to loosen the shellac.
- Rinse thoroughly with warm water. If paint remains, repeat the soak.
- Finish with a soap-and-water wash to completely remove the ammonia smell, then dry.
5. Watercolor Brushes
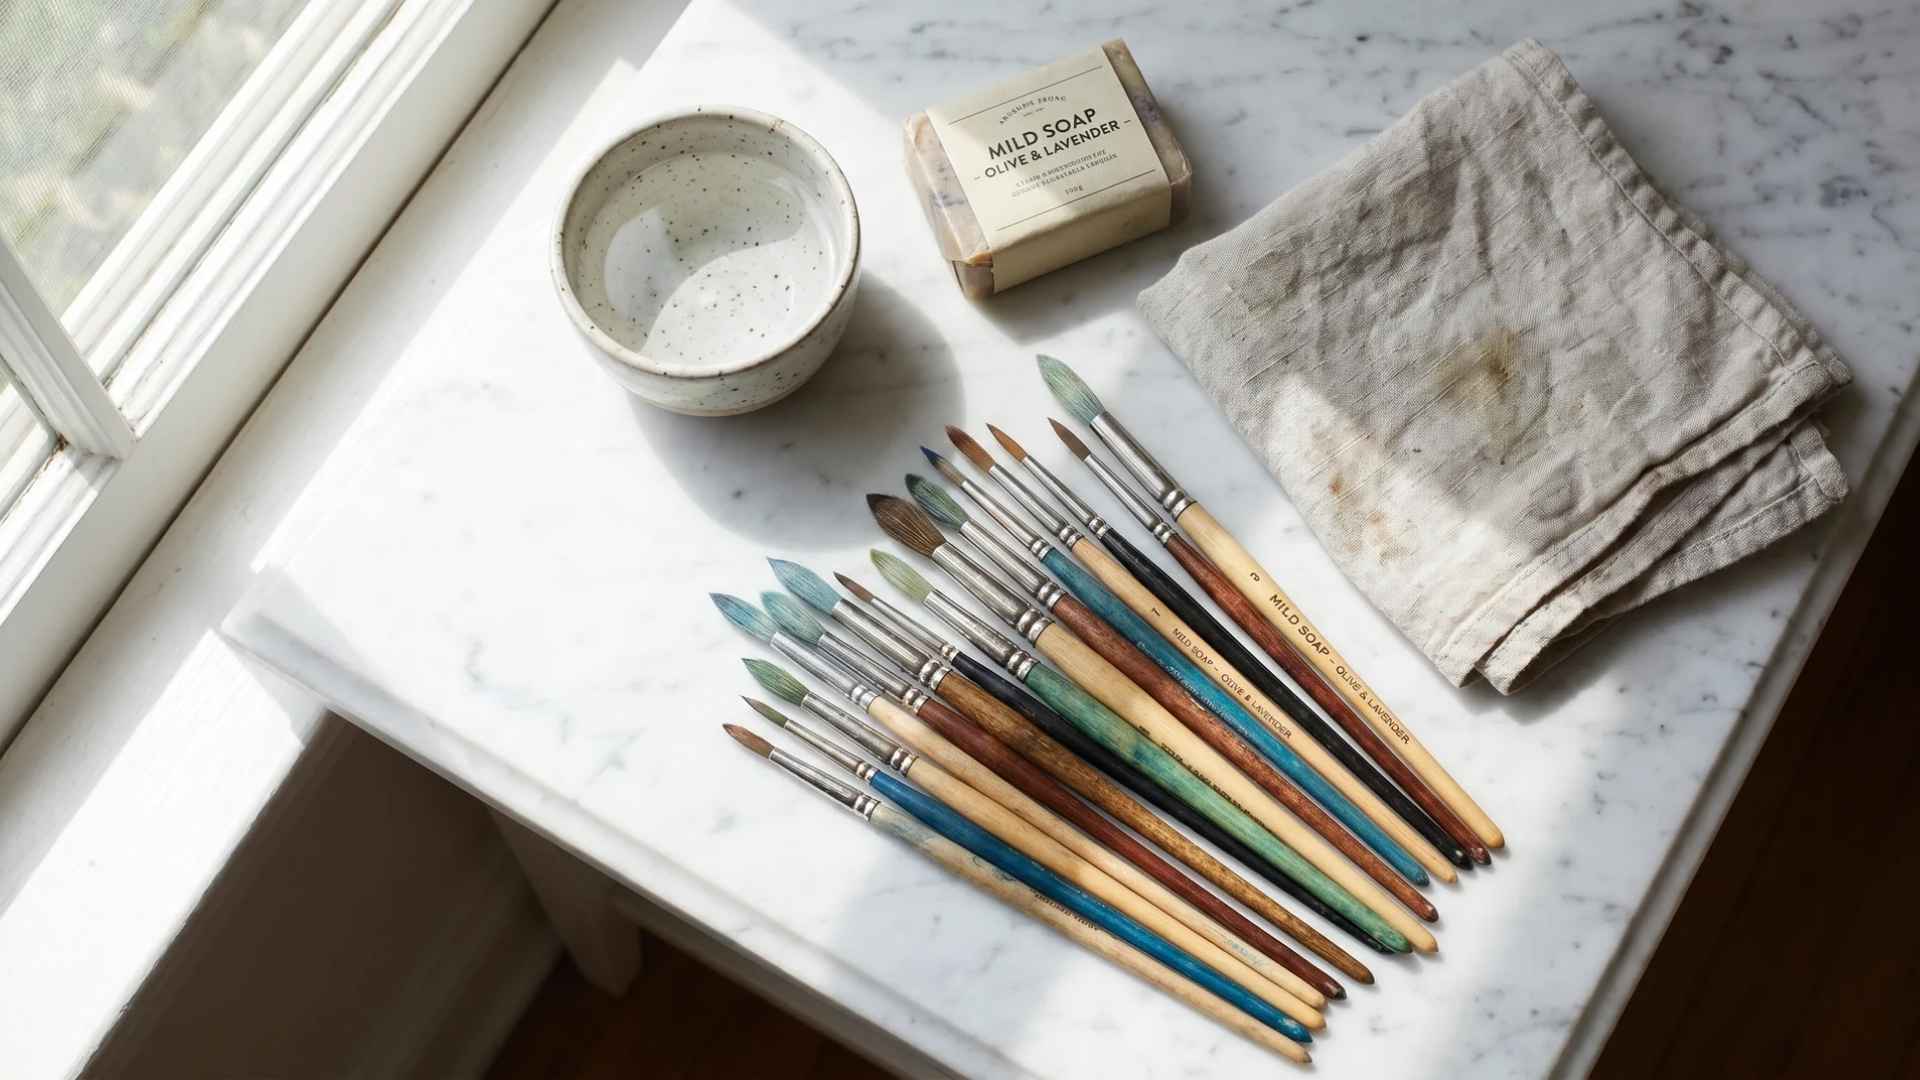
Watercolor brushes are the most delicate of the group and deserve the gentlest handling at every step.
Steps:
- Never soak watercolor brushes in standing water. The wooden handle swells and cracks, and the ferrule loosens over time.
- Rinse under a slow, cool stream of water, keeping the flow gentle to avoid splaying the bristles.
- Apply a tiny amount of mild hand soap or artist soap and work it through the bristles with your fingertips.
- Rinse until the water runs completely clear.
- Reshape the tip carefully while the bristles are still damp, then lay the brush flat to dry.
How to Clean Dried Paint Brushes
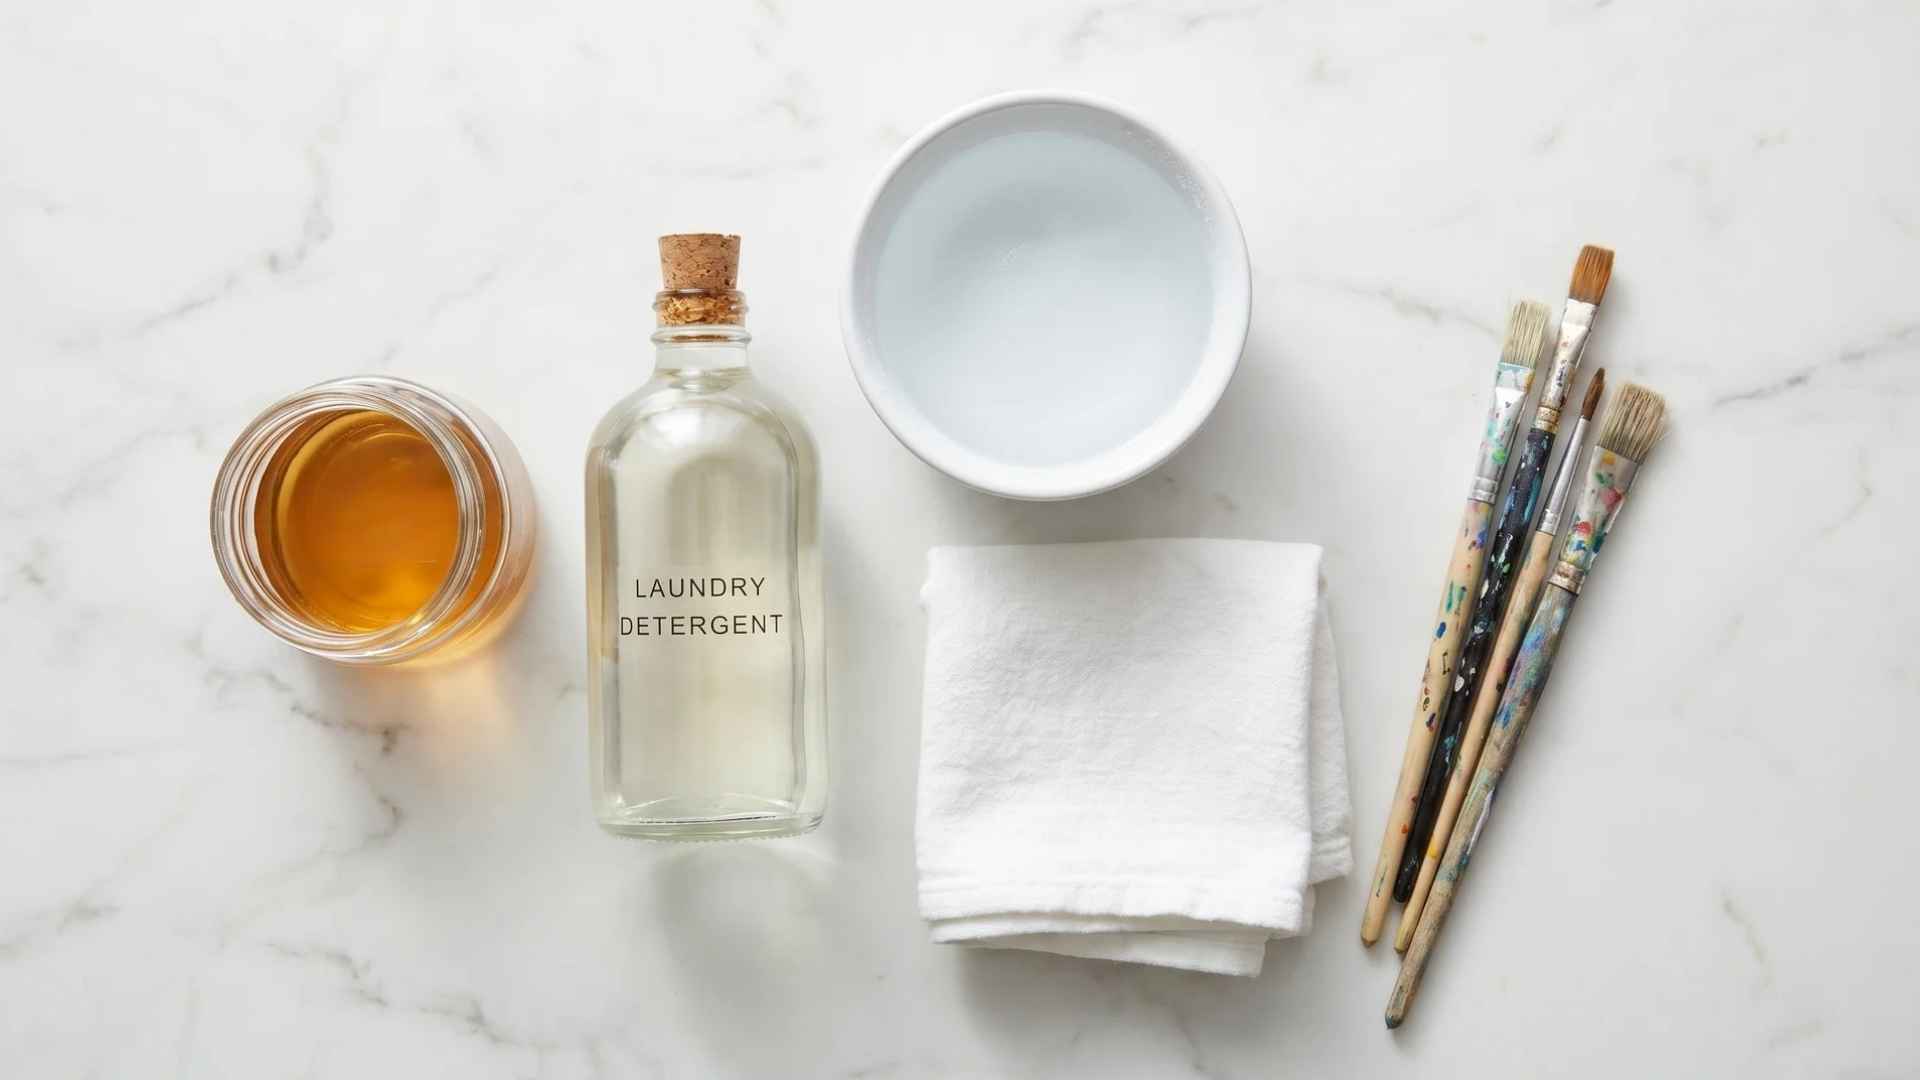
Finding a stiff, paint-hardened paintbrush days after a project does not always mean the project is finished. The rescue method depends on the paint type and how deeply the paint has set.
For dried acrylic or latex paint, rubbing alcohol is the most effective option without requiring specialty products. Submerge the bristles in a glass of rubbing alcohol and leave them to soak for 90 to 180 minutes.
The paint softens noticeably and comes off with gentle finger pressure, often leaving the brush looking nearly new.
Warm vinegar is a popular suggestion online, but in side-by-side tests, it performs poorly on fully dried paint. It is better suited to semi-dry brushes caught early.
For dried oil-based paint, soak it in fresh mineral spirits for 20 to 30 minutes, then follow the standard oil cleaning process above.
Knowing when to move on matters too. If paint has hardened past the ferrule into the core of the bristles, or if the bristles are permanently splayed, no soak will restore the brush. Replacing it is the honest call.
Drying and Storing Brushes Correctly
How you dry and store paint brushes is what separates one that lasts two years from one that lasts ten. Get these steps right, and your brushes will hold their shape and softness for years of use.
1. Hang bristles down or lay flat: The two best drying positions are hanging the brush bristles down through the hole in the handle (most quality brushes have one) or laying it flat on a clean surface.
2. Never stand a wet brush upright in a jar: Water drains straight into the ferrule, and over repeated sessions, that moisture rusts the metal and can cause mold inside the handle.
3. Store horizontally once fully dry: Keep brushes in a cool, dry spot and skip the plastic bags since they trap residual moisture. Brush sleeves or the original packaging help maintain the bristle shape.
4. Wrap for mid-project breaks: Wrapping the brush tightly in a damp cloth keeps it workable for several hours without needing a full wash between sessions.
5. Reuse your grey water: The water left after washing water-based paint brushes can go straight onto outdoor garden beds rather than down the sink.
The Royal Horticultural Society notes that soil effectively filters out mild soap residue, making it a small practical way to reduce water waste.
Common Mistakes Worth Avoiding
Even experienced painters slip up on brush care. Here are the four most common errors that quietly shorten brush life and how to sidestep each one.
1. Skipping excess paint removal before washing. Scraping the bristles against the rim of the can or onto a rag before you rinse takes ten seconds and saves two minutes at the sink.
Jumping straight to washing forces paint deeper into the bristles rather than letting it wash out.
2. Soaking past the ferrule. Submerging any paint brush beyond the bristles into solvent or water is one of the fastest ways to ruin it. Only the bristles should ever come into contact with the cleaning liquid.
The ferrule holds glue and metal, both of which degrade over time.
3. Using the wrong solvent for the paint type. Water on oil-based paint does nothing useful. Mineral spirits on fresh acrylic is unnecessary and harsh.
Matching the cleaner to the paint type is the foundation for cleaning paintbrushes effectively, and getting it wrong wastes time every time.
If you are comparing paint brands for your next project, understanding how each formula cleans up is part of the decision. For example, Behr and Benjamin Moore both offer water-based lines that clean easily with soap and water.
4. Drying flat on an absorbent surface. Cardboard and fabric block airflow to the underside of the bristles and trap moisture, which can cause mildew on natural-bristle brushes.
A simple two-bottle setup where the handle rests across the tops of two containers, leaving the bristles hanging free, works perfectly at zero cost.
Conclusion
Taking care of your brushes is one of those small habits that pays off every single time you pick one up.
Clean them right after use, match the cleaning method to the paint type, dry them in the correct position, and store them flat once fully dry.
Whether you are rescuing a stiff brush with rubbing alcohol or simply rinsing out a fresh coat of latex, the whole process becomes second nature quickly once the rules are clear.
Good paint brushes require little maintenance, and a few consistent minutes of careful cleaning after each project keep them performing like new for many years to come.
Frequently Asked Questions
How Do Pro Painters Clean Their Brushes?
Professional painters clean brushes immediately after use by removing excess paint with a rag, rinsing thoroughly in warm water (for latex) or mineral spirits (for oil-based paint.
What Is the Easiest Way to Clean Paint Brushes?
The easiest way to clean paintbrushes is to rinse them out with warm water and a few drops of dish soap.
Can I Use Rubbing Alcohol to Clean My Paint Brushes?
Yes, you can clean paint brushes with isopropyl alcohol (rubbing alcohol), especially for removing dried acrylic paint, as it effectively dissolves paint and breaks down buildup.
Can You Freeze Paint Brushes Instead of Cleaning Them?
Yes, for short breaks between sessions. Wrap the brush in plastic and freeze it to pause drying. Thaw for 30 minutes before reusing, and do a full wash once the project is done.
How Do You Clean Oil Paint Brushes Without Mineral Spirits?
Use baby oil or vegetable oil to break down the paint, then wash thoroughly with warm water and dish soap. It takes longer but avoids solvent fumes entirely.