DIY chalk paint costs very little to make. The mixing takes about five minutes. But that is not where most projects go wrong.
Problems come after the mixing. The wrong recipe for the surface. One thick coat instead of two thin ones. No sealer at the end. These small mistakes cause peeling, a rough texture, or a finish that fades fast.
This article covers all four recipes and which one fits your project. It also walks through every step, from prep to sealing, so the finish actually holds up.
What Is Chalk Paint?
Chalk paint is a decorative paint with a soft, matte finish. It is commonly used on furniture and home decor pieces to create a slightly aged or vintage look.
Unlike standard paint, it sticks well to a wide range of surfaces with little to no sanding or priming. The finish feels smooth and slightly powdery. This makes it a good choice for distressing or layering colors.
Chalk paint is usually sealed with wax or a clear topcoat to protect the surface and improve durability over time.
Store-bought chalk paint can cost $20 to $35 per quart. Making it at home costs a fraction of that, and you can match any color you want.
What You Need to Make DIY Chalk Paint
The base is always the same. Only the additive changes depending on the recipe you choose.
Base supplies for all recipes:
- 1 cup of flat or matte latex paint (not glossy or satin for most recipes)
- Water (1 to 3 tablespoons for thinning)
- A container with a tight-fitting lid
- A stir stick or mixing spoon
- Measuring spoons
The additive you pick determines the texture, finish, and shelf life of your paint. See the four recipes below.
How to Make DIY Chalk Paint: The Basic Recipe
This recipe uses joint compound. It produces a smooth, creamy texture and a clean matte finish. It works well on furniture and home decor projects where you want neat, even coverage.
Step-by-Step Instructions
Step 1: Pour the paint. Add 1 cup of flat or satin latex paint to your container. Check the label to confirm it is latex or water-based. Do not use glossy paint.
Step 2: Add the joint compound. Add 2 tablespoons of joint compound to the paint. Joint compound creates a smoother texture than plaster of Paris. It is less grainy and gives cleaner results.
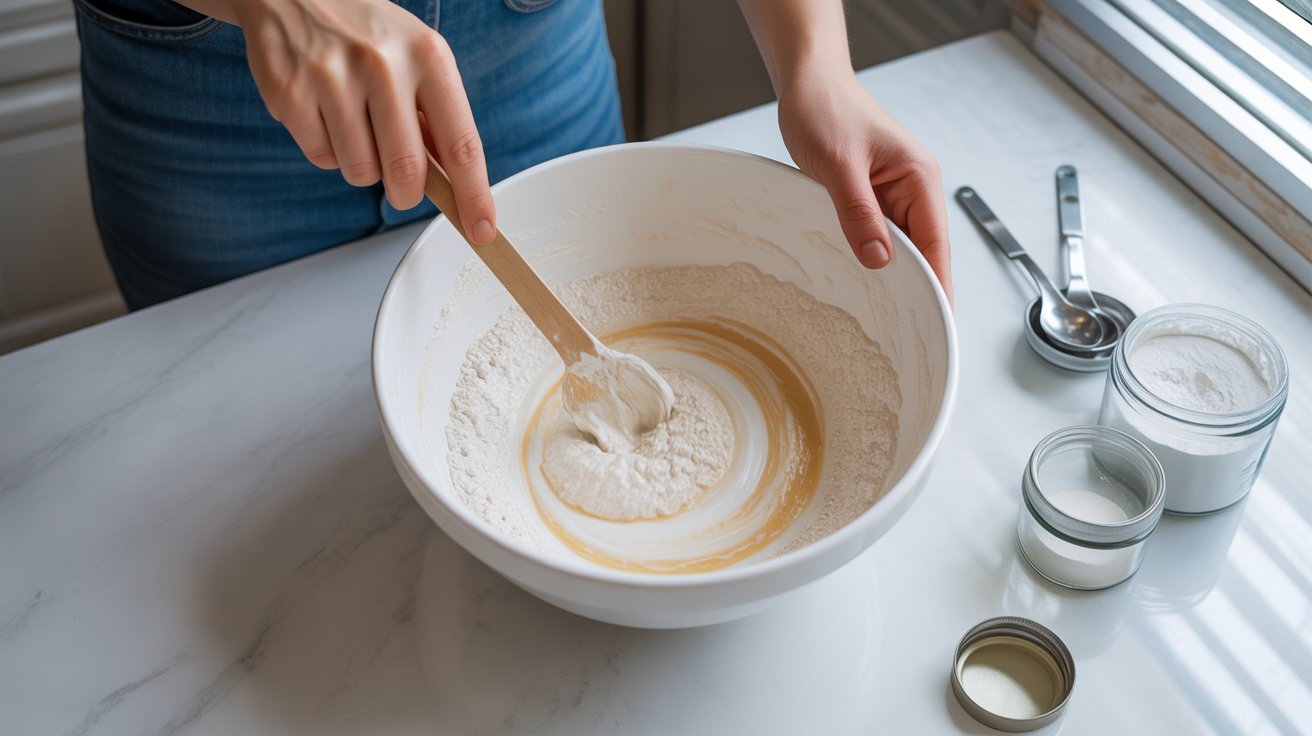
Step 3: Mix well. Stir for 1 to 2 minutes. Make sure the joint compound blends fully into the paint. The mixture will thicken as you stir.
Step 4: Add water. Add 1 to 2 tablespoons of water. Stir until the paint returns to a smooth consistency. It should feel similar to the original paint before you added the joint compound.
Step 5: Store properly. Mix only what you need for the project. Store any leftover paint in a sealed container. It stays usable for a few days.
Application tip: Apply directly to furniture with minimal prep. Use thin coats. Two thin coats always produce a better finish than one thick one.
Video Tutorial
Special thanks to Our Upcycled Life for providing valuable insights in their video, which I referenced while creating this guide.
4 DIY Chalk Paint Recipes: Which One Should You Use?
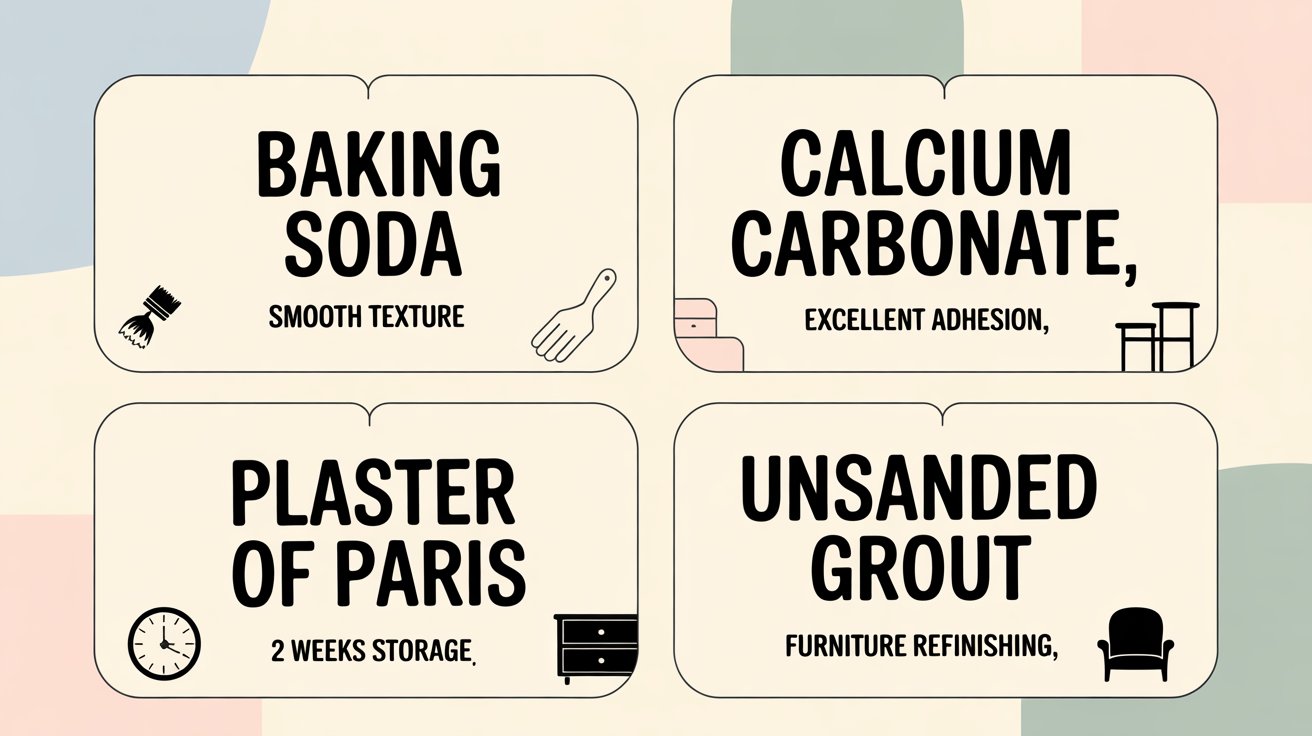
There is more than one way to make chalk paint at home. Each additive behaves differently. Some recipes produce a gritty texture. Others dry very smooth. Some must be used the same day you mix them.
Read through all four before you start so you pick the right one for your project.
Recipe 1: Baking Soda (The Kitchen Staple)
This recipe uses ingredients you likely already have at home.
What you need:
- 1 cup of flat latex paint
- 2 tablespoons of baking soda
- 3 tablespoons of cold water
How to make it: Mix the baking soda and cold water first. Stir until no lumps remain. Then stir the mixture into your paint. Mix well.
What it feels like: This recipe dries with a gritty, slightly rough texture. It looks like fine sand. That is normal. It is not smooth like the other recipes.
Best for: Painted rocks, rough wooden surfaces, and anything where a worn or rustic look is the goal.
Shelf life: Store in a sealed container. Stays usable for 1 to 2 weeks.
Note: If you want a smooth finish, skip this recipe and use calcium carbonate instead.
Recipe 2: Calcium Carbonate (Best for Smooth, Professional Results)
This recipe gives the smoothest, most consistent finish of all four options.
What you need:
- 1 cup of flat paint
- 2 to 3 tablespoons of calcium carbonate powder
- 1 tablespoon of water
How to make it: Mix the calcium carbonate powder with the water first. Stir until it forms a smooth paste with no dry lumps. Then add the paste to your paint and stir well. If you are using a dark-colored paint, pour the mixture through a strainer to catch any white specks.
What it feels like: Smooth and velvety. It does not get thick or dry out quickly while you work. You have plenty of time to apply it.
Best for: Wooden picture frames, flower pots, furniture, and any project where a clean, smooth finish matters. The wooden furniture types in your home respond well to this recipe.
Shelf life: Store in a sealed jar. Stays usable for 1 to 2 months.
Recipe 3: Plaster of Paris (Best for a Chalky, Powdery Finish)
This recipe produces the most chalky, powdery finish of any of the four options.
What you need:
- 1 cup of flat paint
- 2 tablespoons of plaster of Paris
- 2 tablespoons of warm water (not cold)
How to make it: Dissolve the plaster of Paris in warm water first. Stir until the mixture is completely smooth. Then add it straight to your paint and mix quickly. This recipe dries fast, so do not leave it sitting.
What it feels like: Very chalky and soft when dry. The finish looks beautiful, but the paint begins to thicken after about 30 minutes. By the next day, it is usually too dry to use.
Best for: Small projects you can finish in one sitting. A small wooden box, a flower pot, or a picture frame.
Shelf life: Use the same day. Do not try to save this recipe for later.
Note: Mix only a small batch at a time. Use it up in one session.
Recipe 4: Unsanded Grout (Best for Slippery or Previously Painted Surfaces)
This recipe sticks to surfaces that other paints struggle to grip.
What you need:
- 1 cup of flat paint
- 1.5 to 2 tablespoons of unsanded tile grout
- 1 to 2 tablespoons of water
How to make it: Mix the grout and water into a smooth paste first. Then slowly stir the paste into your paint. Pour the mixture through a strainer before you start painting to catch any lumps.
What it feels like: Smooth and very grippy. It sticks well to slippery, glossy, or previously painted surfaces. The mixture thickens quickly as you work. Keep a small cup of water nearby. Add a few drops at a time to maintain consistency.
Best for: Glass jars, previously painted surfaces, or anything slippery that other paints do not grip well.
Shelf life: Use within a few hours of mixing.
Note: This recipe has a strong smell. Work near an open window or outdoors.
What Surfaces Can You Use DIY Chalk Paint On?
Chalk paint sticks to a wide range of surfaces. Most require very little prep work.
- Wooden furniture and picture frames
- Terracotta flower pots
- Smooth rocks and stones
- Plain cardboard boxes
- Old glass jars
- Wooden letters or signs
- Canvas from a craft store
For slippery surfaces like glass, use the unsanded grout recipe. It grips far better than the others on smooth or nonporous materials.
For wooden surfaces, the calcium carbonate recipe works best. Wood cleaned and dried before painting holds chalk paint well without priming.
Can you use chalk paint on plastic? Yes, but lightly scuff the surface with sandpaper first so the paint has something to hold onto.
How to Get Custom Colors with DIY Chalk Paint
Start with white paint as your base. This gives you the most control over the final color.
Add food coloring one drop at a time and stir after each drop. Test on a piece of scrap paper before applying to your project.
- Red food coloring = soft pink
- Blue food coloring = light blue
- Red + blue = soft purple
- Orange + white paint = peach tone
- Blue + white paint = sky blue tone
You can also mix leftover latex paints together to create new shades. Always test small amounts before committing to a full batch.
Tips for a Better Chalk Paint Finish
The recipe is only part of the result. How you apply and seal the paint makes a bigger difference than the recipe itself.
- Always clean the surface first. Remove dust, grease, and loose material before you paint. Even chalk paint does not bond well to a dirty surface.
- Use thin coats. Two thin coats produce a smoother, more durable finish than one thick coat. Let each coat dry completely before adding the next.
- Sand lightly between coats. After the first coat dries, use a fine-grit sanding block (400 grit or higher) to smooth out any rough texture. Then apply the second coat.
- Keep mixing as you go. Chalk paint thickens as it sits. Stir the paint regularly while you work. Add a few drops of water if it becomes too thick to brush smoothly.
- Seal the finish. Chalk paint is porous without a topcoat. Seal it with paste wax or a water-based polycrylic (diluted to 50%) to protect the surface. Choose a finish without gloss to preserve the matte look.
Skipping the sealer is the most common reason chalk paint projects fail over time. The sealant step is not optional.
Quick DIY Chalk Paint Projects to Try at Home
Chalk paint works well for smaller weekend projects that do not require a big time or budget commitment.
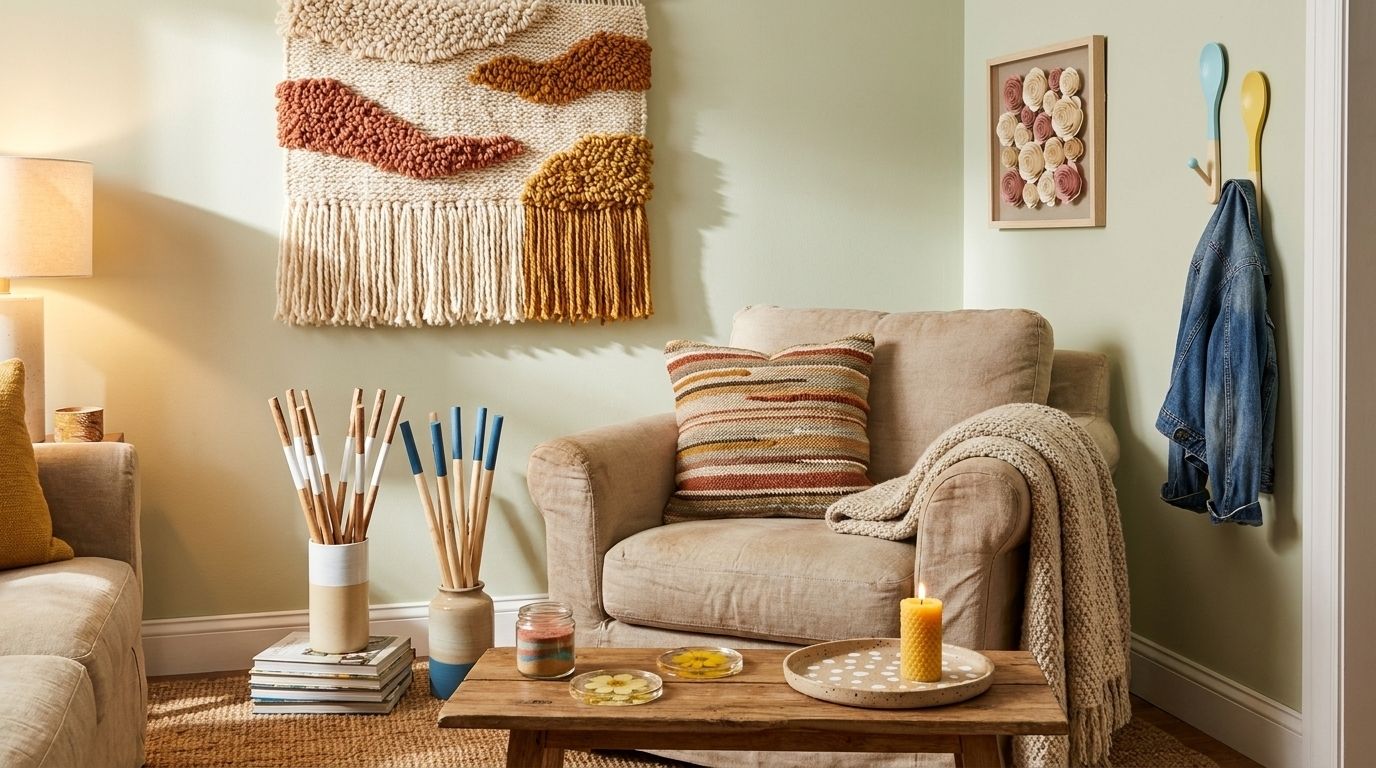
- Paint small flower pots in soft pastel shades for a windowsill
- Decorate smooth garden stones with simple words or patterns
- Refresh wooden letters for a door or shelf
- Turn a plain glass jar into a pencil holder or vase
Each project takes under an hour. They use minimal supplies and cost very little. They are also a practical way to test a new recipe before using it on larger furniture.
Frequently Asked Questions
Can I use chalk paint on plastic surfaces?
Yes. Lightly sand the surface first with fine-grit sandpaper. This gives the paint something to grip. Without scuffing, chalk paint may peel off plastic.
Can I mix two different chalk paint recipes together?
No. Different additives can react with each other and cause strange textures or drying problems. Pick one recipe and stick with it for the full project.
What do I do if my chalk paint dries too thick?
Add a few drops of water and stir. Chalk paint is forgiving. A small amount of water usually brings the consistency back to something easy to work with.
Do I have to seal chalk paint after it dries?
Yes. Chalk paint without a sealer is porous and will wear down quickly with use. Wax or a diluted water-based polycrylic protects the surface without adding unwanted shine.
What is the difference between chalk paint and regular latex paint?
Chalk paint is thicker and dries to a flat, matte finish. It sticks to most surfaces without sanding or priming. Regular latex paint usually needs surface prep and produces a less chalky appearance.
Which recipe works best for wooden furniture?
Calcium carbonate produces the smoothest finish on wood. It does not dry out quickly while you work, and leftover paint stores well for up to two months. For a rustic look on weathered wood, the baking soda recipe creates a textured finish that suits older pieces.
Final Thoughts on DIY Chalk Paint
Making your own DIY chalk paint is straightforward. The mixing takes minutes. The real difference comes from picking the right recipe for your surface. Apply thin coats. Seal when you are done.
Use calcium carbonate for smooth furniture. Use baking soda when you want texture. Use plaster of Paris for small, quick projects. Use unsanded grout on glass or slippery surfaces.
Clean the surface first. Apply two coats. Sand lightly between them. Seal at the end. Follow those steps, and the finish will hold up well.
Subscribe to our newsletter for more home improvement tips delivered straight to your inbox each week.