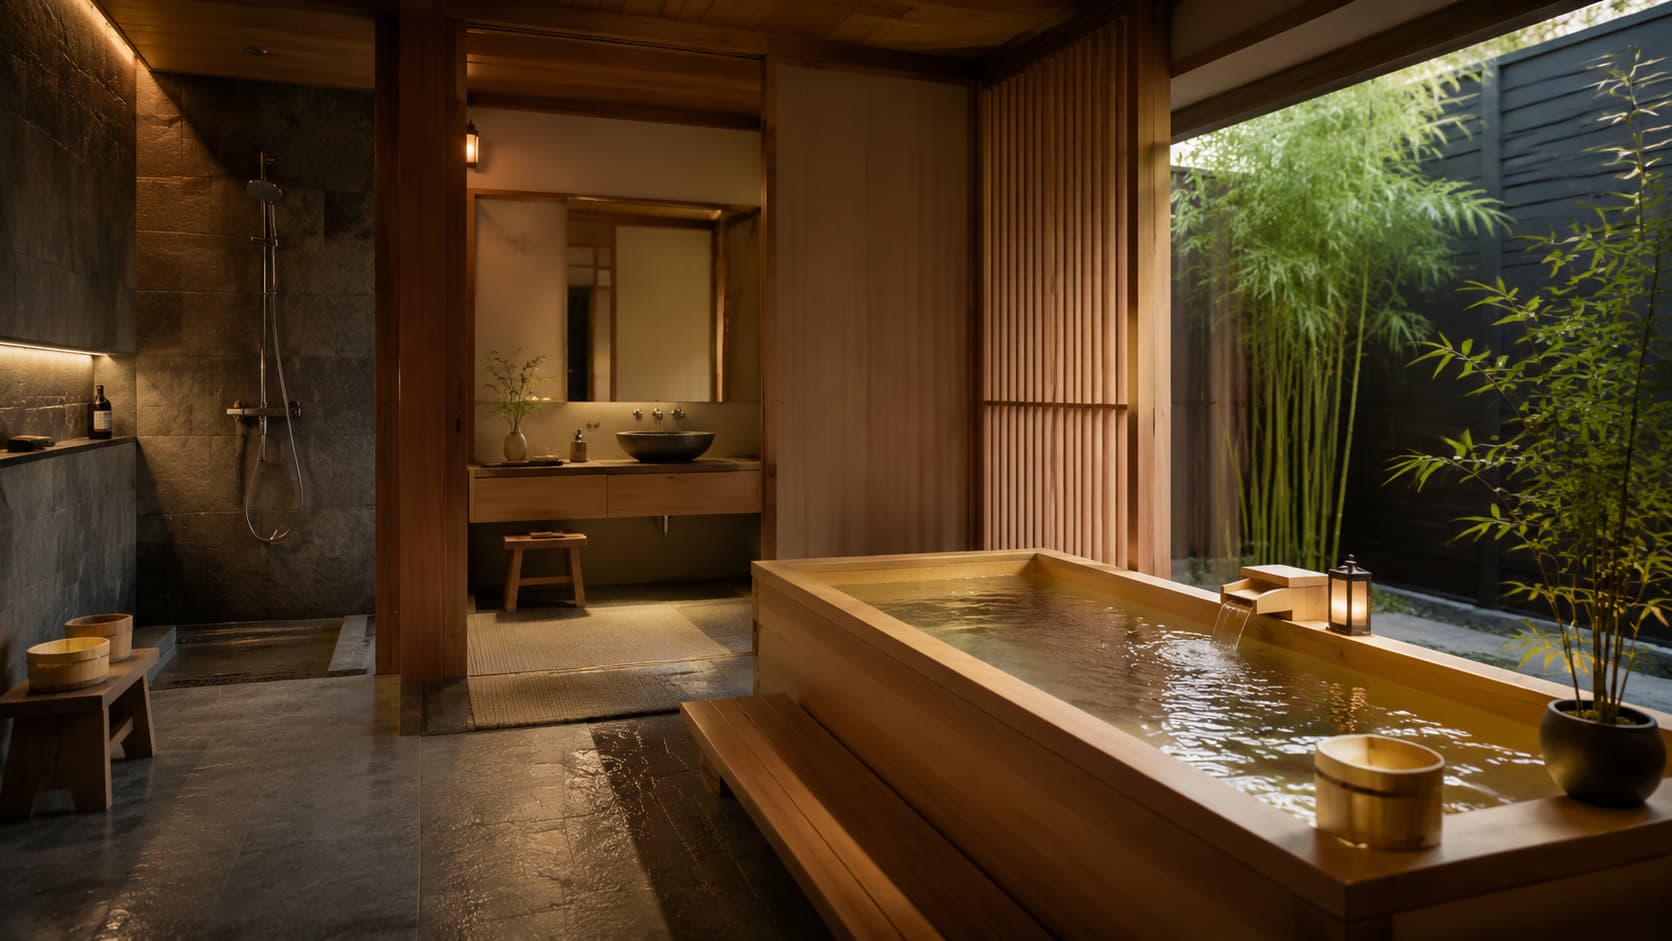
Japanese bathroom design follows a simple idea that a bathroom should feel calm, practical, and comfortable.
Clean layouts, natural materials, and thoughtful details create a space that feels easy to use and relaxing. From soaking tubs to wood accents and smart storage, every element has a purpose.
Here are the key ideas and design elements to bring this style into your bathroom.
What Is Japanese Bathroom Design?
A Japanese bathroom separates washing from soaking. That single rule shapes every layout, material, and fixture choice in the room.
People wash their bodies before getting into the tub. Soaking tub, called an ofuro, is reserved for relaxation. It is not a cleaning tool. It is a ritual.
This principle shapes the entire layout. The shower area sits apart from the tub. Water stays where it belongs. The dry zone stays dry. Everything serves a clear purpose.
Here is a quick look at the core principles:
| Principle | What It Means in Practice |
|---|---|
| Wet and dry separation | Shower and tub zones are kept completely apart |
| Minimalism | Only what you use belongs in the room |
| Natural materials | Wood, stone, and bamboo over plastic and chrome |
| Calm lighting | Warm, soft tones replace harsh overhead fixtures |
| Cleanliness focus | The room is designed to be cleaned easily and stay tidy |
Key Elements of Japanese Bathroom Design
These core features define the look, the feel, and the function of the space.
1. Deep Soaking Tubs
The soaking tub is the heart of Japanese bathroom design. Traditional ofuro tubs are short and deep. You sit upright, submerged to your shoulders. Modern versions come in stone resin, acrylic, and wood.
Hinoki wood is the traditional material. It smells clean and warm when steam hits it. It also costs more and needs regular oiling. Stone resin is the more practical option for most homes. It holds heat well and is easy to maintain year-round.
2. Natural Materials
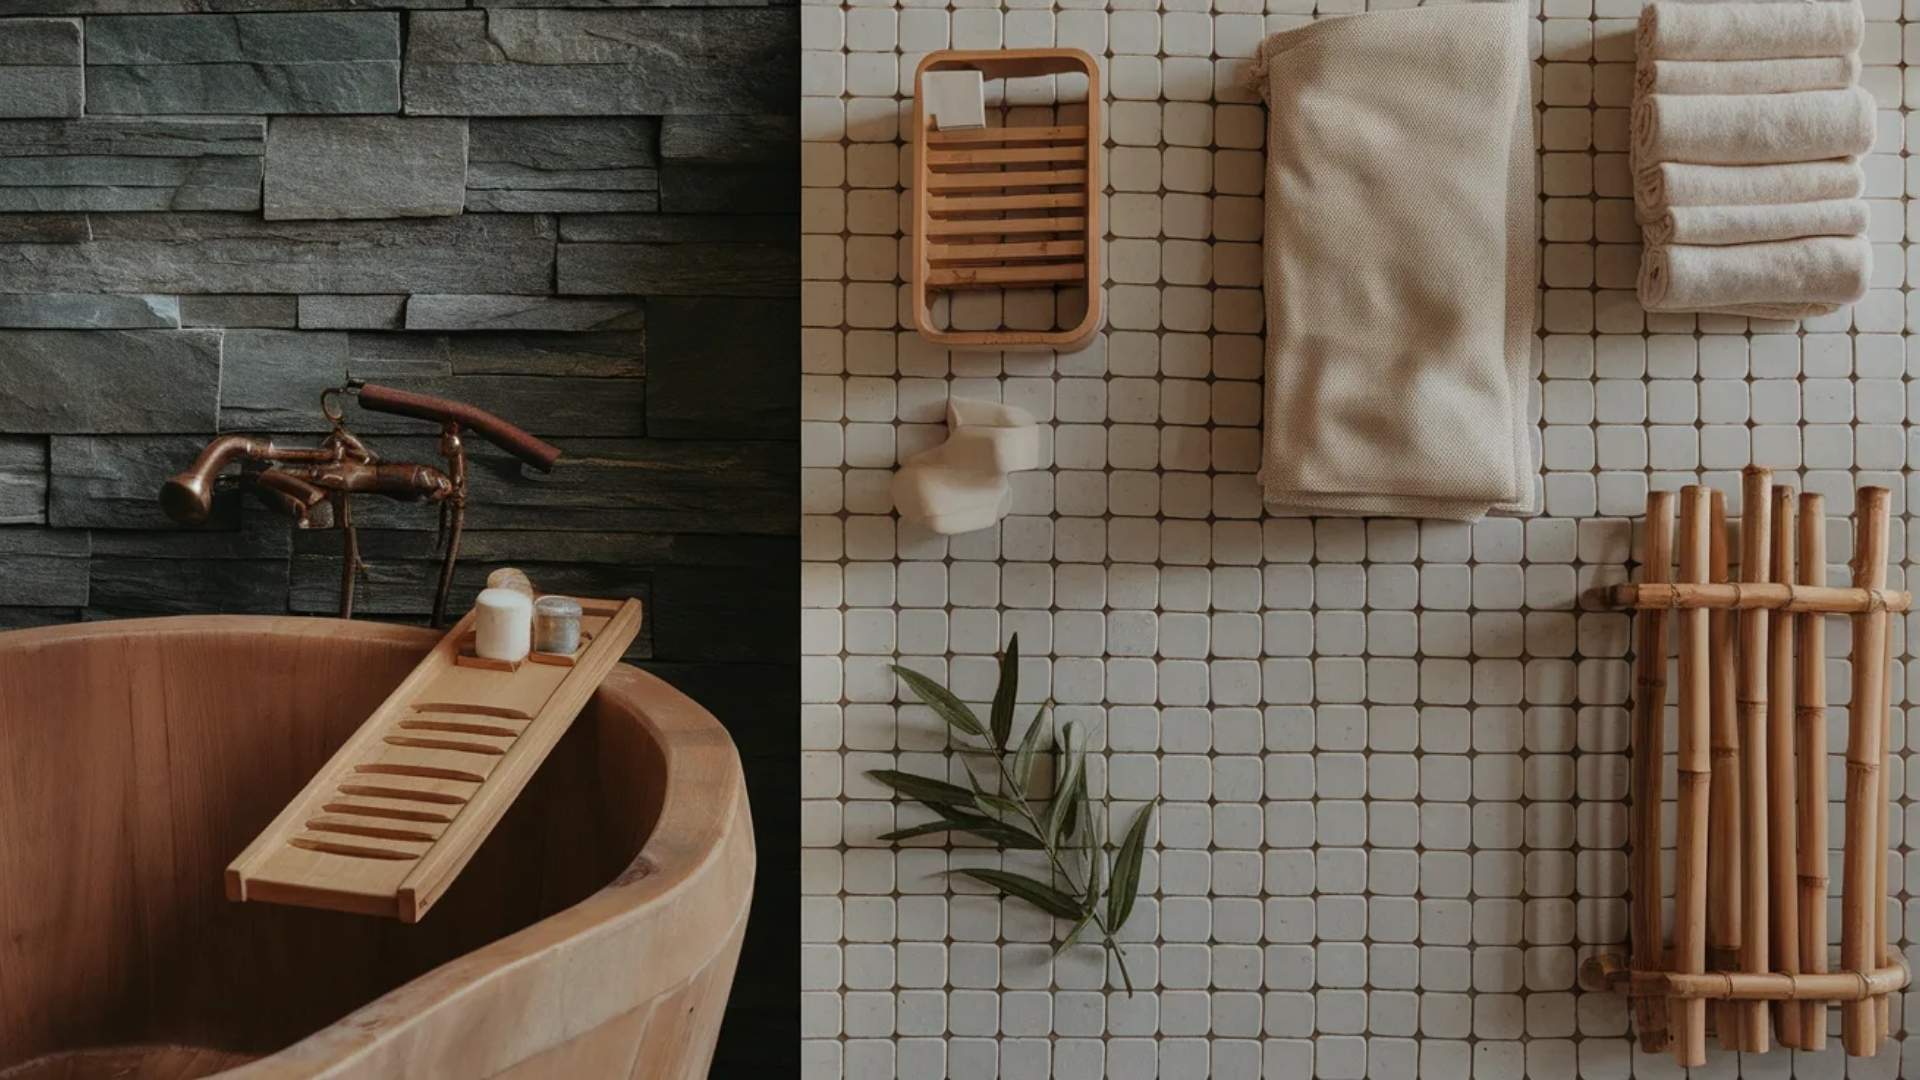
The materials you choose set the tone for the whole room. Japanese design gravitates toward:
- Hinoki or cedar wood for tubs, stools, and shelves
- Slate or matte stone for floors and feature walls
- Bamboo for small accessories and storage pieces
- Linen and cotton for towels and bath mats
- Matte ceramic tiles in white, warm grey, or soft beige
Avoid shiny, high-gloss finishes. They reflect too much light and feel clinical rather than calm.
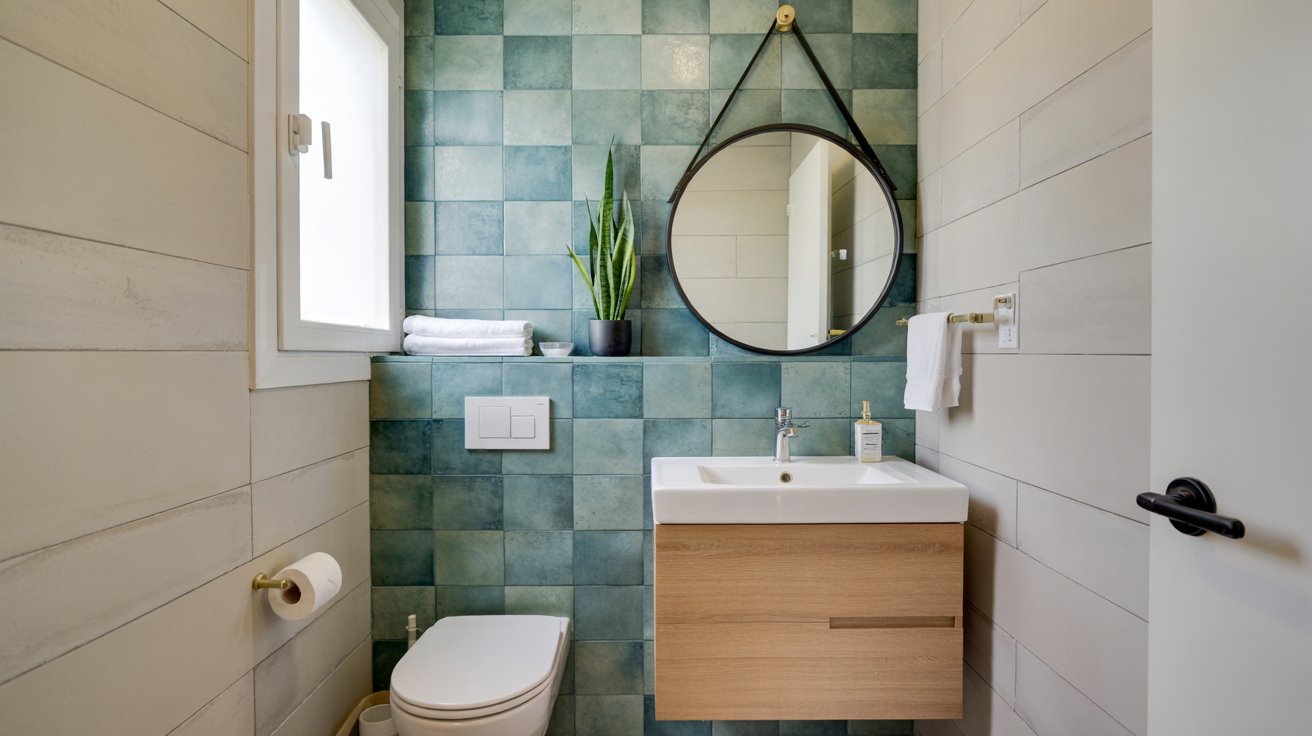
Color palette: Stay close to nature. Warm whites, pale grey, and deep charcoal work well together. Dark green tilework or stonework can also anchor the palette when paired with warm wood tones and matte surfaces. Black fixtures add a clean contrast without disrupting the overall mood.
3. Japanese Bathroom Layout
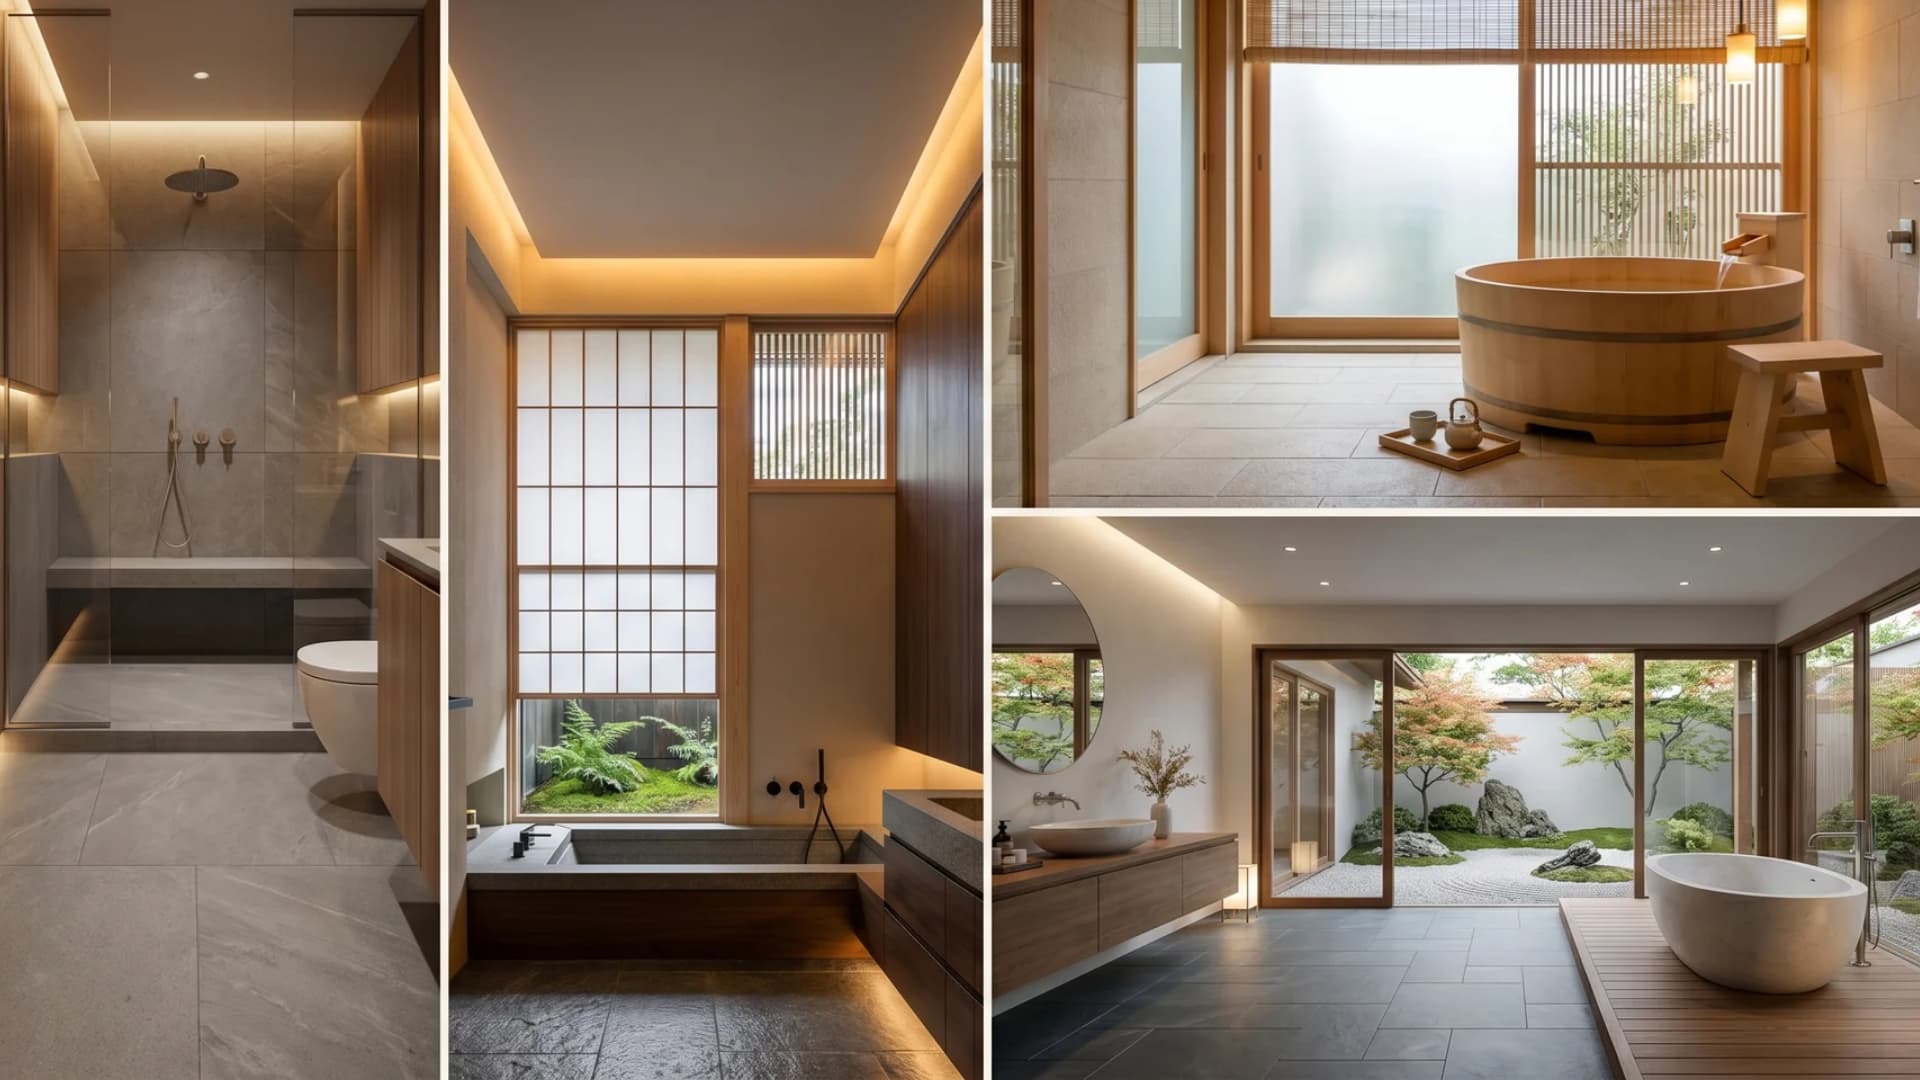
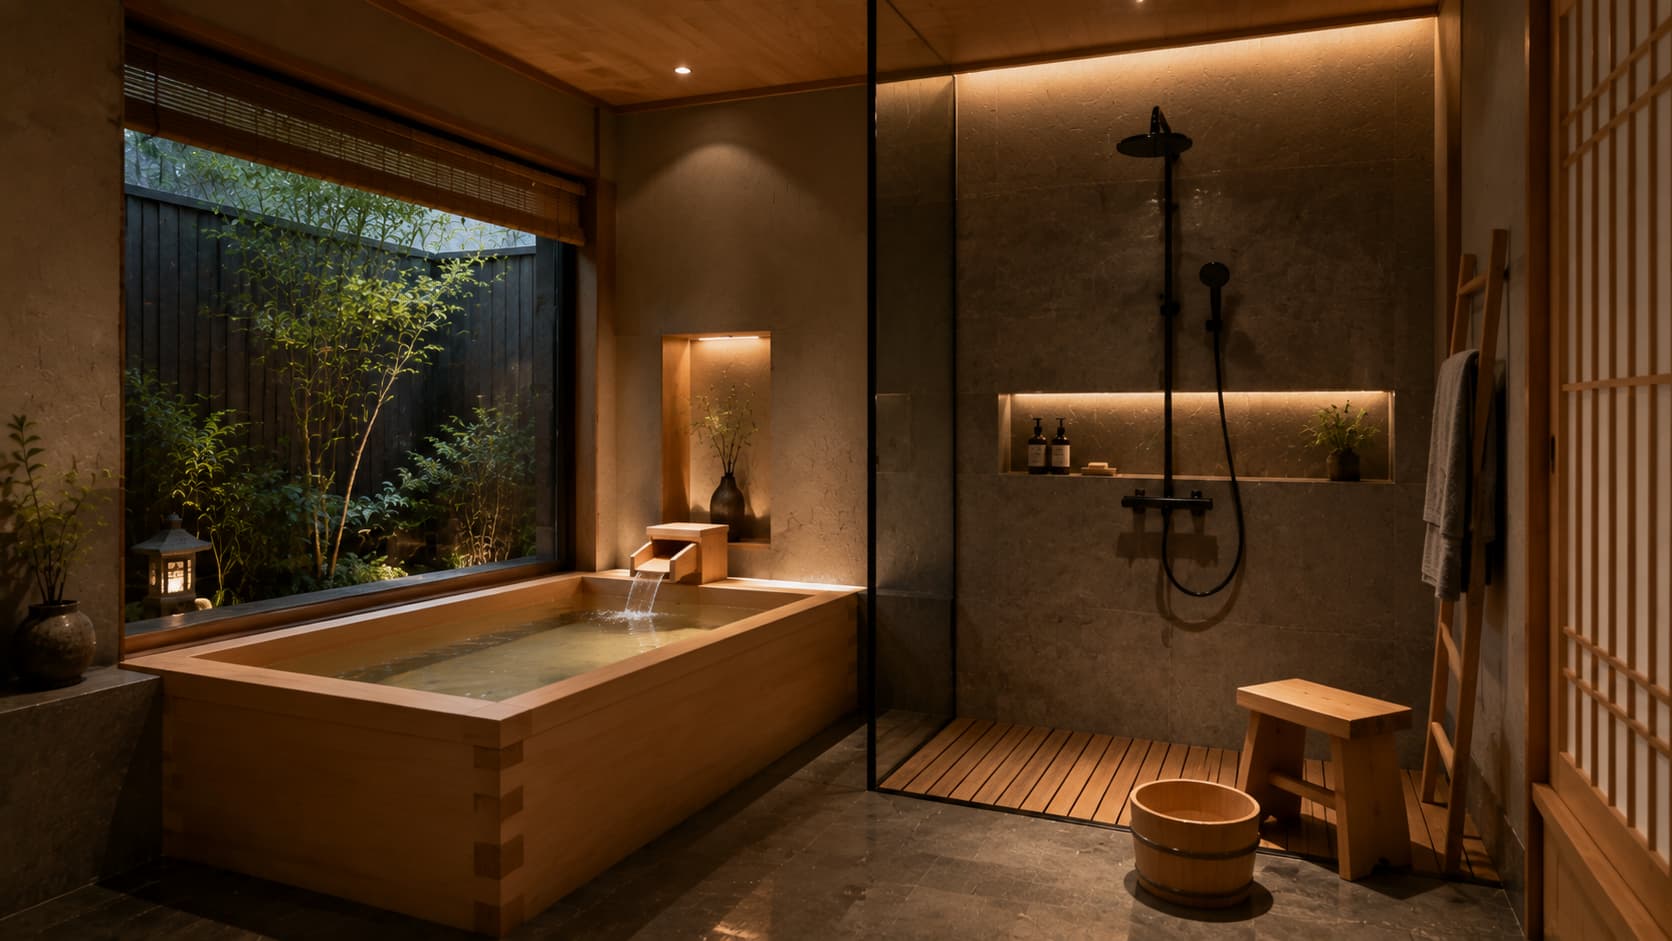
Layout planning is where the design becomes real. The main decision is where to draw the line between wet and dry zones. In a small bathroom, a frameless glass panel divides the shower from the rest of the room without closing it off.
The tub can sit in the wet zone or stand alone near a window as a focal point.
In larger spaces, there is more room to work with:
- Open wet room: Floor-level drainage with no raised step, water flows away cleanly
- Indoor-outdoor connection: A garden-facing window or courtyard view adds real depth to the space
- Freestanding tub near a window: Creates a strong visual anchor and draws natural light
- Corner soaking tub setup: Works well in mid-sized bathrooms that need to maximize floor space
- Glass partition design: A frameless screen keeps the shower contained while the room stays open and light
For small apartments, keep the plan focused. A deep soaking tub, a handheld showerhead, and one or two wood accessories can carry the style without a full renovation.
Japanese Bathroom Design Ideas
You do not need to copy a Japanese bathroom exactly. Borrow the principles and apply them to your space and your life.
1. Minimalist Zen Bathroom
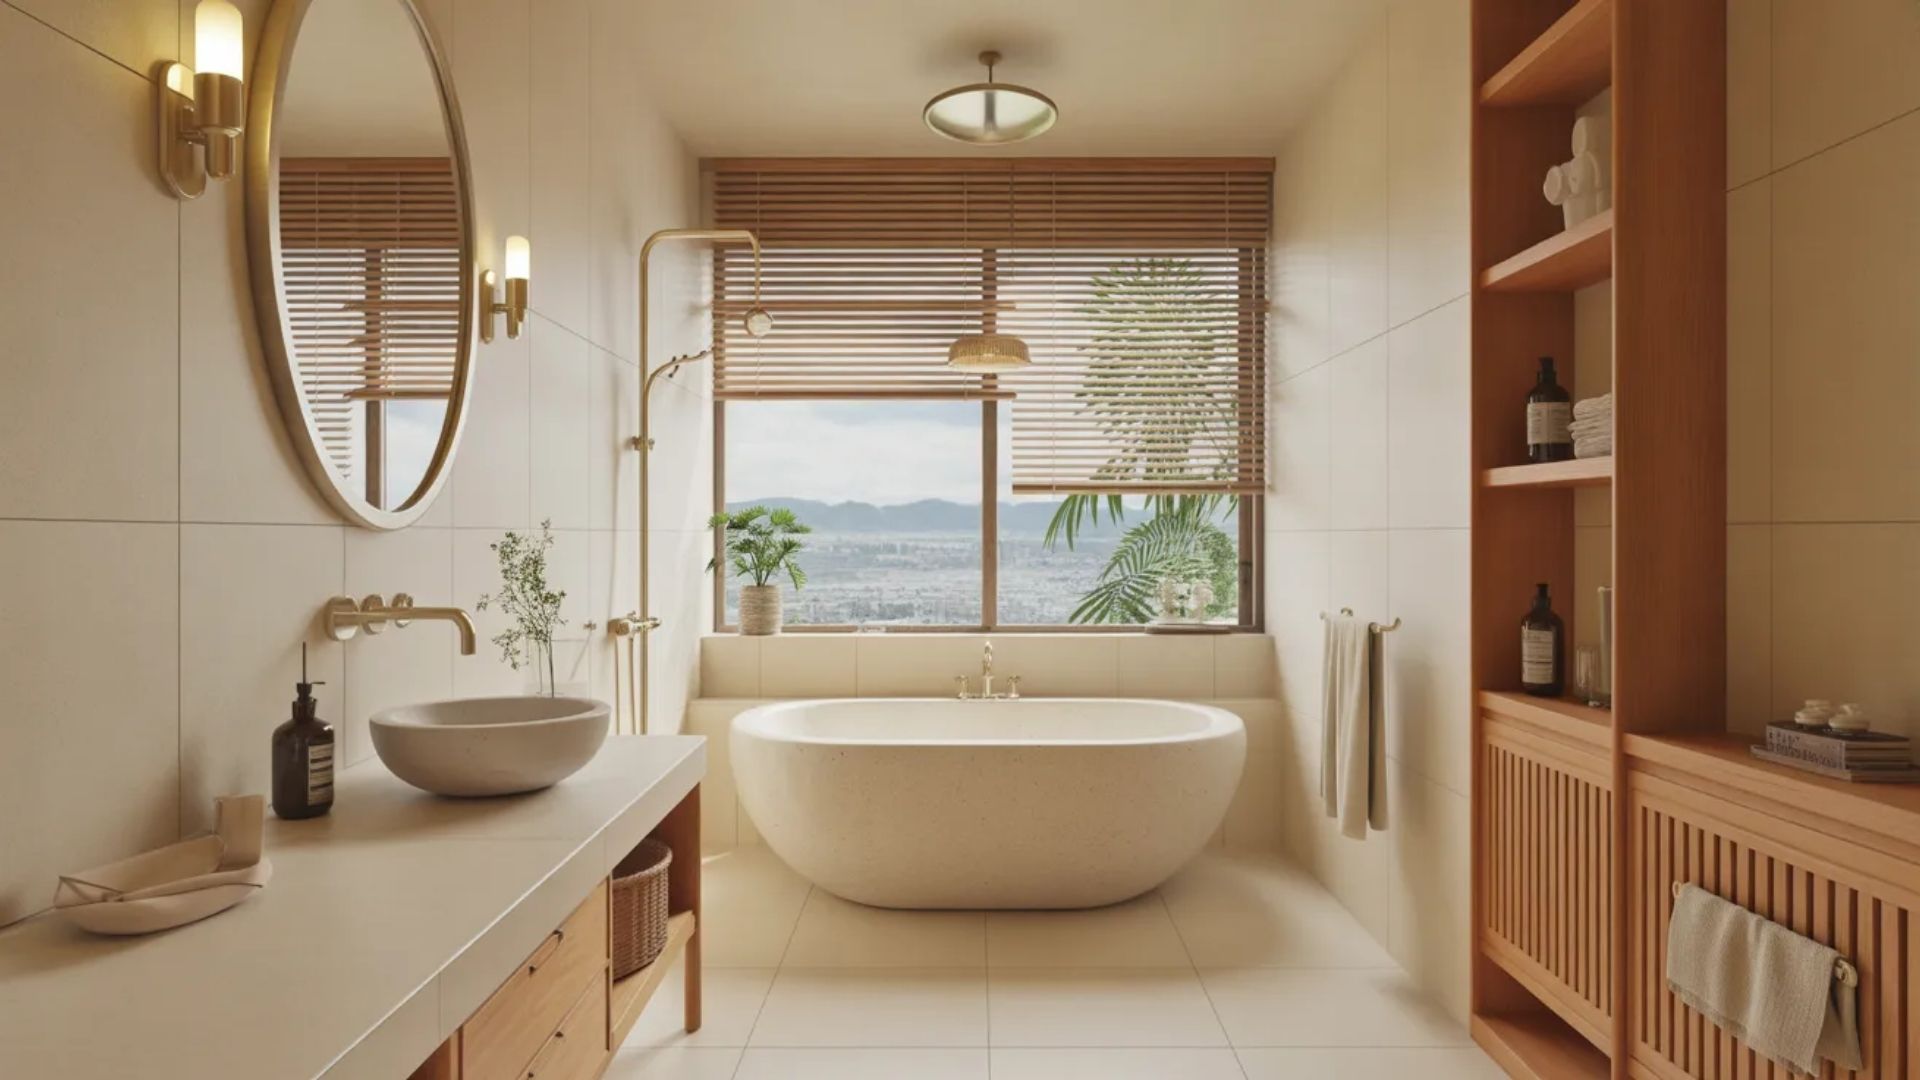
Keep the palette neutral. Add one wood element, such as a cedar stool or a teak bath mat. Use matte black fixtures. Remove anything that does not earn its place in the room.
2. Nature-Inspired Bathroom
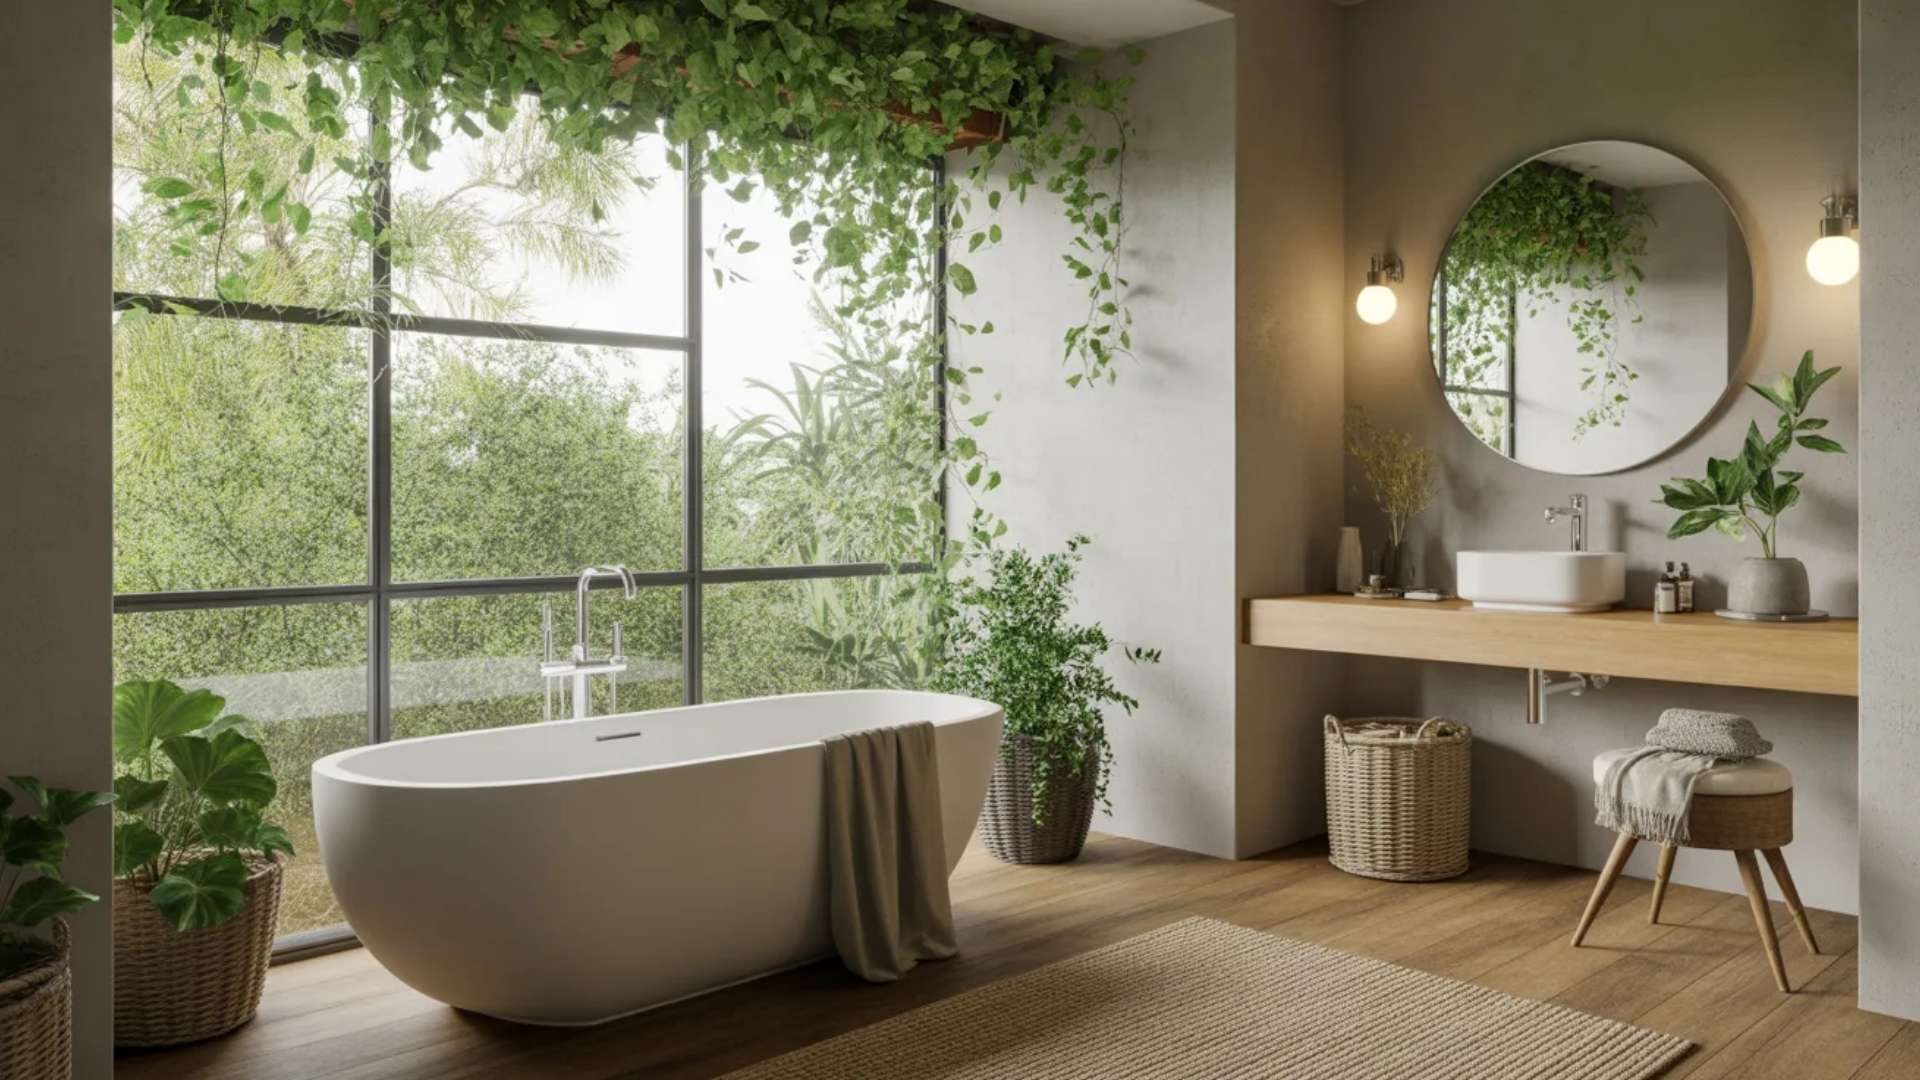
Add a small plant or two. Peace lilies, ficus, and lucky bamboo all handle bathroom humidity well. One simple shelf at eye level. The rest of the room stays open and breathes.
3. Japandi Fusion
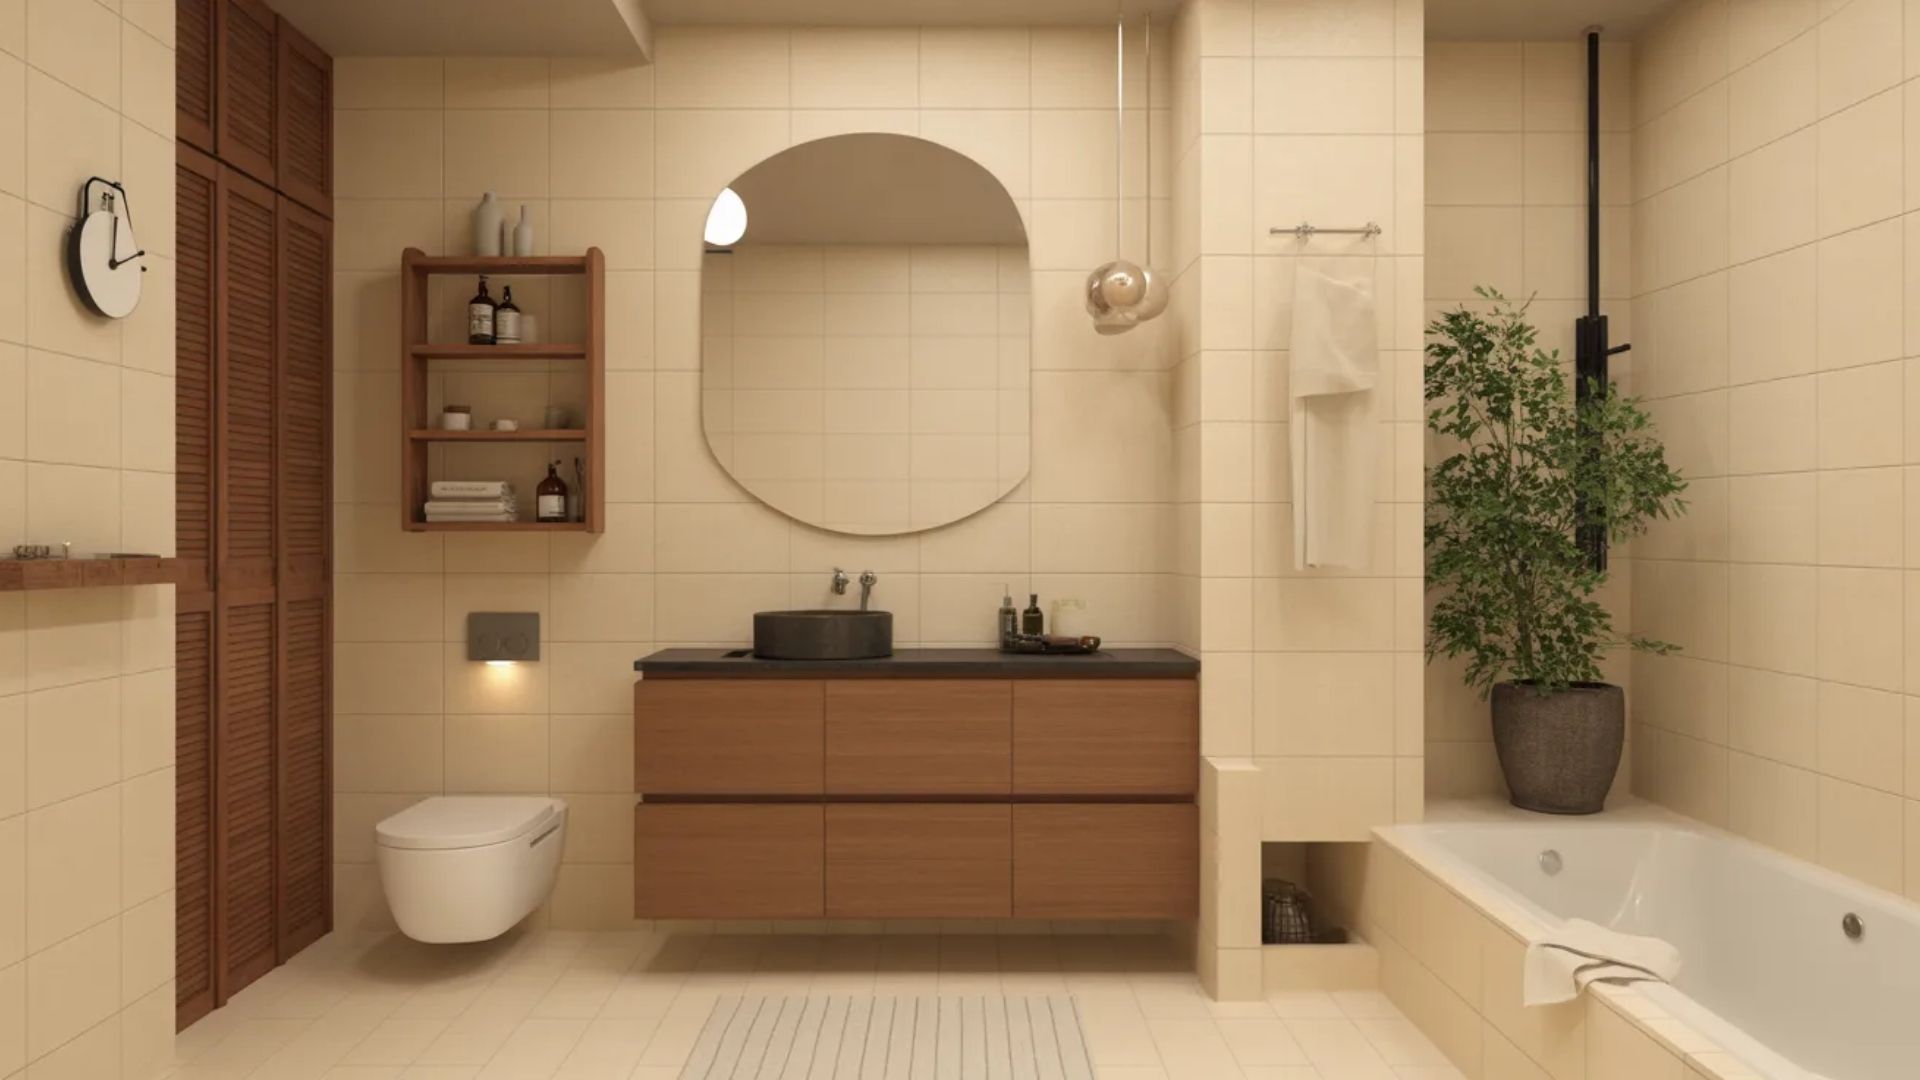
Japanese and Scandinavian design share many common grounds. Both value simplicity and natural materials. If you already have Scandi-style pieces in your home, this direction works naturally and immediately.
4. Ryokan-Style Bathroom
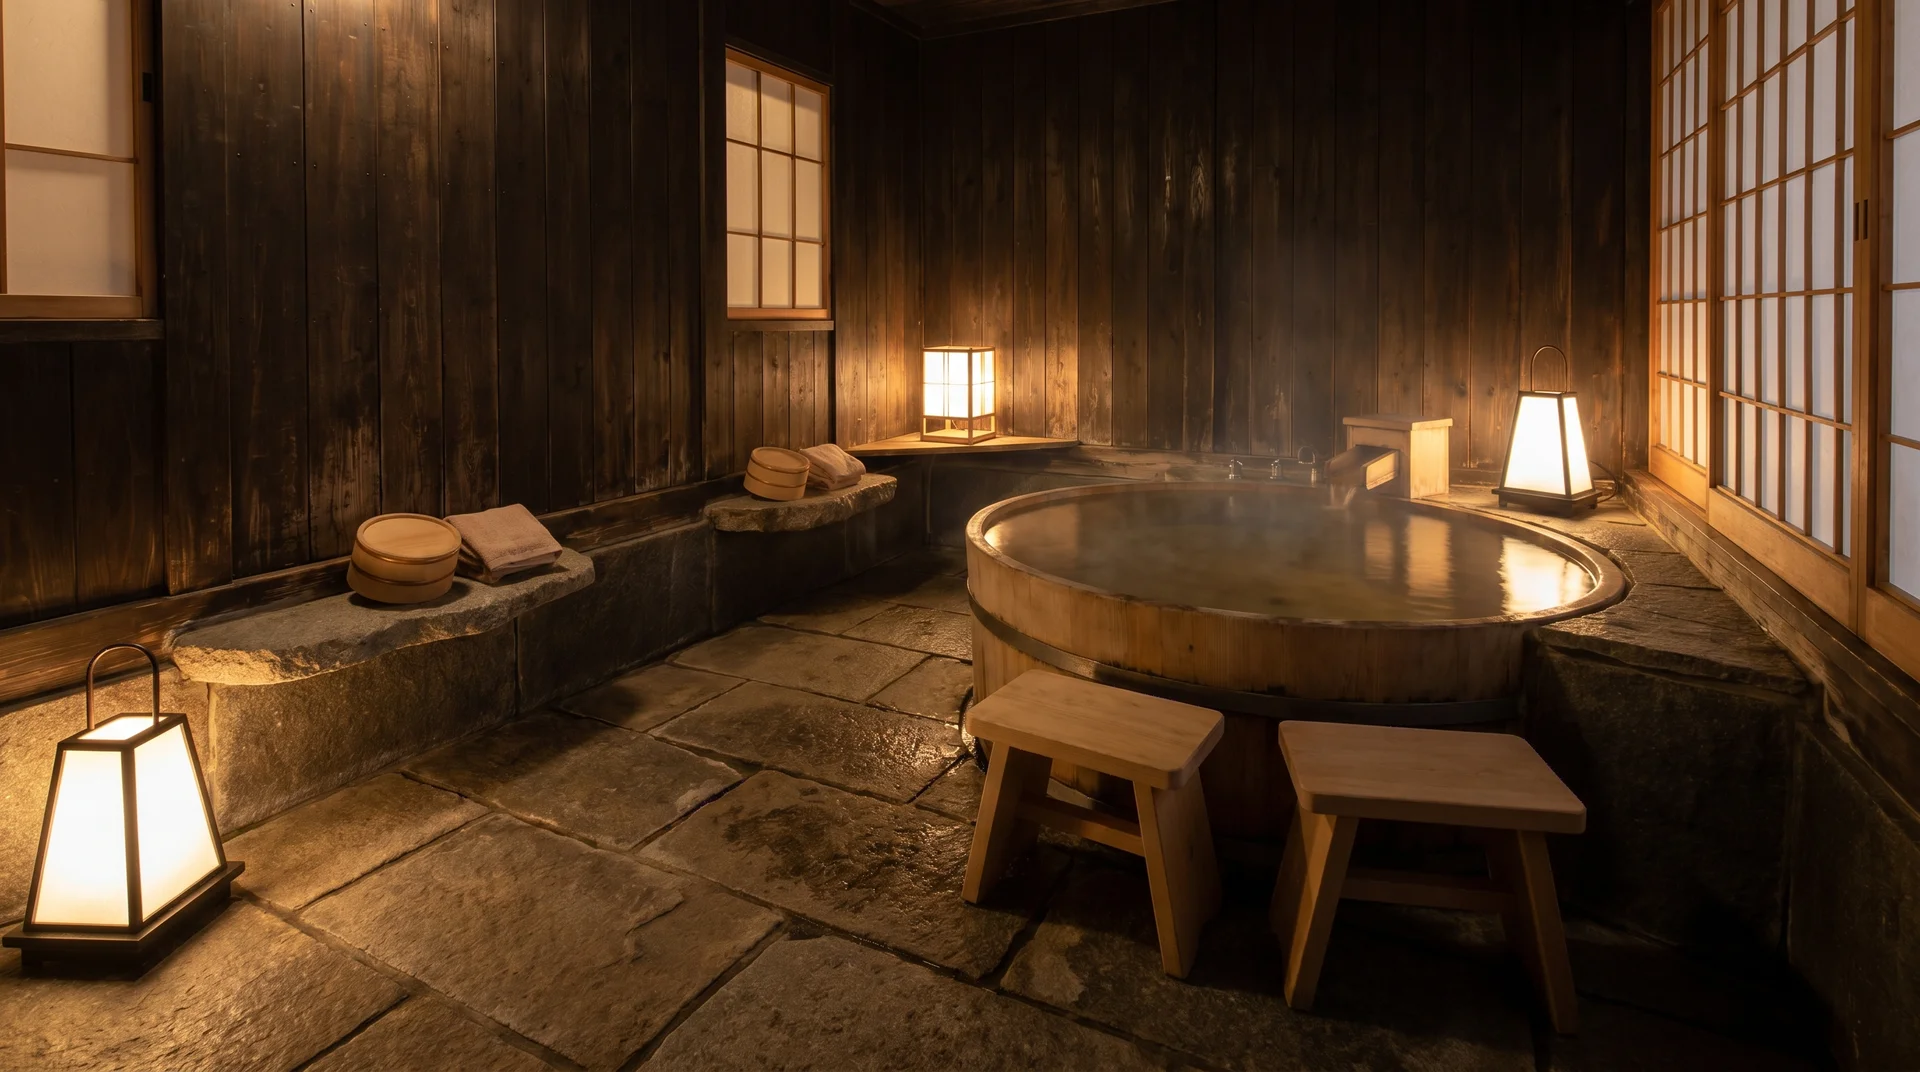
Traditional Japanese inns are well known for their bathing facilities. Dark wood, stone floors, and warm, dim lighting define the look. It is one of my personal favorites when a client wants something that feels truly different from a typical Western bathroom.
5. Glass Partition Wet Room
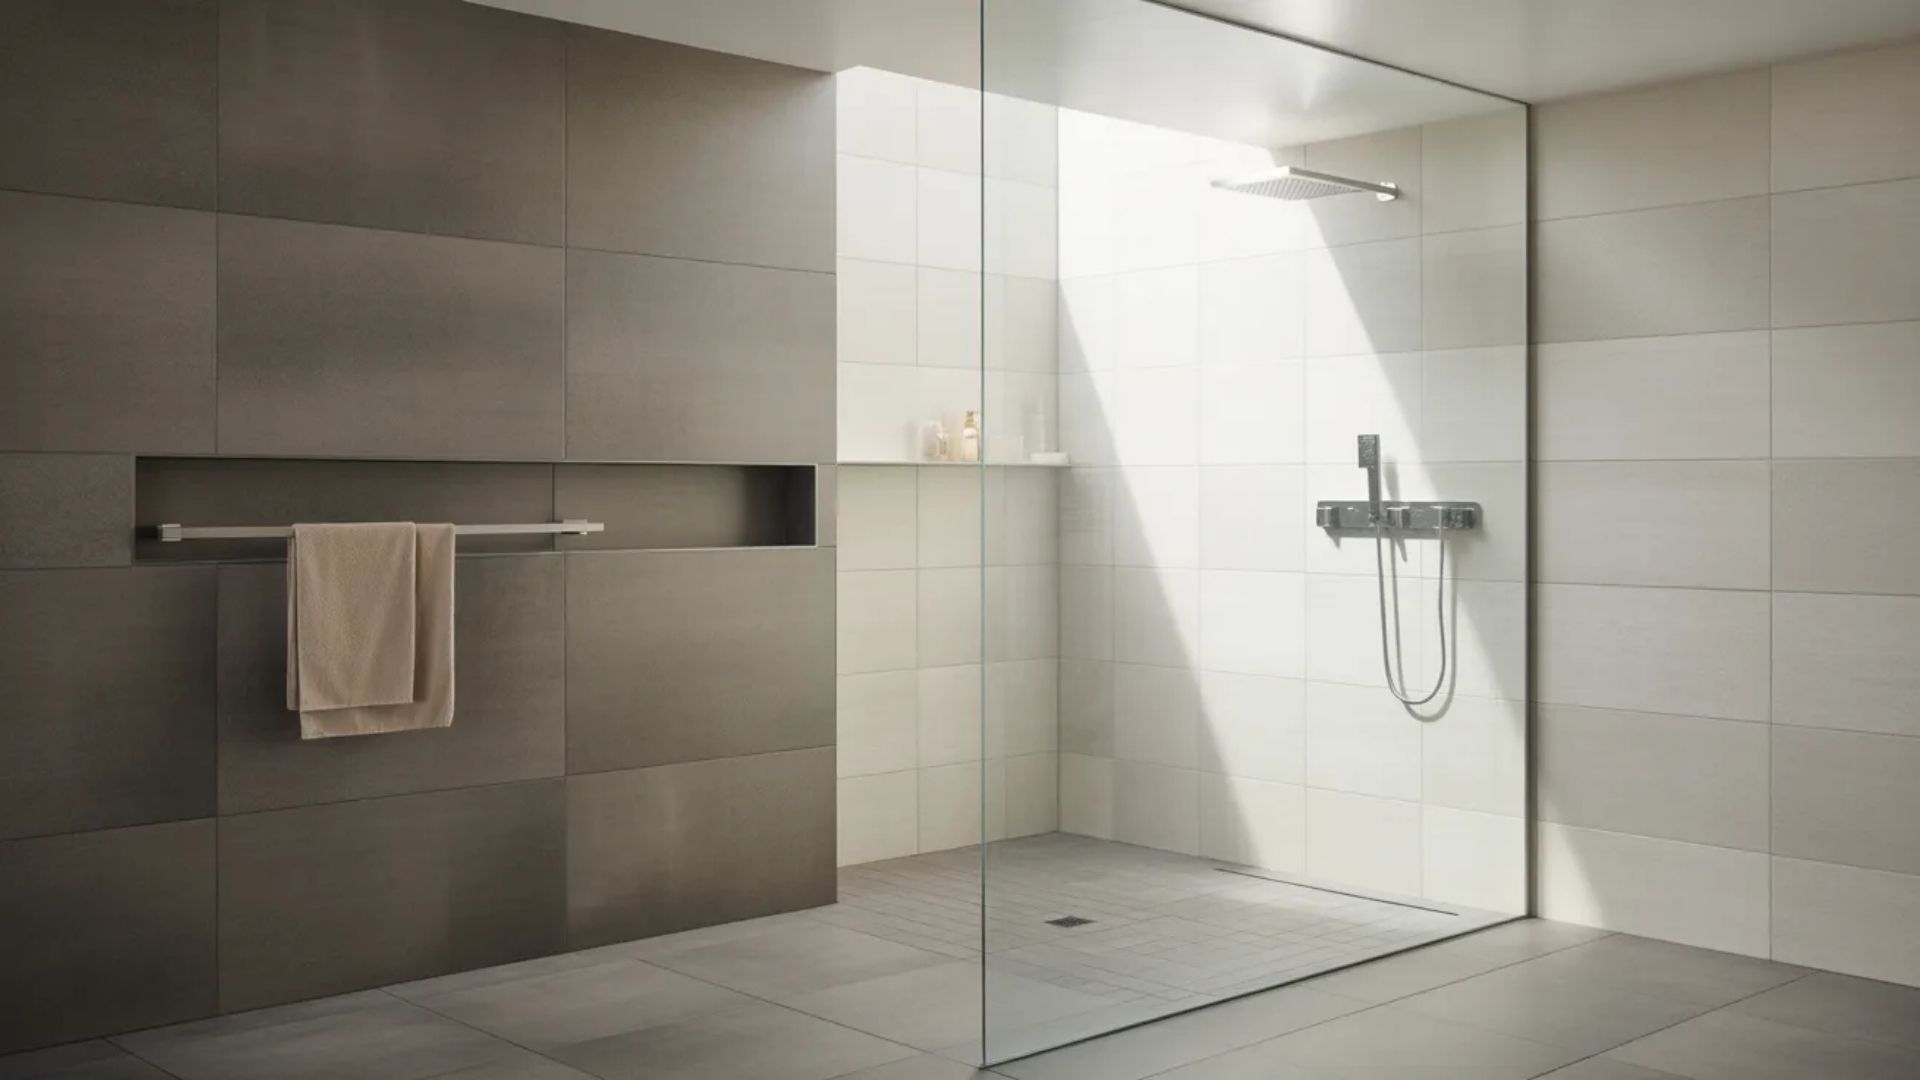
A frameless glass screen keeps the shower area contained without boxing in the room. The space stays open, and the light moves freely through it.
6. Outdoor Courtyard Connection
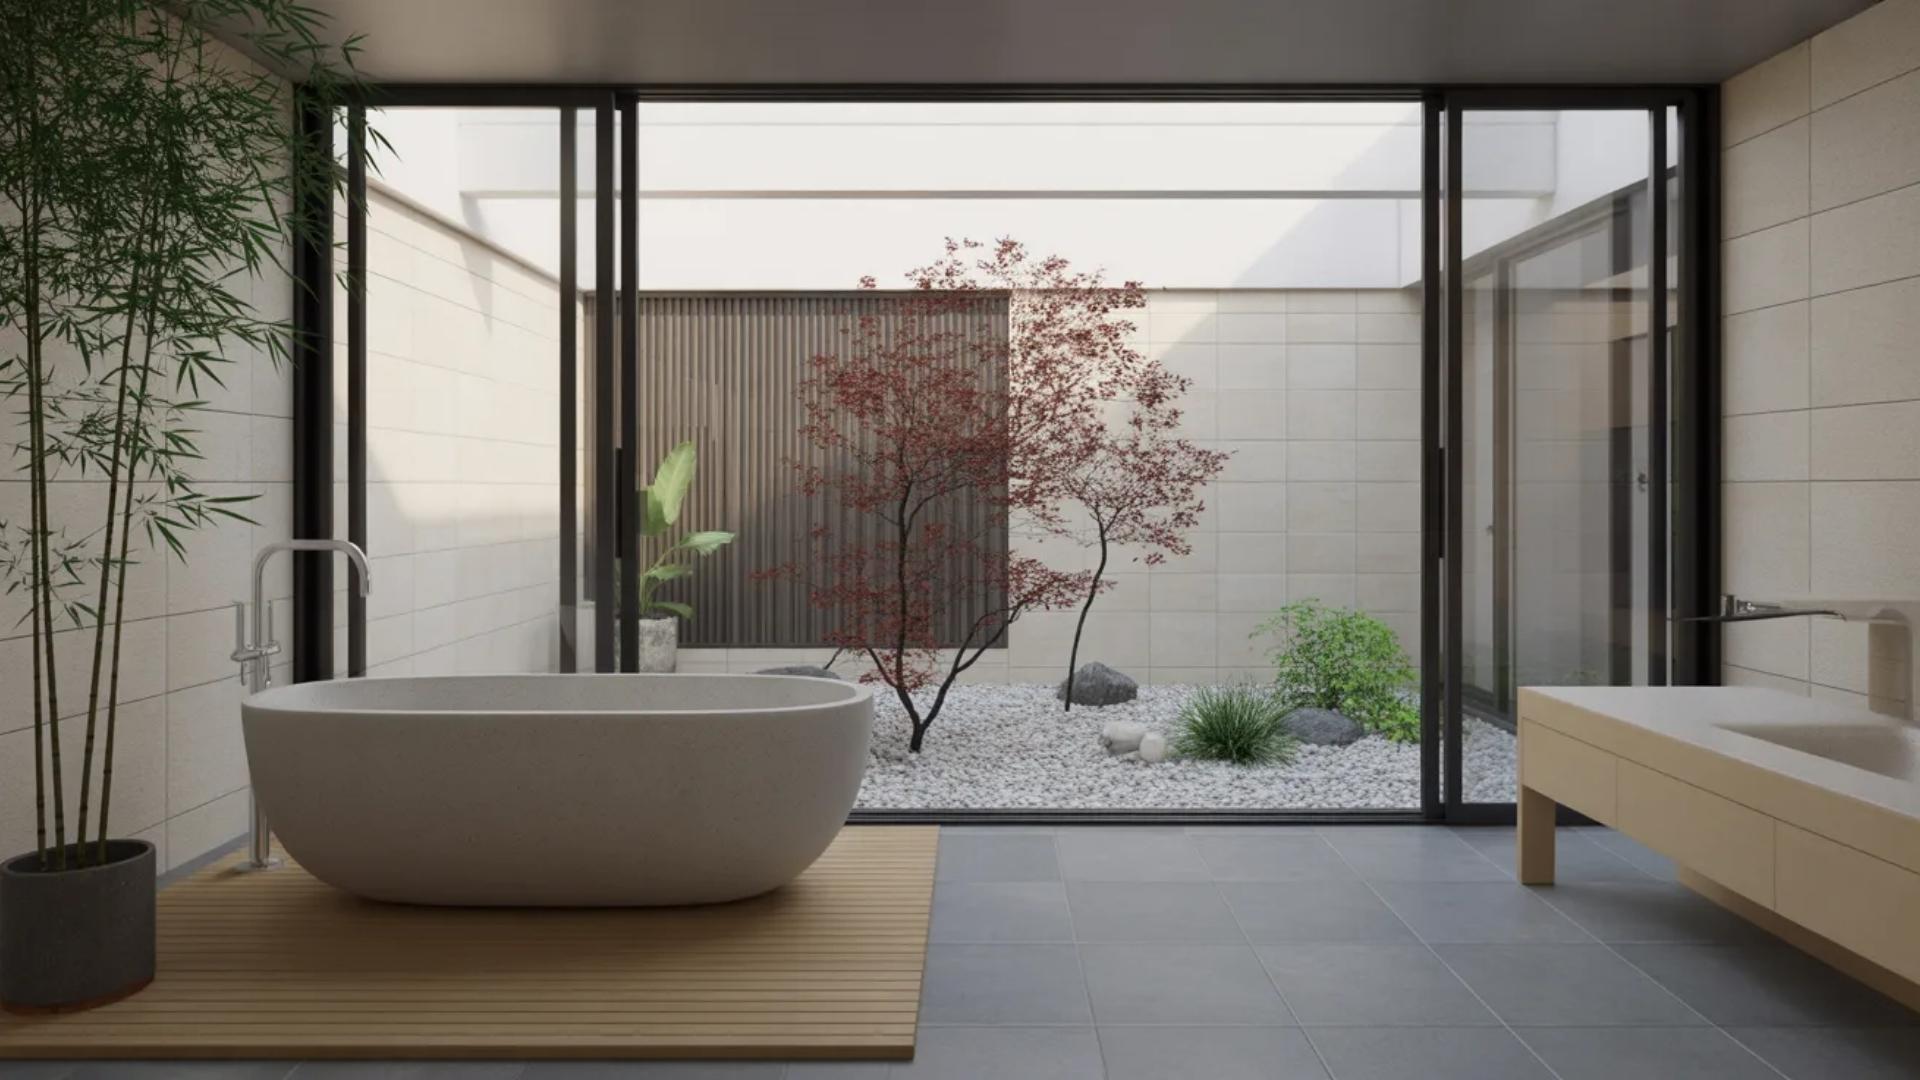
If your layout allows it, a window or sliding glass door facing a small garden can change the whole character of the room. Even a small courtyard plant or a bamboo screen works well here.
7. Tatami Mats in Changing Area
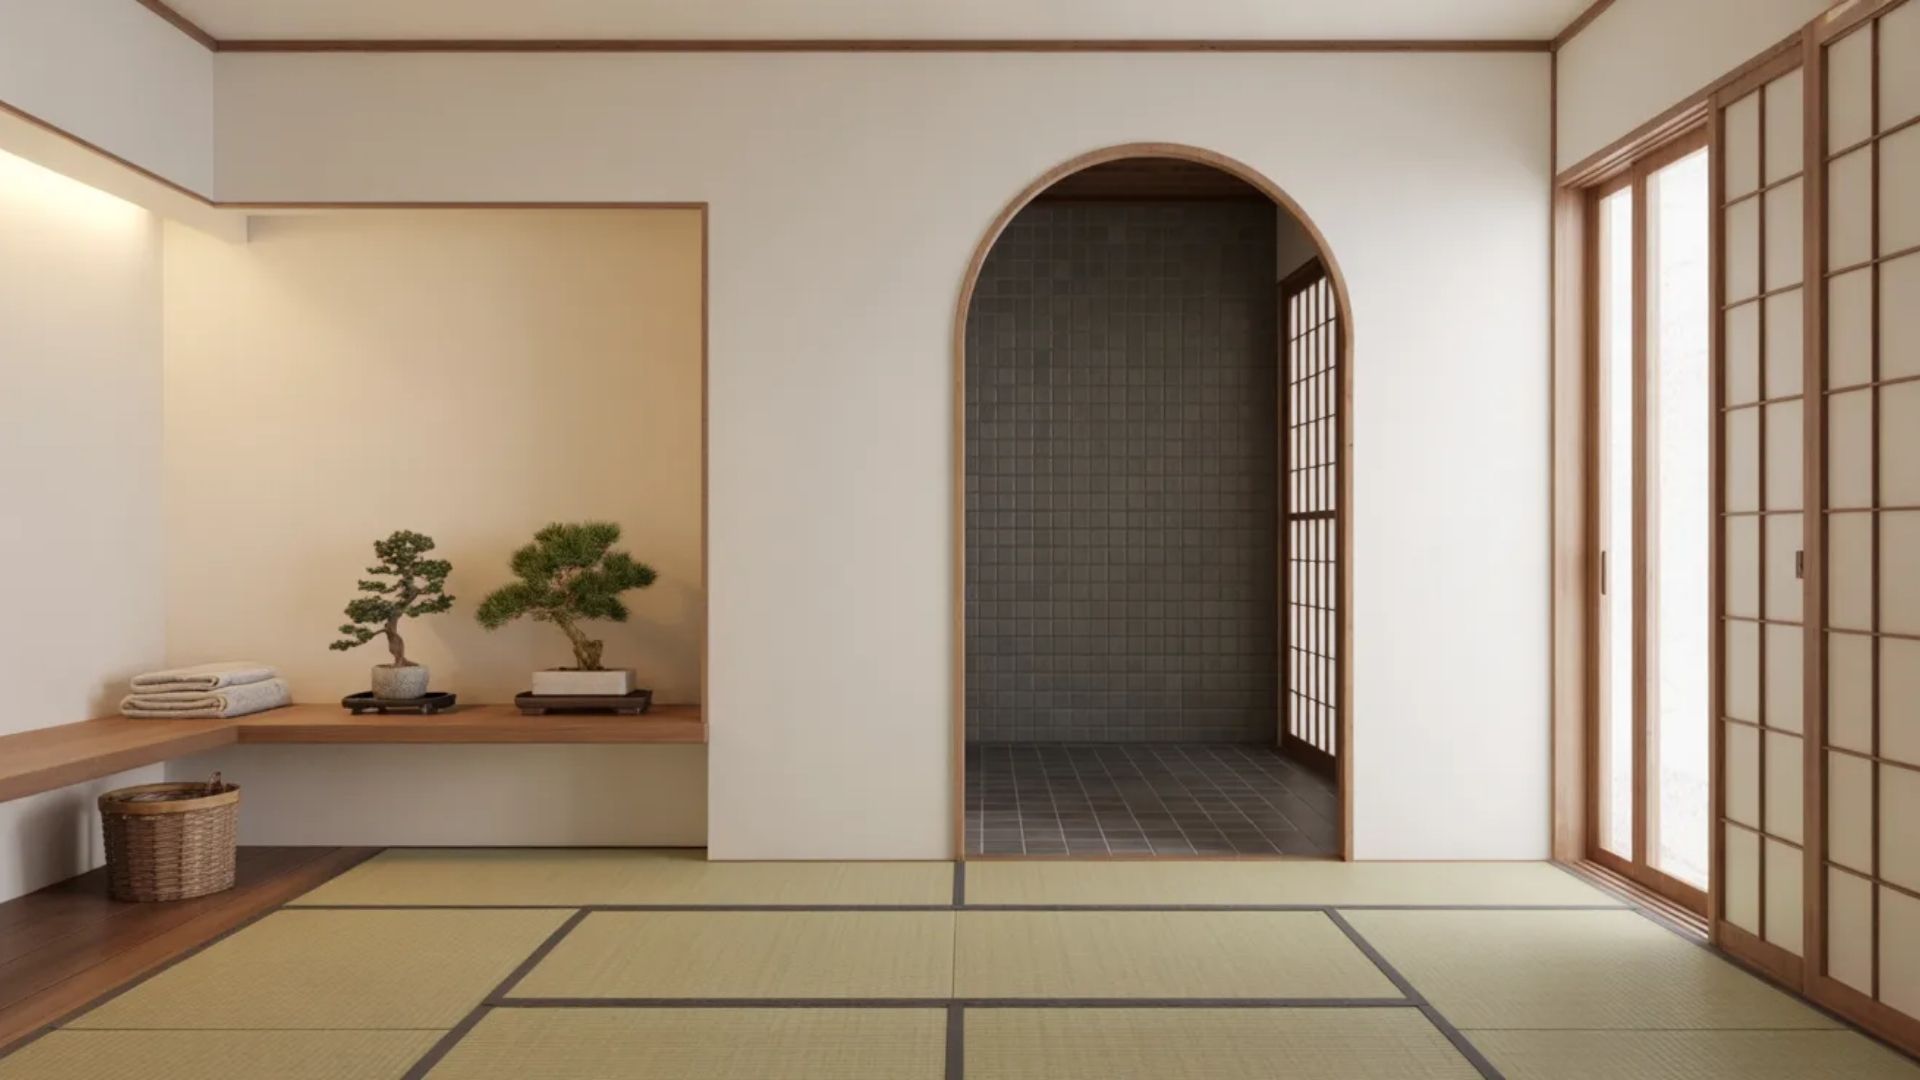
Traditional woven rush tatami mats cover the floor where you change and prepare for bathing. The soft, natural surface feels pleasant under your bare feet before entering the bath.
These mats add a true Japanese-style touch to the home and separate the dry area from the wet zones.
8. Wooden Buckets & Ladles for Pre-Bath Rituals
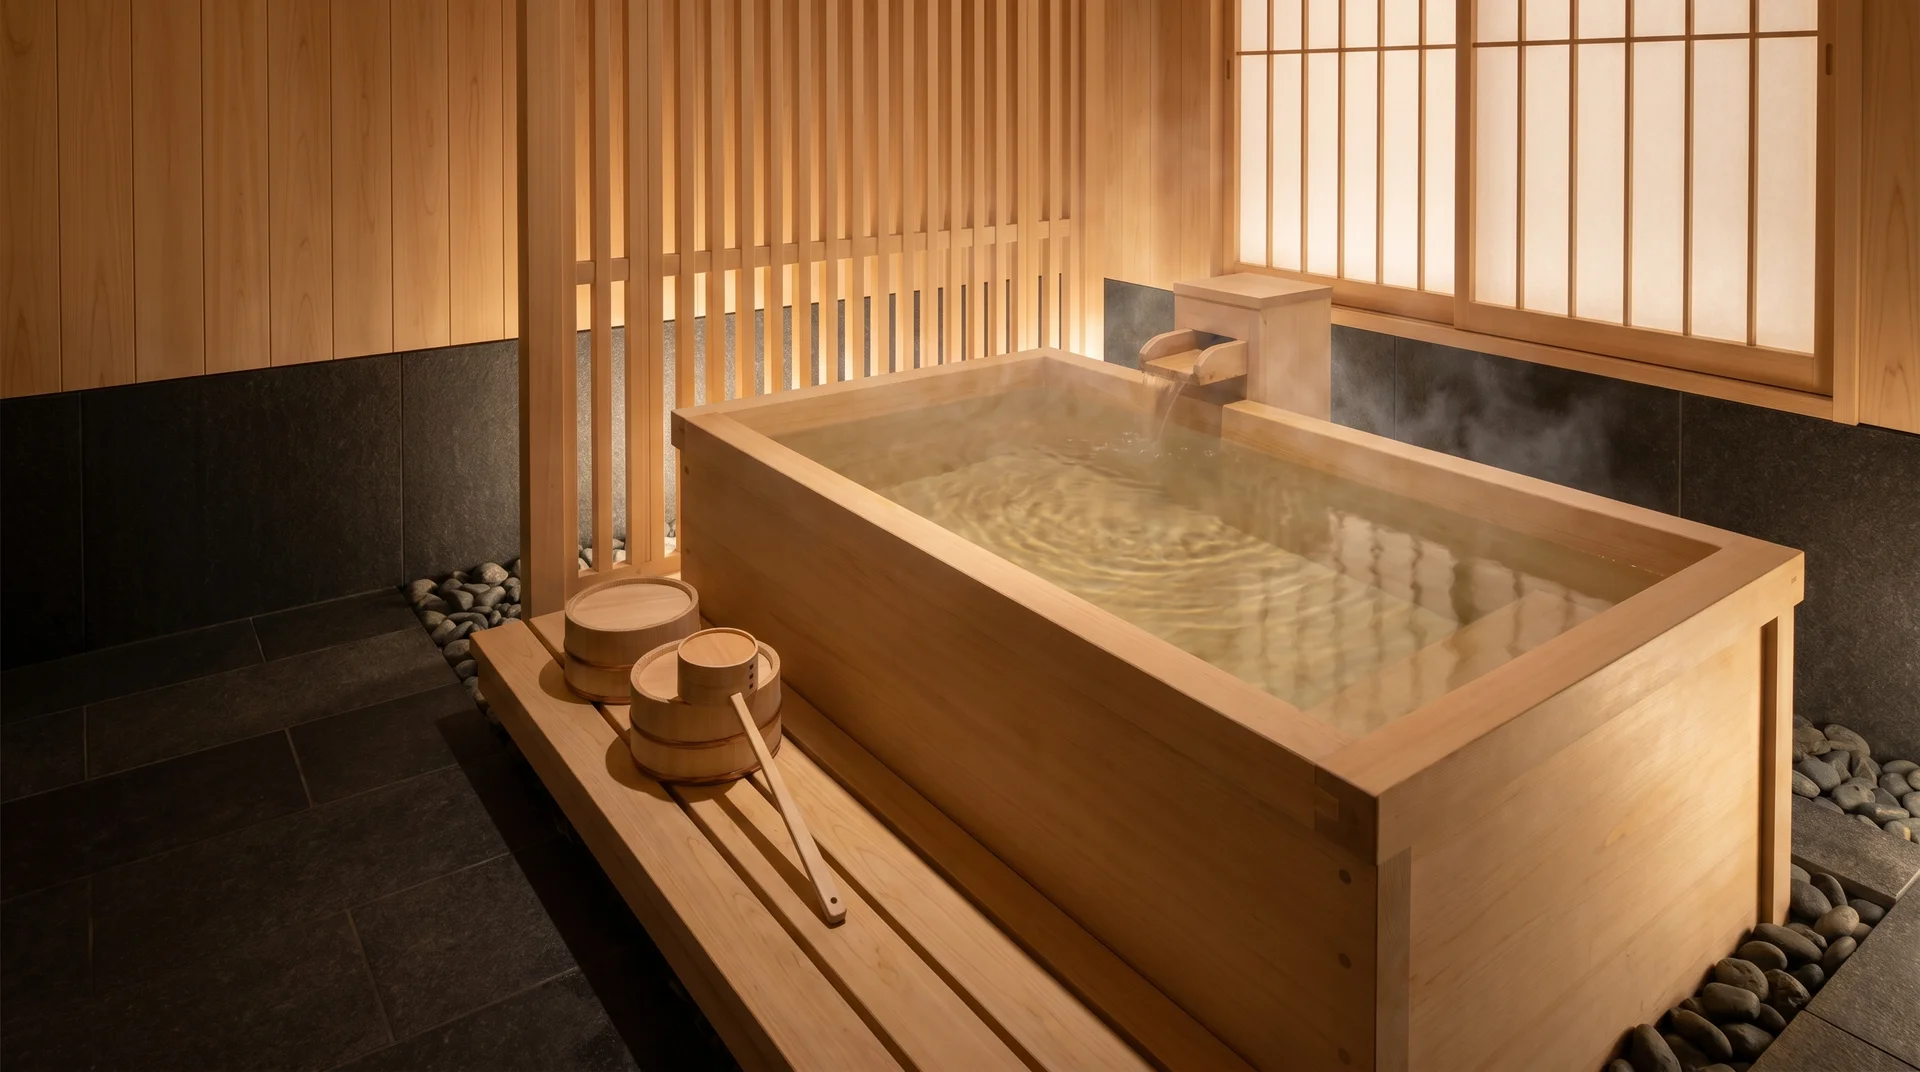
Small wooden buckets and long-handled ladles sit beside your tub for traditional washing routines. You use the ladle to pour water over yourself before entering the clean bath.
The light wood adds rustic appeal and connects you to centuries-old Japanese bathing customs.
I think this simple addition makes everyday bathing feel special and more intentional than usual. The buckets also work perfectly for rinsing hair or cooling down during long soaks.
9. Traditional Japanese Folding Screen (Byōbu)
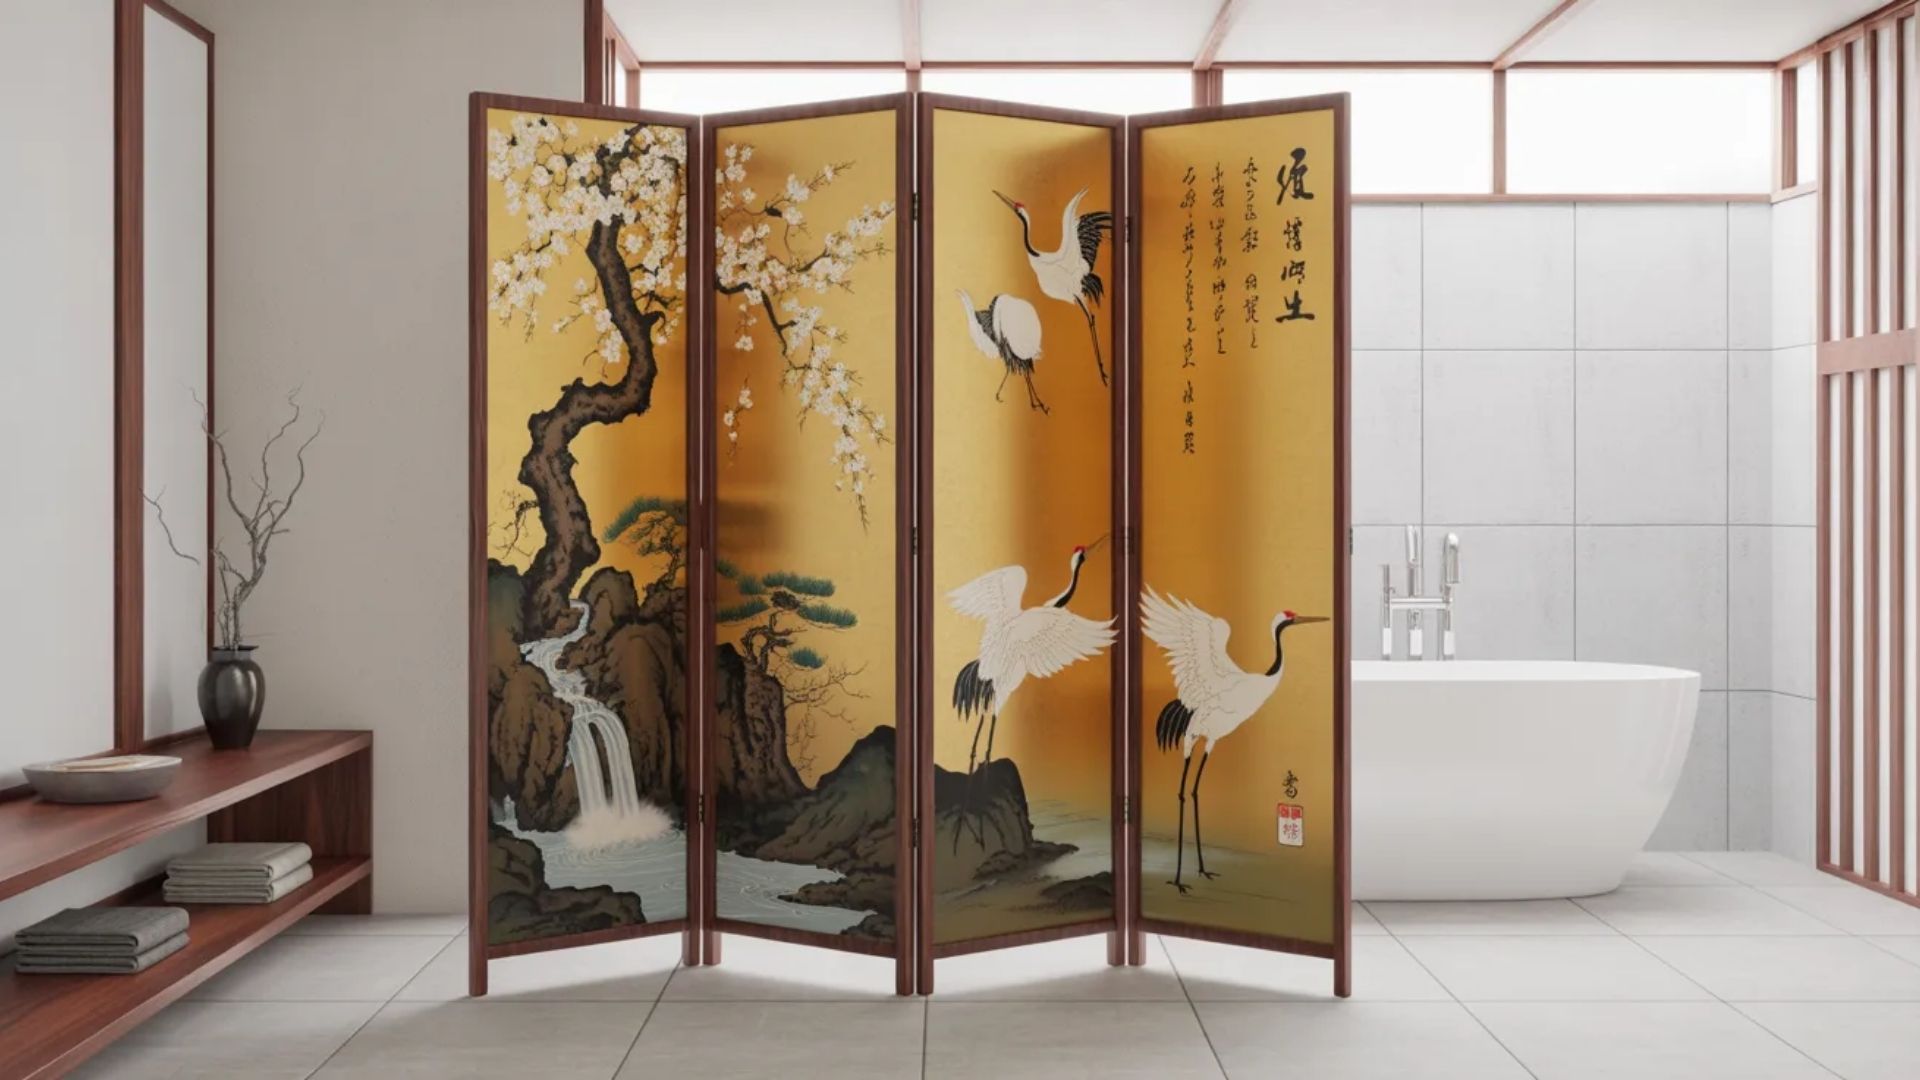
A decorative folding screen with painted nature scenes or gold leaf stands in one corner. The screen adds privacy, divides spaces, or serves as both a beautiful, functional artwork and a divider.
Traditional designs show mountains, cherry blossoms, birds, or abstract gold patterns across multiple connected panels.
I love how these screens add instant Japanese classiness while being completely portable and movable. You can reposition the screen at any time to change your bathroom layout or create different moods.
Materials and Finishes for Japanese Bathrooms
The right materials make the design feel honest, not staged.
| Material | Best Used For | Maintenance Level |
|---|---|---|
| Hinoki wood | Soaking tubs, bath stools | High, needs regular oiling |
| Teak | Bath mats, stools, shelving | Medium |
| Slate | Floors and feature walls | Low |
| Matte ceramic tile | Walls and floors | Low |
| Natural stone | Shower walls and counters | Medium |
| Bamboo | Accessories and small decor | Low |
Anti-slip finishes matter in any wet area. Smooth, polished stone looks good, but becomes unsafe without the right surface treatment. Ask your tile supplier for the slip resistance rating before you purchase anything.
If hinoki wood is outside your budget, teak is the best substitute. It handles moisture well and develops a warm, silvery tone over time that actually adds to the look.
Key Fixtures and Accessories for Japanese Bathroom
Every item in the room should have a reason to be there.
Key fixtures to consider
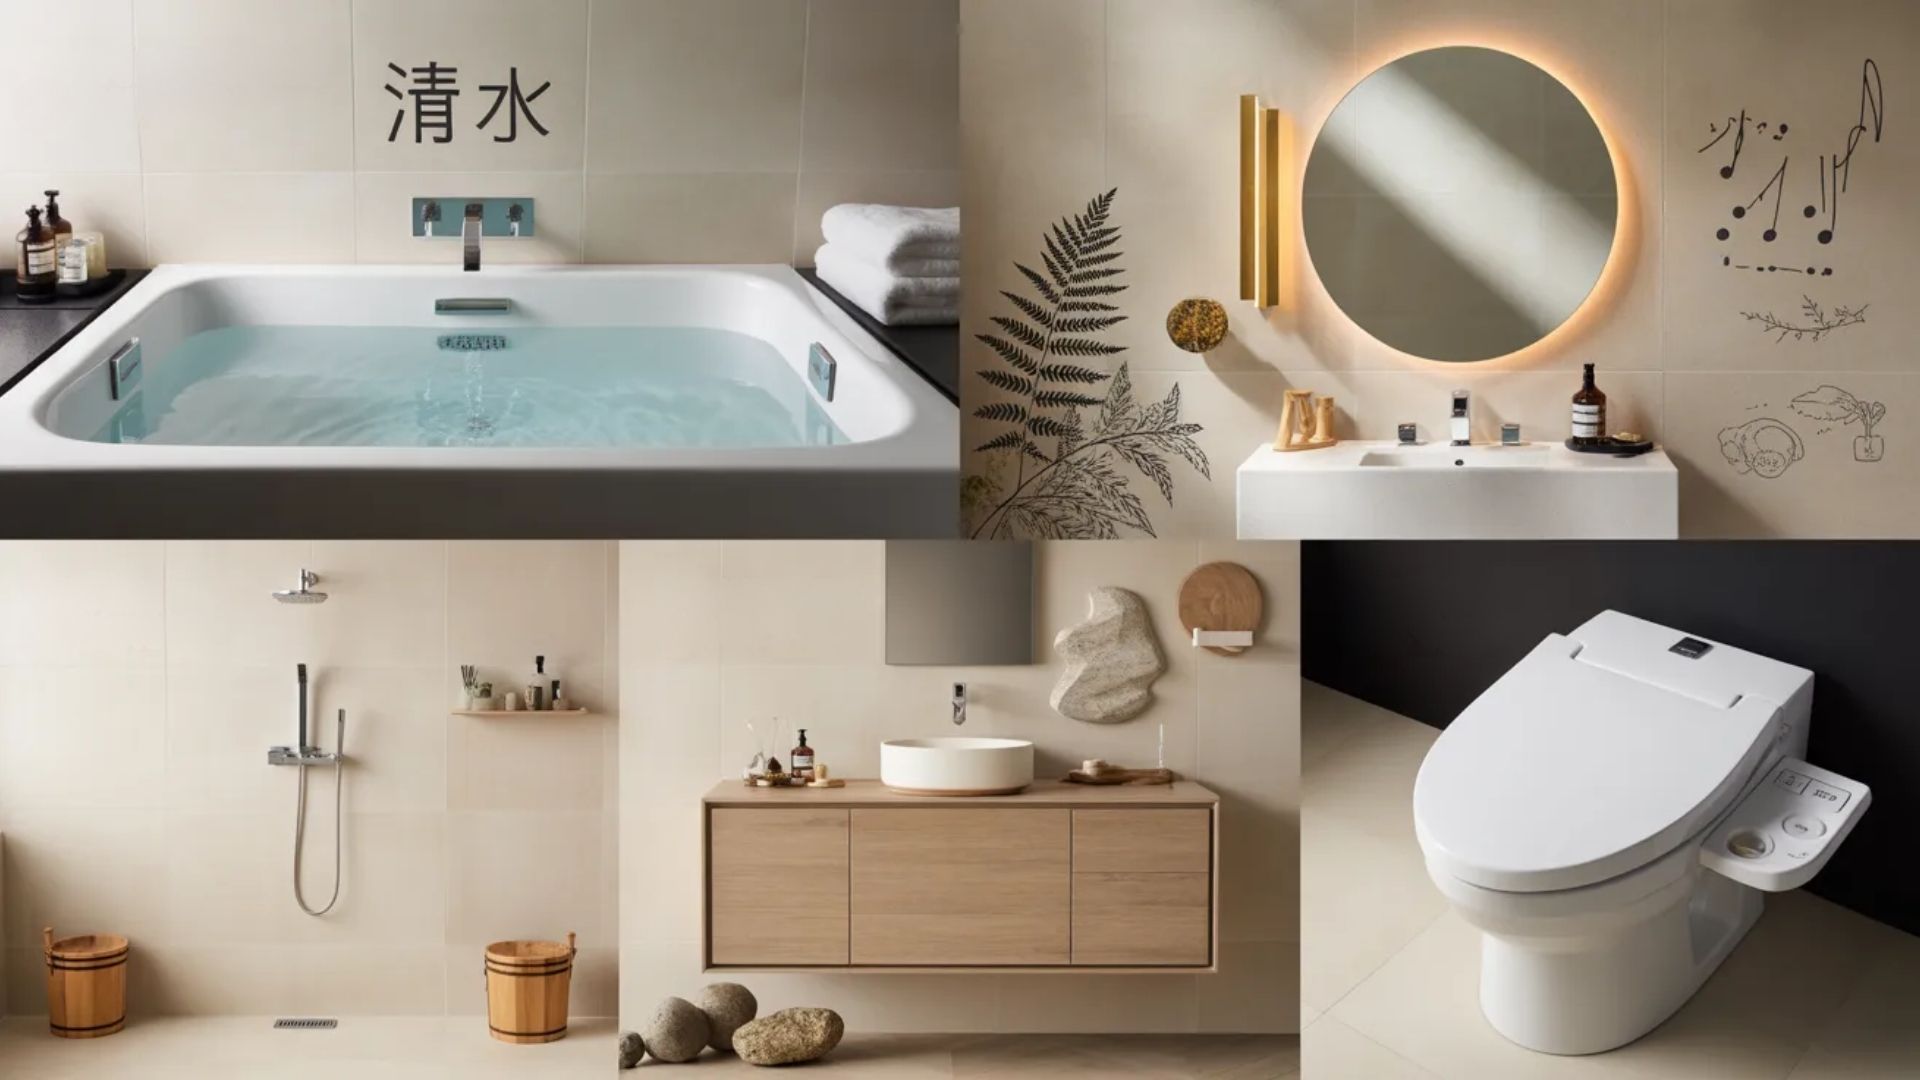
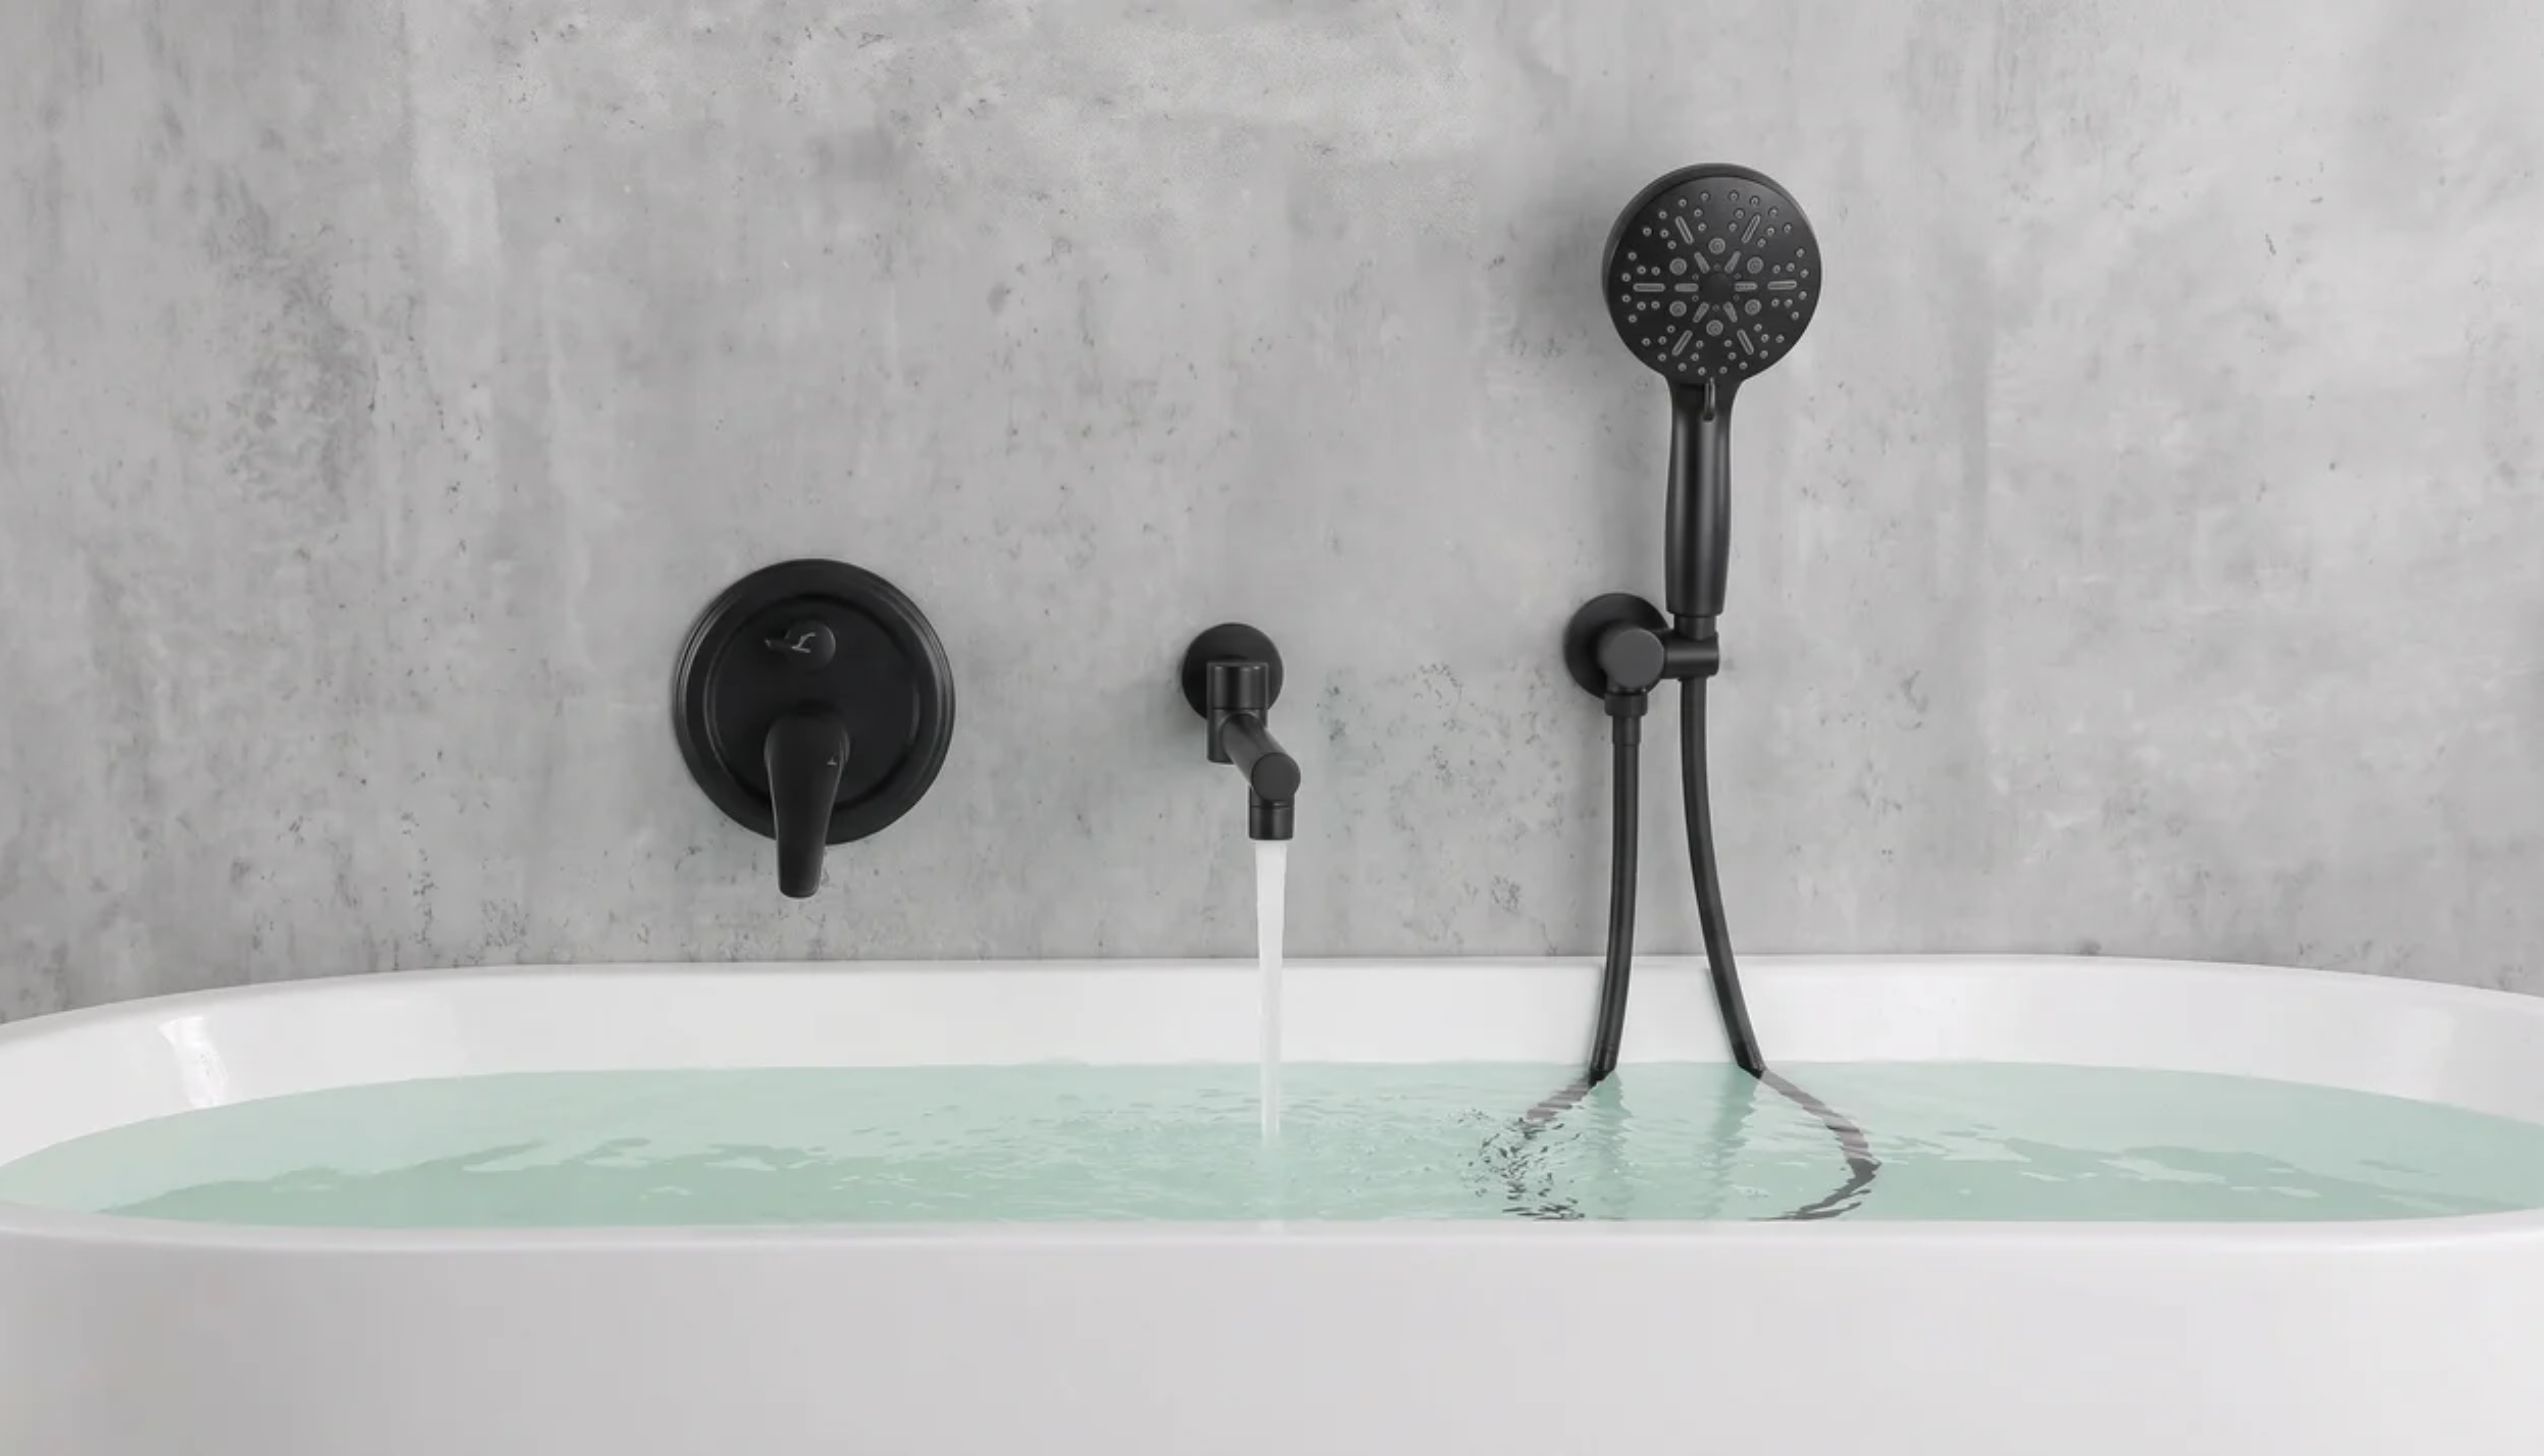
- The shower type you choose for the wet zone shapes how the space functions daily. A handheld model mounted low on the wall is the most common approach in this style.
- Deep soaking tub, freestanding or built-in
- Wall-hung or floating vanity to keep the floor clear, getting the vanity depth right is the sizing detail most of you miss until after installation
- Smart toilet with bidet function, standard in most Japanese homes
- Mirror with integrated warm lighting
Accessories that work well
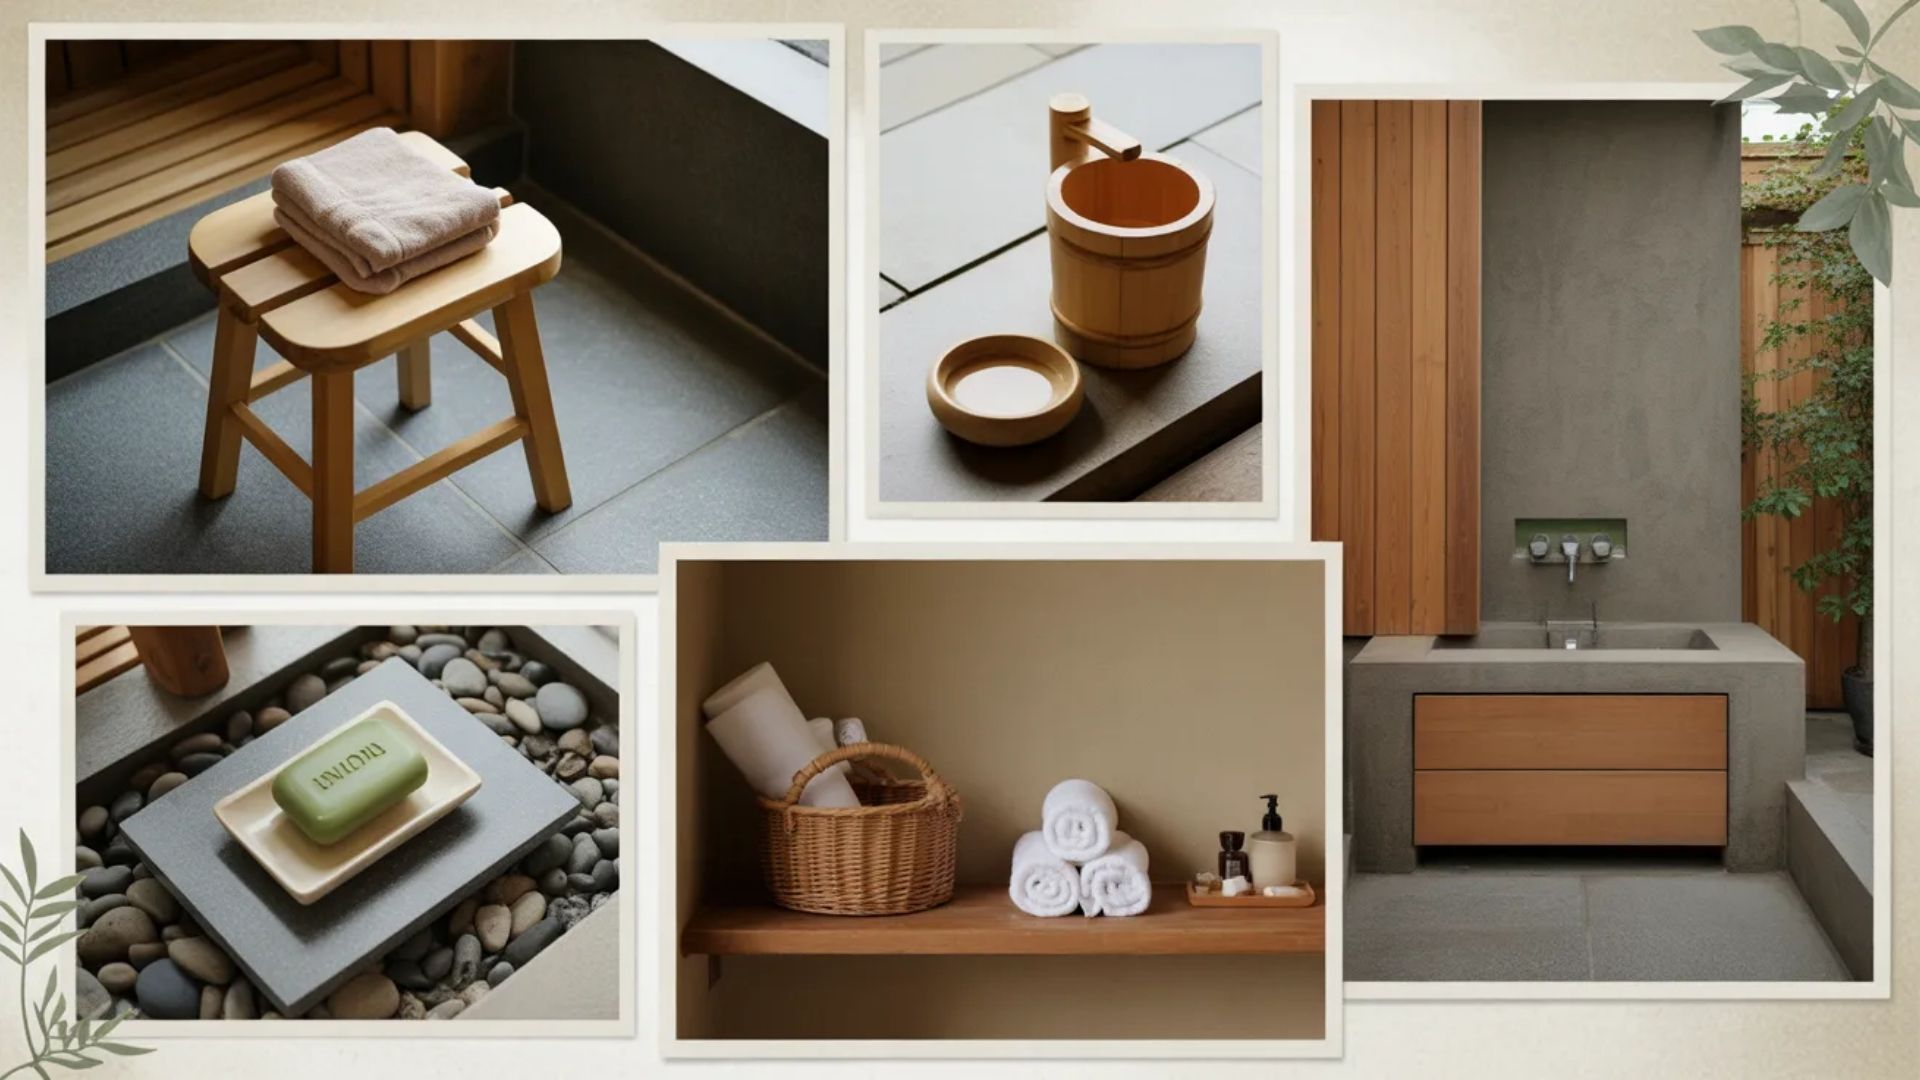
- Wooden bath stool in cedar or teak
- Wooden bucket or basin for the shower zone
- Simple stone or ceramic soap dish
- One small plant placed where it gets indirect light
- A woven storage basket kept inside a cabinet
Skip the decorative trays and layered shelf styling. One well-chosen piece does more than five average ones. If the counter holds ten items, remove six. The room will feel better immediately.
How to Design a Japanese Bathroom at Home
Follow this process to make the project manageable from start to finish.
Step 1: Set Your Budget and Measure Your Space
Before anything else, know your bathroom dimensions and your budget. Accurate measurements prevent costly mistakes, while a realistic budget helps you prioritize upgrades like tubs, tiles, or lighting.
Step 2: Plan the Zones
Decide where the shower, tub, and dry areas will sit. Japanese bathrooms separate washing from soaking, so keeping water contained helps keep the space clean and functional.
Step 3: Choose Materials First
Choose flooring, wall tiles, and tub materials before picking fixtures. Natural options like hinoki or teak wood, matte stone, and ceramic tiles set the tone. Matching fixtures to these materials is far easier than adjusting materials around pre-selected fixtures.
Step 4: Plan Lighting and Ventilation Together
Warm, ambient lighting enhances relaxation, while proper ventilation prevents wood warping or mold growth. Install exhaust fans early and consider dimmable lights or soft lantern-style fixtures for a spa-like feel.
Step 5: Add Finishing Touches Last
Select only essential fixtures and a few accessories. A deep soaking tub, a wooden bath stool, and one plant can complete the look. Avoid overstuffing the space; simplicity is key to Japanese design.
Step 6: Finishing Touches
Add subtle details like wooden ladles, bamboo mats, or small natural decorations. These final touches make the bathroom feel personal, intentional, and inviting.
Mistakes to Avoid in Japanese Bathroom Design
Even with careful planning, certain pitfalls can undermine a Japanese bathroom’s calm and functional feel. Keeping these common mistakes in check ensures your space stays serene and practical.
| Common Mistake | Why It Matters | How to Avoid It |
|---|---|---|
| Mixing too many styles | Breaks visual calm and consistency | Stick to Japanese minimalism; avoid farmhouse or boho elements |
| Skipping wet and dry separation | Water spreads, reducing functionality | Use a glass panel to clearly divide zones |
| Overcrowding the space | Adds visual clutter | Use built-in cabinets, recessed niches, and limit unnecessary storage |
| Using glossy surfaces | Feels clinical, not restful | Opt for matte finishes on tiles and surfaces |
| Poor ventilation | Wood warps, mold grows | Install a proper exhaust fan and ensure airflow |
Budget-Friendly Japanese Bathroom Design Tips
A full renovation is not required to shift a bathroom in this direction. I always tell clients to start with the changes that cost the least and shift the feeling the most:
- Replace the showerhead. A handheld model changes how you use the shower right away and costs very little.
- Swap the bath mat. A teak or bamboo mat is affordable and instantly changes the look.
- Clear the counter. The single biggest visual shift costs nothing.
- Change the bulbs. Warm white bulbs, rather than cool white ones, completely change the mood.
- Add one plant. A peace lily or small bamboo plant needs very little care and fits the style well.
Stone-look and wood-look tiles are now widely available at accessible price points. They hold up well in wet spaces and cost far less than natural materials.
Bottom Line
Japanese bathroom design gives every fixture and surface a clear purpose. The result is a room that actually makes you want to be there.
You do not need to do everything at once. Start with the changes that cost the least and shift the feeling the most. Clear the counter. Change the lighting. Add one natural material. Notice how the room responds.
The goal is a bathroom that fits how you actually live, not one built for a photo. Real comfort comes from spaces designed for real people. Personal, functional, and genuinely lived in.
If you are planning a bathroom refresh, start with the smallest change that shifts the feel. Warm lighting and a cleared counter cost almost nothing. Build from there.