Knowing how to remove a shower head is one of those small plumbing skills every homeowner should have.
Maybe yours is leaking, losing pressure, or just outdated. Maybe hard water has clogged it solid.
Either way, taking it off is simpler than it looks. All you need is a wrench, some Teflon tape, and about 15 minutes.
This blog walks through the full process, from shutting off the water to prepping the threads for a new fixture, even if the old one is completely stuck.
Why You Might Need to Remove a Shower Head
Removing a showerhead sounds like a big job. This job usually takes in under 15 minutes, and the reasons to do it come up more often than you think.
- Upgrading to a new showerhead: Your current showerhead might have low water pressure, a broken setting, or just an outdated design. Swapping it for a new one is one of the fastest ways to improve your daily shower experience. If you’re weighing a rainhead, a handheld unit, or a full shower system swap, it helps to look at the different shower types before you buy. Removal is the first step.
- Cleaning or unclogging mineral buildup: Hard water leaves calcium and limescale deposits inside the showerhead over time. These deposits block the spray nozzles and noticeably reduce water pressure. Removing the showerhead lets you soak it properly in a descaling solution and restore full pressure.
- Fixing leaks or replacing faulty fixtures: A dripping showerhead wastes water and adds to your monthly bill. In most cases, the fix is a worn-out washer or a damaged O-ring inside the connection. You cannot replace these parts without taking the showerhead off first.
Tools and Materials Needed to Remove a Shower Head
You do not need a full toolbox for this job. Most of what you need is probably already at home.
| Tool or Supply | Purpose |
|---|---|
| Adjustable wrench, pliers, or strap wrench | Loosens the showerhead. A strap wrench protects polished finishes; wrap pliers with a cloth to prevent scratches. |
| Teflon tape | Seals the shower arm threads and helps prevent leaks during installation of a new showerhead. |
| Cleaning cloth or rag | Protects the fixture from tool marks and wipes away dripping water. |
| Lubricant (optional) | Helps loosen a stuck showerhead because of corrosion or mineral buildup. |
| Bucket or bowl (optional) | Catches leftover water from the shower arm, keeping the floor dry. |
Step-by-Step Process: How to Remove a Shower Head
Follow these simple steps to remove the showerhead safely, protect the fixture, and avoid damaging the shower arm or wall connection.
Step 1: Turn Off the Water Supply
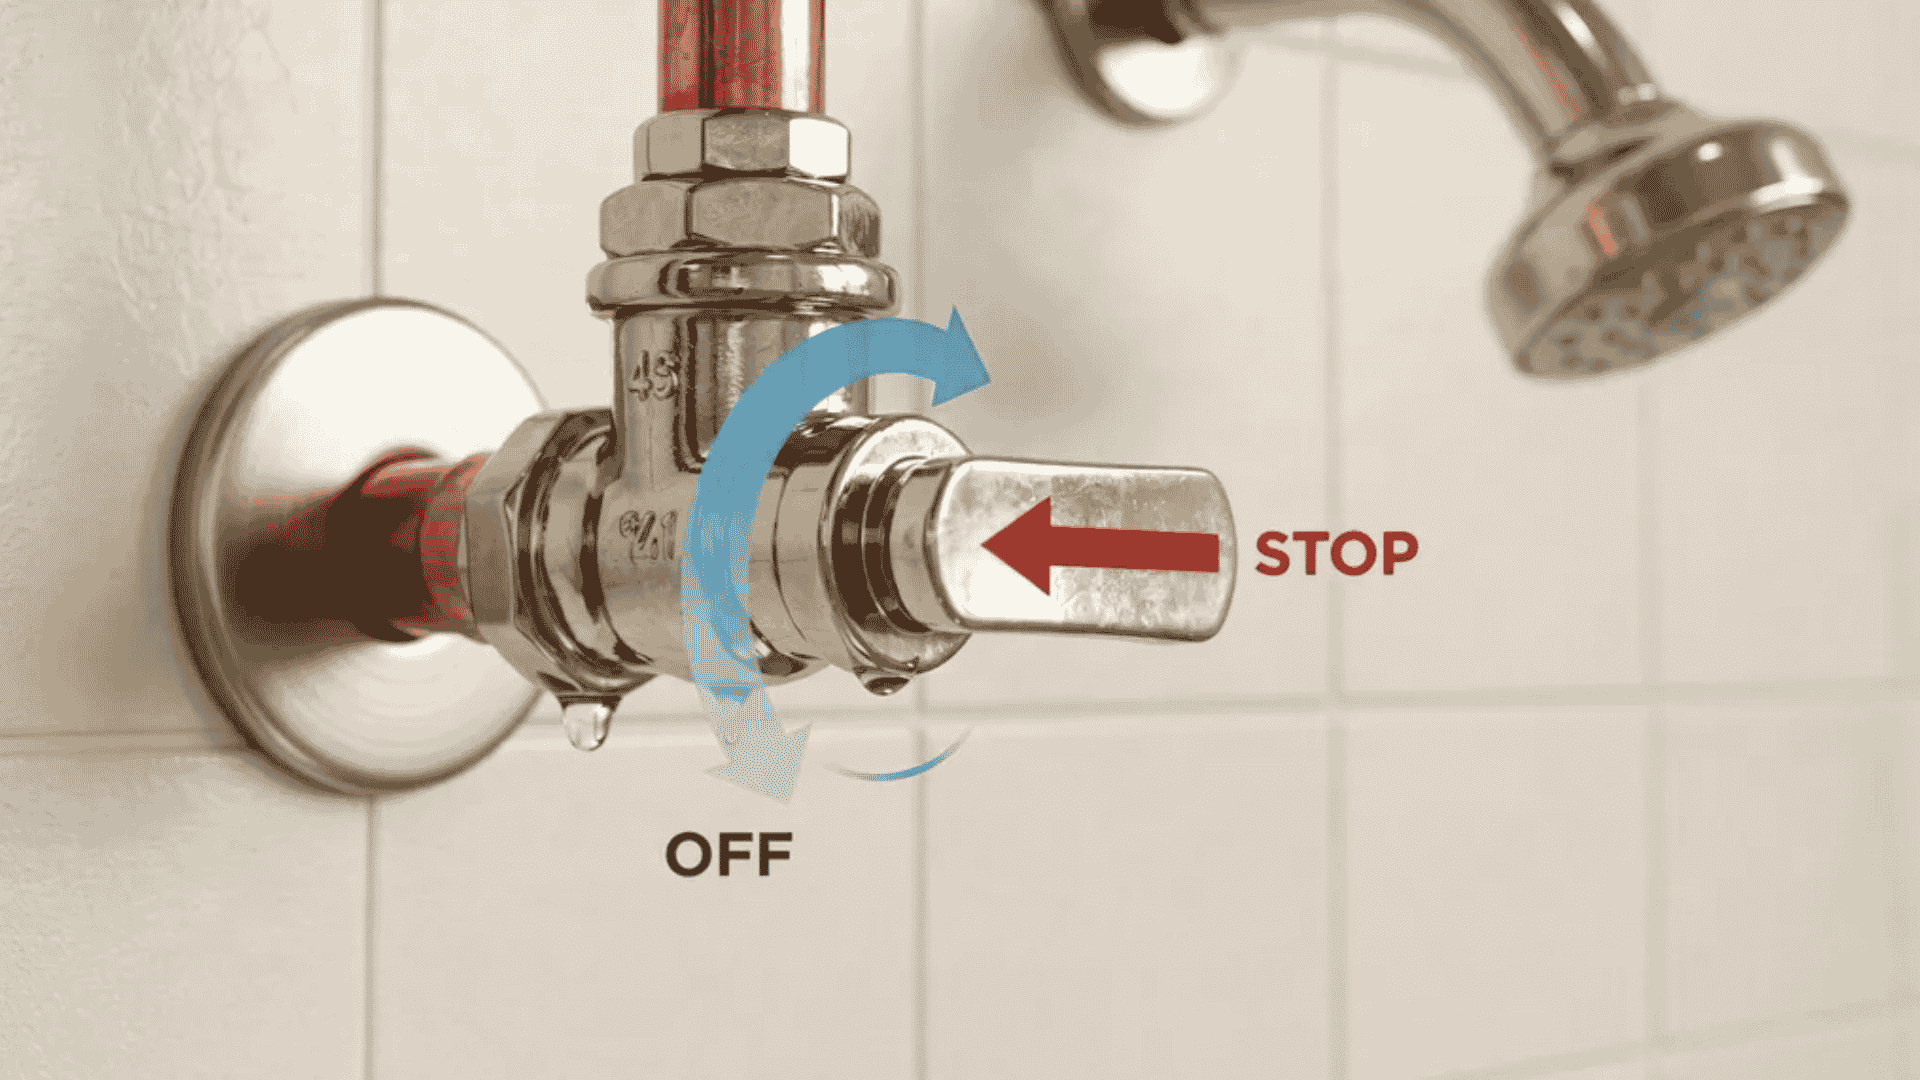
Before removing the showerhead, turn off the water supply completely to prevent leaks or sudden water spray.
Use the shut-off valve near the shower if your bathroom has one. If there is no local valve, switch off the main water supply for your home.
Open the shower faucet for a few seconds to release trapped water and pressure, preventing spills when the showerhead is loosened.
Step 2: Protect the Shower and Floor
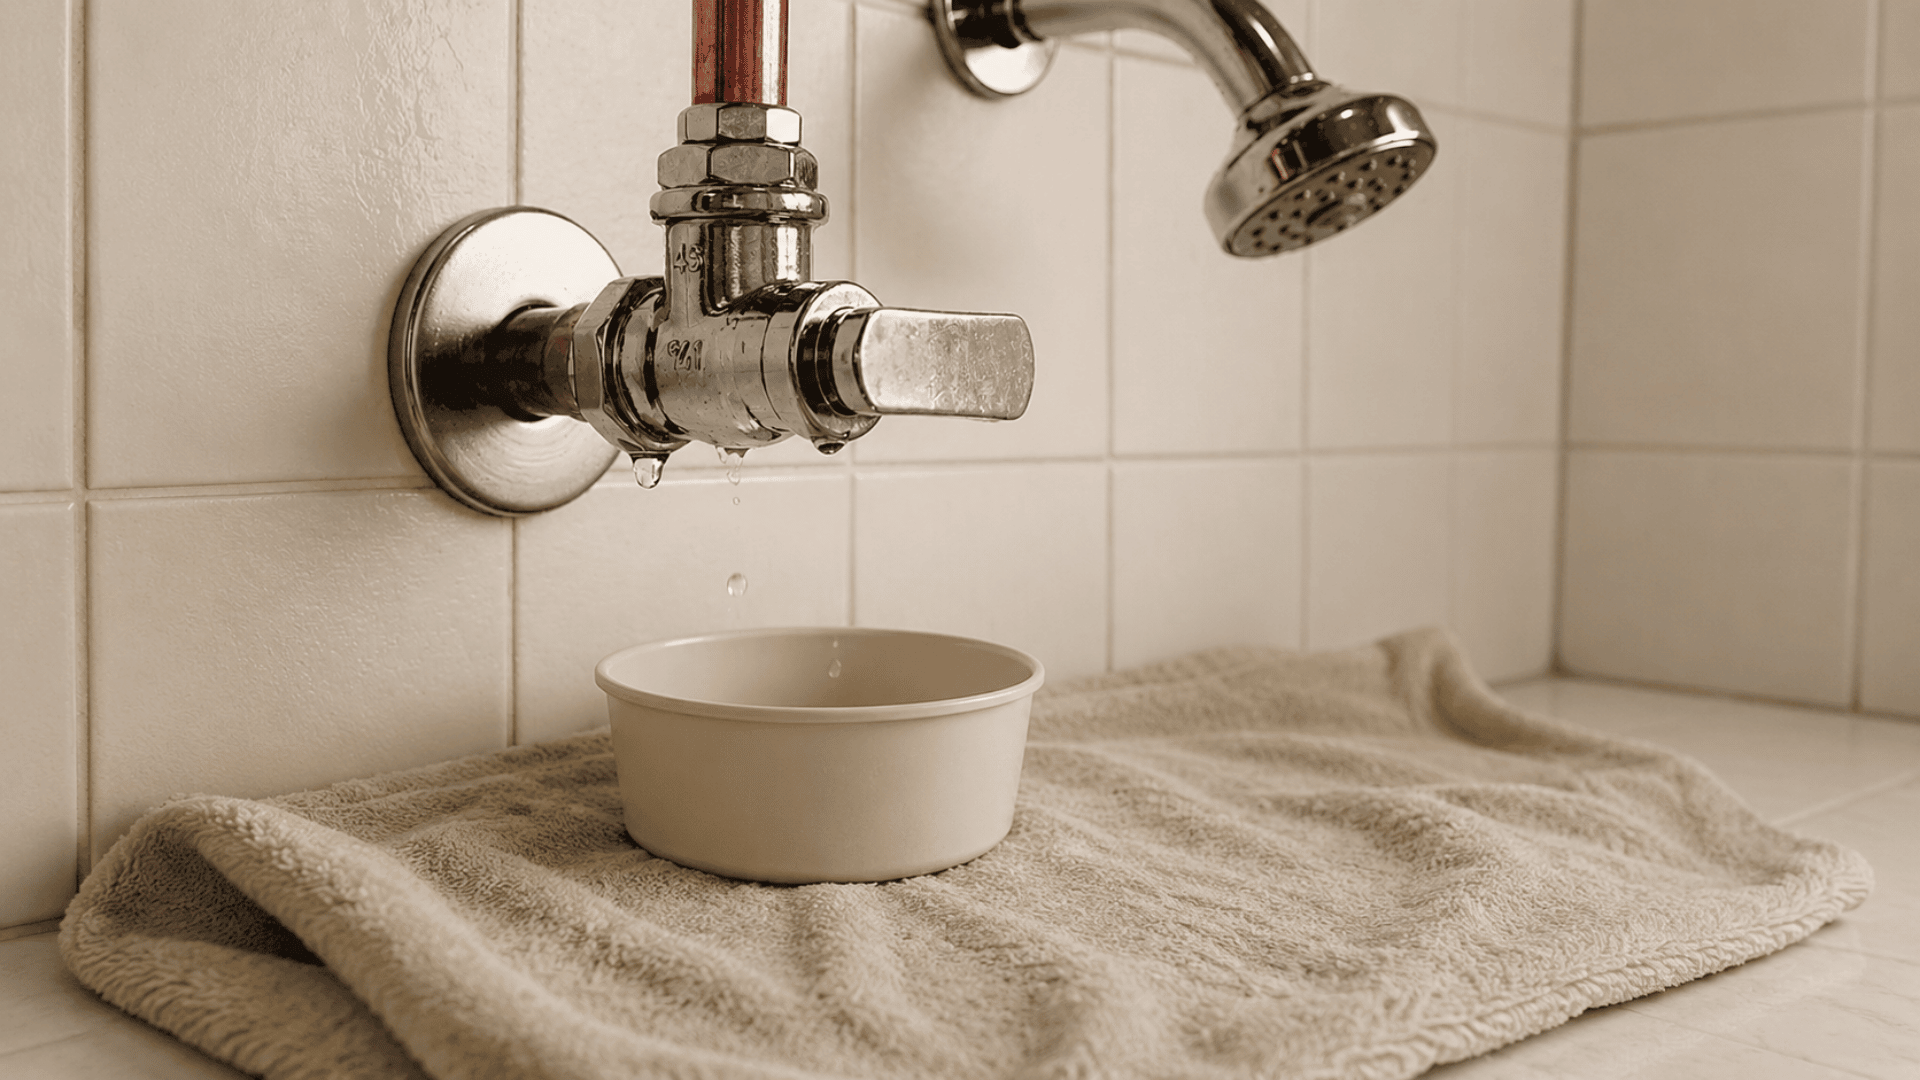
Place a towel on the shower floor to catch any drips and protect the surface from scratches or dropped tools.
Set a small bucket or bowl directly under the shower arm to collect any leftover water trapped inside the pipe.
This setup keeps the floor dry, protects the shower surface, and makes cleanup easier while you remove the showerhead.
Step 3: Loosen the Shower Head
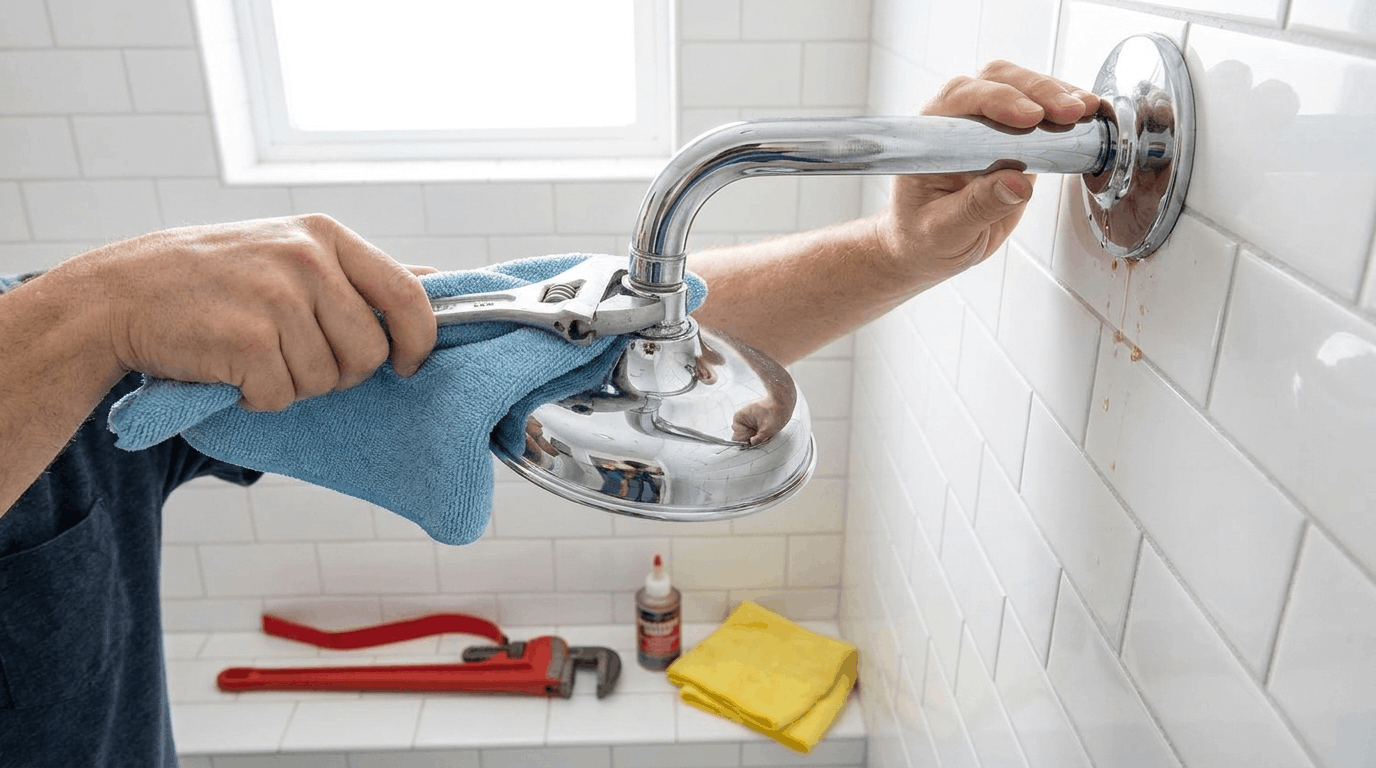
Grip the showerhead collar firmly with a wrench and turn it counterclockwise to loosen the connection.
Before applying pressure, wrap the wrench jaws with a cloth to protect the finish and prevent scratches or marks on the fitting.
If the showerhead is stuck, apply penetrating lubricant to the joint and wait 5–10 minutes. Use a strap wrench for extra grip without damaging the finish.
Step 4: Remove the Shower Head Carefully
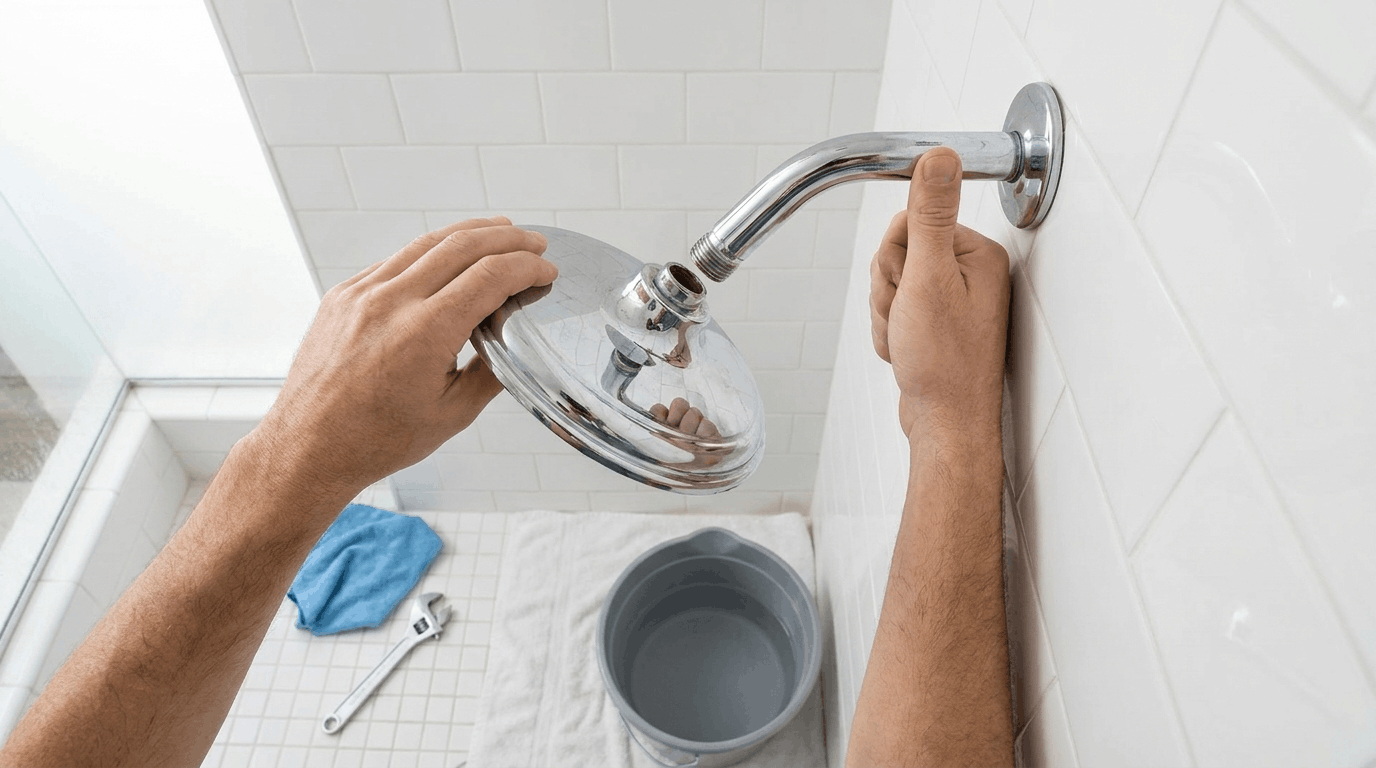
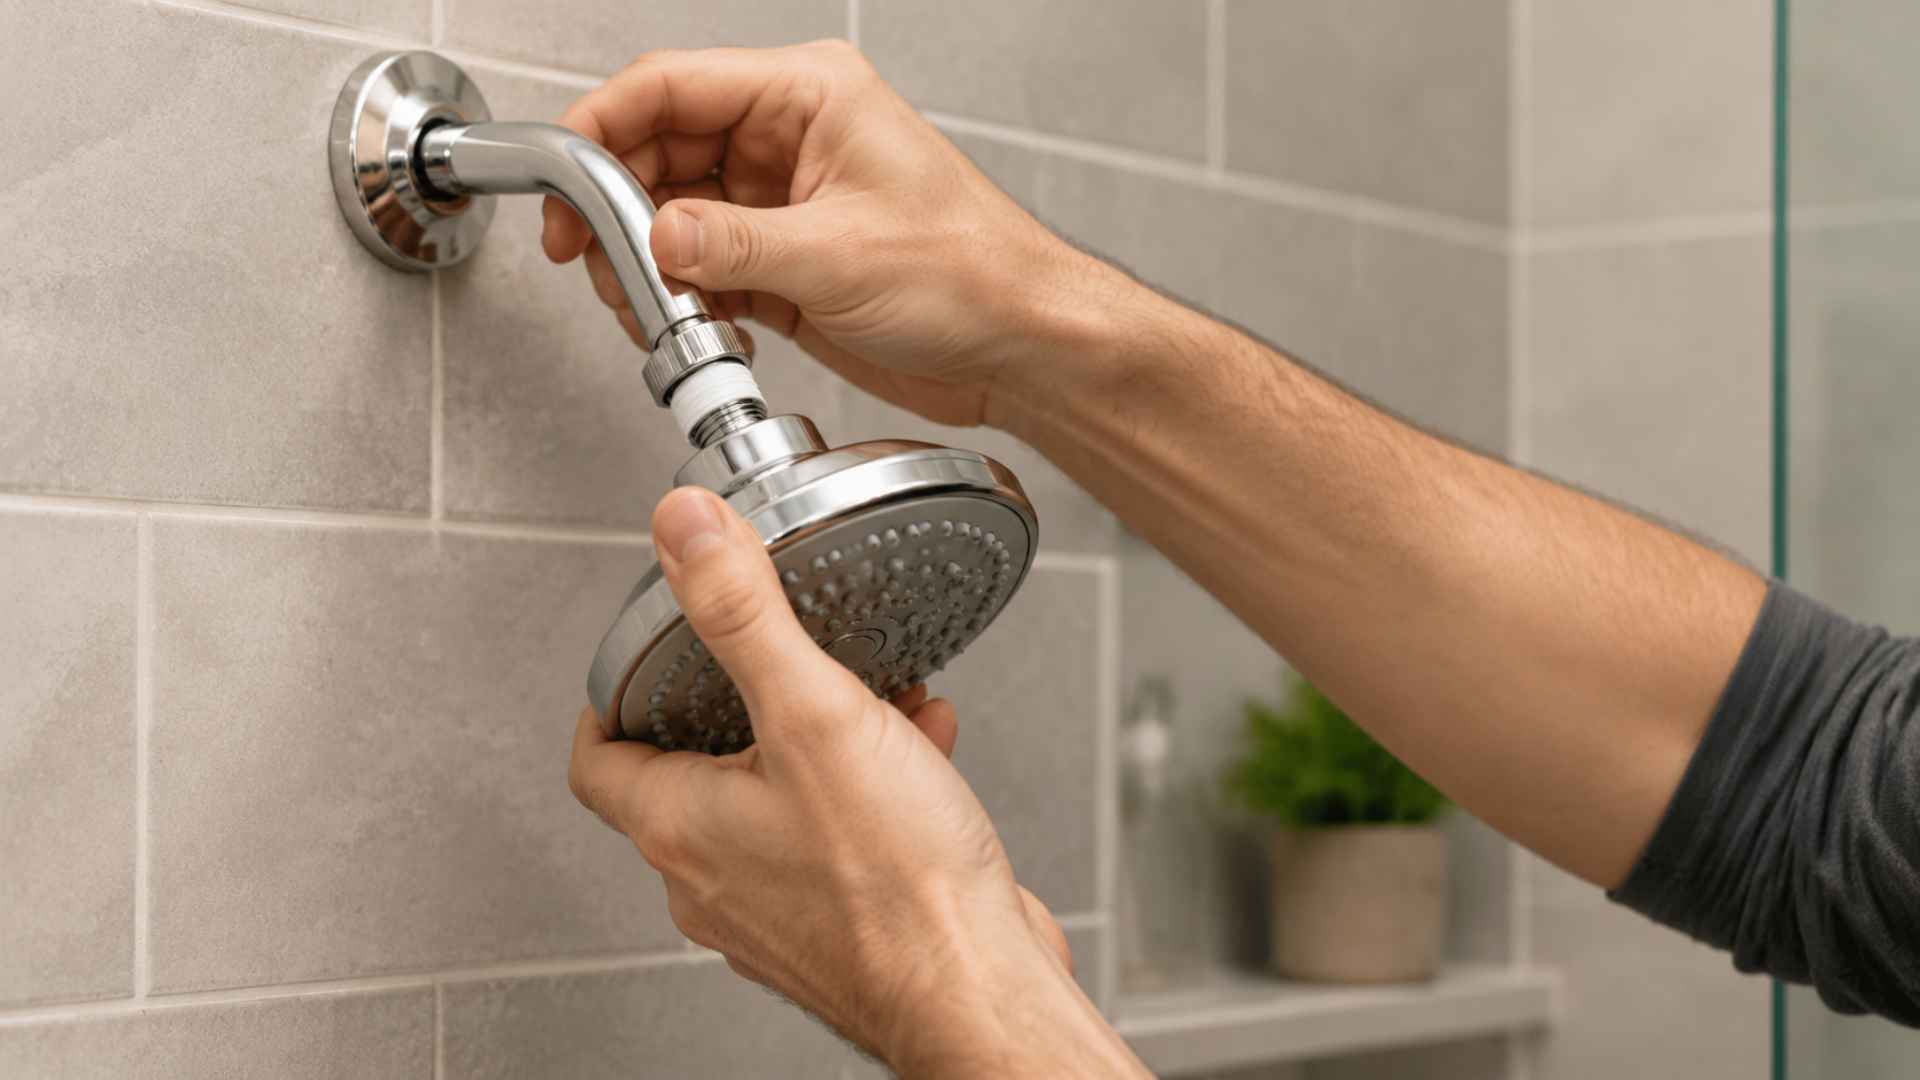
Once the showerhead is loose, continue turning it by hand until it comes off completely. Keep one hand on the shower arm while removing the fixture to prevent unnecessary movement or twisting.
Be careful not to let the shower arm rotate while you work. The connection behind the wall is not designed to spin freely, and forcing it can loosen the fitting or cause damage that may lead to leaks.
Remove the showerhead slowly and keep the pipe steady throughout the process.
Step 5: Clean Threads and Prep for New Installation
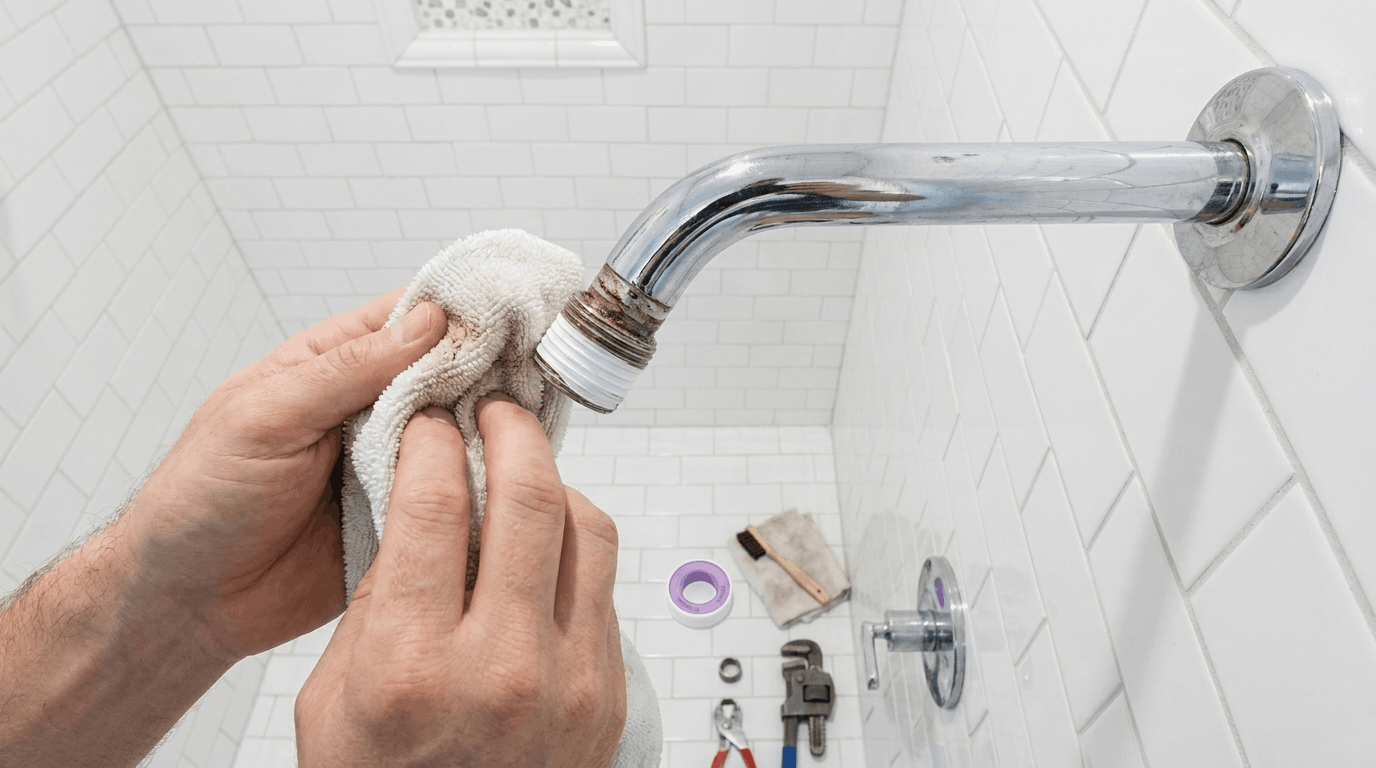
Use a clean, dry cloth to remove dirt, mineral buildup, and moisture from the exposed pipe threads.
Remove any remaining Teflon tape, then inspect the threads for cracks, rust, or other damage that could affect the connection.
If the threads are undamaged, wrap fresh Teflon tape clockwise around them two or three times to create a secure, leak-resistant seal.
Step 6: Install the Fixed Shower Head
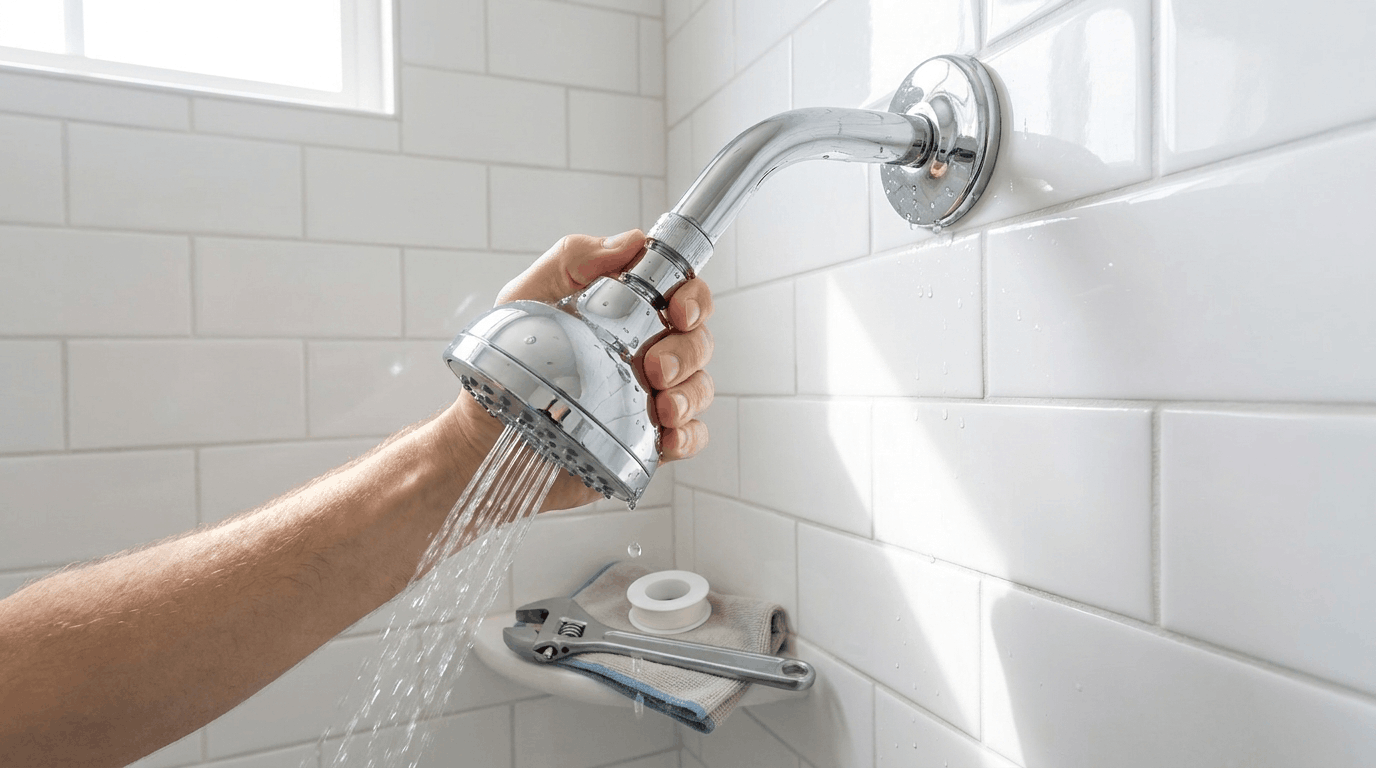
Hand-tighten the new showerhead onto the prepared threads by turning it clockwise until it feels secure.
Once it is snug, use a wrench to give it an additional quarter turn for a tighter fit. Avoid applying too much force, as overtightening can damage the threads or the showerhead connection.
Turn the water back on and run the shower for 30 seconds. Check the joint for leaks, and reapply Teflon tape if dripping continues.
How to Remove a Stuck Shower Head
Mineral buildup often locks the showerhead joint in place. Try these gentle methods before using extra force.
- Soak with vinegar: Wrap a vinegar-soaked cloth around the joint and leave it for 30 to 60 minutes.
- Turn it gently: Remove the cloth, then slowly loosen the showerhead with a wrench or strap wrench.
- Apply penetrating oil: Add a small amount to the joint and wait about 10 minutes.
- Protect the finish: Place a cloth around the fixture before using pliers or a metal wrench.
- Avoid excessive force: Stop if the shower arm bends, moves, or feels loose inside the wall.
Common Problems and How to Solve Them
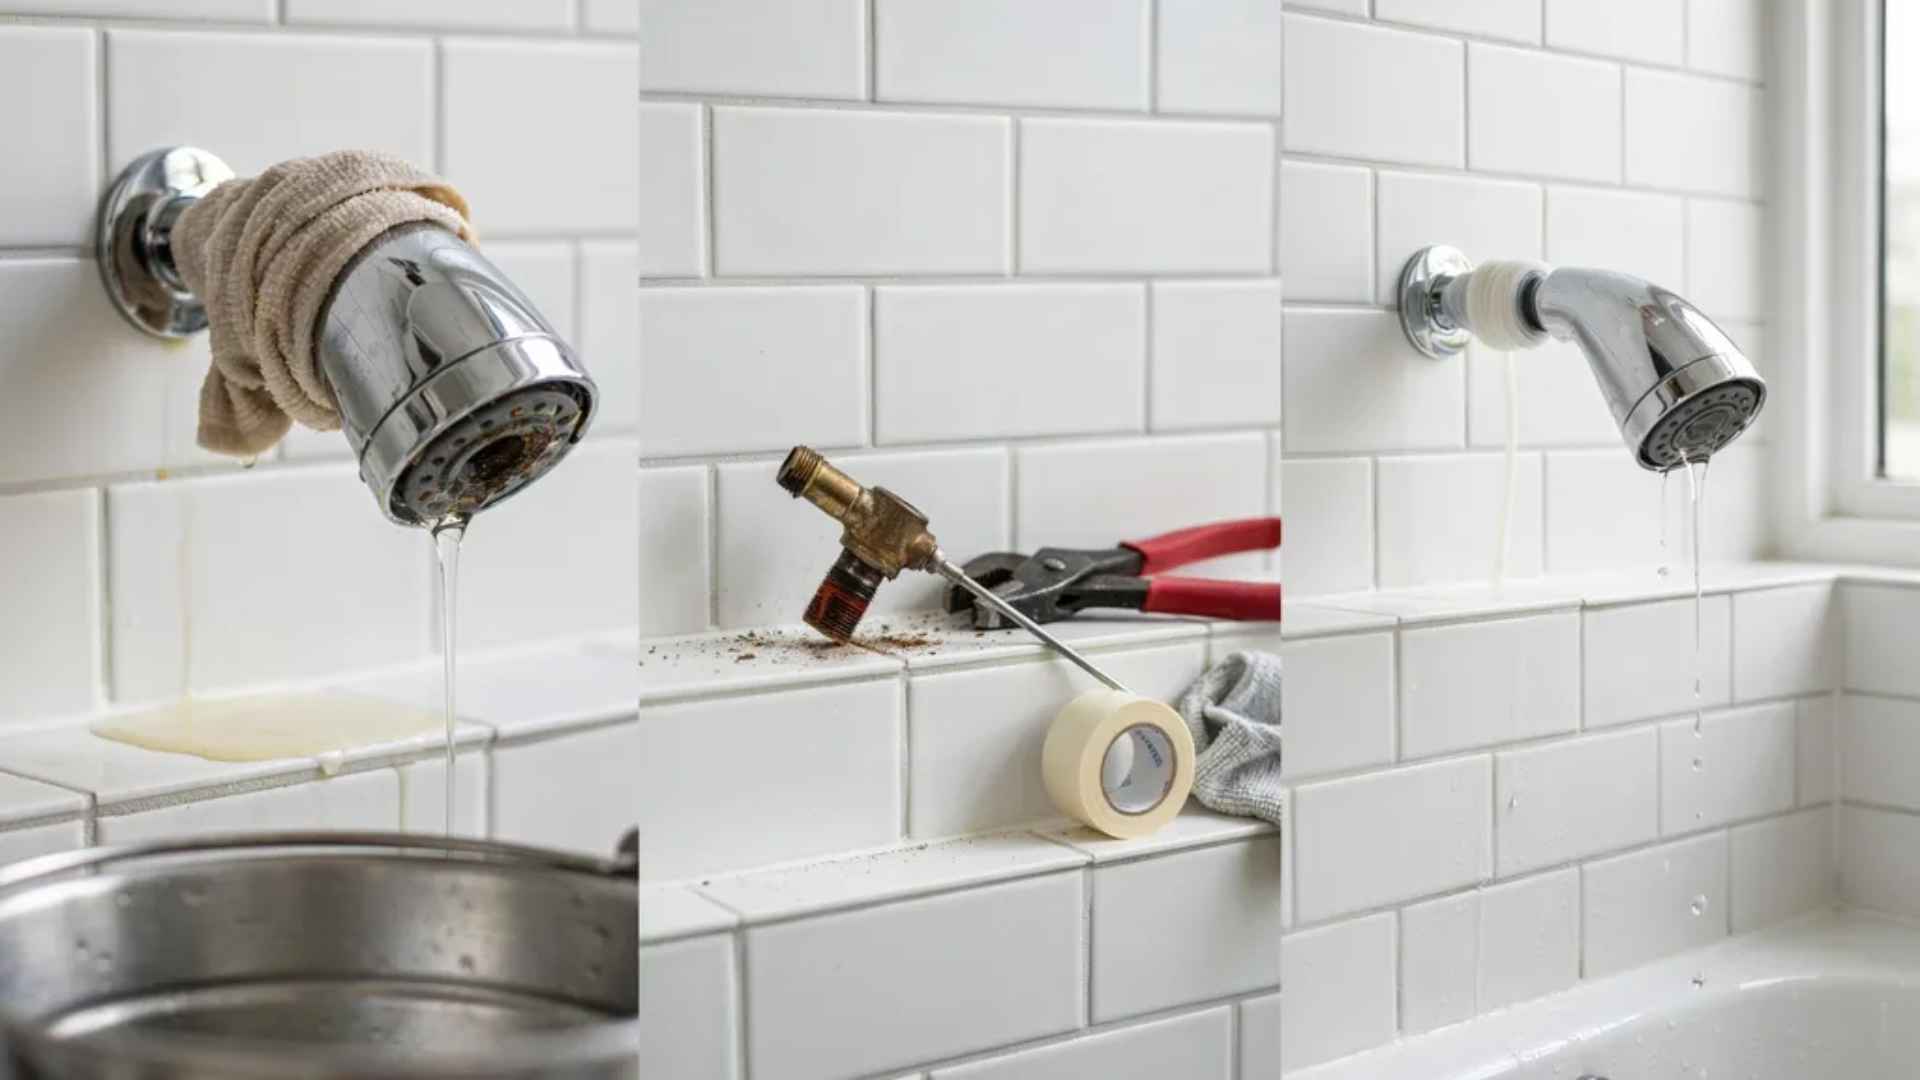
Most shower head removals go smoothly. But sometimes things do not cooperate. Here is how to handle the three most common problems you will run into.
- Stuck showerhead: Soak the joint with vinegar for 30–60 minutes to loosen mineral buildup.
- Use lubricant: Apply penetrating oil and wait 10 minutes if vinegar does not work.
- Avoid excessive force: Too much pressure may crack the fixture or damage the shower arm.
- Inspect the threads: Clean light rust, but stop if the threads are cracked or stripped.
- Fix connection leaks: Reapply Teflon tape clockwise, reinstall the showerhead, and check for drips.
What to Check After Removing the Shower Head
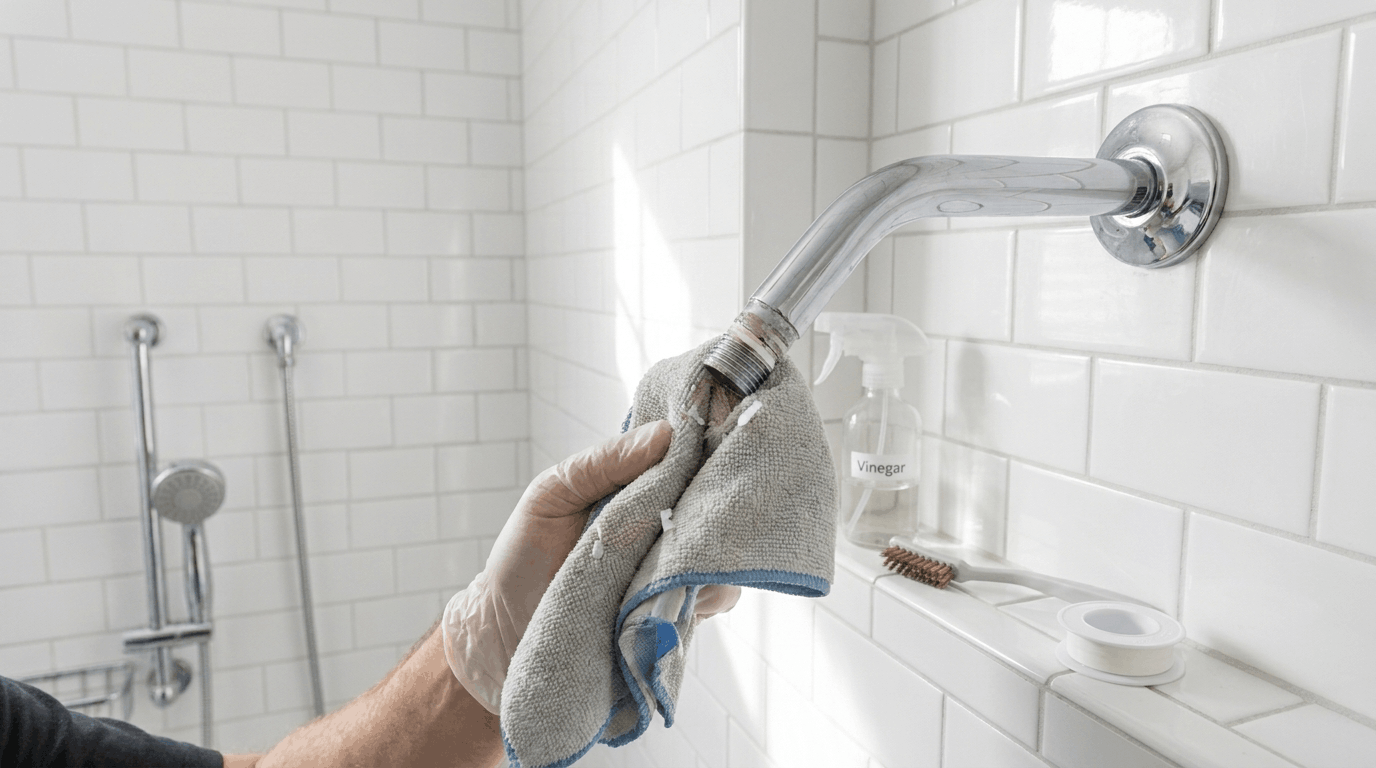
Once the shower head is removed, take a moment to inspect the exposed shower arm and connection before installing a new fixture. This helps prevent leaks and ensures the replacement fits properly.
- Inspect Shower Arm Threads for Corrosion or Damage: Rust, cracks, flattened threads, or visible wear can prevent the new shower head from sealing correctly. Damaged threads may cause leaks even when the connection is tightened properly.
- Remove Old Teflon Tape Residue: Remove any old Teflon tape residue before adding a fresh layer. Leftover tape can create an uneven seal, causing the new shower head to sit incorrectly or water to leak around the connection.
- Clean Mineral Deposits Around the Connection: Hard water can leave behind white, chalky mineral buildup around the shower arm threads. These deposits can make installation difficult and prevent a tight seal. Wipe the area clean or use vinegar to loosen stubborn buildup before attaching the new shower head.
- Check if the Shower Arm Needs Replacement: Examine the shower arm for rust, cracks, bending, or looseness. If the arm is damaged or does not stay firmly in place, replacing it before installing a new shower head can prevent future leaks and plumbing issues. Before you order parts, it helps to identify your old shower valve by type and brand.
- Prepare the Threads Before Installing a New Shower Head: Before attaching the replacement shower head, ensure the threads are clean, dry, and free of debris. Wrap fresh Teflon tape around the threads in the correct direction to create a watertight seal and make installation smoother.
When to Call a Plumber Instead
Some showerhead problems can damage pipes hidden inside the wall. Stop the DIY work and contact a plumber if you notice any of these warning signs.
- Loose shower arm: It moves or spins inside the wall, which often ties back to how the shower valve behind it works.
- Damaged pipe threads: Cracked or stripped threads prevent a secure fit.
- Signs of hidden leaks: Look for damp walls, stains, mold, or dripping sounds.
- Heavy corrosion: Severe rust may weaken the shower arm or pipe connection.
- Showerhead stays stuck: A plumber can remove it without breaking the pipe.
Conclusion
Removing a shower head is not a job worth avoiding. With the right tools and patience, most fixtures come off in under 15 minutes, even the stubborn ones caked in rust or mineral buildup.
Fresh Teflon tape and a quick leak check afterward are the two steps that make the difference between a clean fix and a repeat job.
Once you have done this yourself, replacing or cleaning your shower head no longer feels like a chore.
Grab your wrench and give it a try.
Frequently Asked Questions
Does Wd-40 Work on a Stuck Shower Head?
Yes. Spray it on the joint, wait ten minutes, then try the wrench again. Avoid flooding it near tile grout or plastic fittings, since it can discolor them.
Can I Remove the Shower Arm Too, Not Just the Showerhead?
Yes, with a pipe wrench on the arm’s collar. If the arm feels loose or spins inside the wall, stop and call a plumber instead.
How to Remove a Showerhead without a Tool?
Use your hands. You can skip any tools if your bathroom’s existing showerhead turns easily. Just hold onto your old showerhead and unscrew it counterclockwise.