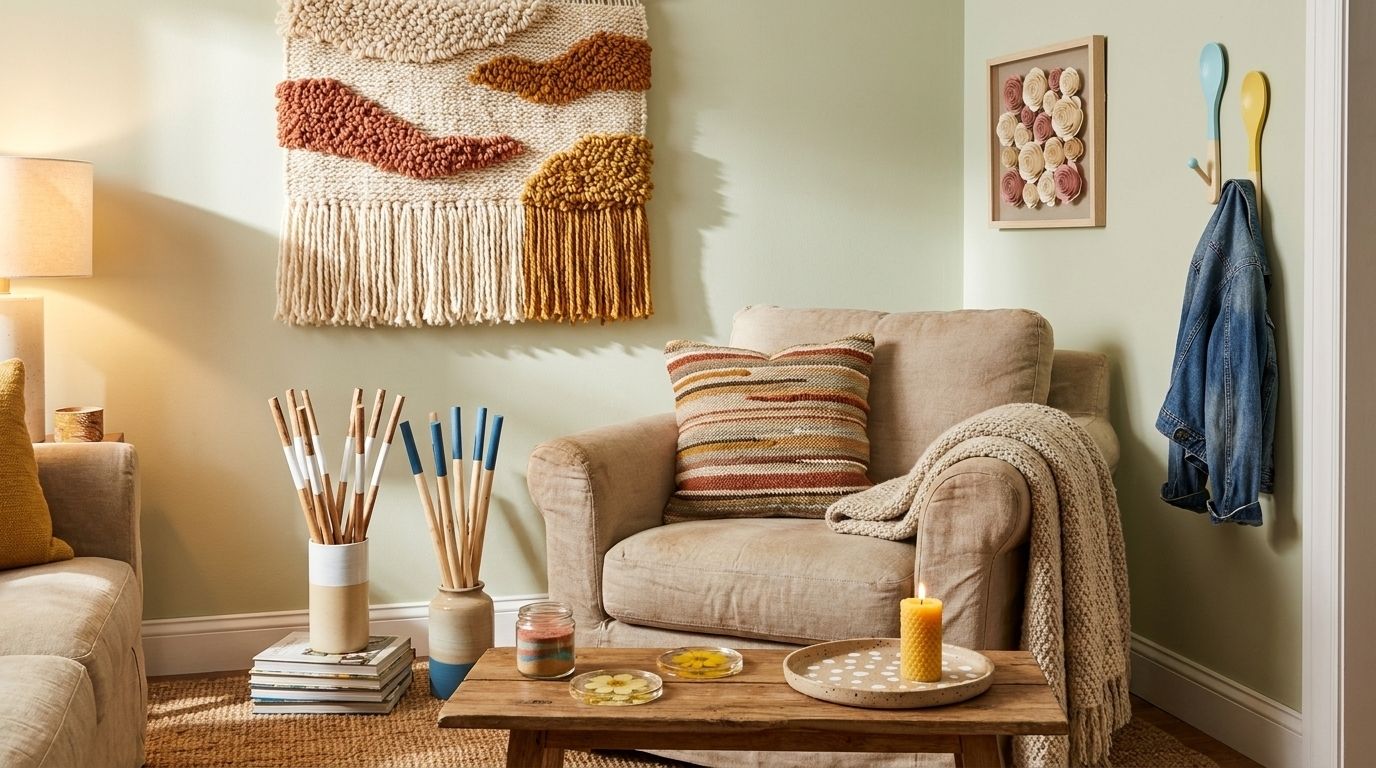
Look around your living room for a second. That blank wall by the couch. The plain tray on your counter.
The corner that feels empty every time you walk past.
Your home has been waiting, and it does not need a trip to the store to fix it. It needs a little diy home decor magic made with your own two hands.
Skip the same ten ideas you have already tried. Inside, you will find fresh, budget-friendly projects built for real homes and real schedules.
Basic Supplies You’ll Need for These Projects
You don’t need a craft room to start any of these. A handful of basics recur throughout the list, so it’s worth having them on hand before you pick a project.
- Craft glue or a glue gun: Holds fabric, paper, beads, and small wood pieces in place.
- Acrylic paint and a cheap brush set: Works on wood, clay, terracotta, and canvas.
- Scissors and a small utility knife: For clean cuts on fabric strips, paper, and foil.
- String, yarn, or thin cord: The base for wall hangings, curtains, and hanging displays.
- A can of clear sealer spray: Protects painted trays, saucers, and clay pieces once they’ve dried.
Grab whichever of these you’re missing, then pick the project below that matches your afternoon
The Main Types of DIY Home Decor You Can Try
Every project below falls into one of four groups. Use the numbers to jump straight to whichever one matches the emptiest spot in your home.
- Wall art (ideas 1-10, 14, 22, 27, 29): String art, sun-print pieces, wall hangings, and other pieces made to fill a blank wall.
- Soft pieces (ideas 11-13, 28): Cushions, a pillow cover, a curtain divider, and a table runner that add texture and warmth.
- Tabletop pieces (ideas 15-21): Coasters, a tray, saucers, a bowl, and jars for counters and shelves.
- Small furniture touches (ideas 23-26, 30-31): Hooks, a shelf, a vent cover, a lantern, and bookends that finish a room.
Take a quick look through the groups above, then scroll down to find the first set of numbers that can help solve your actual problem.
DIY Home Decor Ideas You Won’t Find on Every List
Most lists repeat the same old projects. These 26 skip the usual mason jars and pallet signs. Each one gives you something new to try instead.
1. String and Nail Name Art
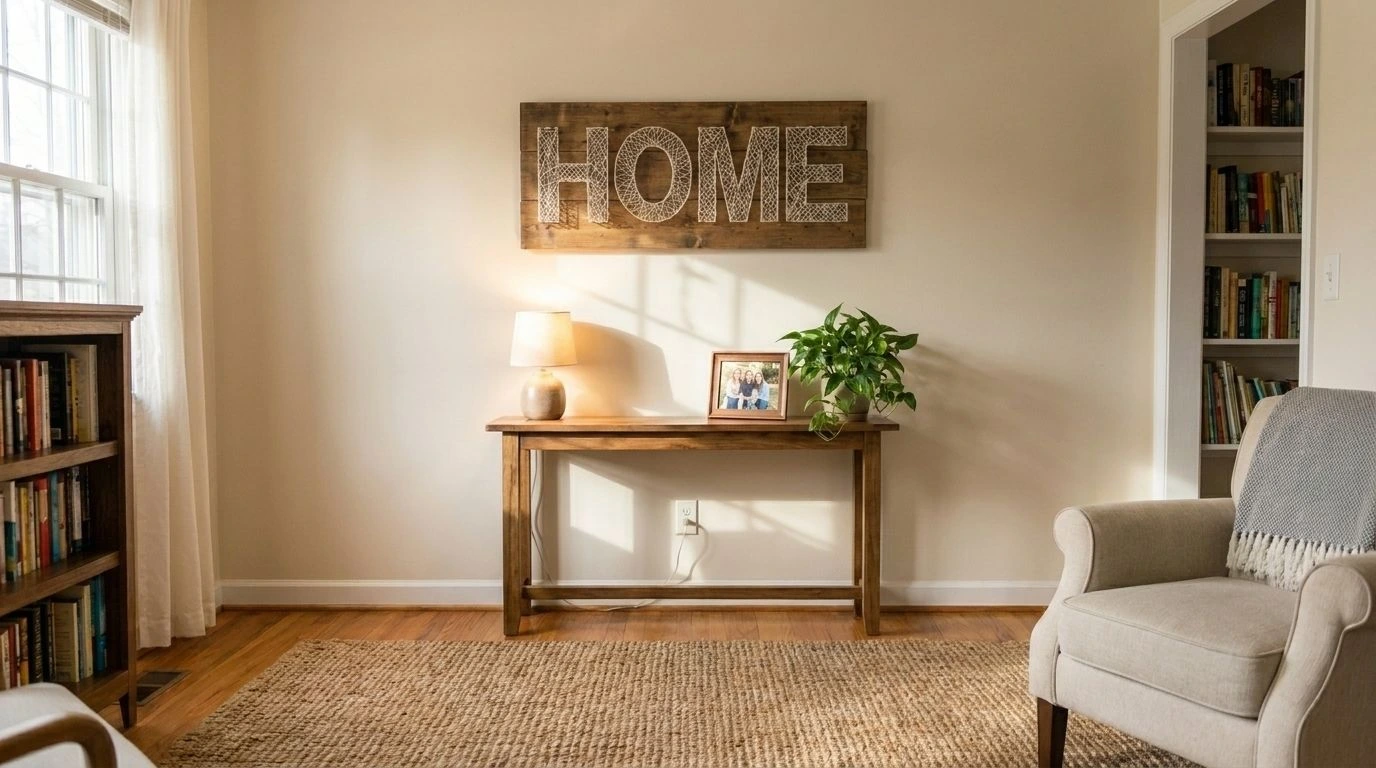
Hammer small nails into a board in the shape of a letter or short word. Wrap string back and forth between the nails until the shape fills in with crossing lines.
A small word or single letter, about six inches tall, is perfect for beginners to start with. It’s a friendly size that makes learning easier and more approachable.
2. Sun-Print Leaf Wall Art
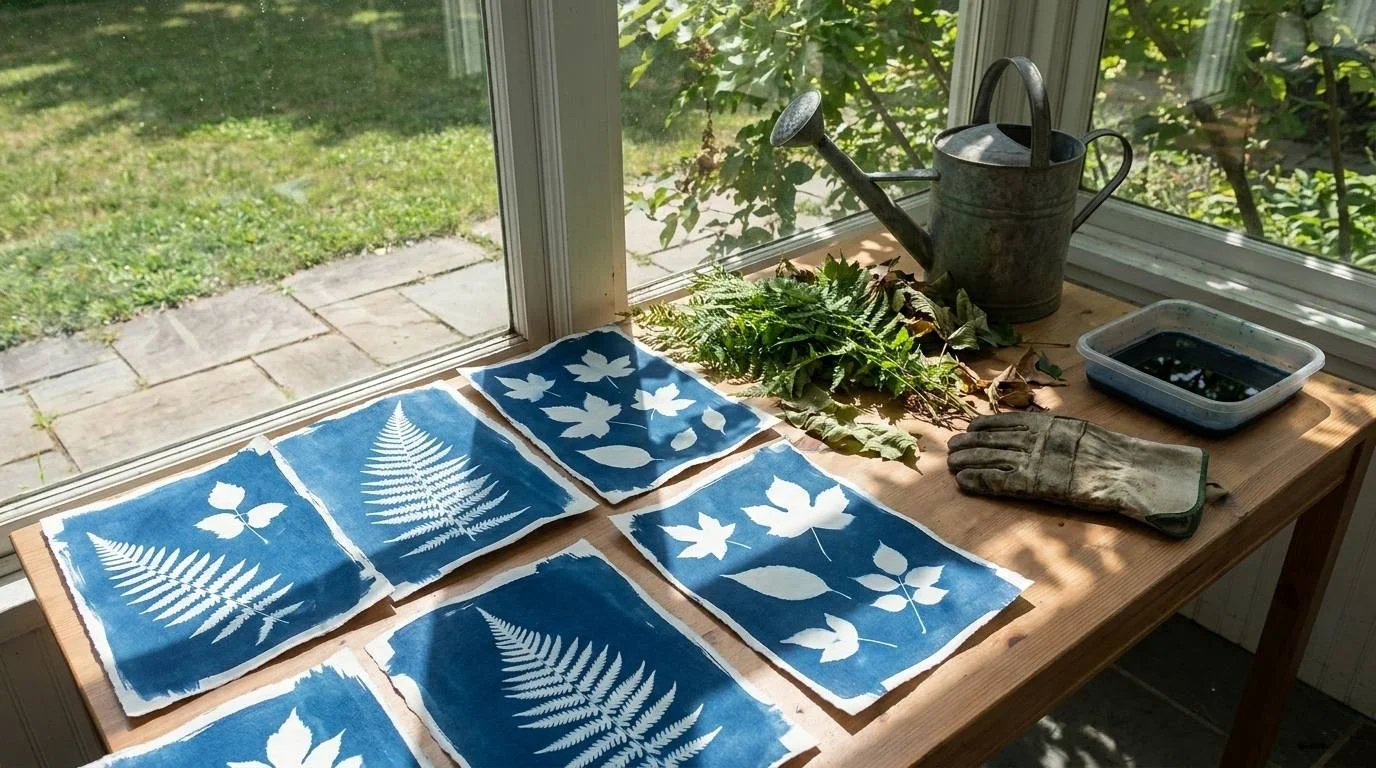
Gently place a leaf or flower on paper coated with a sun-print liquid, then enjoy the process of setting it outside in bright sunlight.
It’s a wonderful way to create unique, beautiful prints and connect with the natural world!
The sun leaves a blue shadow of the plant on the paper, and no two prints turn out the same. Ferns and thin leaves print the clearest shadows, so start with those.
3. Swirled Marble Paper Art
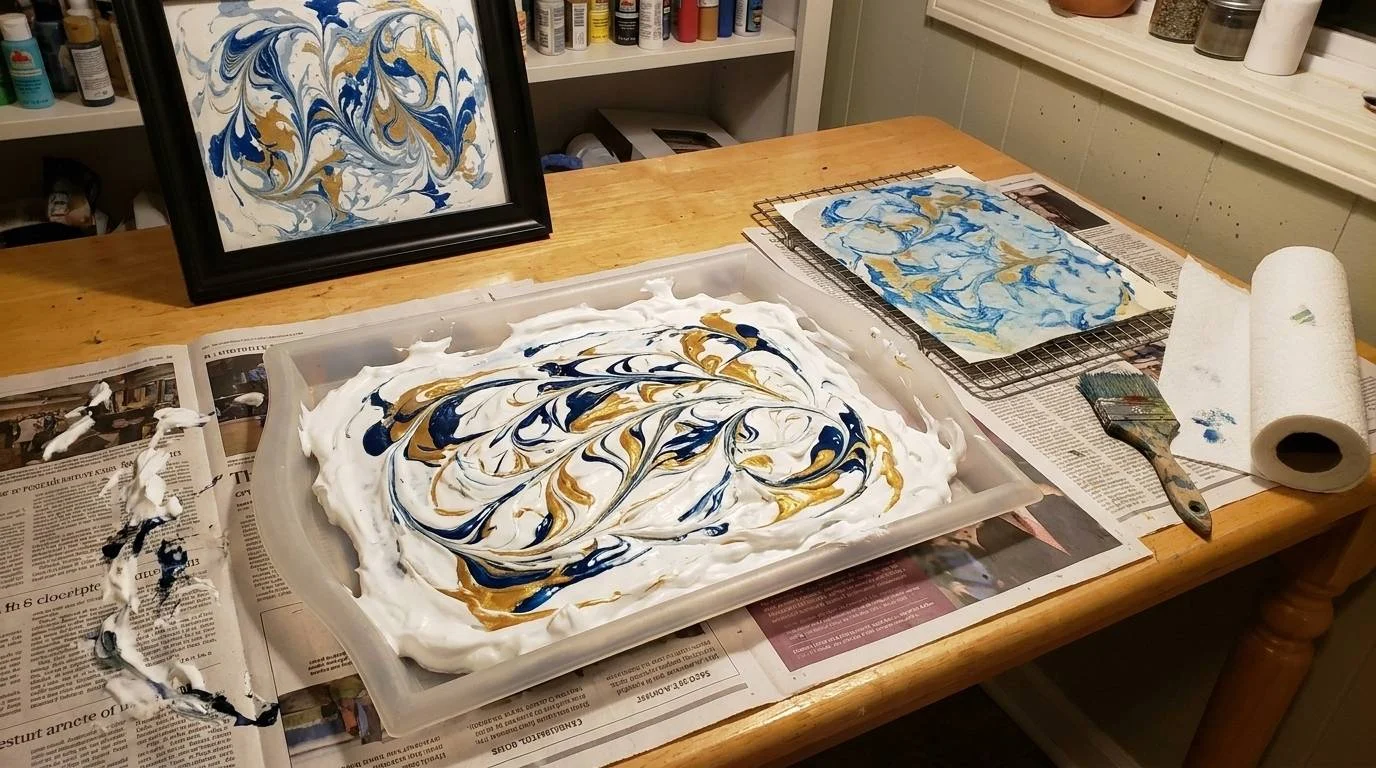
Fill a tray with shaving cream and drop a few colors of paint on top. Swirl it with a toothpick, press paper flat onto it, then wipe the cream away to reveal a marble pattern ready to frame.
Start with just two paint colors initially to keep the swirls lively and avoid them turning muddy. It’s a simple way to ensure your design stays lively and beautiful.
4. Yarn Loop Wall Hanging
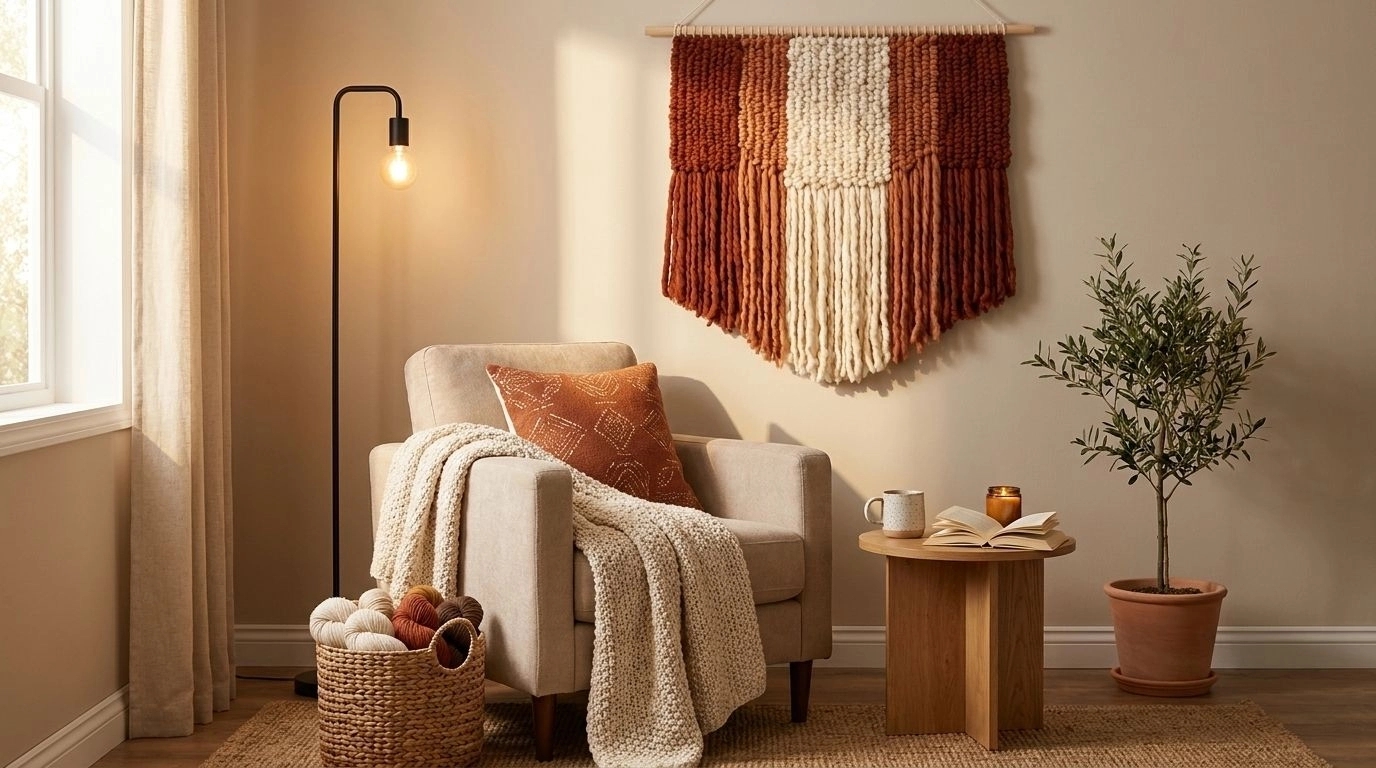
Loop yarn through a hoop of rough fabric using a small hook tool, following a simple shape you sketch first.
The loops build a soft, fuzzy picture that feels almost like a tiny rug on the wall. A hoop about ten inches wide is easy to hold while you work.
5. Rolled Paper Flower Picture
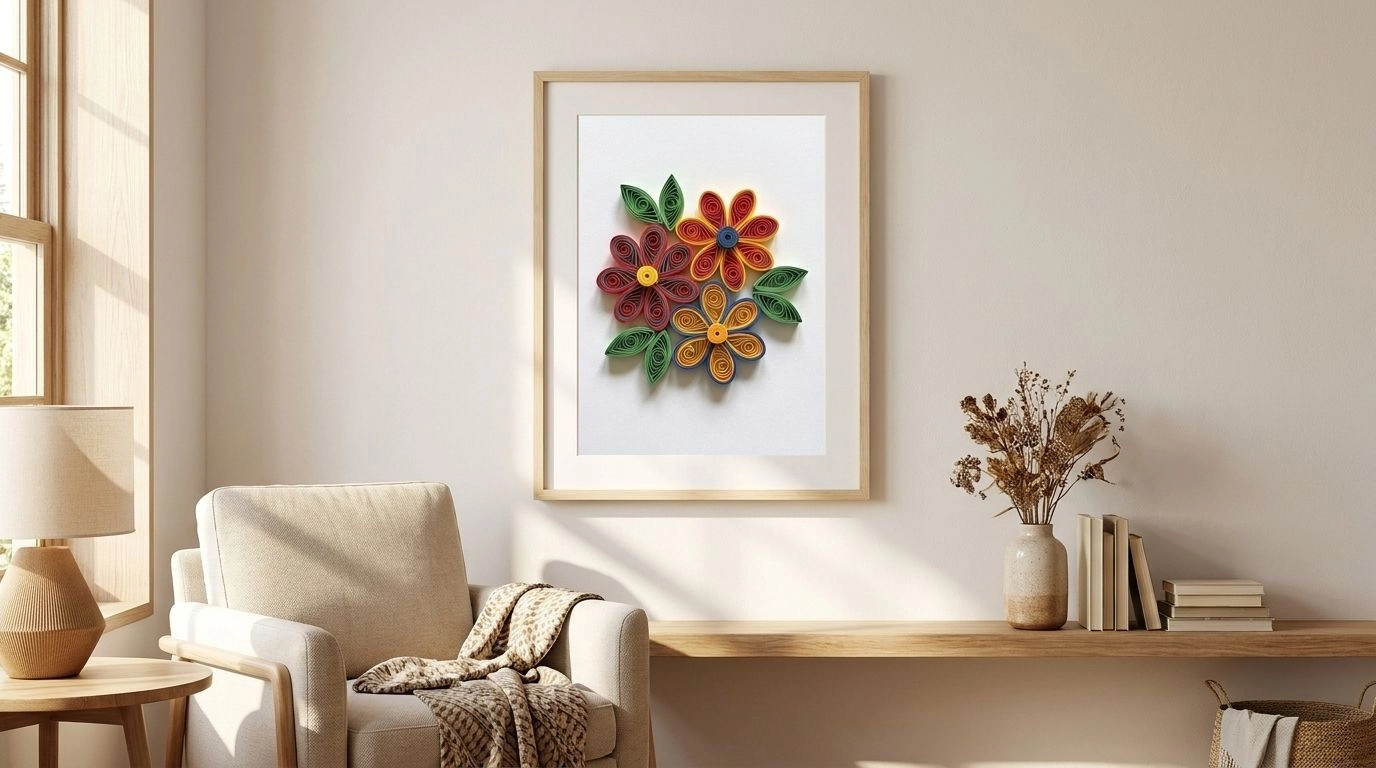
Gently roll thin strips of colorful paper into cozy little coils, then softly pinch each one into charming petals or leaves.
Glue the shapes onto a background to build a flower picture with real bumps and shadows. Bright paper on a plain white background makes the flowers pop the most.
6. Pressed Leaf Foil Art
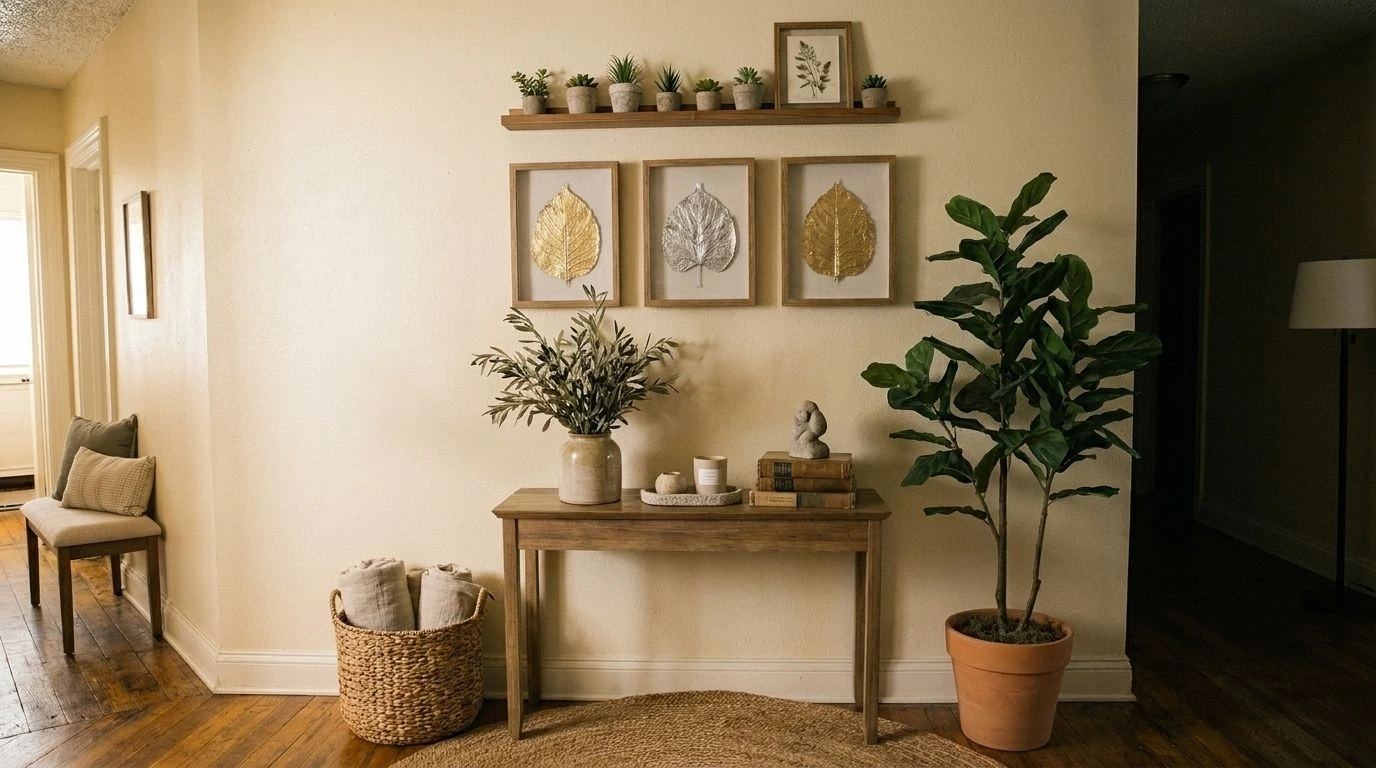
Press a leaf face down onto a sheet of foil and rub it gently with the back of a spoon. The veins leave a shiny, raised print behind, good for framing in small groups.
Why not try arranging three or four small panels together? It can create a more lively and inviting display instead of just hanging a single one.
7. Tissue Paper Stained Glass Window
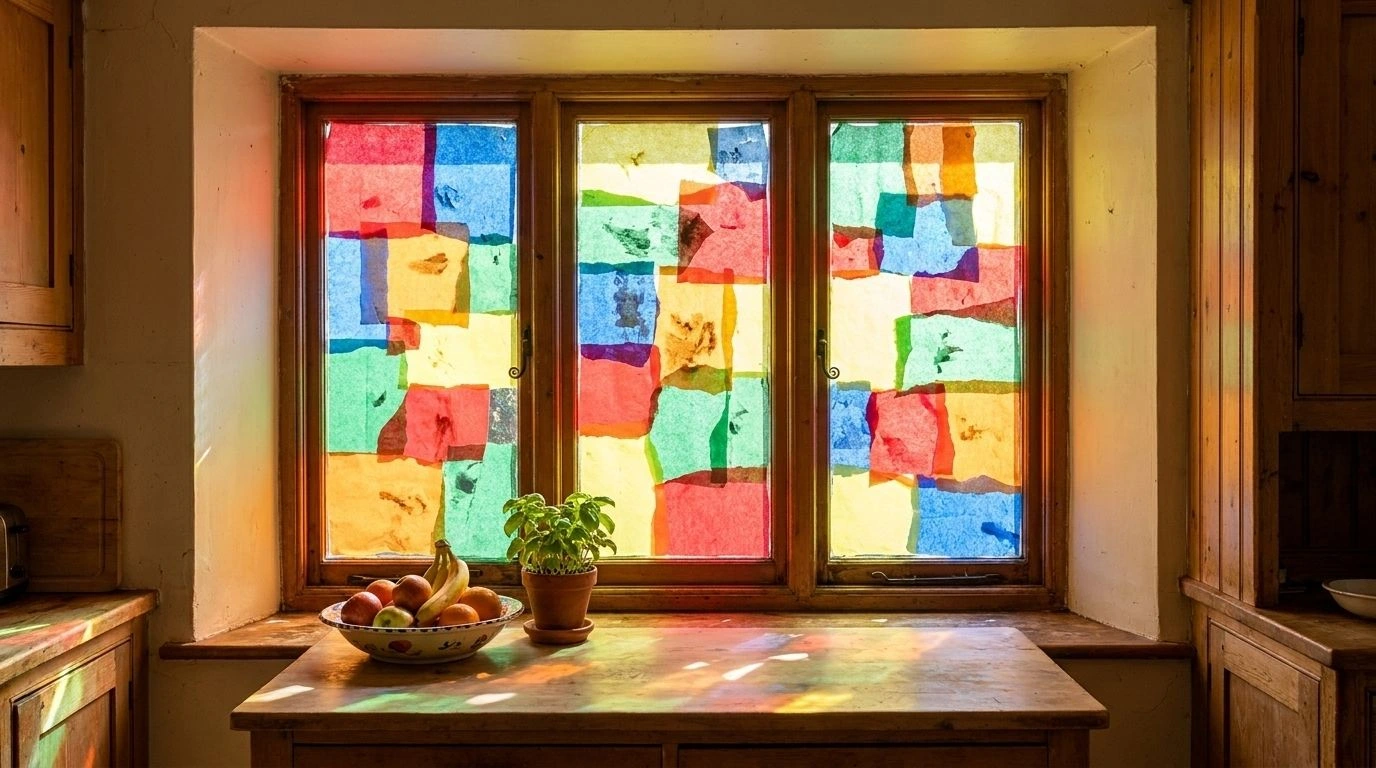
Tear small pieces of colored tissue paper and glue them onto a window using a mixture of glue and water.
Light shines through the colors, just like real stained glass, and they peel off easily when you move. Layer two or three tissue colors on top of each other for richer light.
8. Hanging Branch Photo Display
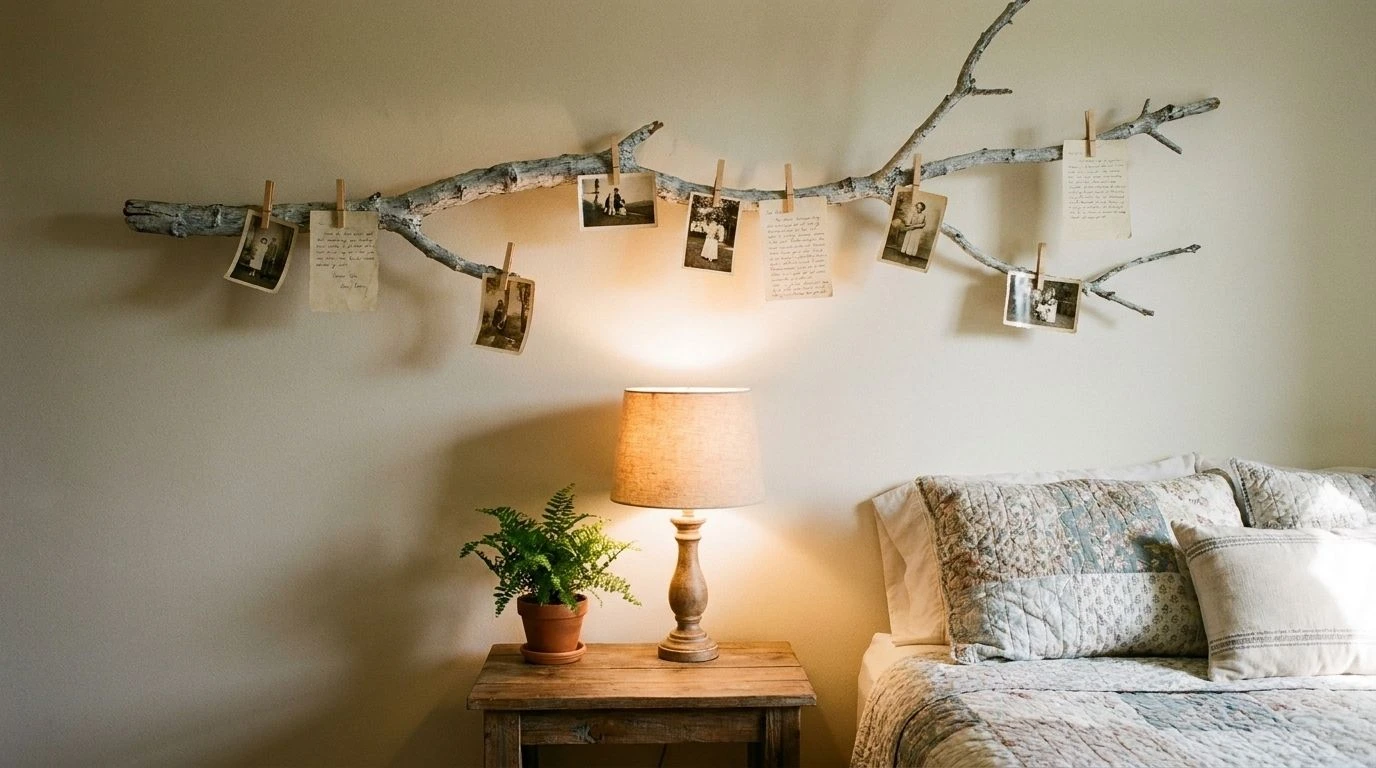
Find a sturdy outdoor branch and carefully apply a fresh coat of paint to improve its appearance.
Hang it on the wall with two hooks at the same height to display framed art, then clip photos or notes to it with tiny clothespins.
9. Painted Back Wall Color Block
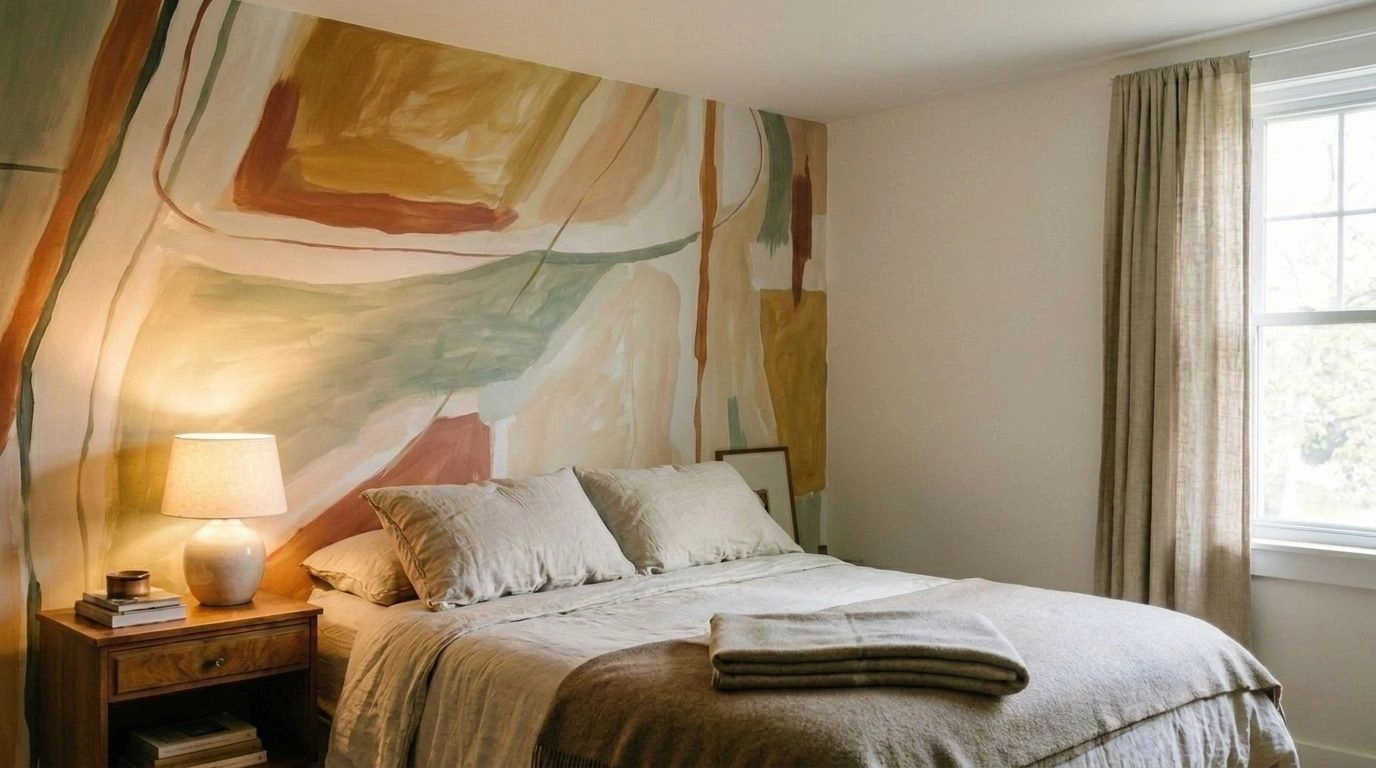
Tape off a bold shape like a big circle on the wall above the bed or couch. If working above the bed, keep proportions like wall decor. Paint it one strong color.
Keep the shape simple, since straight lines are harder to get clean on a big wall. Once it dries, peel the tape off slowly at an angle for a clean edge.
A bold shape like this turns a plain wall into the first thing people notice when they walk in.
10. Salt Dough Wall Shapes
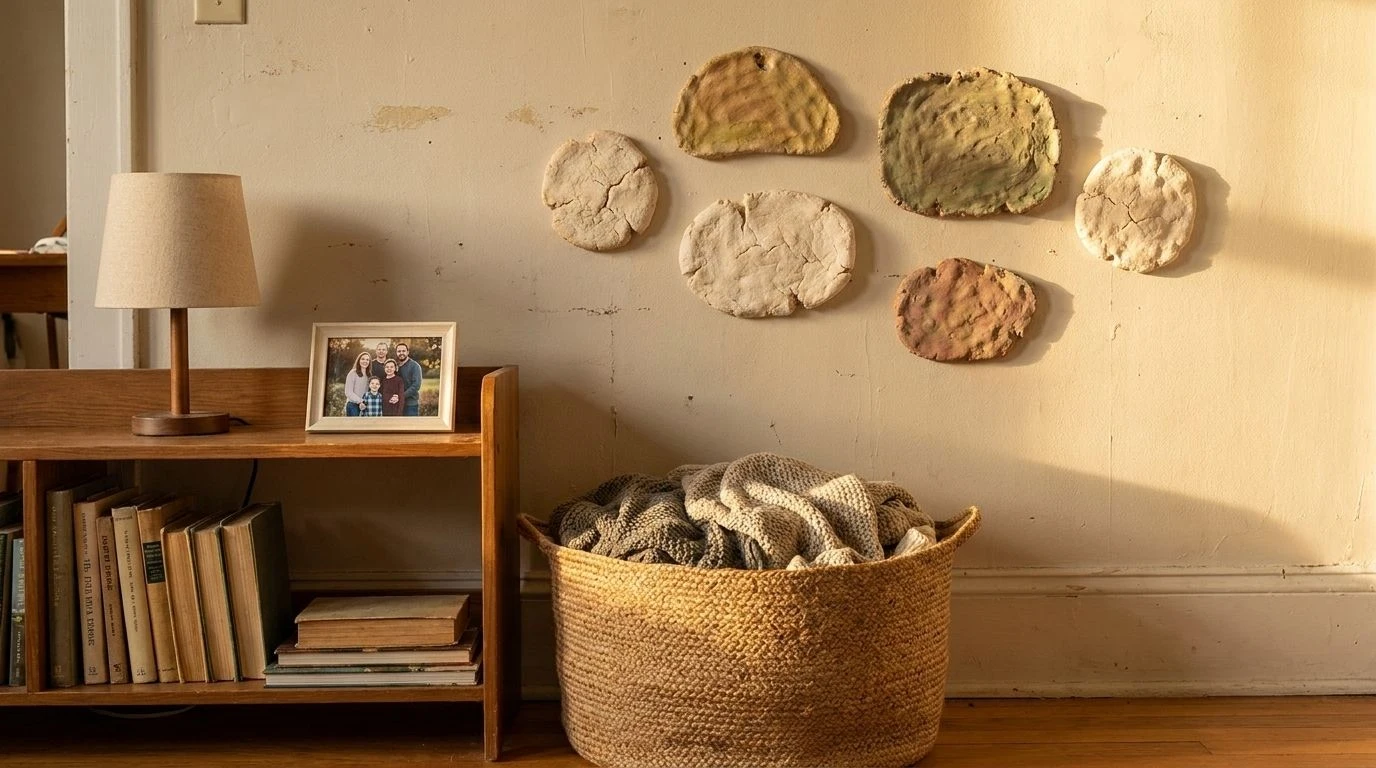
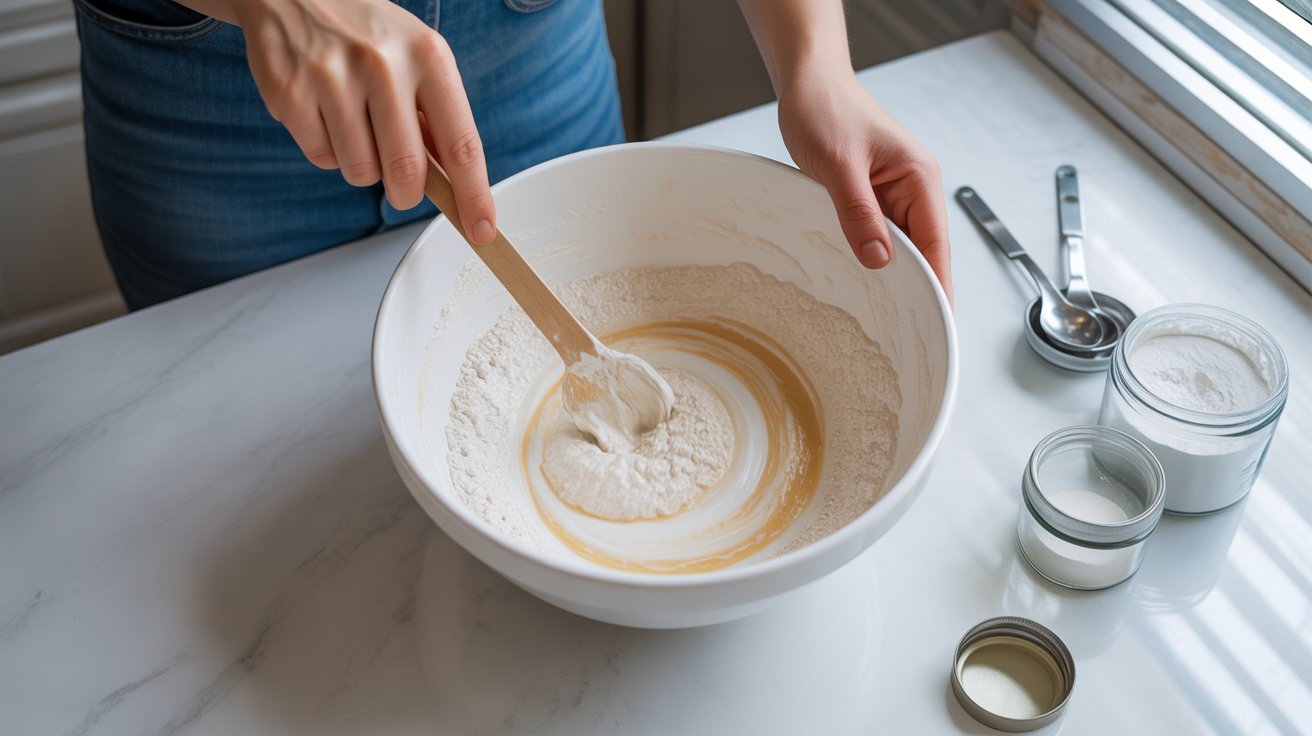
Mix flour, salt, and water into a soft dough, then shape small blobs or simple flowers by hand. Bake them hard, then glue a cluster onto the wall for a bumpy, clay-like look.
Poke a small hole in each piece before baking so you can hang it later.
Walls take up the most space in a room, but soft things make it feel warm. The next few ideas give you something to sit on or lean against.
11. Fuzzy Fake-Fur Floor Cushion
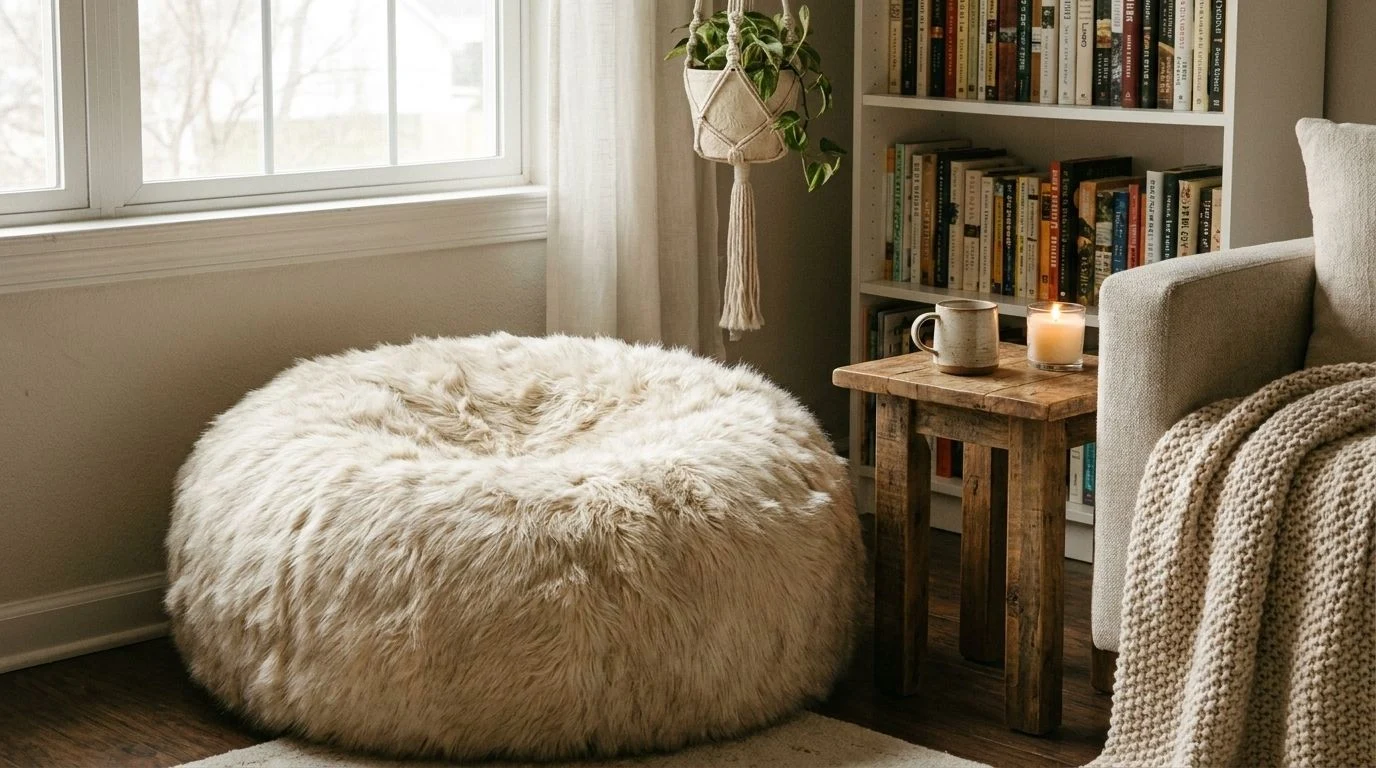
Sew two large circles of fake-fur fabric together, leaving a small gap open. Stuff it firmly, sew the gap shut, and set it in a corner as an extra seat.
A subtle, solid color usually hides lint better than bright, printed fabrics, making your clothing look clean and neat more often.
12. Woven Fabric-Strip Pillow Cover
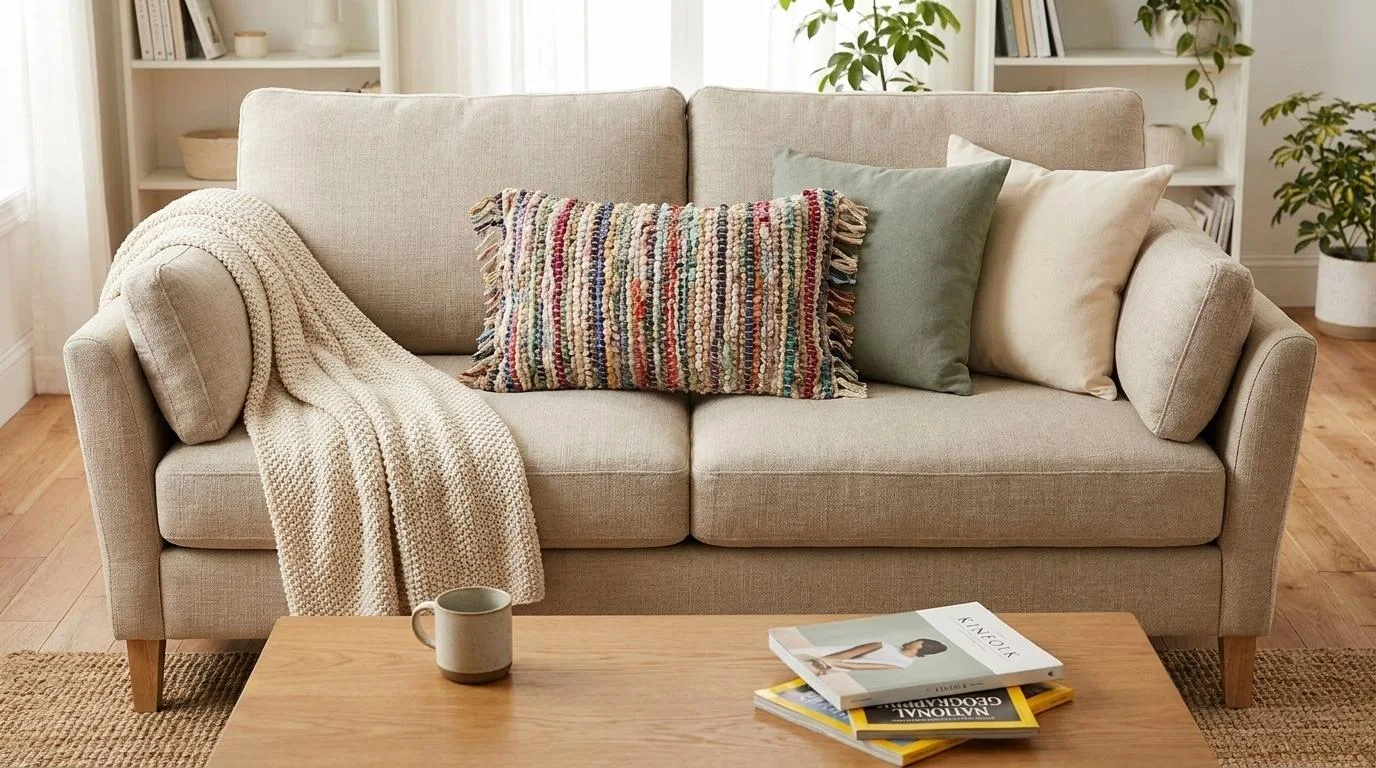
Gently weave long strips from two different fabrics together in a charming checkerboard pattern.
Sew the woven piece onto one side of a plain pillow cover so the mixed textures do all the work. Stick to fabrics of the same thickness so the weave lies flat.
13. Beaded Curtain Doorway Divider
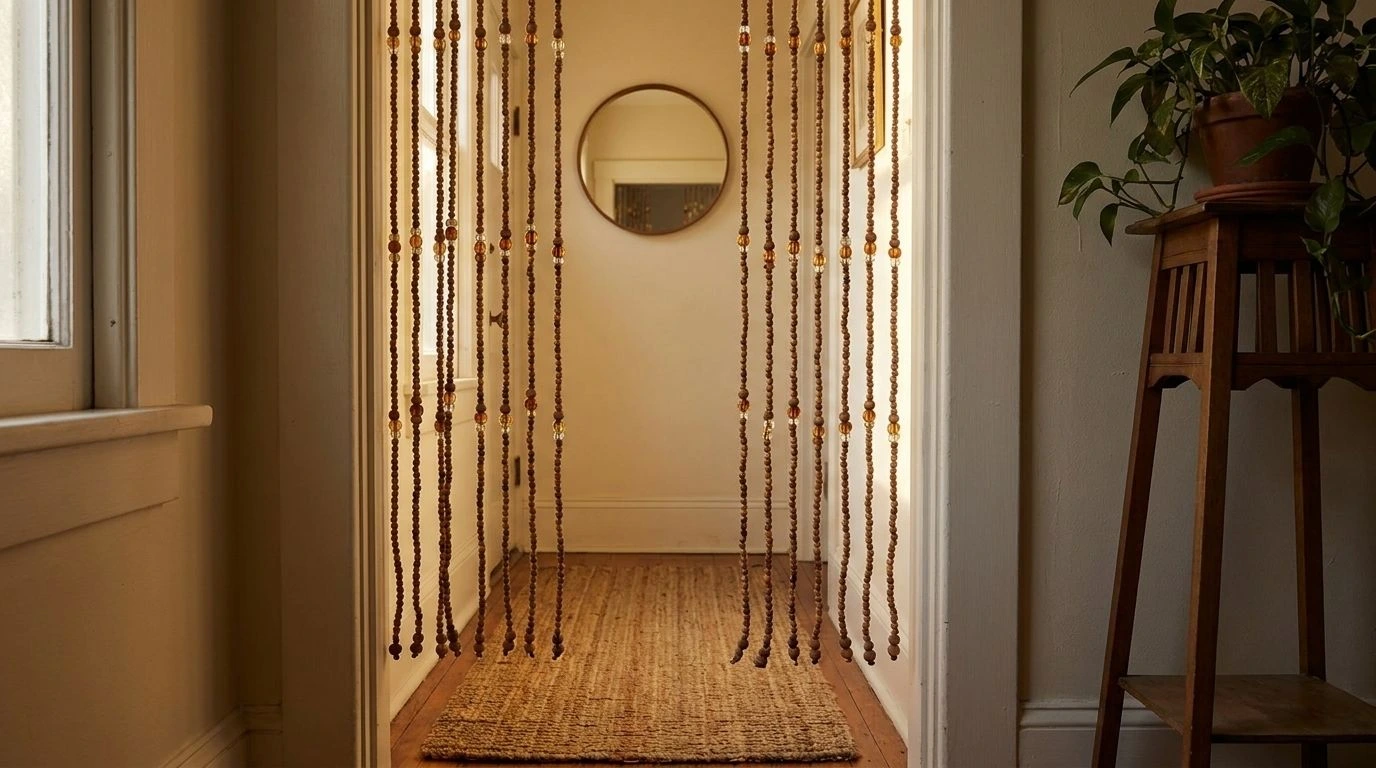
String beads onto long fishing lines and attach them to a curtain rod above a doorway. As you walk through, the beads catch the light. Use a variety of bead sizes for a more natural appearance.
Mix bead sizes for a fuller, handmade curtain look that feels rich and unique.
Once the walls and seats are done, small tabletop pieces finish the middle of a room. These next ideas make the counters, shelves, and the table look nicer.
14. Wooden Bead Wall Hanging
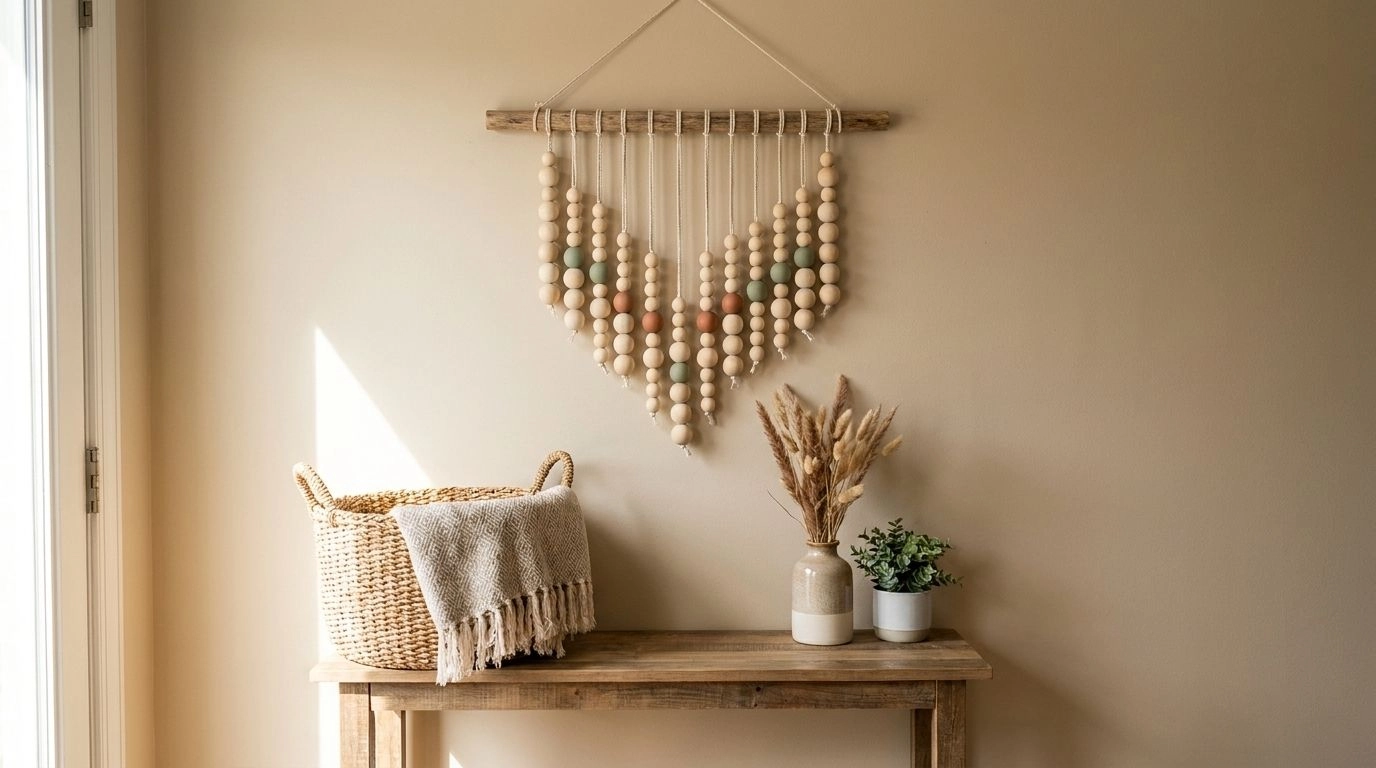
Drill or buy unfinished wooden beads and thread them onto sturdy cord in different lengths.
Add a simple wooden dowel at the top, then hang the strands together to create a textured wall decoration.
Use natural wood tones for a minimalist look or paint a few beads in soft colors to match your room. It works well above a console table, bed, or reading corner.
15. Clear Flower Coasters
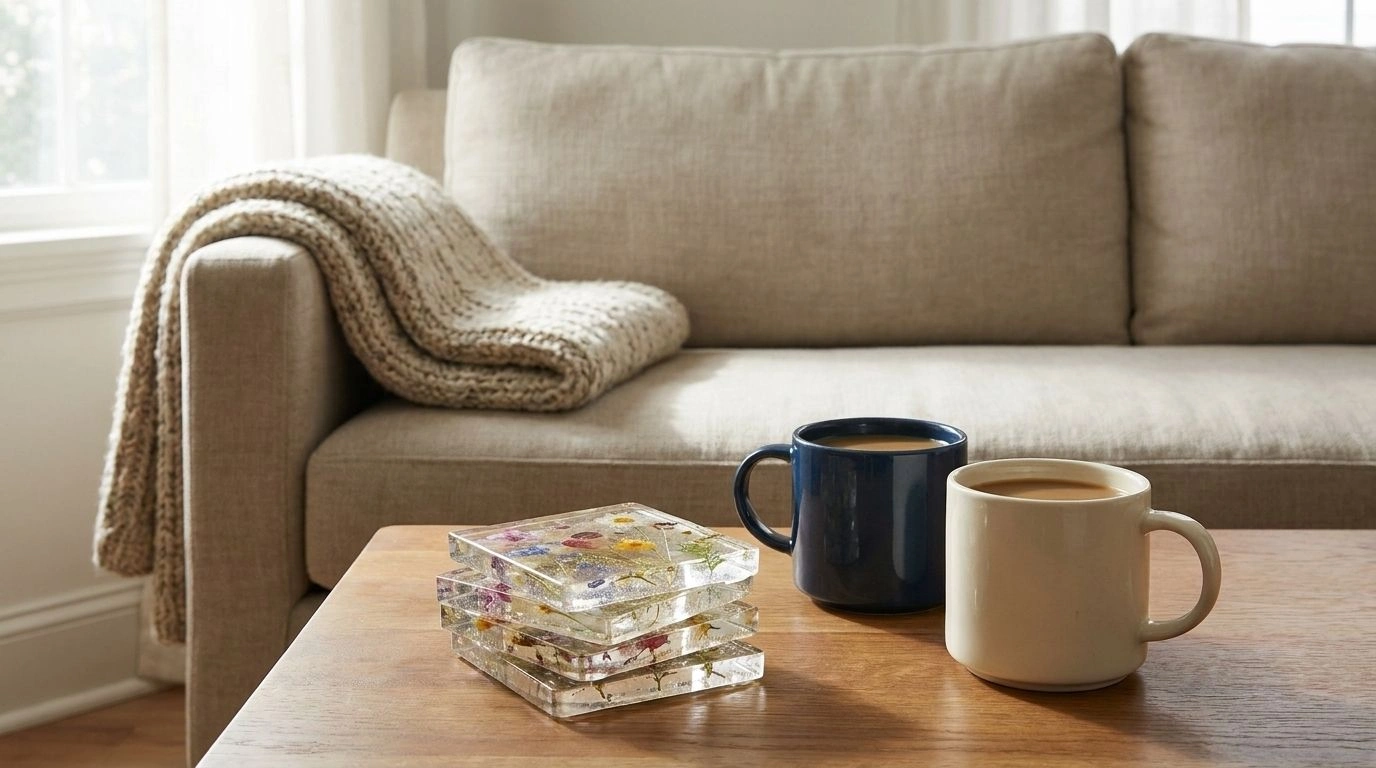
Gently place a few dried flowers in a small rubber mold, then slowly pour a clear craft liquid over them.
This simple step can create a beautiful, personalized decorative piece to cherish or gift.
Let it harden all the way before popping it out, trapping the flower inside like a tiny window. Small flowers like violets fit best inside a coaster-sized mold.
16. Speckled Paint Dot Tray
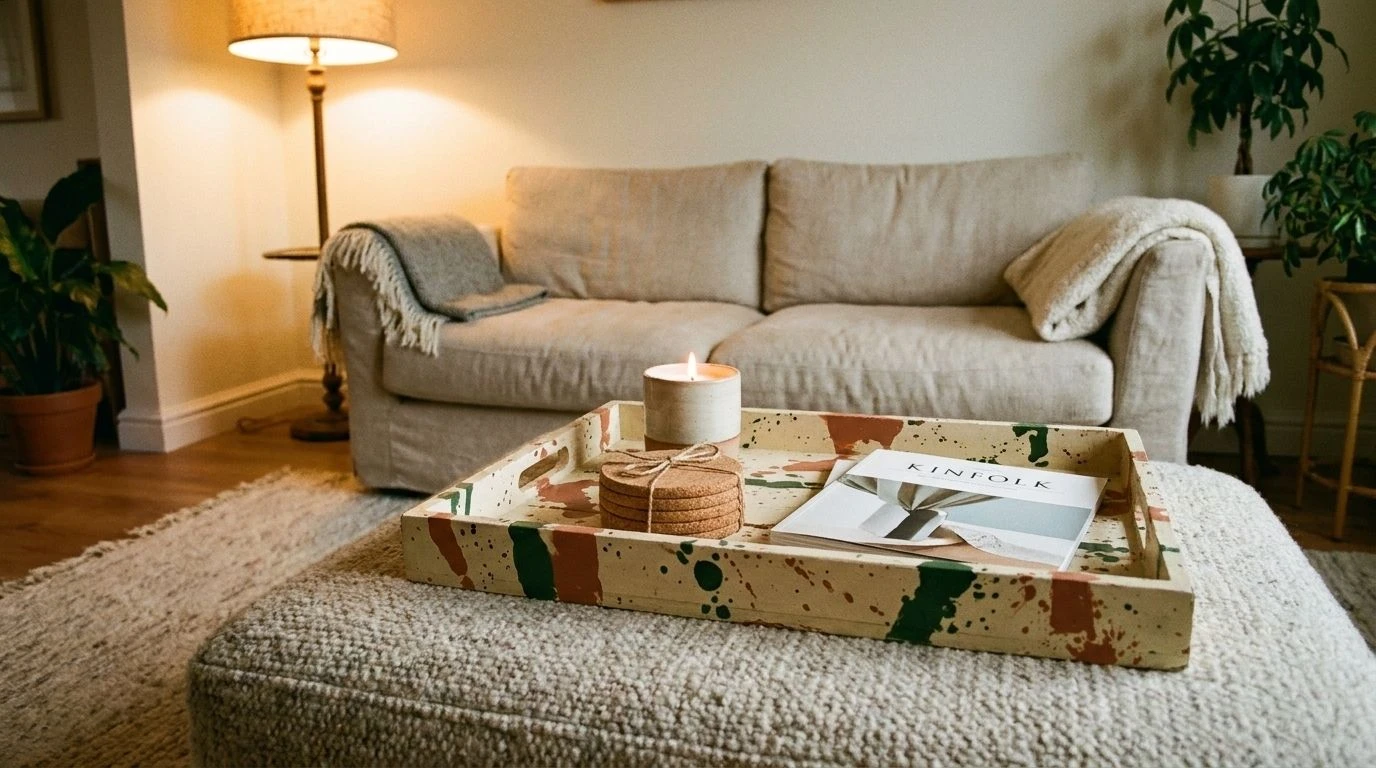
Dab small flecks of two or three paint colors all over a plain wooden or metal tray, letting each color dry before adding the next.
The speckled pattern mimics the look of an expensive stone for just a few dollars. An old toothbrush flicked with paint gives smaller, more even specks than a brush.
17. Fabric-Wrapped Storage Basket
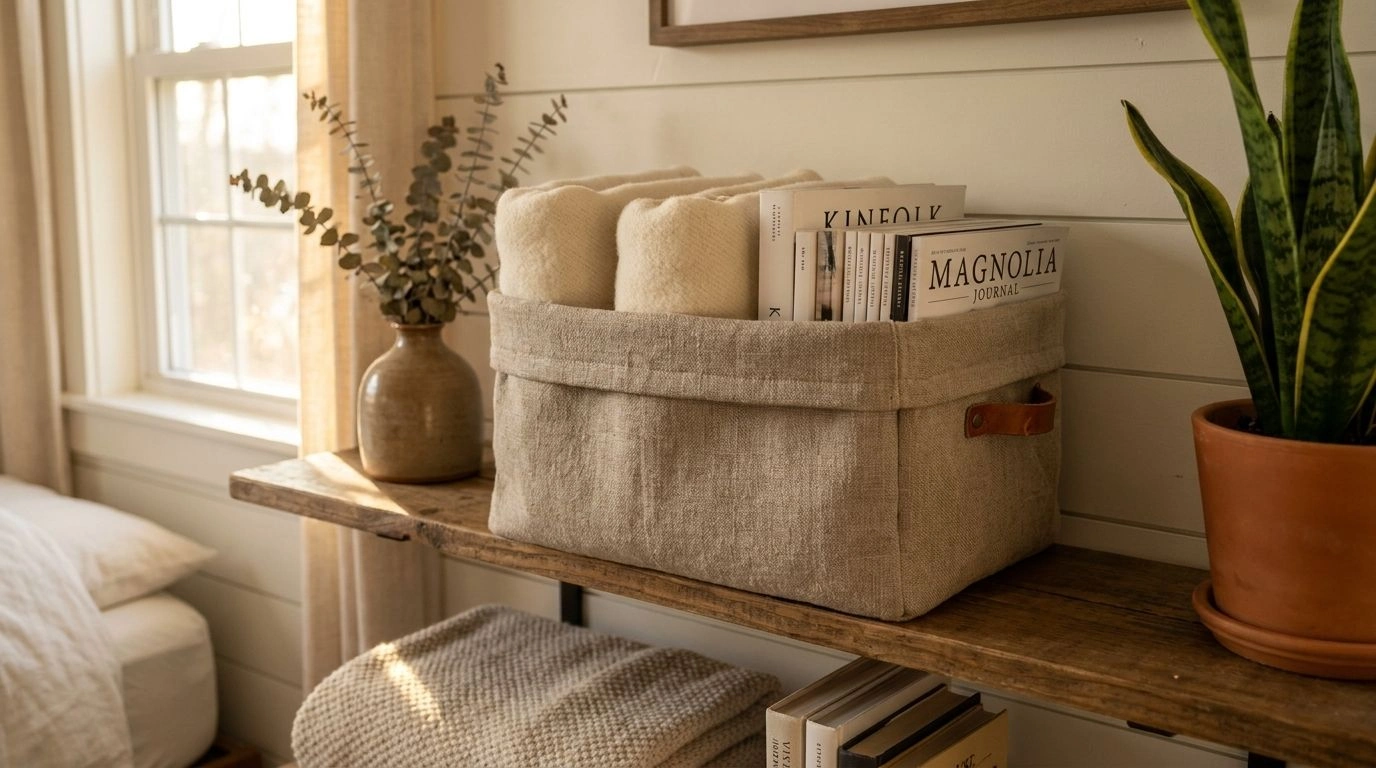
Take a plain storage basket or an old cardboard box and wrap it with fabric using fabric glue. Fold the edges neatly inside, then add a small leather strap or fabric handle for a finished look.
Use linen, cotton, or canvas fabric to create a basket that matches your room while keeping blankets, books, or small items organized.
18. Drippy Paint Plant Saucers
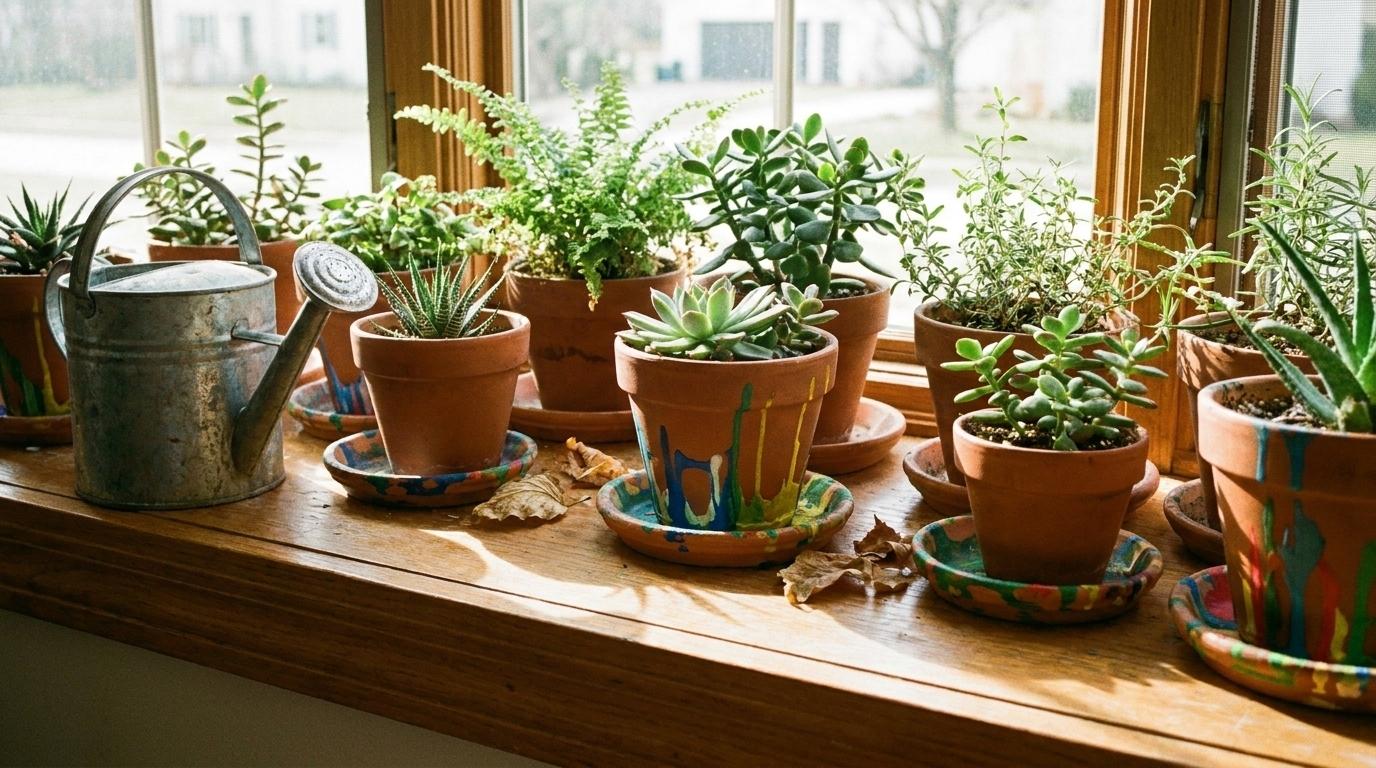
Thin some paint with a little water and pour it slowly over the rim of a plain clay saucer.
Let it drip down the sides on its own instead of brushing it smooth, so the saucer ends up looking like a fancy painted pot with hardly any effort.
Set it on a paper plate first, since the drips will spread while they dry.
19. Paper Mache Table Bowl
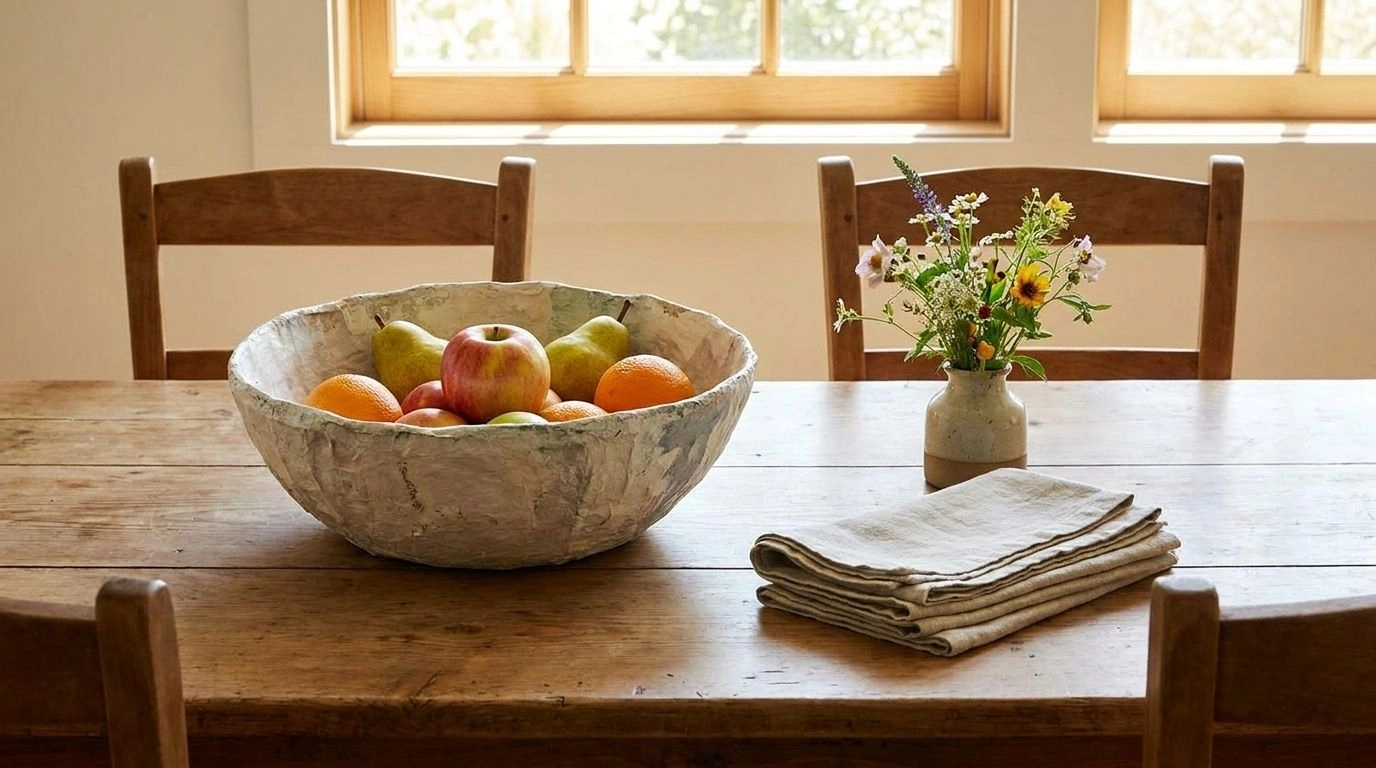
Cover a bowl-shaped mold with strips of newspaper dipped in flour paste, then let it dry until stiff.
Pop the shell off the mold, paint a pattern on top with a sponge, and fill it with anything that needs a home.
Three or four layers of newspaper make the bowl strong enough to hold weight.
20. Striped Sand Jar Art
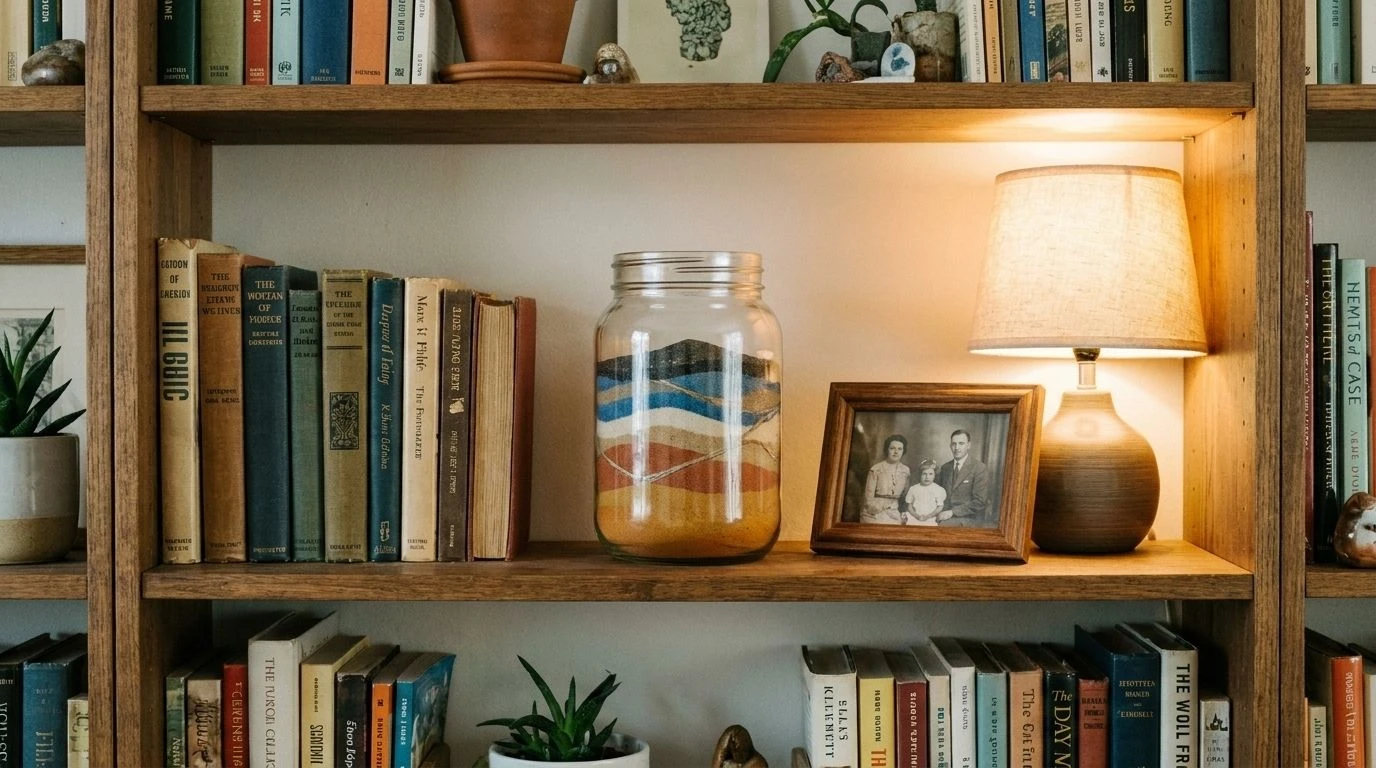
Pour thin layers of colored sand into a clear jar, gluing in a bit of string between a few layers for texture. Each layer remains separate, forming a striped pattern as the jar fills.
Craft stores sell colored sand in small bags, so you won’t need to color it yourself.
A little bit of light and a few small furniture touches finish the room. These last ideas are quick, but they make a big difference.
21. Colored Ink Glow Jars
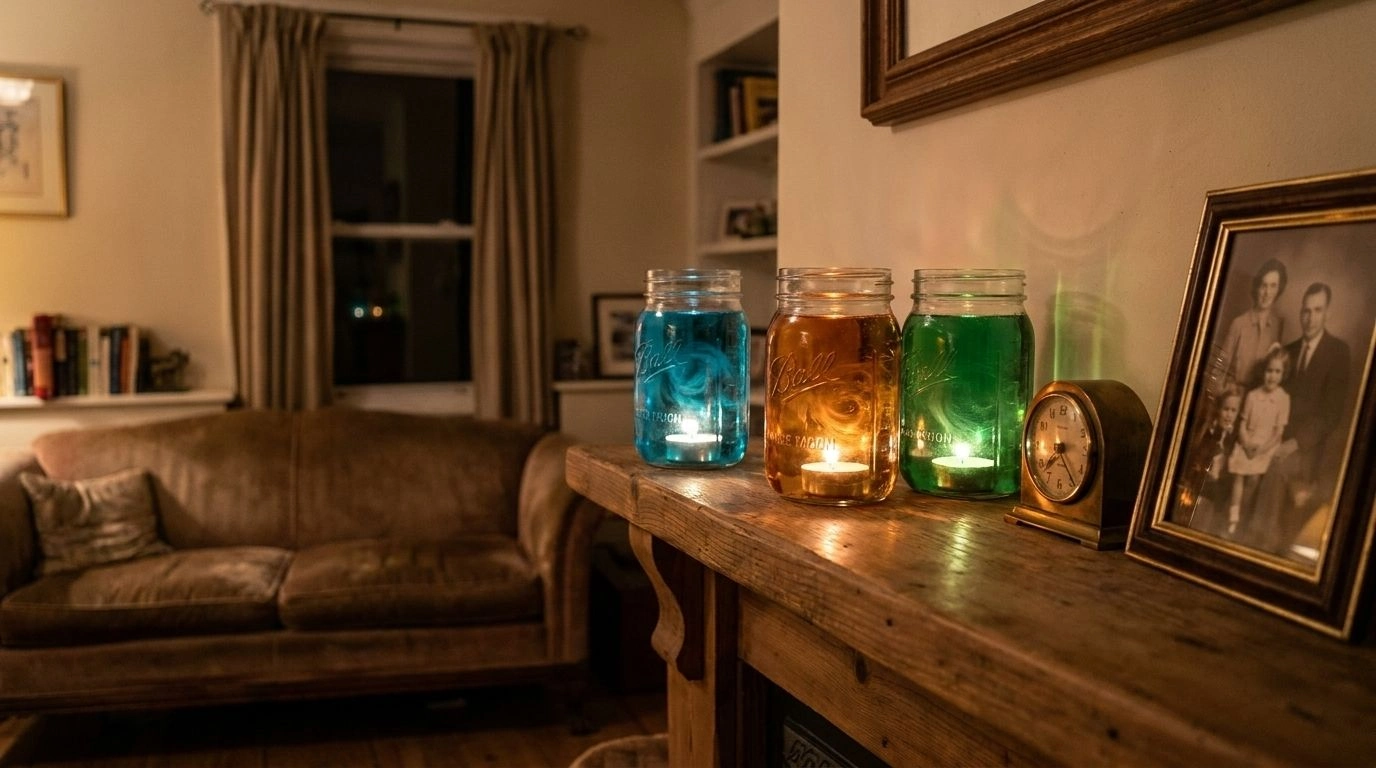
Drop a little colored alcohol ink inside a clear glass jar and swirl it around the inside walls until it dries in place.
Set a candle inside once it’s dry, and the light will glow through the swirled color from every side. A few drops go a long way, so add the ink slowly and stop before it looks muddy.
22. DIY Rope-Wrapped Mirror Frame
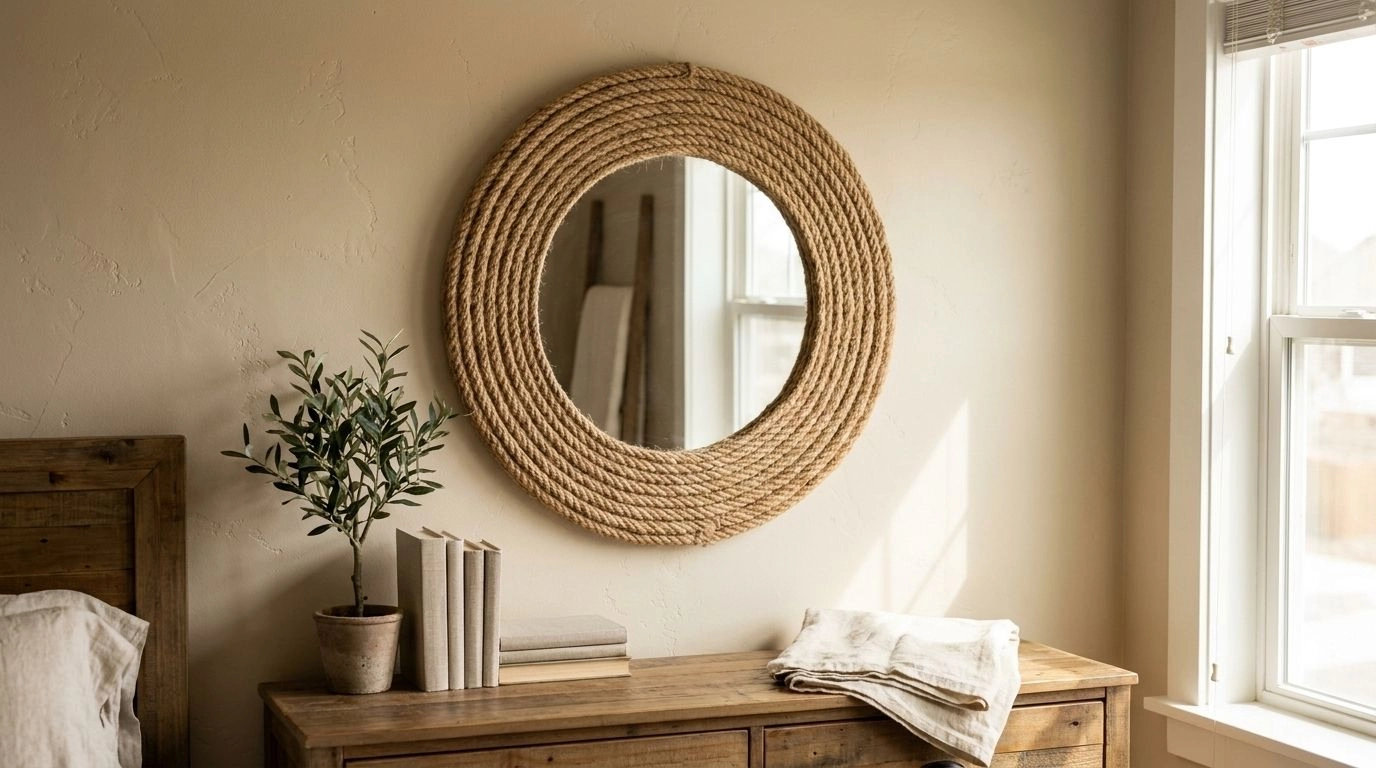
Take a plain round or rectangular mirror and attach thick rope around the outer edge using strong craft glue.
Layer the rope in neat circles or create a braided border for extra texture. Let it dry completely before hanging it on the wall.
A rope frame adds a warm, natural look to bedrooms, entryways, or bathrooms. Use jute rope for a rustic style or cotton rope for a softer, coastal feel.
23. Painted Wooden Spoon Coat Hooks
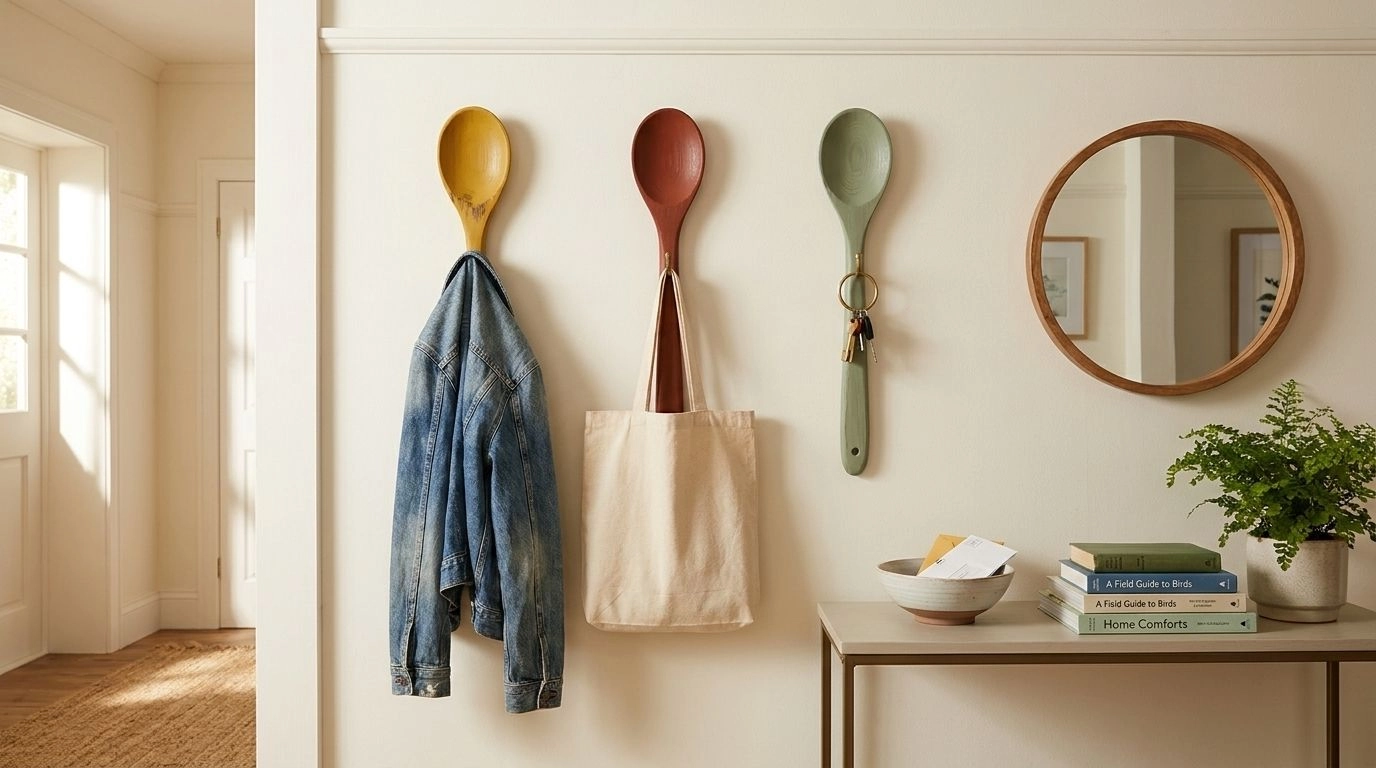
Paint old wooden spoon handles with acrylic colors that match your room, then let them dry completely.
Screw a small hook into the back of each spoon head, near the top. Mount the spoons in a row on the wall by the door.
Hang coats, bags, or keys on the hooks, and the spoon handles stick out as a small, quirky decoration nobody expects.
24. Standing Display Board With Hooks
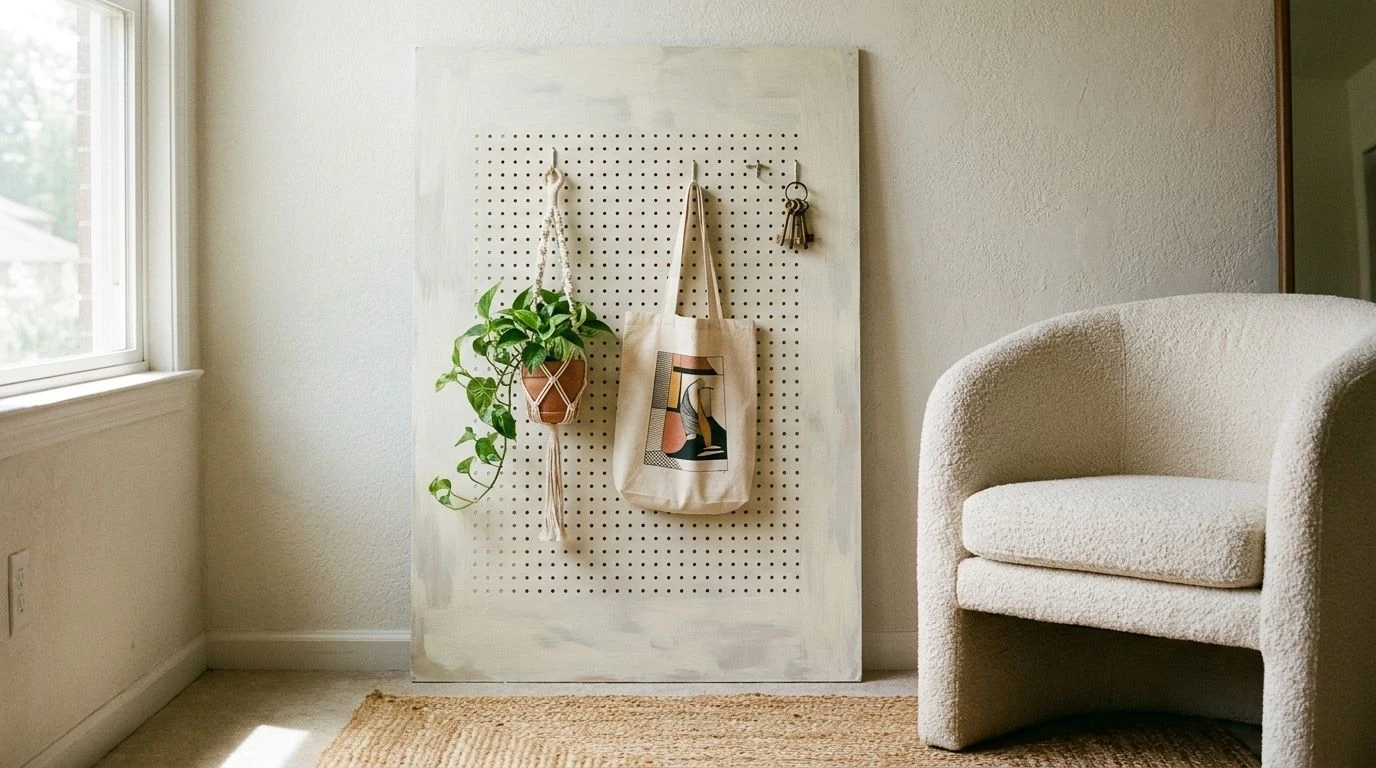
Screw a board full of small holes onto a simple wood frame so it can stand up on its own, then paint it any color you like.
Add hooks and tiny shelves to hold plants or mail, and move the whole thing wherever you want. A frame about knee height keeps the board from tipping over.
25. Stacked Crate Herb Shelf
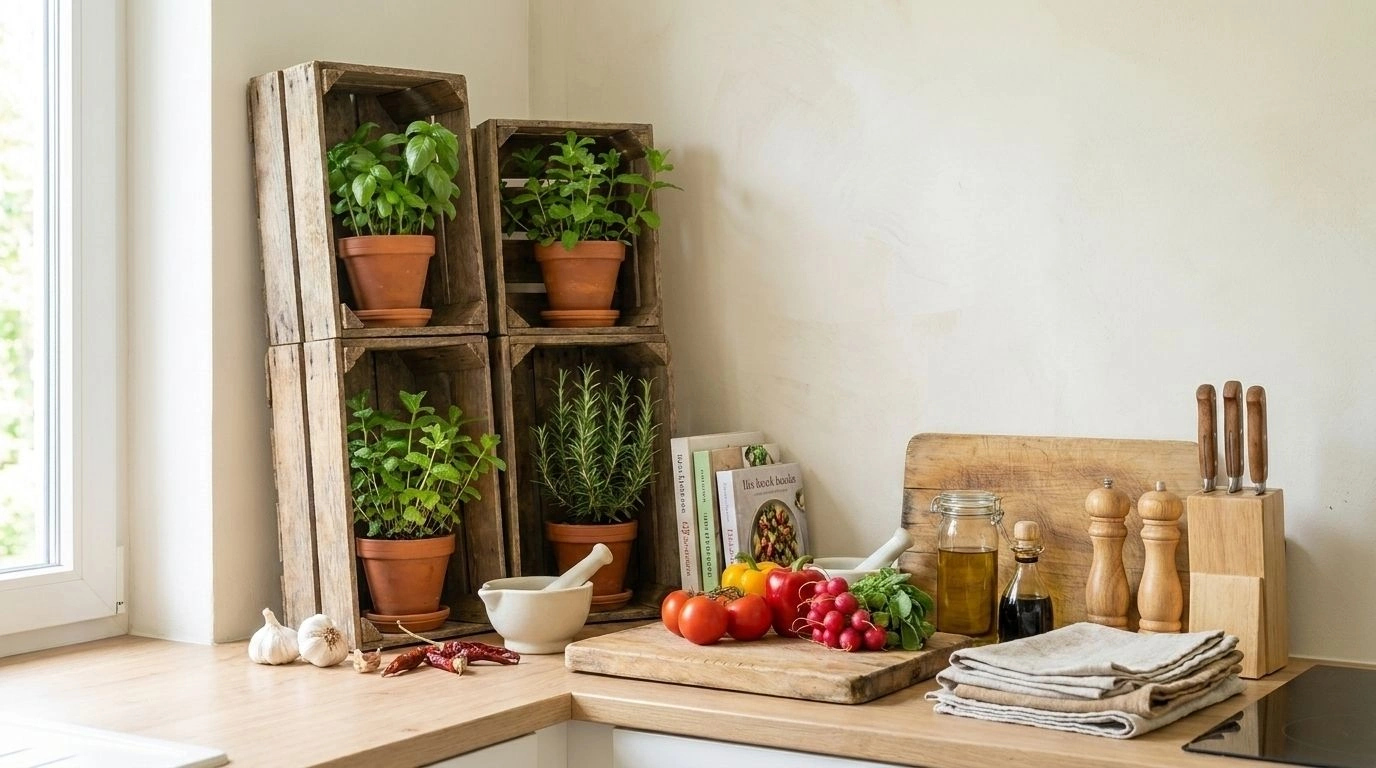
Stack a few wooden crates against the wall at a slight lean, with the largest on the bottom and the smallest on top.
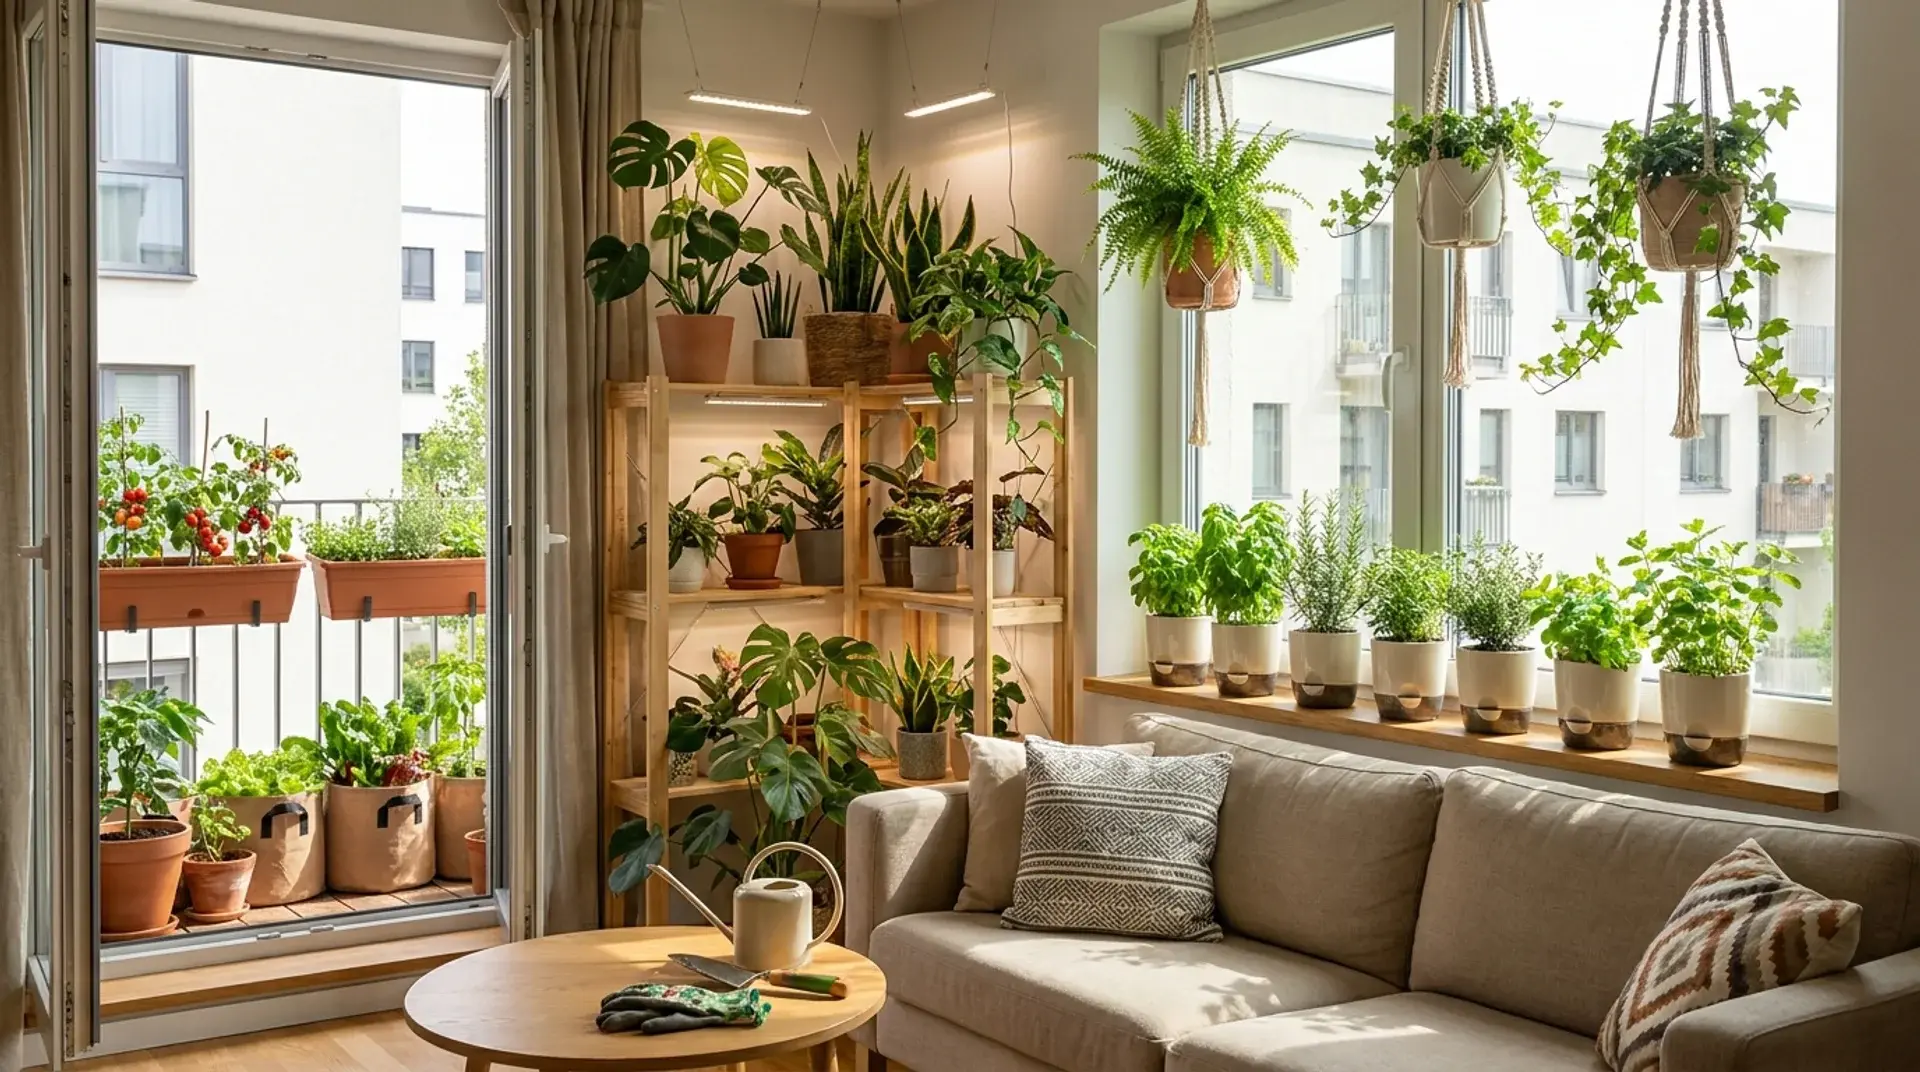
Set small herb pots inside each one so every plant gets its own light without taking up floor space. Turn the crates so the open side faces out for easy watering.
26. Hidden Vent Cover Panel
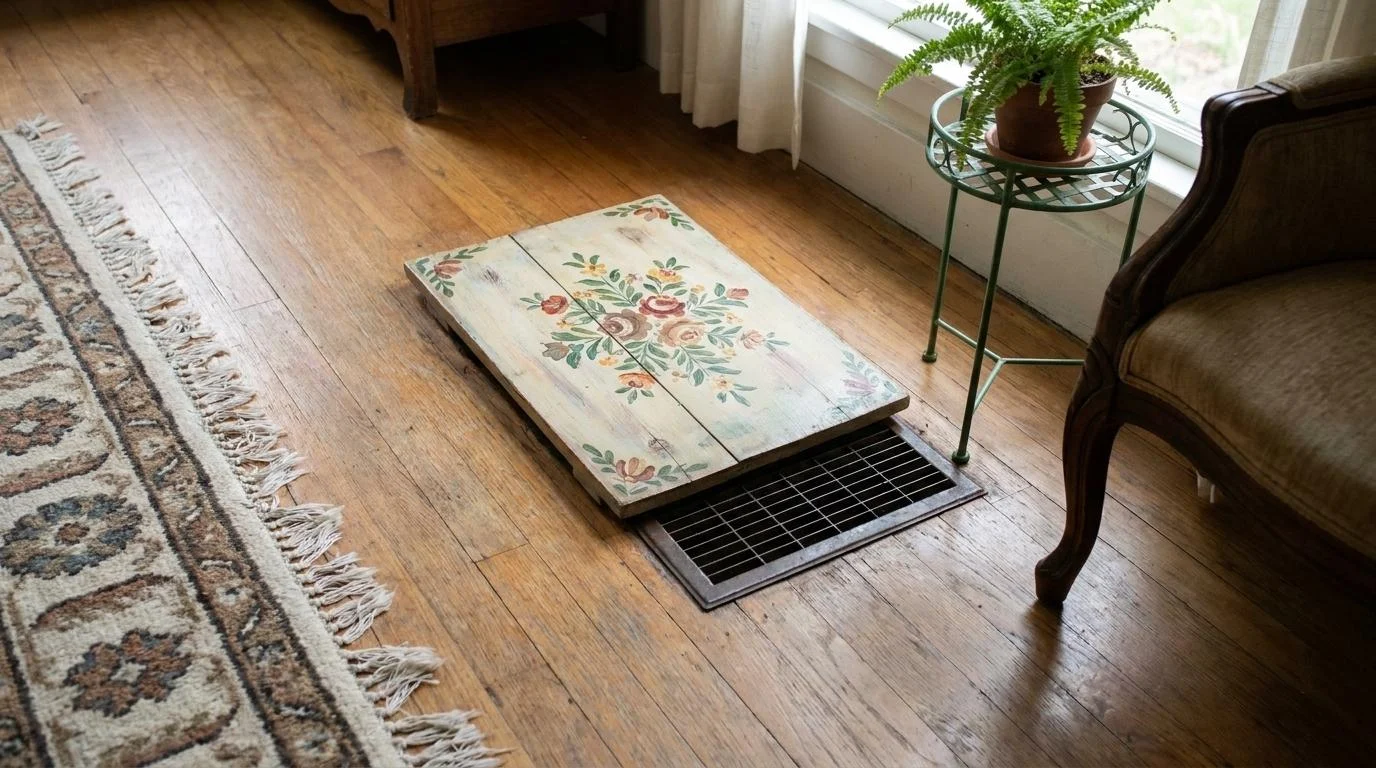
Measure a thin piece of wood to fit over a plain floor vent, then paint or draw a simple pattern on top.
Rest it gently over the vent so air still flows through the slats, hiding an ugly metal grate in minutes. Leave a small gap around the edges so it doesn’t block airflow.
27. Melted Crayon Drip Canvas
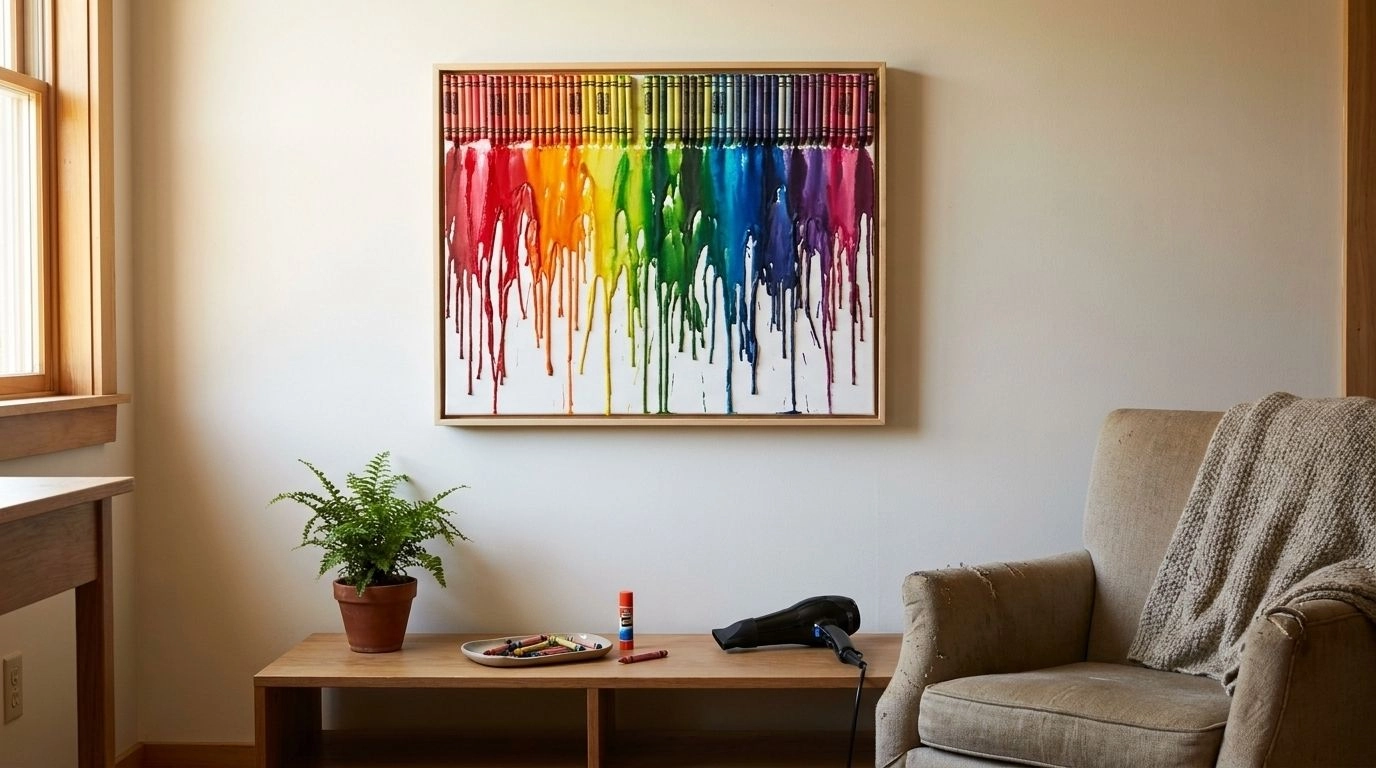
Glue crayons in a row along the top of a blank canvas. Point a hair dryer at them until they melt and drip down in colorful streaks.
Tilt the canvas a little to guide where the drips go. Let it dry flat, then hang it up. No paintbrush needed at all.
28. Stamped Veggie Print Table Runner
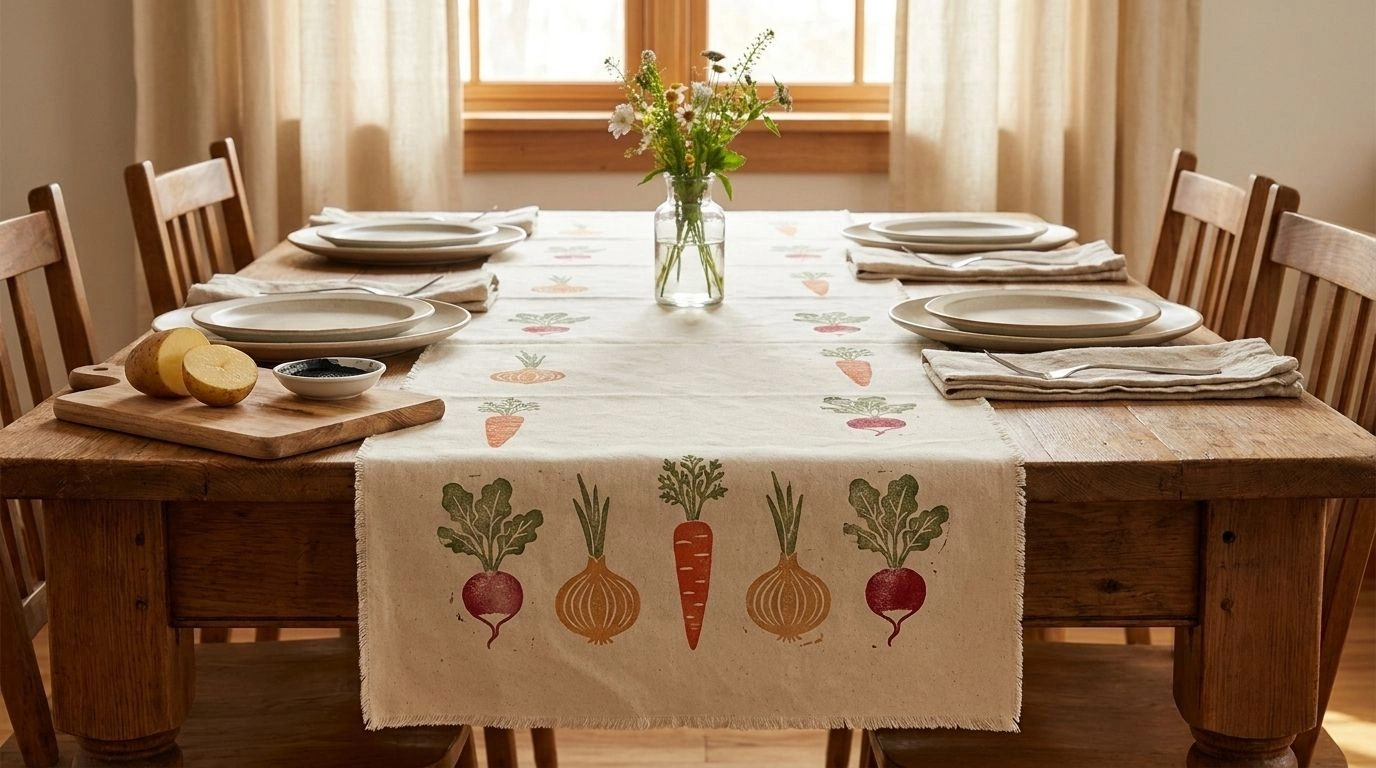
Cut a potato or bell pepper in half and carve a simple shape into the flat side. Dip it in fabric paint and press it onto a plain cotton table runner in a repeating pattern.
Wait for each stamp to dry before adding the next one so the shapes stay clean and don’t blur together.
29. Woven Ribbon Memo Board
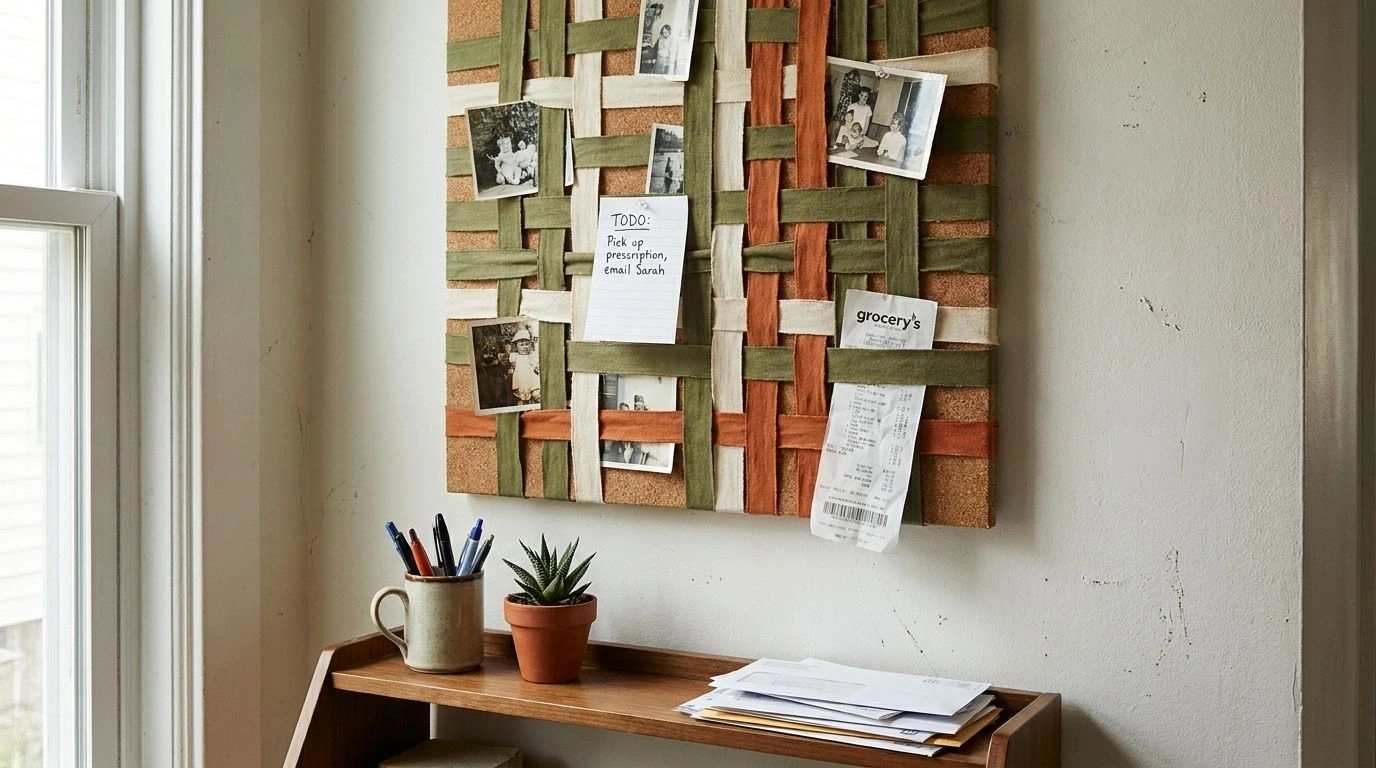
Pin ribbon across a corkboard going one way, then weave more ribbon through it going the other way. Glue or staple the ends down on the back so it stays tight.
Please consider sliding photos, notes, or bills between the crossed ribbons instead of using pins. This way, it can be safer and easier to keep everything in place.
30. Wax Paper Leaf Lantern
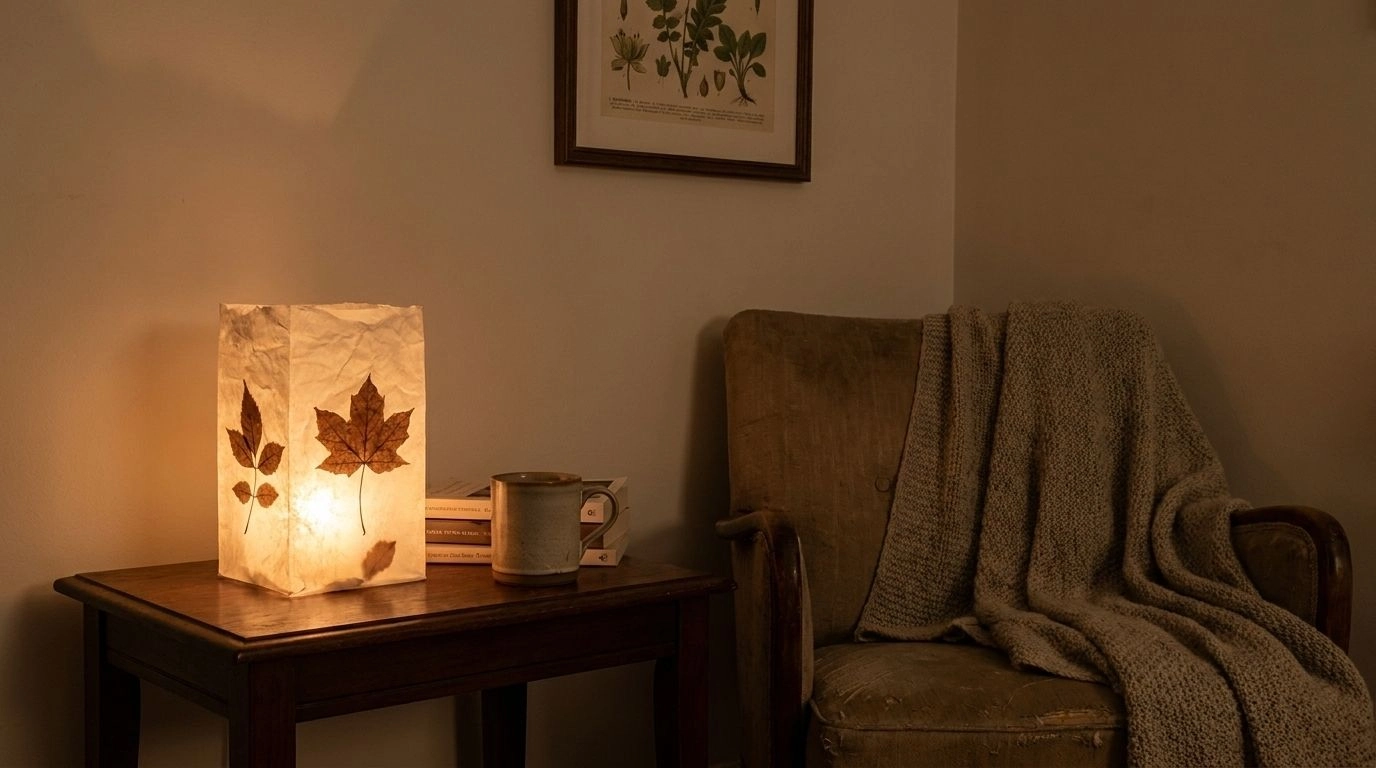
Place flat leaves between two sheets of wax paper and seal them shut with a warm iron. Wrap the sealed sheet around a wire frame or an empty jar to shape it into a lantern.
Pop a candle or small light inside, and the leaves glow through the paper like little shadows.
31. Painted River Rock Bookends
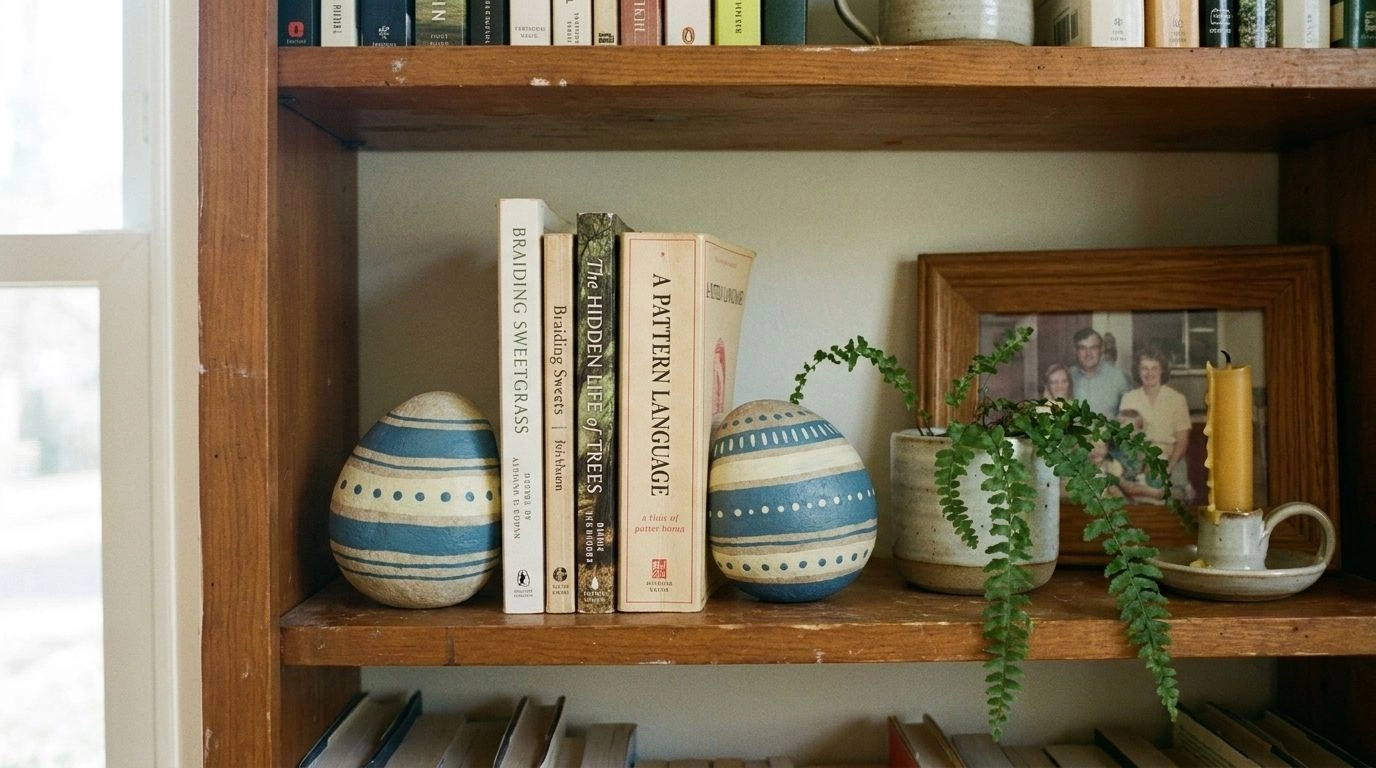
Grab two flat-bottomed rocks about fist-sized. Paint them a color that matches your shelf, then add a simple stripe or pattern once dry.
Stand a few books between them on a shelf. That’s your bookend, made for the cost of a little paint.
Common DIY Home Decor Mistakes to Avoid
A few small mistakes can affect the final look and durability of your craft projects. Avoid these common issues to make your creations last longer and look more polished:
- Skipping a protective sealer: Painted trays, clay pieces, and other handmade items can chip, peel, or fade faster without a proper sealant.
- Choosing colors without considering the space: Colors that clash with your room’s style can make a craft piece feel out of place rather than add charm.
- Rushing the drying process: Paint, clay, and papier-mache may look finished on the surface while still being soft or sticky underneath. Always allow enough drying time.
- Buying too many supplies at once: Stocking up on materials before completing a project can lead to unused craft supplies taking over your storage space.
- Skipping a test piece: Always try dyes, inks, or new finishes on a small scrap piece first to avoid unwanted results on your final project.
- Taking a little extra care during each stage helps your DIY crafts stay beautiful, functional, and enjoyable from start to finish.
Conclusion
A home doesn’t need a big budget to feel like yours. It just needs a little time and a few cheap supplies that are already sitting around the house.
Grab one project from this diy home decor list, maybe the sun-print art or the rope-wrapped mirror, and give it a real shot this week.
You don’t have to finish all right away. One finished piece beats five half-done projects stuck in a closet.
Save this list, pick your first project, and get started today.
Frequently Asked Questions
What Is the 60-30-10 Color Rule?
It balances room colors using: 60% dominant color (walls, rugs), 30% secondary color (furniture, curtains), and 10% accent color (pillows, artwork, decor).
What Is the 3-5-7 Rule?
It uses odd-number groupings for better balance: 3 large pieces, 5 medium items, and 7 small decor pieces.
How Do I Make DIY Projects Look High-End?
Take your time, avoid shortcuts, and focus on details. Simple upgrades like framing mirrors or using stencils can create a polished look.
Do These Projects Need Any Special Tools?
No. Most of these diy home decor ideas use basic craft supplies like glue, paint, and scissors you likely already own.
How Much Does DIY Home Decor Usually Cost?
Most projects here cost under fifteen dollars in craft supplies, far cheaper than similar store-bought decor pieces.