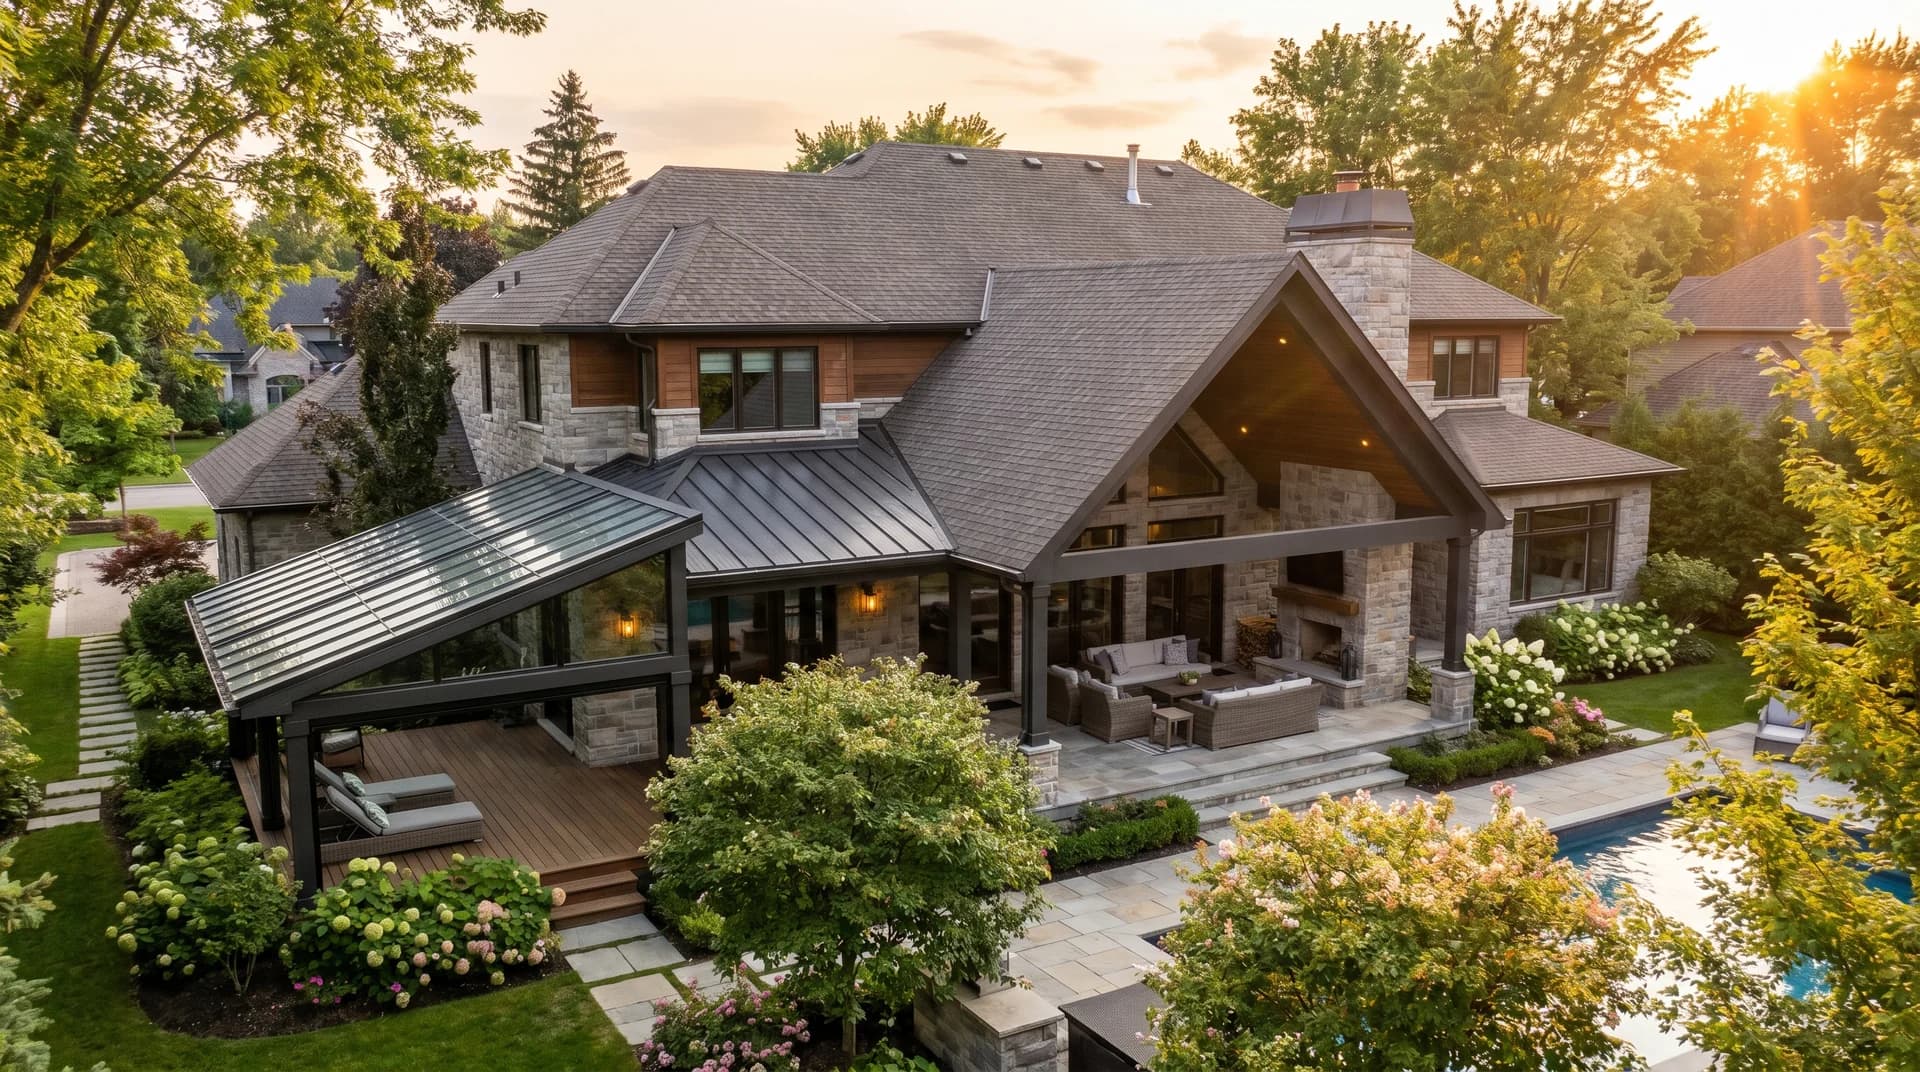
How much roofing material do you actually need for your home?
Most owners get confused when contractors talk about “squares” instead of square feet.
This terminology appears in estimates, material lists, and quotes, and not knowing it can easily lead to ordering too much or too little roofing material.
Knowing how to interpret these measurements is crucial for budgeting accurately, avoiding waste, and planning your project efficiently.
This guide explains roofing square calculations, estimates material requirements per square, and provides practical tips to plan your roofing project accurately.
Learn how to measure your roof size and communicate effectively with contractors.
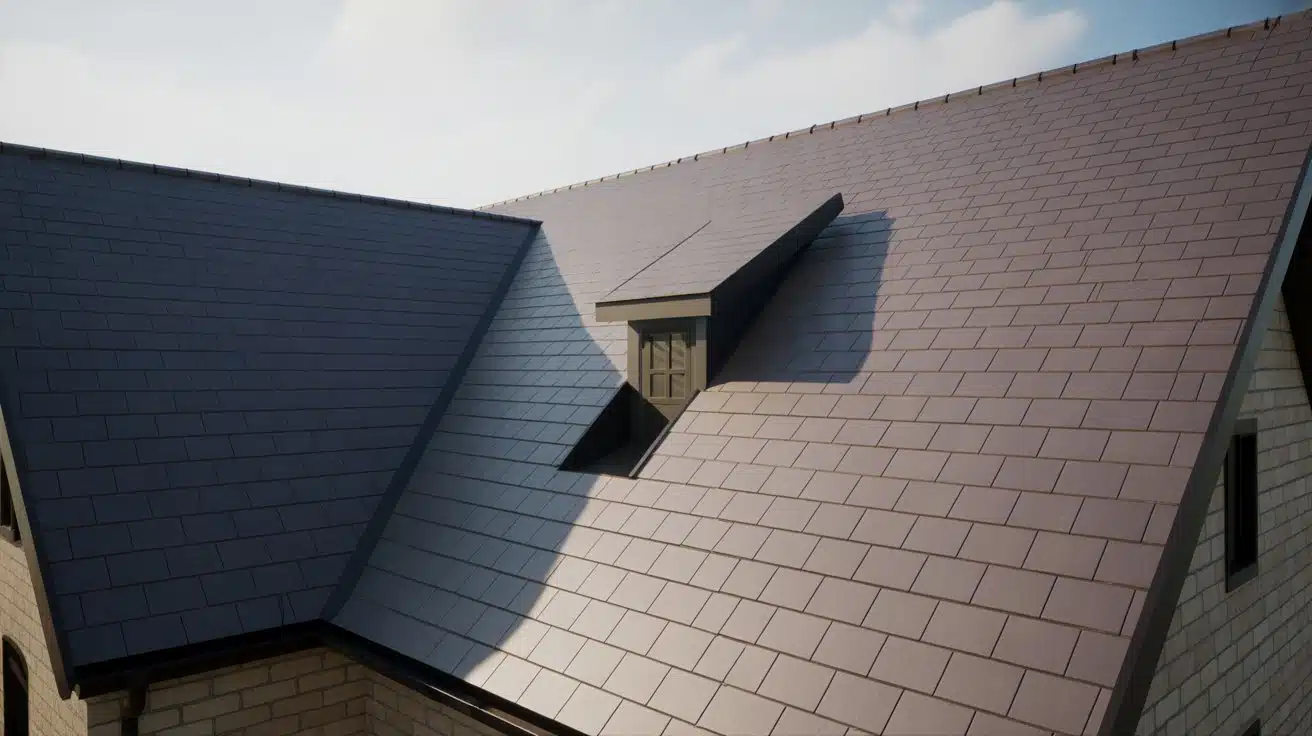
What Is a Roofing Square?
A roofing square is a standard unit of measurement equal to 100 square feet of roof surface area. Think of it as a 10-foot by 10-foot section of your roof.
This measurement system has been the industry standard for decades, making it easier for contractors, suppliers, and owners to communicate about roof size.
Many people confuse roofing squares with the square footage of their home’s interior. These are two different measurements.
The main purpose of using roofing squares is simple: it creates a universal language for the roofing industry. When a contractor says your roof is “25 squares,” everyone knows exactly what that means.
This standardization helps with ordering materials, calculating labor costs, and comparing quotes from different companies.
Why Roofing Squares Matter?
Knowing roofing squares gives you power as an owner. When you receive quotes from contractors, you’ll see prices listed “per square” rather than per square foot. This matters because it directly affects your budget.
Here’s why this measurement system is so important:
- Makes quotes transparent: You can compare prices between contractors when everyone uses the same unit
- Prevents material waste: Ordering by squares helps ensure you get the right amount of supplies
- Simplifies planning: You can estimate project costs before calling contractors
- Speeds up communication: No confusion when discussing your roof with professionals
Material suppliers also use this system. Shingles are sold in bundles designed to cover roofing squares.
Underlayment, flashing, and other materials follow the same pattern. When you understand squares, you understand how much everything costs.
Now that we know why roofing squares are important, let’s see how to calculate them accurately for your project.
How to Calculate Roofing Squares?
Calculating roofing squares yourself isn’t difficult for simple roof designs. Follow these steps to get an accurate measurement.
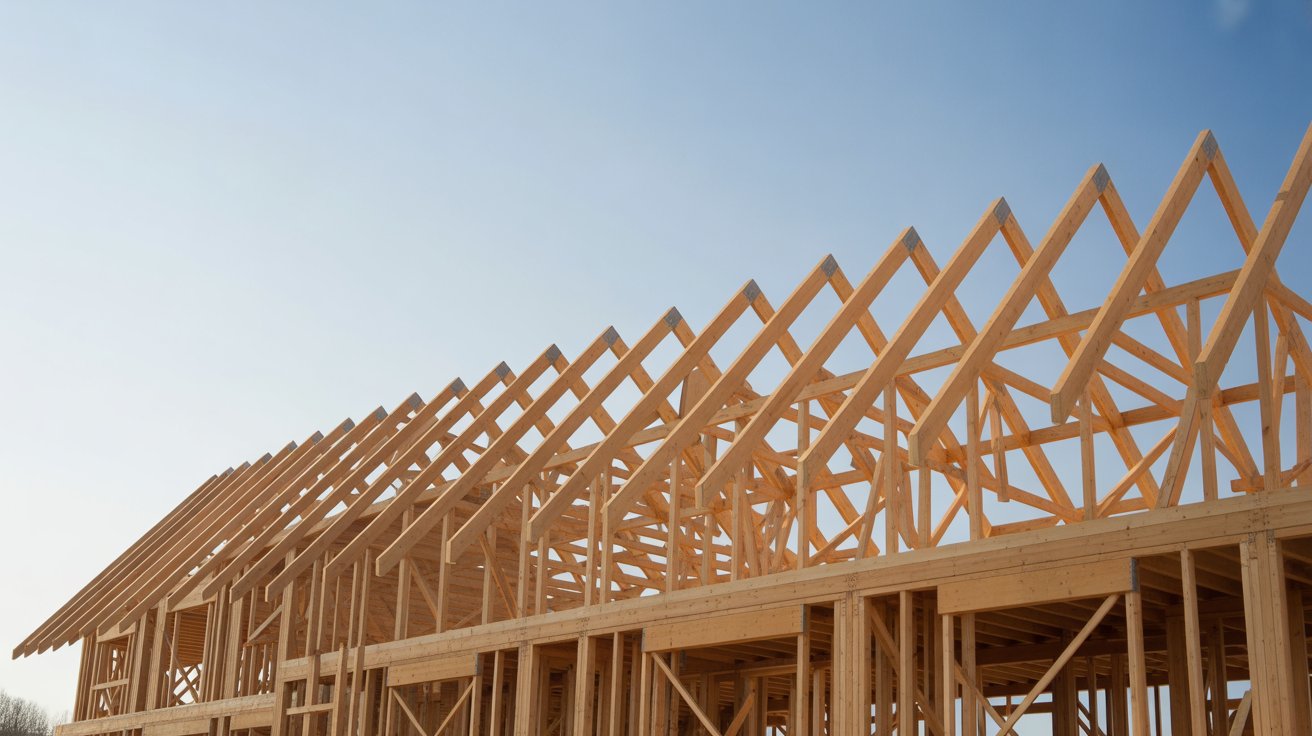
Step 1: Measure Each Roof Plane
A roof plane is any flat section of your roof. A basic gable roof has two planes: one on each side. More complex roofs have multiple planes at different angles.
To measure each plane:
- Use a tape measure to find the length
- Measure the width from edge to ridge
- Multiply length × width = area in square feet
- Write down each plane’s measurement
For a rectangular plane that’s 50 feet long and 30 feet wide: 50 × 30 = 1,500 square feet.
Step 2: Add All Plane Areas
Once you’ve measured every plane, add them together. This gives you the total roof surface area in square feet.
Example calculation:
- Front plane: 1,500 sq ft
- Back plane: 1,500 sq ft
- Garage plane: 600 sq ft
- Total: 3,600 square feet
Don’t forget small sections like dormers, porches, or bay window roofs. These add to your total.
Step 3: Convert to Squares
This is the easy part. Divide your total square footage by 100.
Formula: Total square feet ÷ 100 = Number of squares
Using our example: 3,600 ÷ 100 = 36 squares
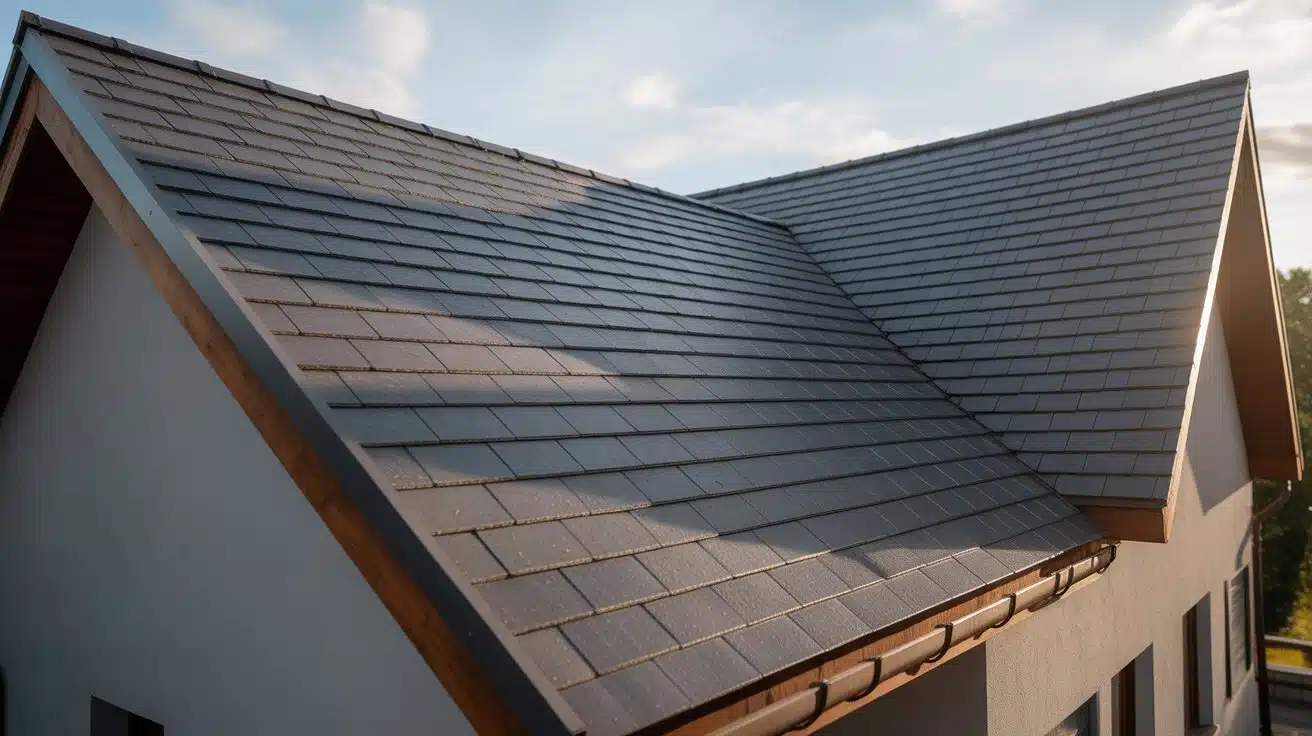
Step 4: Adjust for Roof Pitch / Slope
Roof pitch is expressed as a ratio. A 4/12 pitch means the roof rises 4 inches for every 12 inches of horizontal distance. Steeper pitches need larger multipliers.
Common Pitch Multipliers:
| Roof Pitch | Multiplier |
|---|---|
| 3/12 | 1.03 |
| 4/12 | 1.05 |
| 5/12 | 1.08 |
| 6/12 | 1.12 |
| 7/12 | 1.16 |
| 8/12 | 1.20 |
| 9/12 | 1.25 |
| 10/12 | 1.30 |
| 12/12 | 1.41 |
How to use the multiplier: Take your square measurement and multiply it by the pitch factor.
If you have 36 squares and a 6/12 pitch: 36 × 1.12 = 40.32 squares. Round up to 41 squares for material orders.
Step 5: Account for Overlap (Headlap)
Roofing materials overlap to prevent leaks. This overlap, called headlap, means you need more material than the basic square footage suggests.
For asphalt shingles, most calculations already include the standard overlap. Order 10-15% extra for waste and cuts.
For tiles: Add 10-20% depending on the tile style. Some tiles require more overlap than others.
Practical Tips for Roofing Squares for Owners
Knowing how to work with roofing squares puts you in control of your project. Here are practical ways to use this knowledge.
- Verify contractor calculations
- Use squares to compare quotes
- Plan for extra costs
- Adjust for roof pitch
- Keep a record of measurements
With the number of roofing squares determined, the next step is figuring out how many materials you’ll need per square.
How Many Materials Per Square?
Once you know your roofing squares, calculating materials becomes straightforward. Different roofing types require different quantities per square.
| Material | Coverage per Square | Notes / Considerations |
|---|---|---|
| Asphalt Shingles | 3 bundles per square | Each bundle ≈ 60 to 80 lbs; 4 bundles may be needed for steep/high-wind areas |
| Clay or Concrete Tiles | 1.1 to 1.2 × square footage | Overlap requires extra material; ensure the roof can support heavy tiles |
| Underlayment | 1 roll ≈ 4 squares (400 sq ft) | Synthetic or felt; coverage varies by type and style; provides waterproofing beneath shingles or tiles. |
Coverage values are approximate; always verify with manufacturer specifications and local building codes before purchasing.
Additional Materials Per Square
- Roofing nails: 2 to 4 pounds per square
- Ridge cap shingles: 1 bundle per 35 linear feet of ridge
- Ice and water shield: 1 roll per 200 square feet of valley and eave
- Drip edge: Measured by linear feet, not squares
By understanding squares and material requirements, you can plan your roofing project efficiently and avoid costly surprises.
Conclusion
Learning about roofing squares changes how you approach roof projects. This standard measurement simplifies material orders, cost estimates, and contractor communication.
Whether your roof measures 20 squares or 40 squares, you now know how to calculate the total, adjust for roof pitch, and account for material overlap.
Use this knowledge to verify contractor quotes, compare prices per square, and budget accurately for your project.
Remember to add waste allowance and consider your roof’s complexity before attempting DIY measurements. Complex roofs with multiple levels may require professional measurement services.
With these fundamentals in hand, you’ll approach roofing projects with confidence, ensuring efficiency, accuracy, and fewer costly surprises.