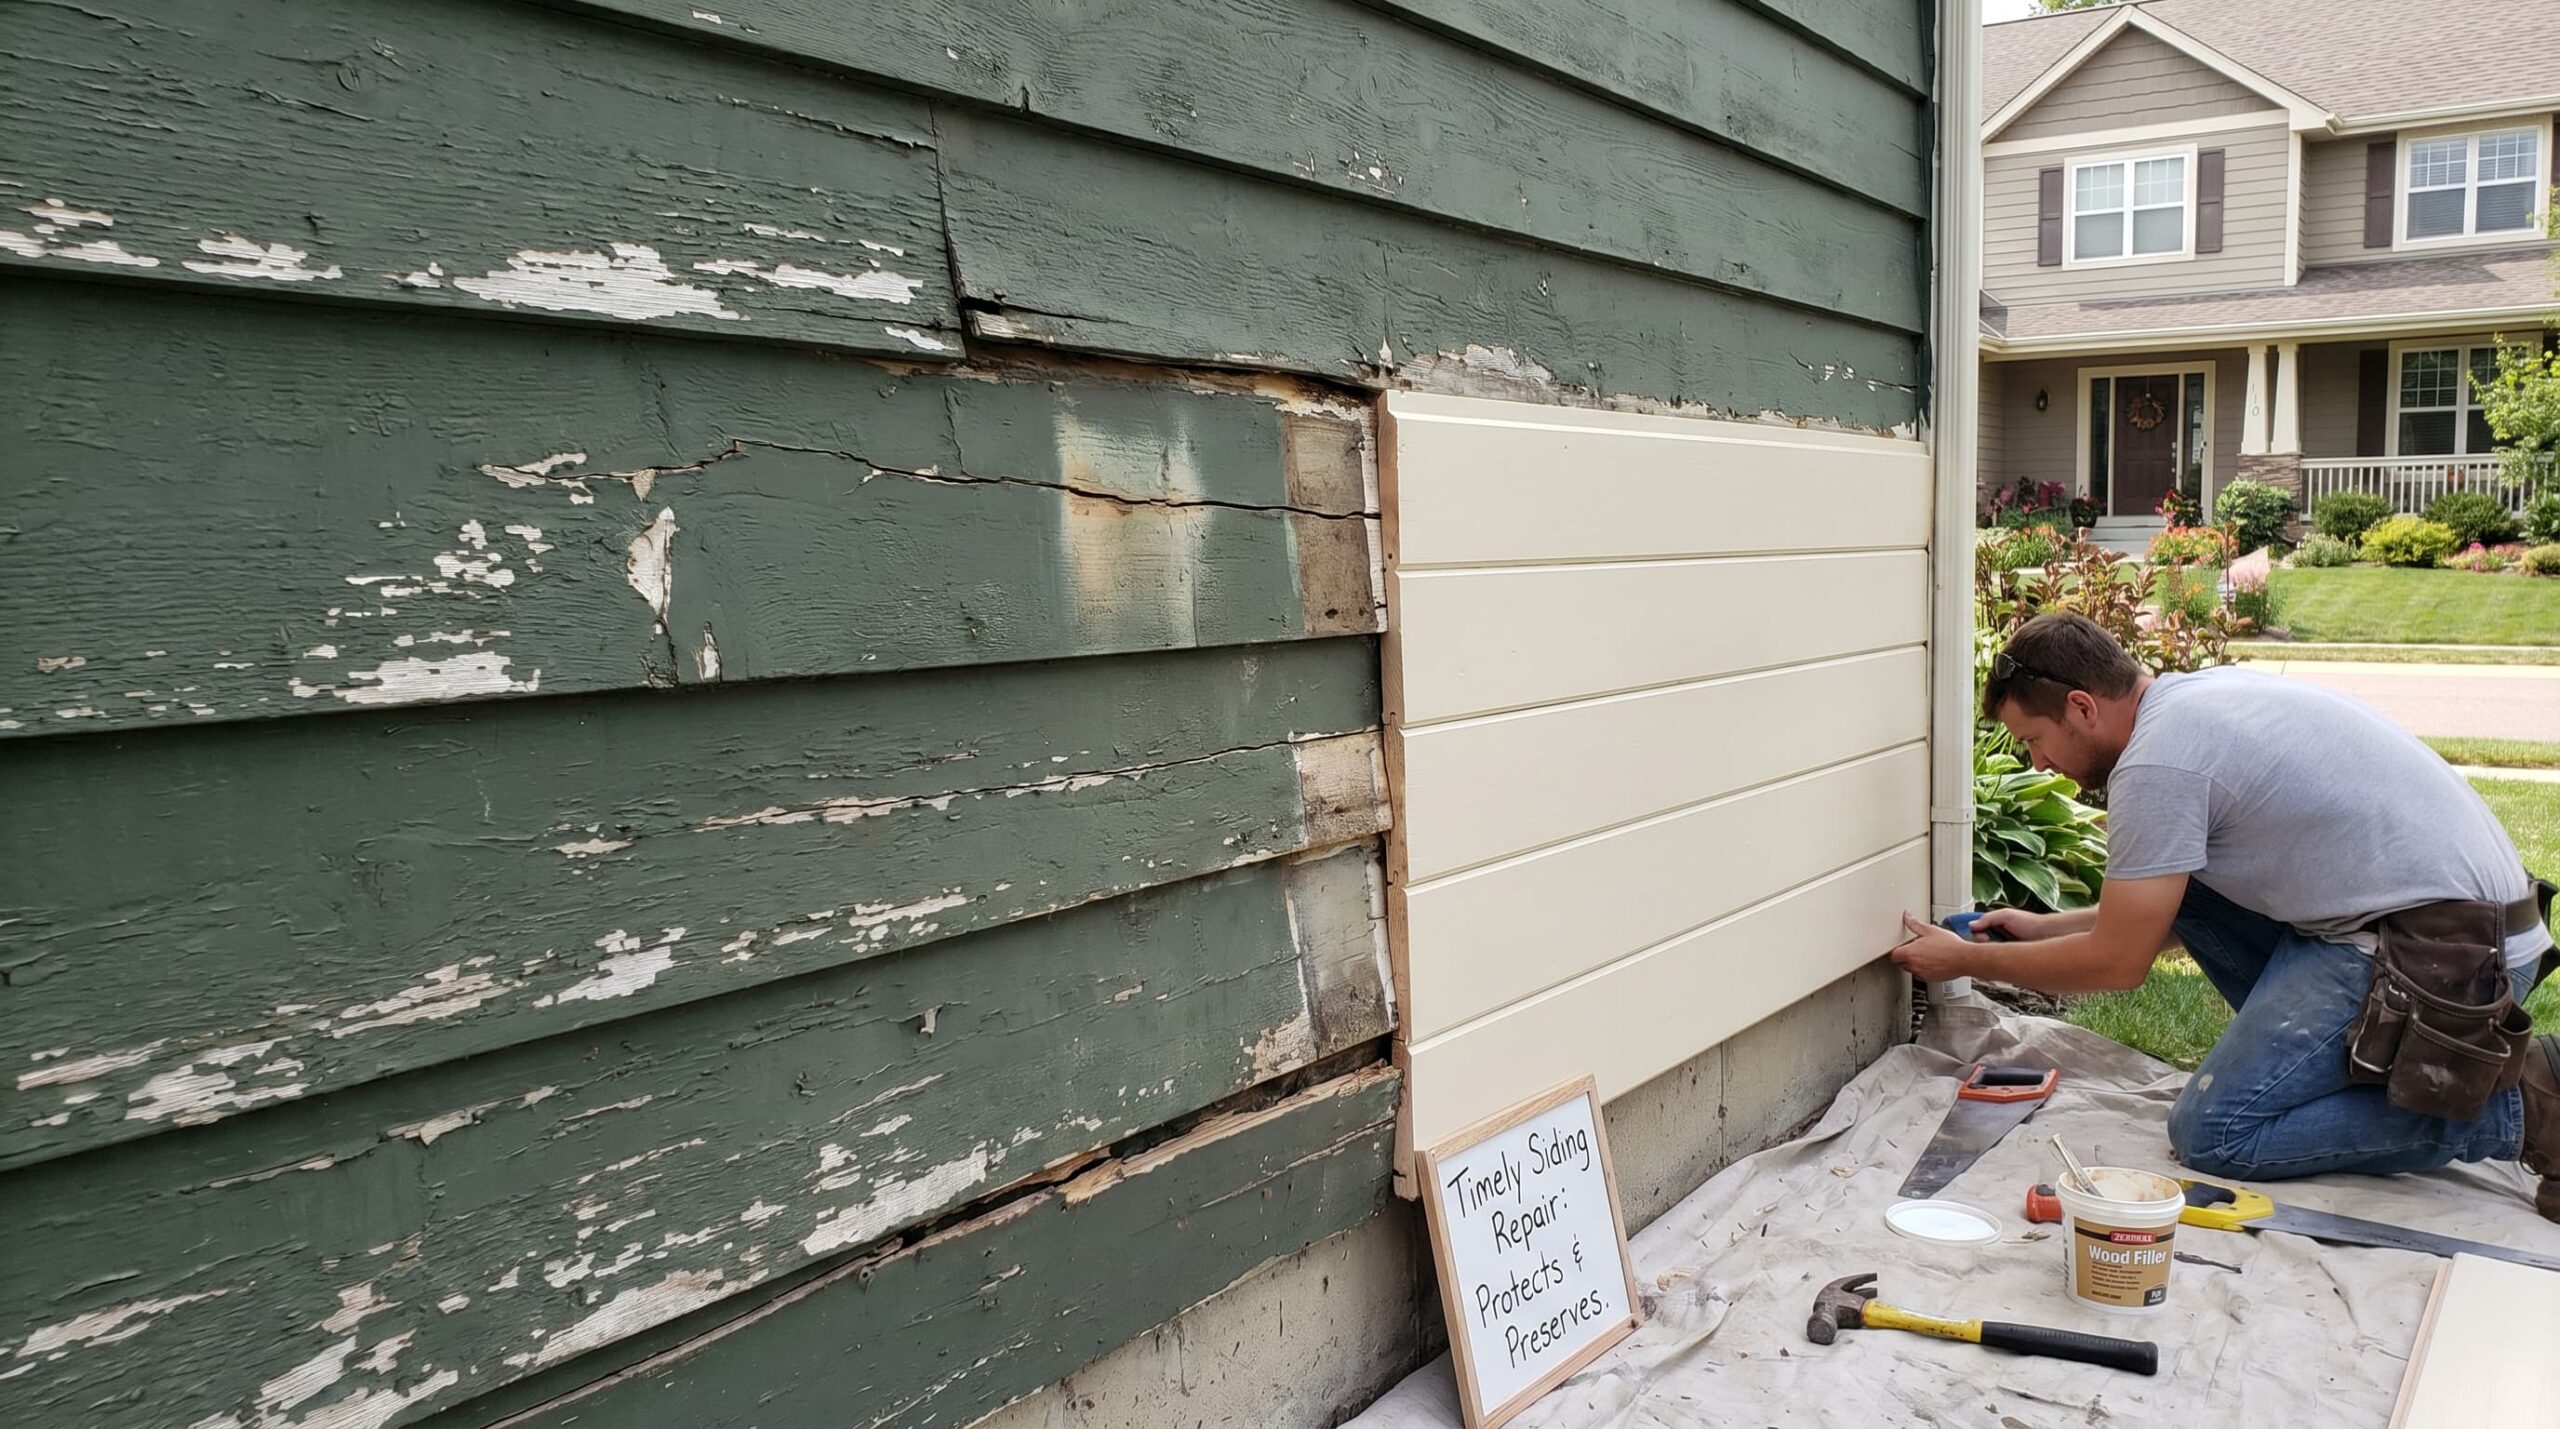
Siding damage tends to show up at the worst time, right before a storm or right after one. You spot a soft spot near a window or notice peeling paint that suggests something wetter is happening beneath the surface.
I’m Matt Reynolds, and I’ve been in residential construction for over 20 years.
What I’ve seen repeatedly is homeowners either overreacting and spending thousands they didn’t need to, or underreacting and spending tens of thousands they could have avoided.
This guide walks you through assessing and repairing wood siding, so you can make the right call before it becomes a bigger problem.
How to Read Your Wood Siding Damage
Before you grab a pry bar, finish with your eyes and your nose first.
Walk every exterior wall slowly and look for the difference between surface problems and wall problems. Surface problems live on the board. Wall problems are in the system behind it.
The right call for your situation.
- The Screwdriver Test: Press a flathead screwdriver into discolored, soft, or bubbled areas. If it resists slightly, it’s early surface rot; if it sinks easily, the board needs to be replaced.
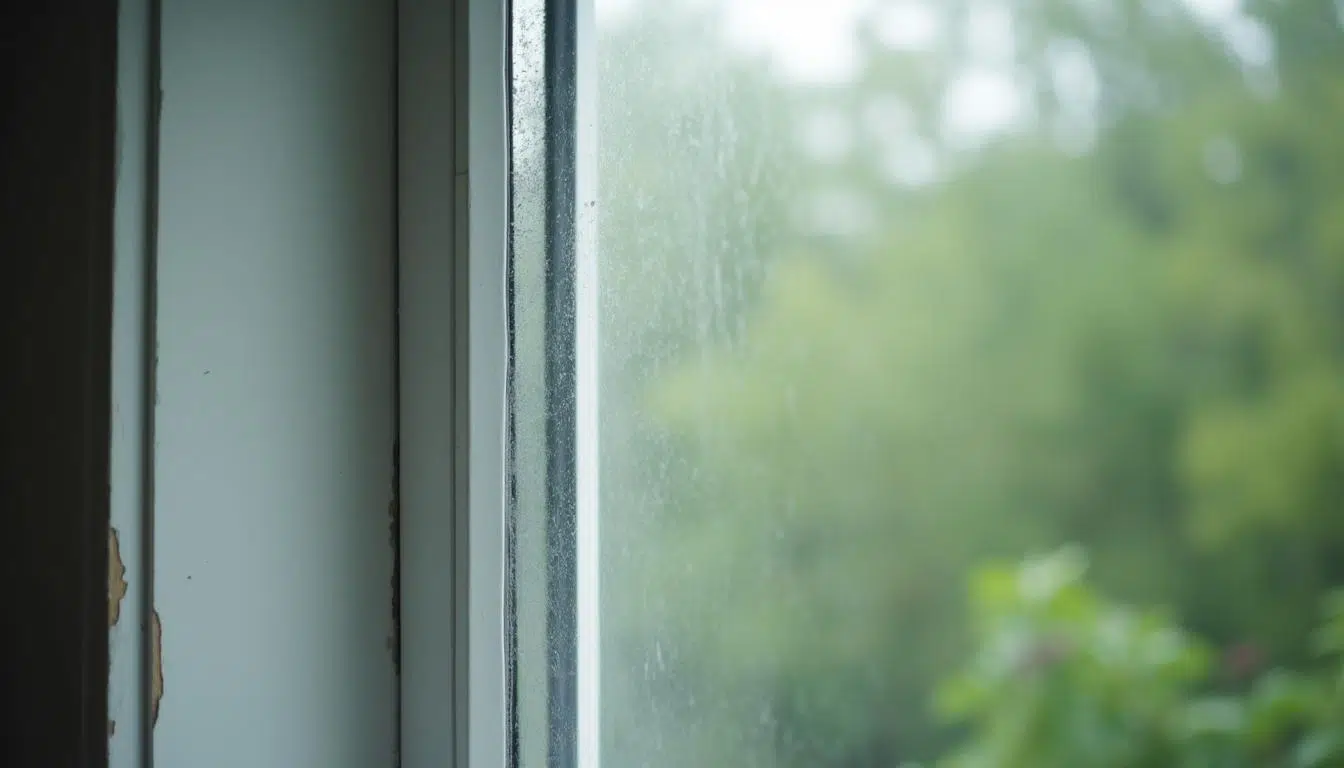
- The Inside Check: Inspect interior walls behind the affected area. Peeling paint, stains, or musty smells indicate moisture has reached the wall cavity, expanding the repair scope.
- Moisture Content: Use a moisture meter to check the boards. Below 19% moisture content is safe for repair; above 19%, let it dry before priming or filling to avoid failed repairs.
- Check Junctions: Look where siding meets rooflines, dormers, and windows. Rot is often caused by failed caulk, cracked flashing, or blocked drip edges above.
The Three Tiers of Wood Siding Damage
I’ve repaired enough siding to know that not all damage is the same problem, and treating a Tier 2 issue like a Tier 1 is how you end up calling a contractor six months later for something worse. Here’s how I categorize it:
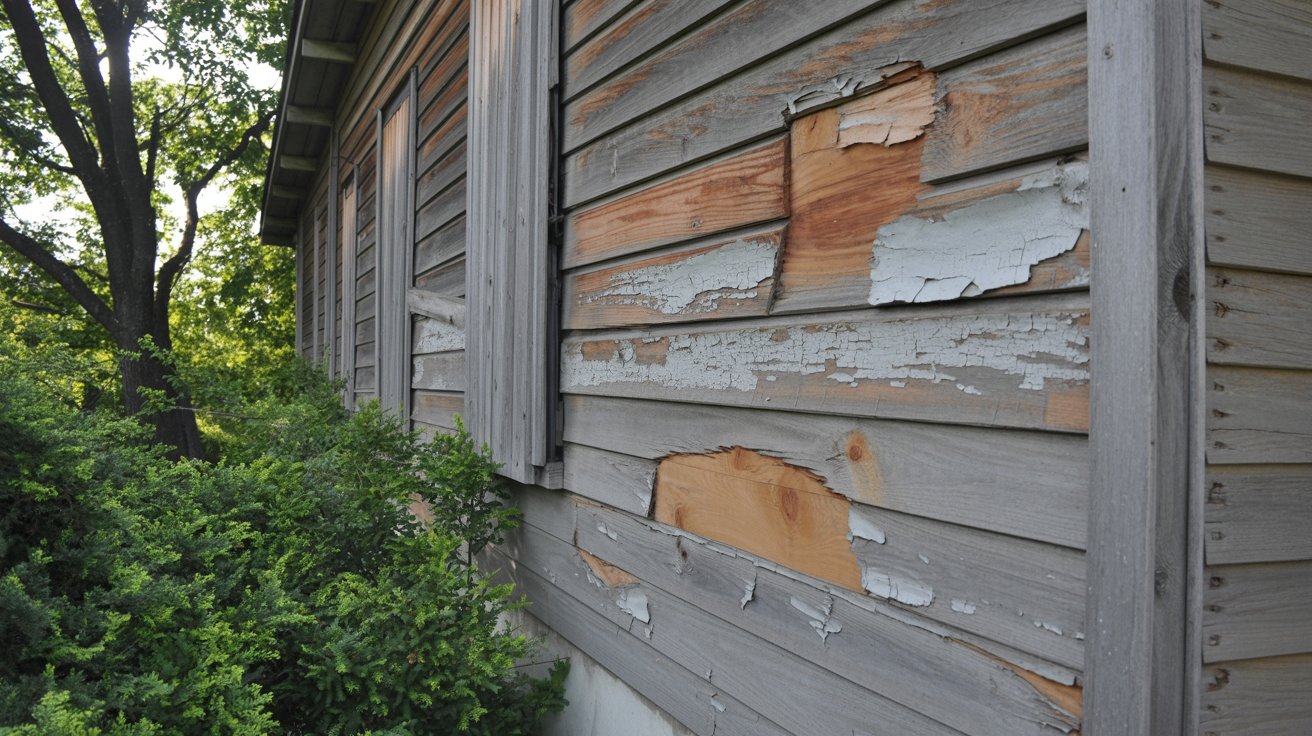
Tier 1: Cosmetic Damage
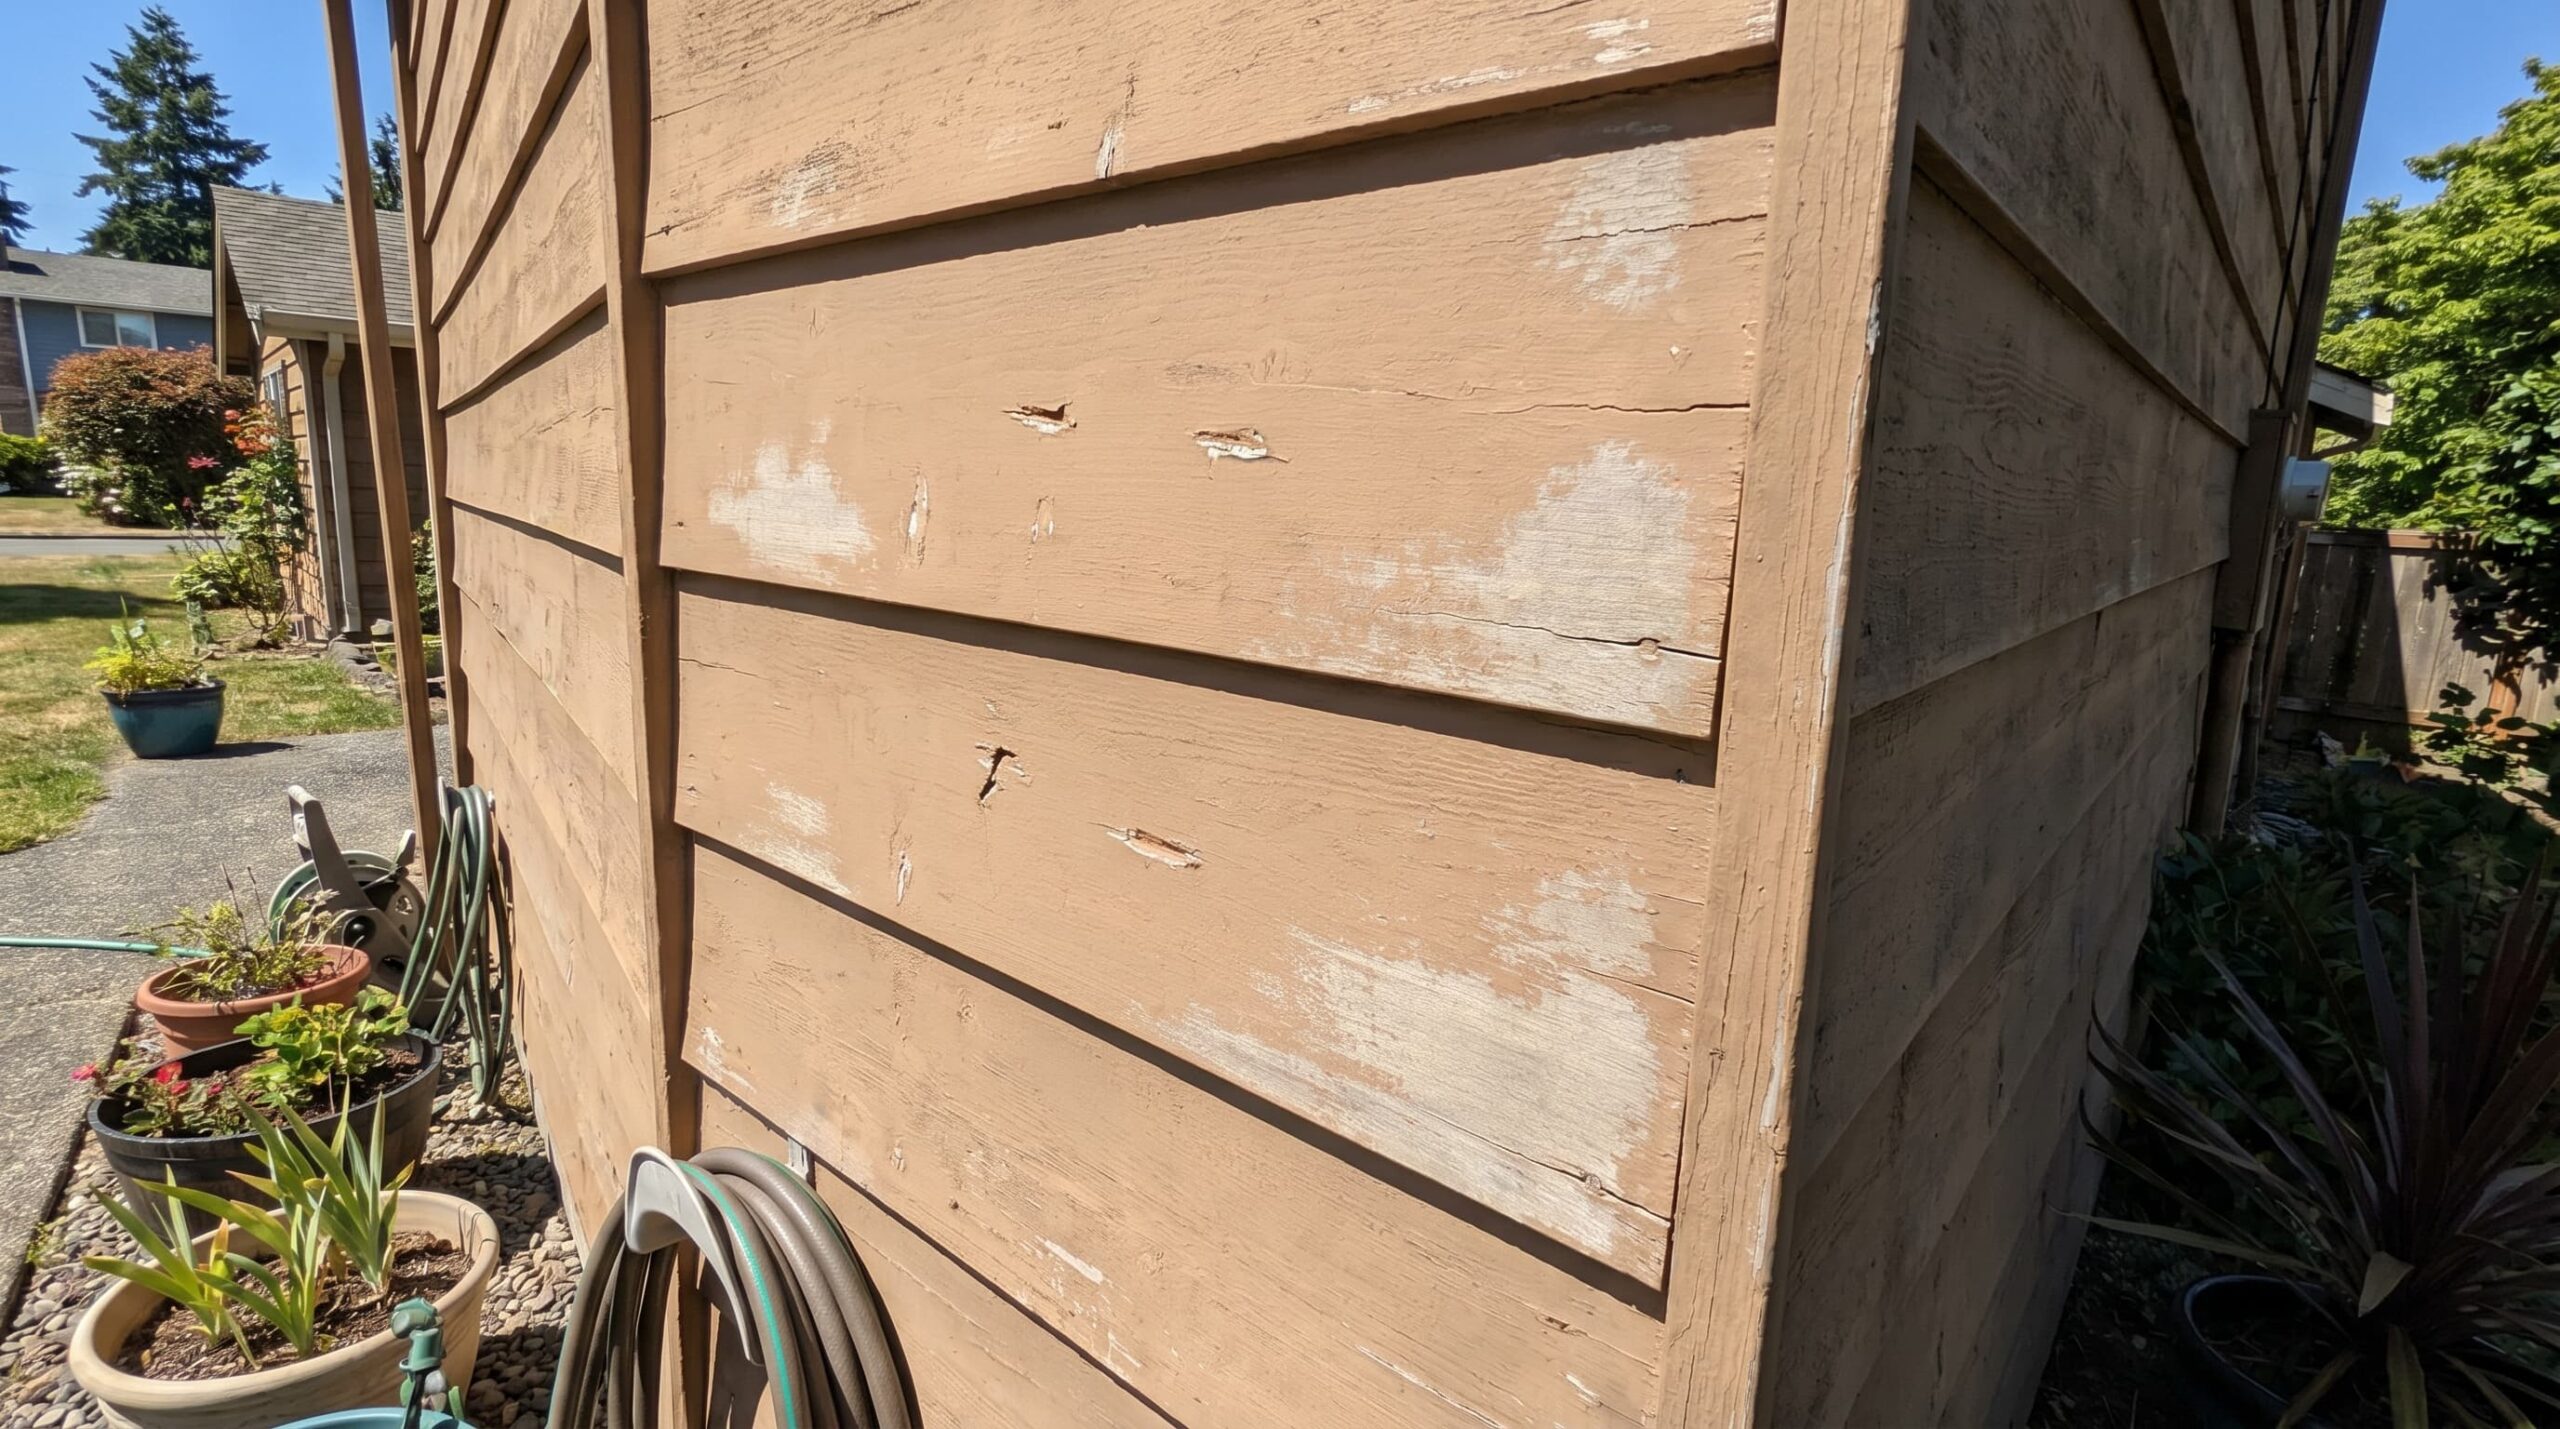
Small cracks, shallow holes (woodpecker damage, old nail pops), and surface peeling. The wood behind the surface is still firm and sound.
This is DIY territory for most homeowners. Materials cost $20 to $80, and the work takes an afternoon.
Tier 2: Structural Board Damage
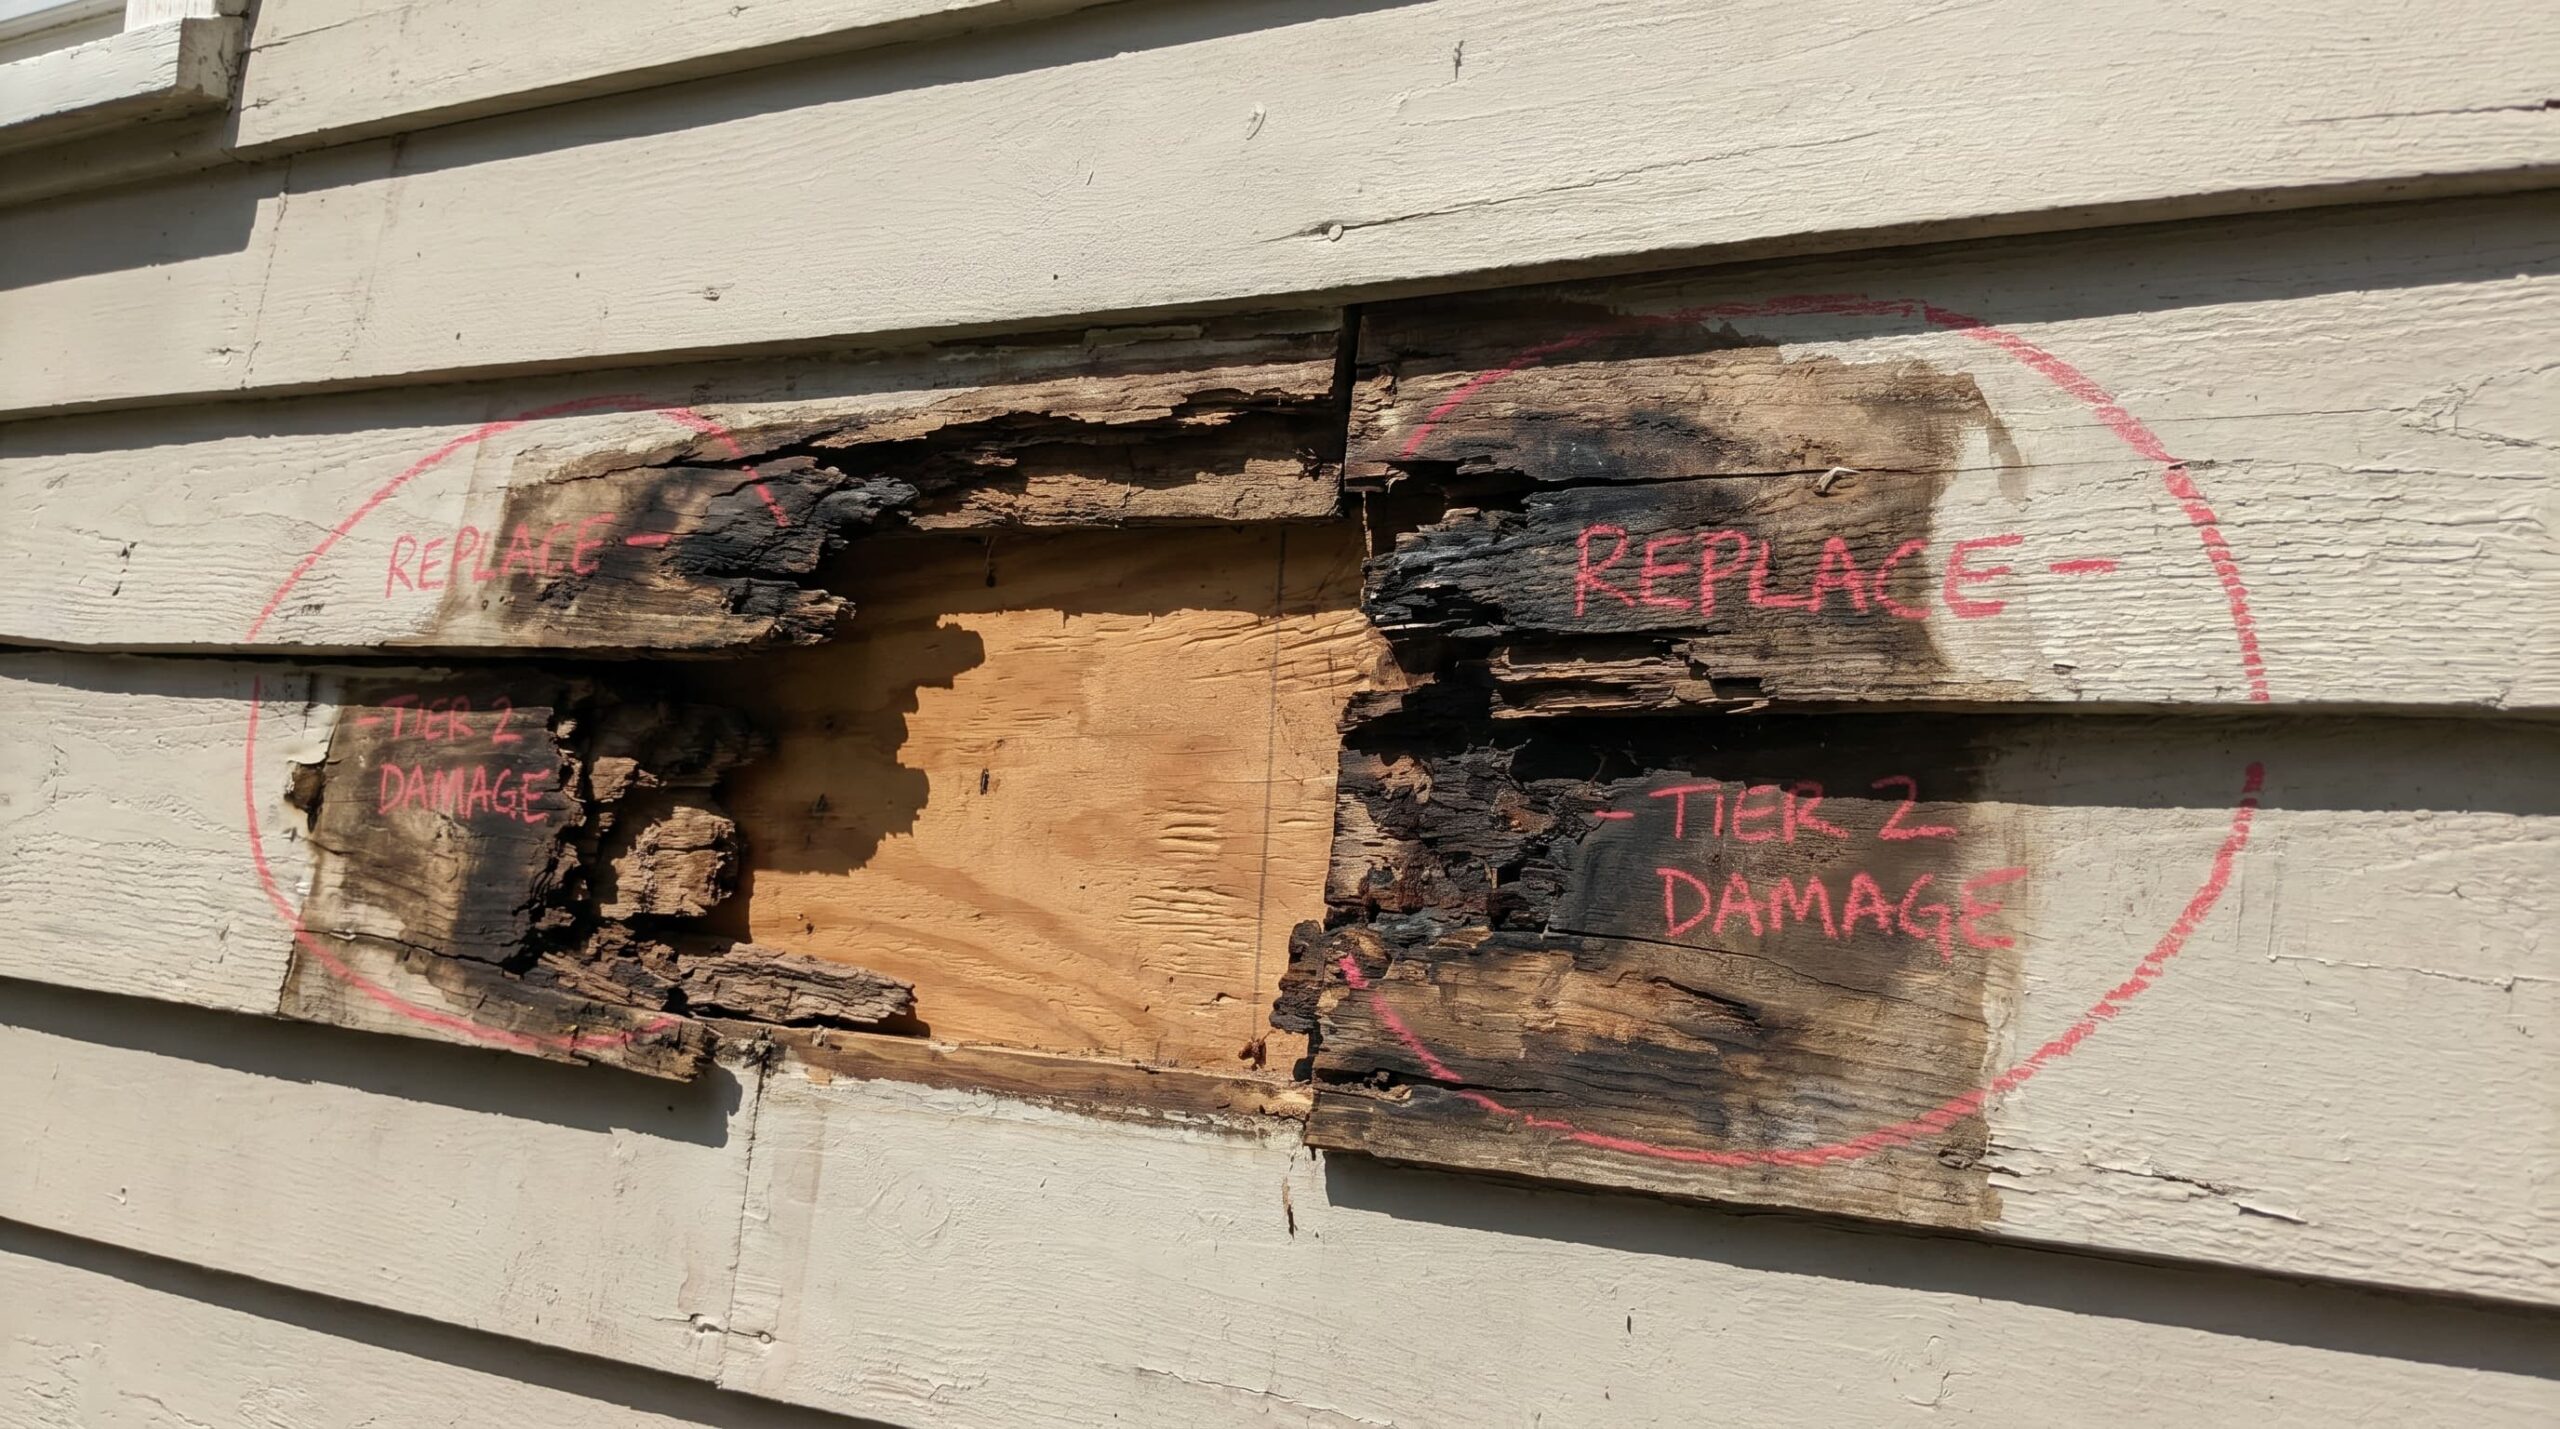
Rot has penetrated more than halfway through a board. Warping has broken the seal between boards. One or two boards are compromised, but the sheathing underneath looks intact when you open it up.
This is a manageable DIY if you’re comfortable with a circular saw and don’t mind being on a ladder. One wrong cut here can damage neighboring boards, so slow down.
Tier 3: Systemic Damage
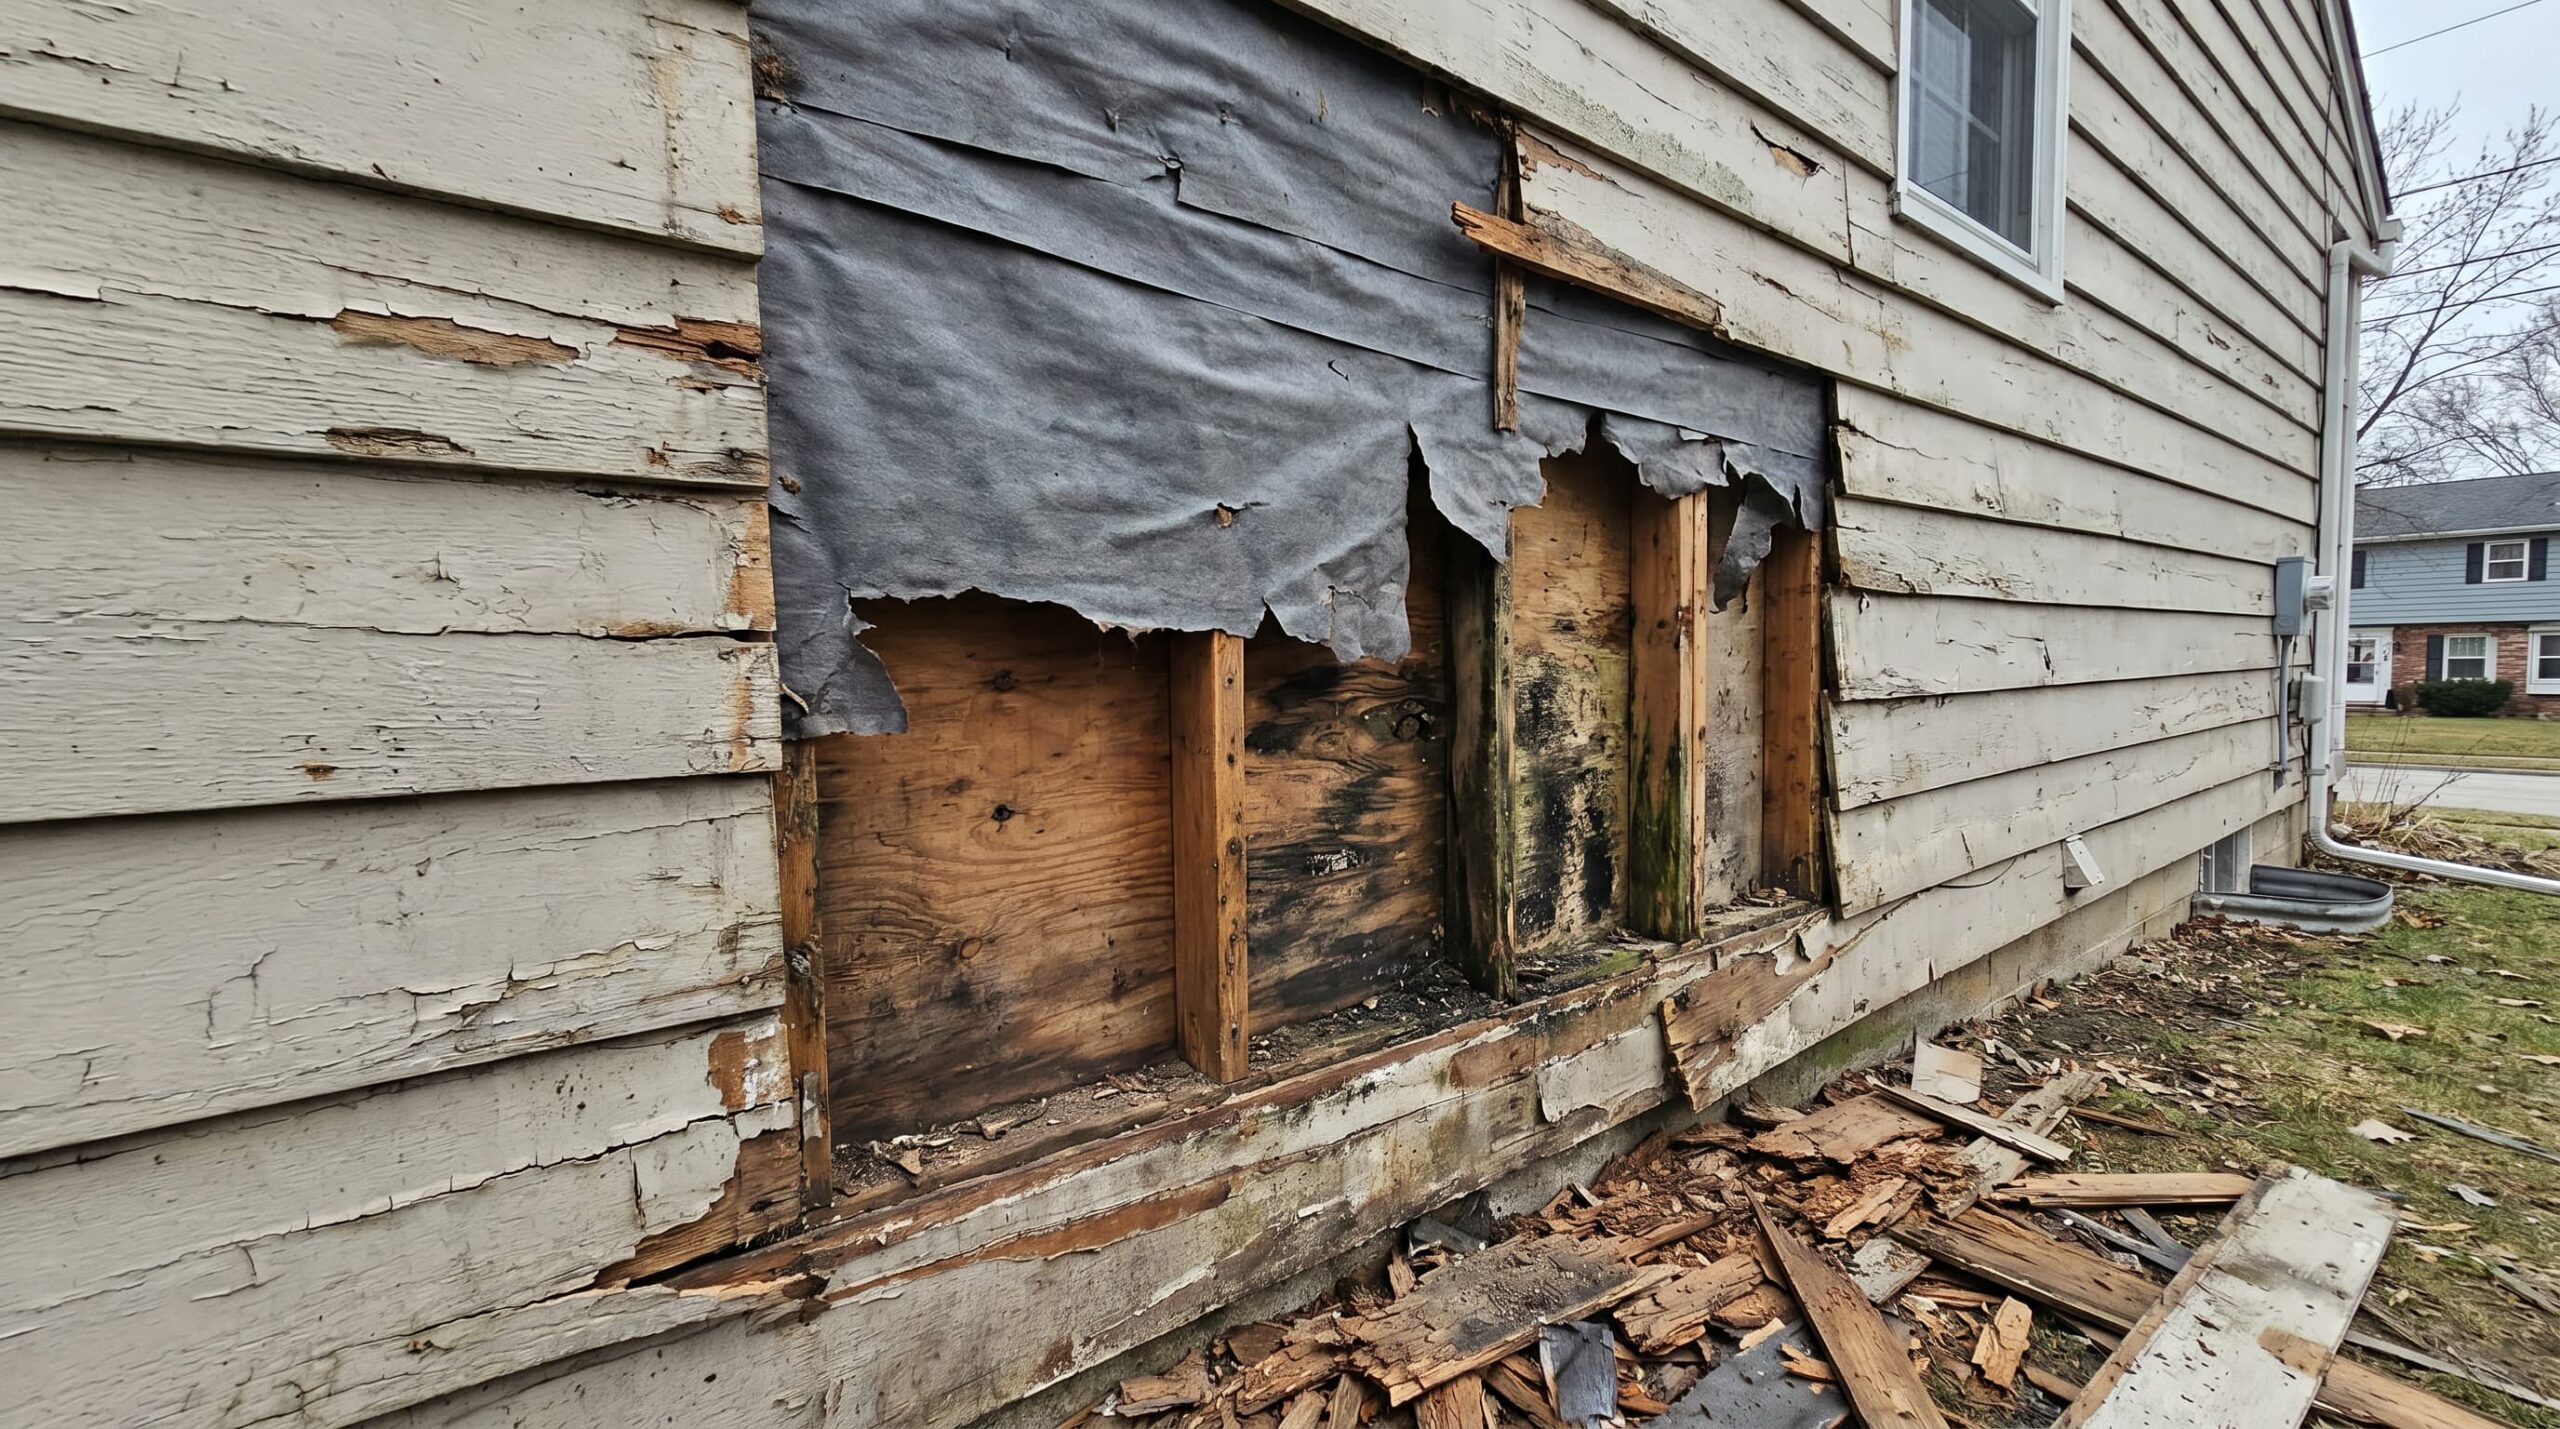
Multiple boards on the same wall are affected, or you open a board and find the house wrap torn, the sheathing soft, or mold on the framing.
The damage has moved past the siding layer into the wall assembly. This is not a repair you want to guess at.
The average homeowner who attempts a Tier 3 repair DIY ends up with a more expensive fix when the first one fails.
A Tier 3 repair attempted without the right experience almost always leads to a more expensive fix when the first one fails.
Material You Need Before You Start
Every repair guide says, “Use wood filler.” That’s not wrong exactly, but it’s not the full picture. There are three distinct product categories, and they’re not interchangeable.
- Standard Exterior Wood Filler: Acrylic-based, ideal for shallow cracks, but unsuitable for rotted wood; may shrink and crack.
- Two-Part Epoxy Filler: Strong bond, doesn’t shrink, and expands/contracts with wood for long-term repairs; prep area properly before use.
- Penetrating Epoxy Consolidant: Soaks into soft wood fibers to create a solid base for epoxy filler, ensuring long-lasting repairs.
- Borate Wood Treatment: Kills fungi and pests in exposed wood, preventing decay, and should be allowed to dry for 3-5 days before closing the wall.
Step-by-Step Wood Siding Repair
I’ll walk through board replacement here because it covers the most ground. Crack filling and epoxy patching are addressed in the materials section.
Step 1: Score the Caulk Lines
Run a utility knife along every caulk joint connecting the damaged board to its neighbors and to any trim.
Don’t skip this.
Pulling a board without cutting the caulk can tear the paint on adjacent boards and split them. Score it twice if the caulk is thick.
Step 2: Cut the Board, Don’t Just Pry it
For a full board removal, use a pry bar carefully.
If you’re dealing with a long board where only one section is damaged, use an oscillating multi-tool or circular saw to make two clean vertical cuts on either side of the damaged area.
Cut to the depth of the board only, not into the sheathing. Remove the damaged section, then pull remaining nails with a cat’s paw.
When working above ground level, make sure your ladder is stable and your footing is secure before making any cuts.
Step 3: Check What’s Underneath
Look at the house wrap and sheathing. If the house wrap has tears, patch it with house wrap tape before the new board goes in.
If the sheathing feels soft, press it in multiple spots to map the extent. Sometimes it’s just the surface, and it’s still structurally sound; sometimes it’s gone.
Wet sheathing that’s still firm can be treated and dried. The soft, crumbly sheathing needs to come out. Don’t skip this inspection; you’re already there.
Step 4: Let Everything Dry
If there’s moisture in the wall cavity, install a fan. Don’t close the wall until a moisture meter reads below 19% on the framing and sheathing.
This step is the one people rush, and it’s why repairs fail within a few years.
Step 5: Cut Your Replacement Board
Use the removed piece as a template. If it crumbled, measure carefully. Take a piece of the old board to the lumberyard to match the profile, lap angle, thickness, and width for each siding run.
Cut the replacement piece about 1/8 inch shorter than the opening to allow for seasonal movement. This gap is not optional; it keeps the board from cupping in summer heat.
If you’re unsure which wood species and profile to match, the guide to siding types for different home styles can help you identify what’s already on your house.
Step 6: Prime All Four Sides and Both Cut Ends
This is the most commonly skipped step and the most consequential. End grain is unprotected wood fiber. Moisture wicks straight in.
One unprimed cut end can start new rot within two wet seasons. Use a brush, not a roller, and work the primer into the end grain. Let it dry fully before the board goes in.
Step 7: Install with Ring-Shank Nails
Ring-shank (also called spiral or annular shank) nails grip wood differently from smooth nails. They resist seasonal pull-out.
Drive them through the top of the new board into the stud, with the board above covering the nail heads.
Don’t overdrive if the nail head dimples the wood surface; you’ve broken the fiber, which is a moisture entry point. Drive to flush, then stop.
Step 8: Caulk the Joints with the Right Product
The joint between the new board and adjacent trim or boards gets a flexible, paintable acrylic latex caulk. Don’t use pure silicone; it won’t take paint.
Don’t use butyl. Check that the caulk you buy specifically says “paintable” on the label.
Smooth it with a wet finger and let it cure per the label before painting. Painting over uncured caulk causes it to skin over and not seal, and you’ll see cracking within a season.
Mistakes That Make Wood Siding Repairs Fail
These aren’t unusual errors. They occur in most DIY repairs and often result from skipping essential steps, rushing the process, or using improper materials.
Common mistakes include neglecting proper surface preparation, failing to remove all damaged wood before applying filler, and failing to allow adequate drying time between steps.
- Skipping the Consolidant on Soft Wood: Applying filler directly to compromised fibers leads to short-term bonding. Over time, the wood beneath degrades, causing the filler to crack and loosen.
- Leaving Cut Ends Unprimed: Unprimed cut ends expose wood to weather, allowing moisture to enter, causing swelling, and new rot at the end grain. This can go unnoticed for years, but the damage starts immediately.
- Using the Wrong Caulk at Board Joints: Pure silicone won’t accept paint, and non-flexible caulks crack with seasonal movement. Use flexible, paintable acrylic latex caulk at joints to ensure durability and proper sealing.
- Face-Nailing Through the Lower Board Surface: Nailing through the board’s visible face exposes nails to weather and restricts movement, leading to cracking or splitting. Nail through the top edge to keep nails hidden.
- Painting Over Damp Wood: Moisture in wood can cause blistering and peeling under paint if trapped. Wait until the moisture is below 19% or after at least 3 dry days before painting.
- Installing with No Expansion Gap: Butting a new board up tight against trim or corners causes it to cup or push when it swells in humidity. Leave a 1/8-inch gap and seal it with caulk to allow for natural movement.
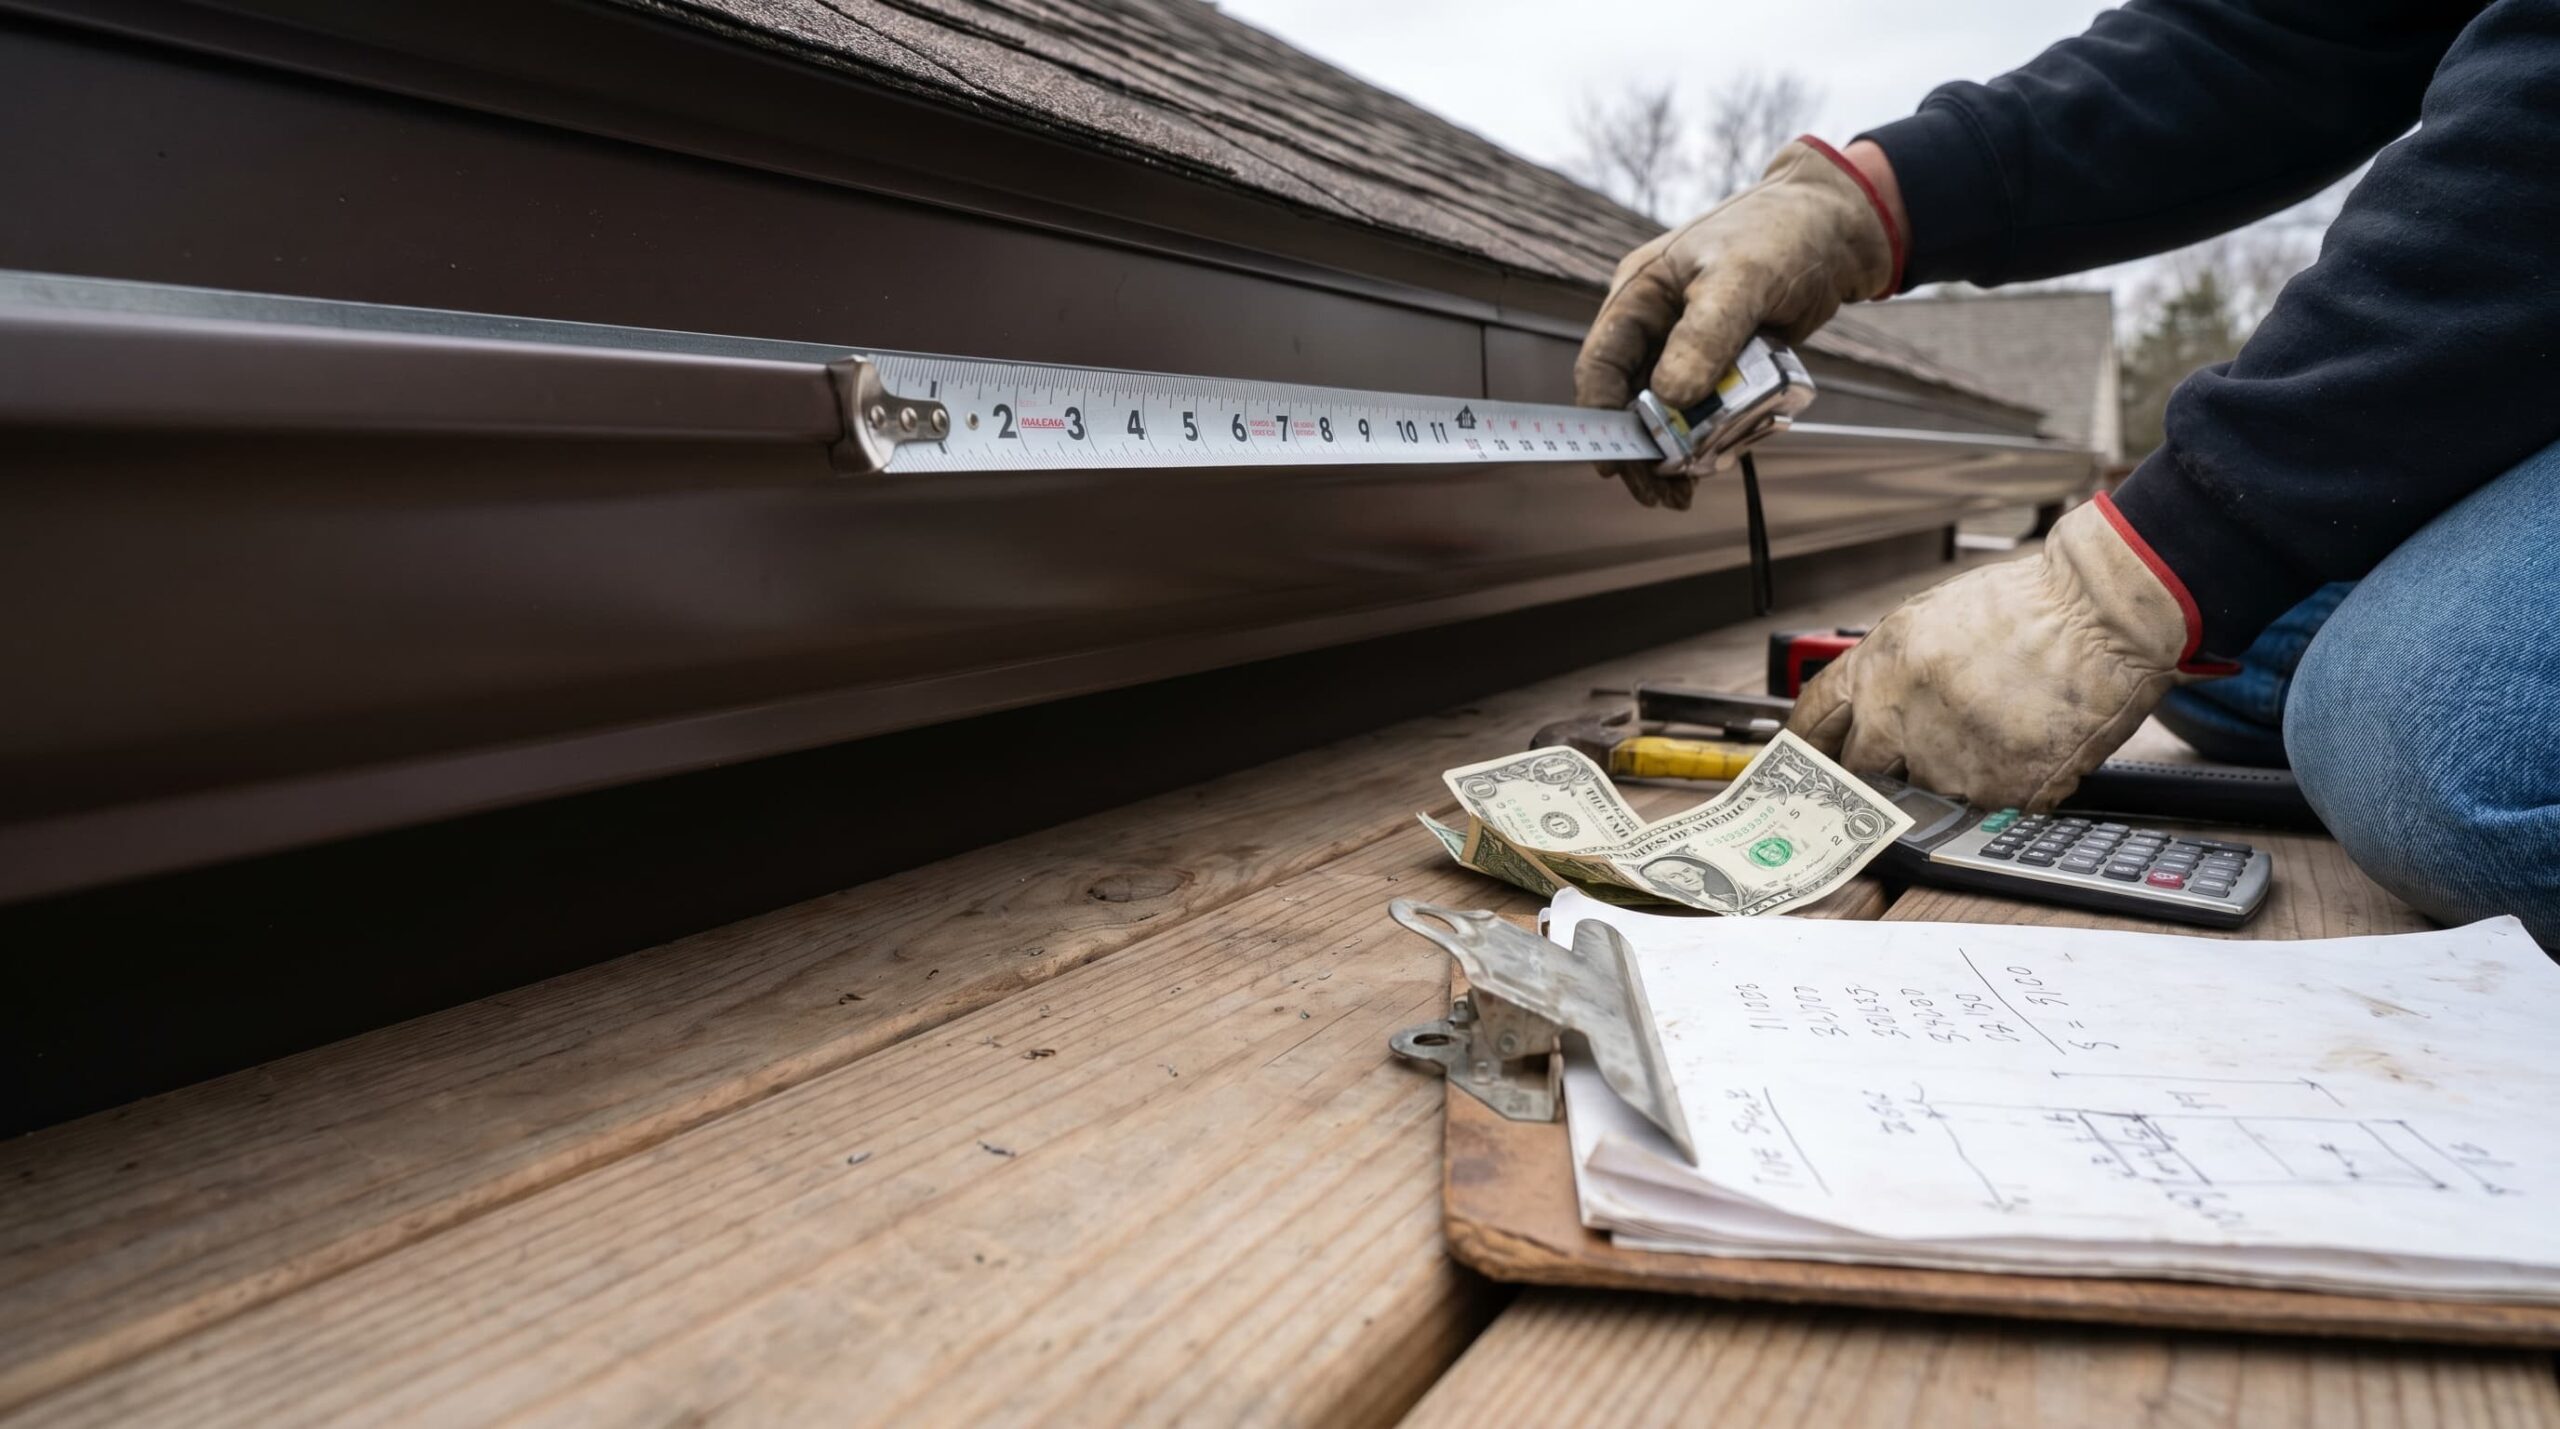
How Your Wood Type Affects Your Repair Costs
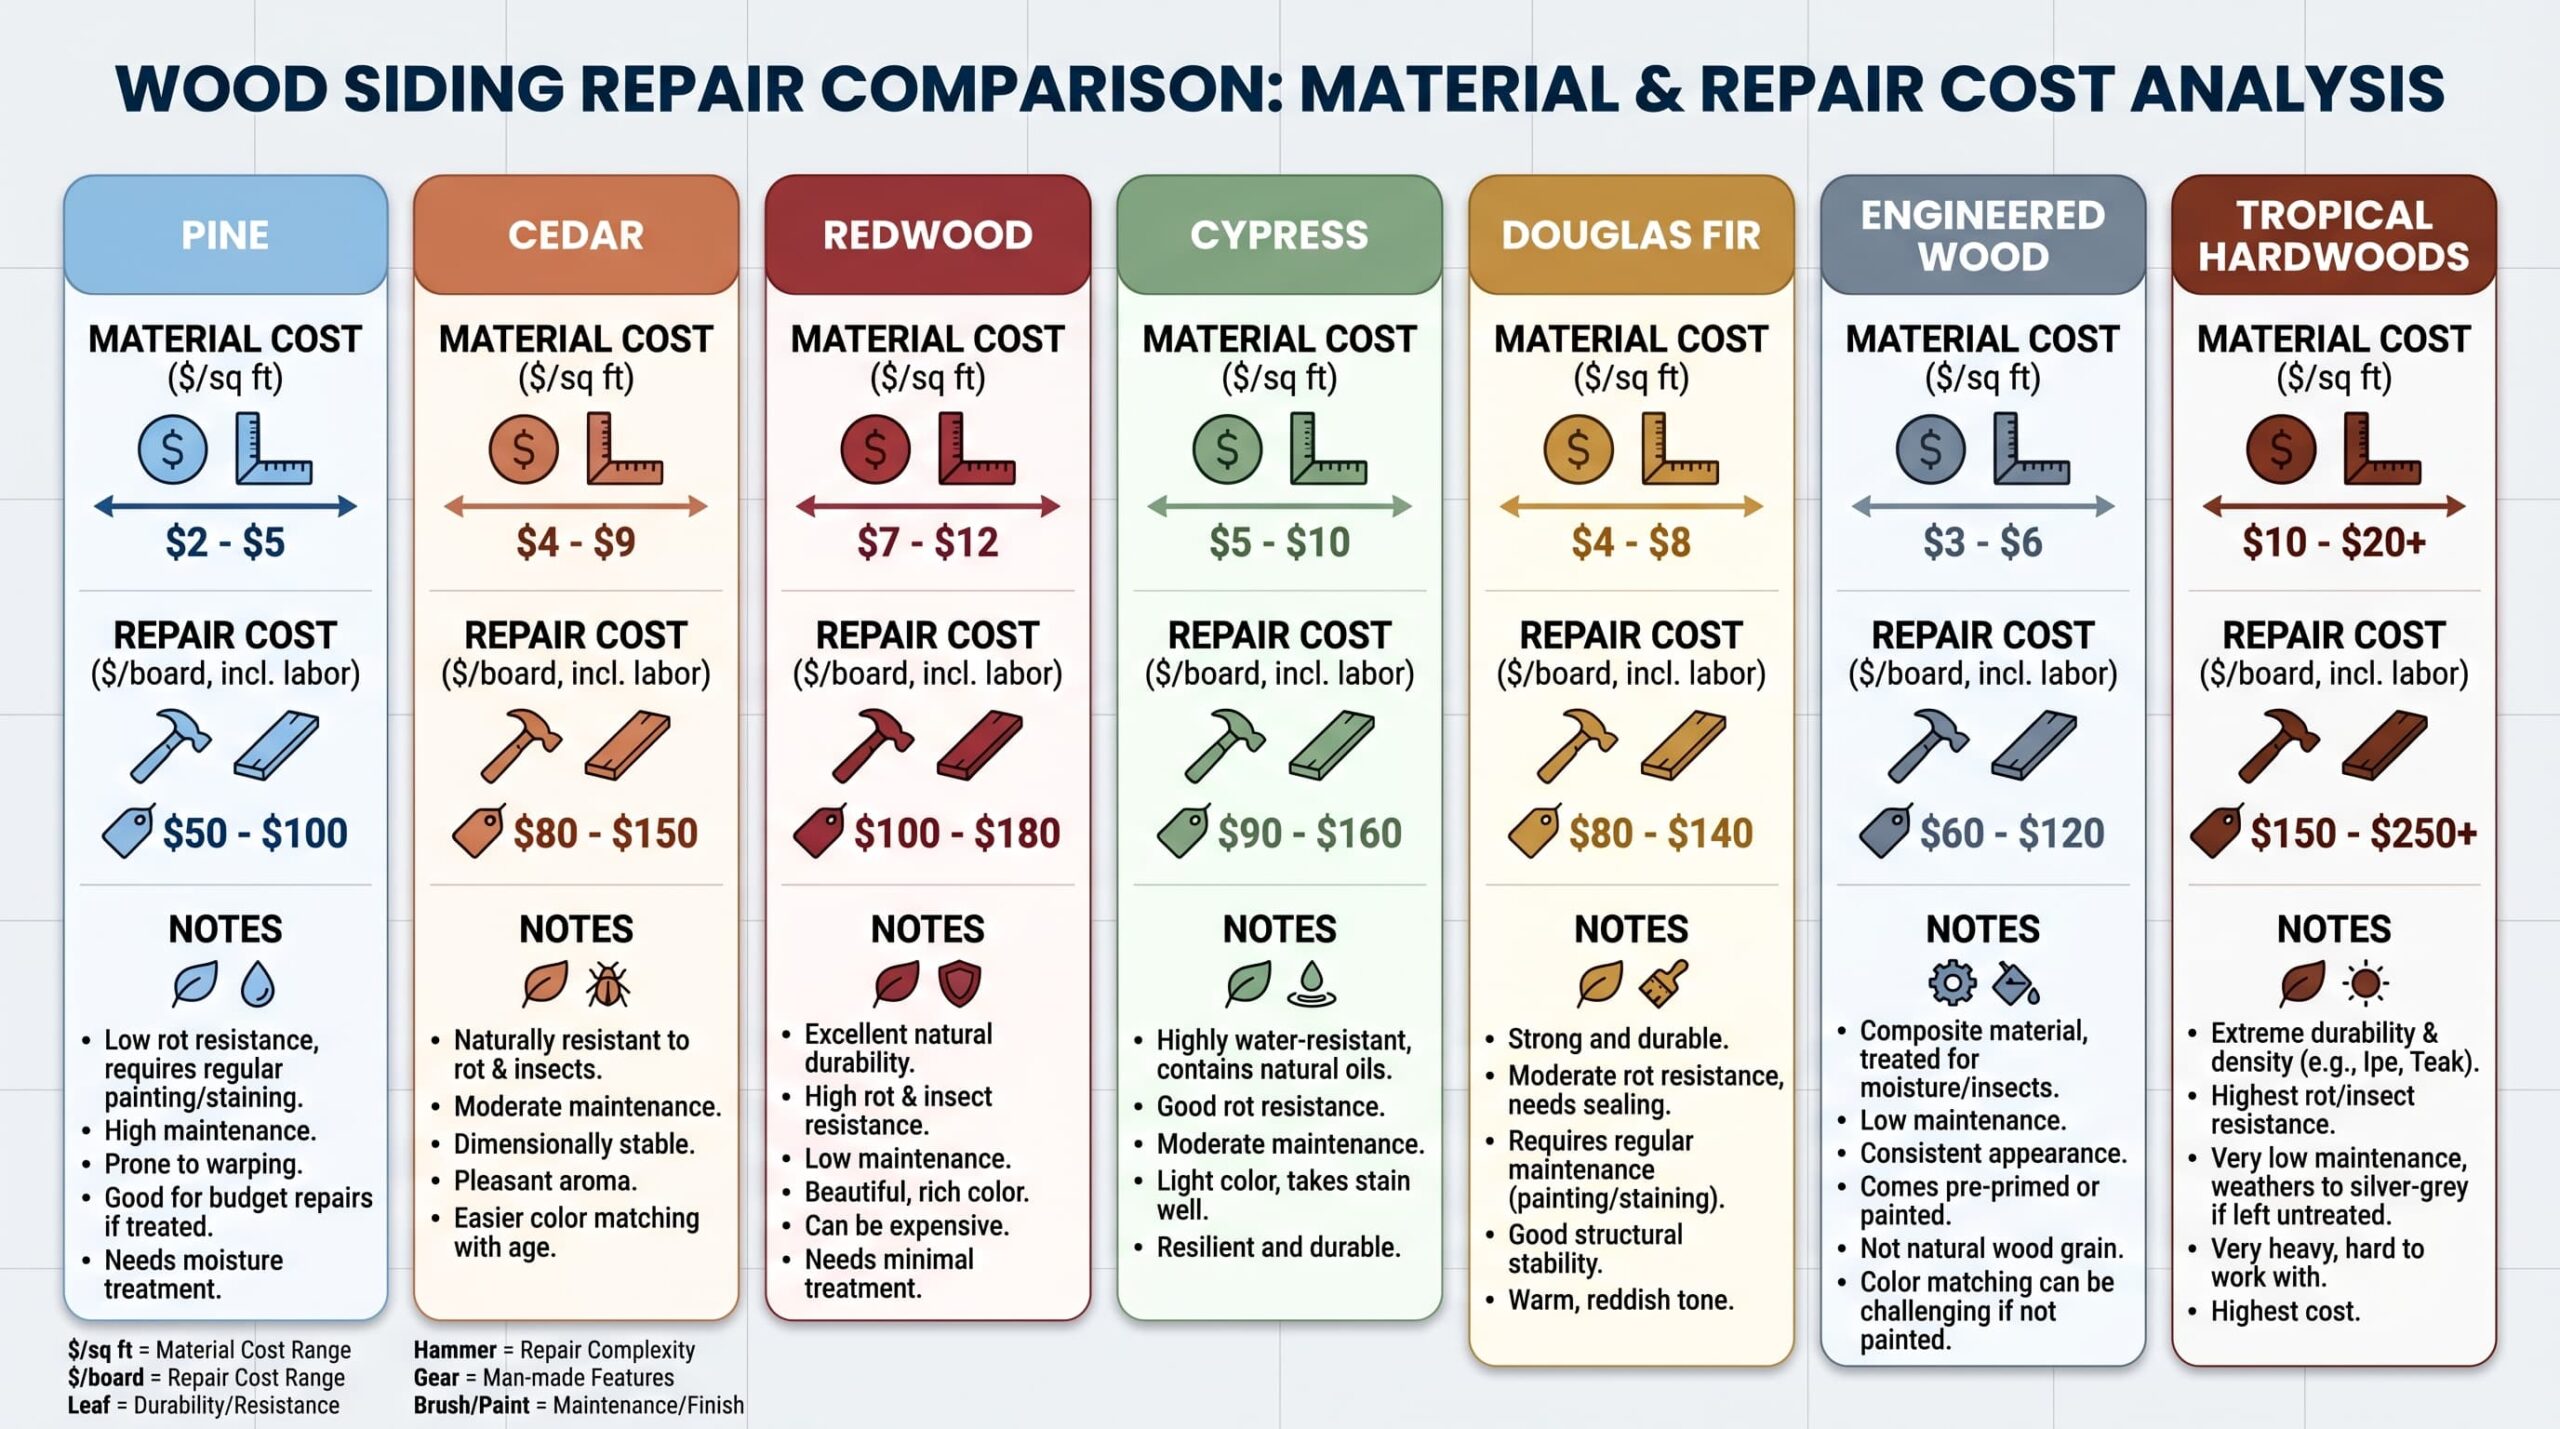
The type of wood you choose for siding repairs can significantly impact costs. Hardwoods like oak or teak are more expensive to repair due to their durability. While softwoods like pine are more budget-friendly but may require more frequent maintenance.
Wood Siding Repair-or-Replace Decision
Everyone says, “it depends.” That’s not useful. Here’s what actually helps.
- The 25% Rule: Repair is ideal for damage under 25%, but if over 25%, compare repair and replacement costs; if repair exceeds 50% of replacement, go with full replacement.
- The Age Factor: Properly maintained wood siding lasts 20-30 years; patching an 18-year-old siding buys 2 more years, but it’s a short-term fix.
- Repeat Repair History: If you’ve repaired the same wall multiple times, there’s an unresolved moisture issue. Address the root cause before replacing boards.
Conclusion
Wood siding repair is rarely as simple as it looks from the driveway, and rarely as expensive as the worst-case scenario in your head.
The difference between a $150 fix and a $4,000 problem is almost always whether you caught it early and whether you addressed the moisture source, not just the damaged board.
Do the screwdriver test. Check from inside. Prime the cut ends. Use the right filler for the job. Those four things alone will make your repair last longer than most of what gets done on a rushed weekend.
If you find something behind the wall you weren’t expecting, soft sheathing, torn house wrap, anything that looks like mold on framing, stop and call a contractor.
Some repairs are worth getting right the first time, and that’s one of them.