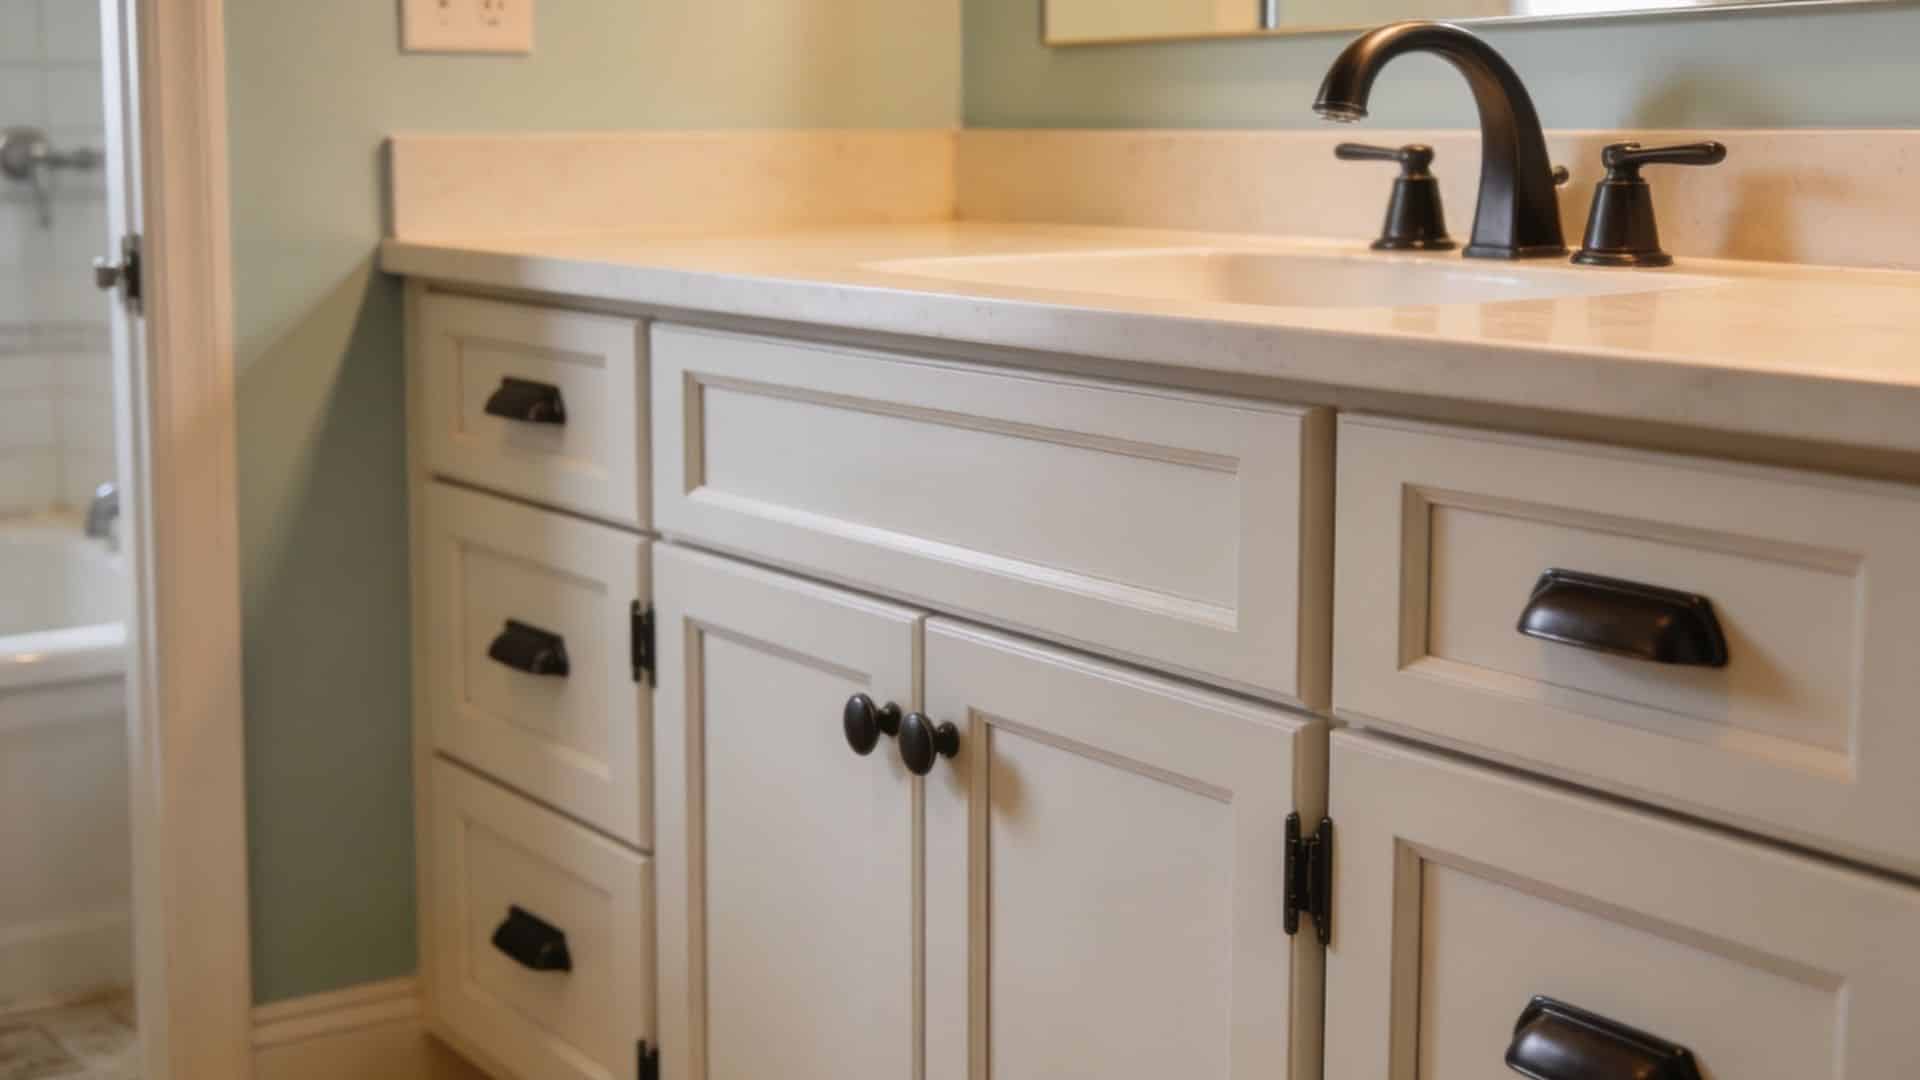
Your bathroom vanity takes more daily abuse than almost any surface in your home.
Soap, water, steam, and cleaning products wear down the finish over time, leaving you with a cabinet that looks dull, chipped, or just out of date.
Before you start pricing replacements, which can run anywhere from $665 to $5,000 or more, refinishing is worth a serious look.
Done correctly, it delivers the same clean result for under $100 in materials.
Over the years, working with homeowners on kitchen and bath projects, I have seen refinishing jobs outlast replacements when the prep work is handled properly.
The steps matter in the right order, and skipping any one of them is where most DIYers run into trouble.
This guide covers exactly how to refinish bathroom vanity cabinets from start to finish, including what to do before you pick up a brush.
Should You Refinish or Replace Your Bathroom Vanity?
Before grabbing any sandpaper, it is worth figuring out if refinishing is the right move.
In my experience, refinishing works best when the cabinet is structurally sound and the issues are cosmetic: faded color, worn finish, water stains on the surface, or just an outdated look. Solid wood can be sanded, stained, or painted for a fresh finish.
Replacement becomes necessary when there is structural damage, such as swollen particleboard, warped frames, or deep water damage that has reached inside the cabinet. That goes beyond what a surface refinish can fix.
Here is a quick cost breakdown based on real-world figures:
| Option | Estimated Cost |
|---|---|
| DIY refinish (materials only) | $20 to $100 |
| Professional refinish | $1,500 to $4,000 |
| Full vanity replacement | $665 to $5,000+ |
For most homeowners with a tired-looking vanity, refinishing is the smarter and more cost-effective choice.
What You Need to Refinish a Bathroom Vanity
Gather your materials before starting to avoid interruptions. Here is my recommended list:
Tools:
Screwdriver (flathead and Phillips)
Sandpaper: 60-grit, 120-grit, and 220-grit
Tack cloth
Foam roller and angled paintbrush
Drop cloth or old sheet
Materials:
Mild degreaser or TSP alternative cleaner
Stripping gel, such as Citristrip, for heavy old finishes
Primer (bonding primer for laminate, standard primer for solid wood)
Paint (acrylic enamel or alkyd) or wood stain
Polyurethane or moisture-resistant clear sealant
Safety gloves and a ventilated respirator mask
From my experience, spending a little more on quality paint and sealant is worth it. Cheap products break down faster in bathrooms because of humidity.
How to Refinish a Bathroom Vanity Step by Step
Follow each step carefully, and do not rush drying times.
Step 1: Remove Hardware and Doors
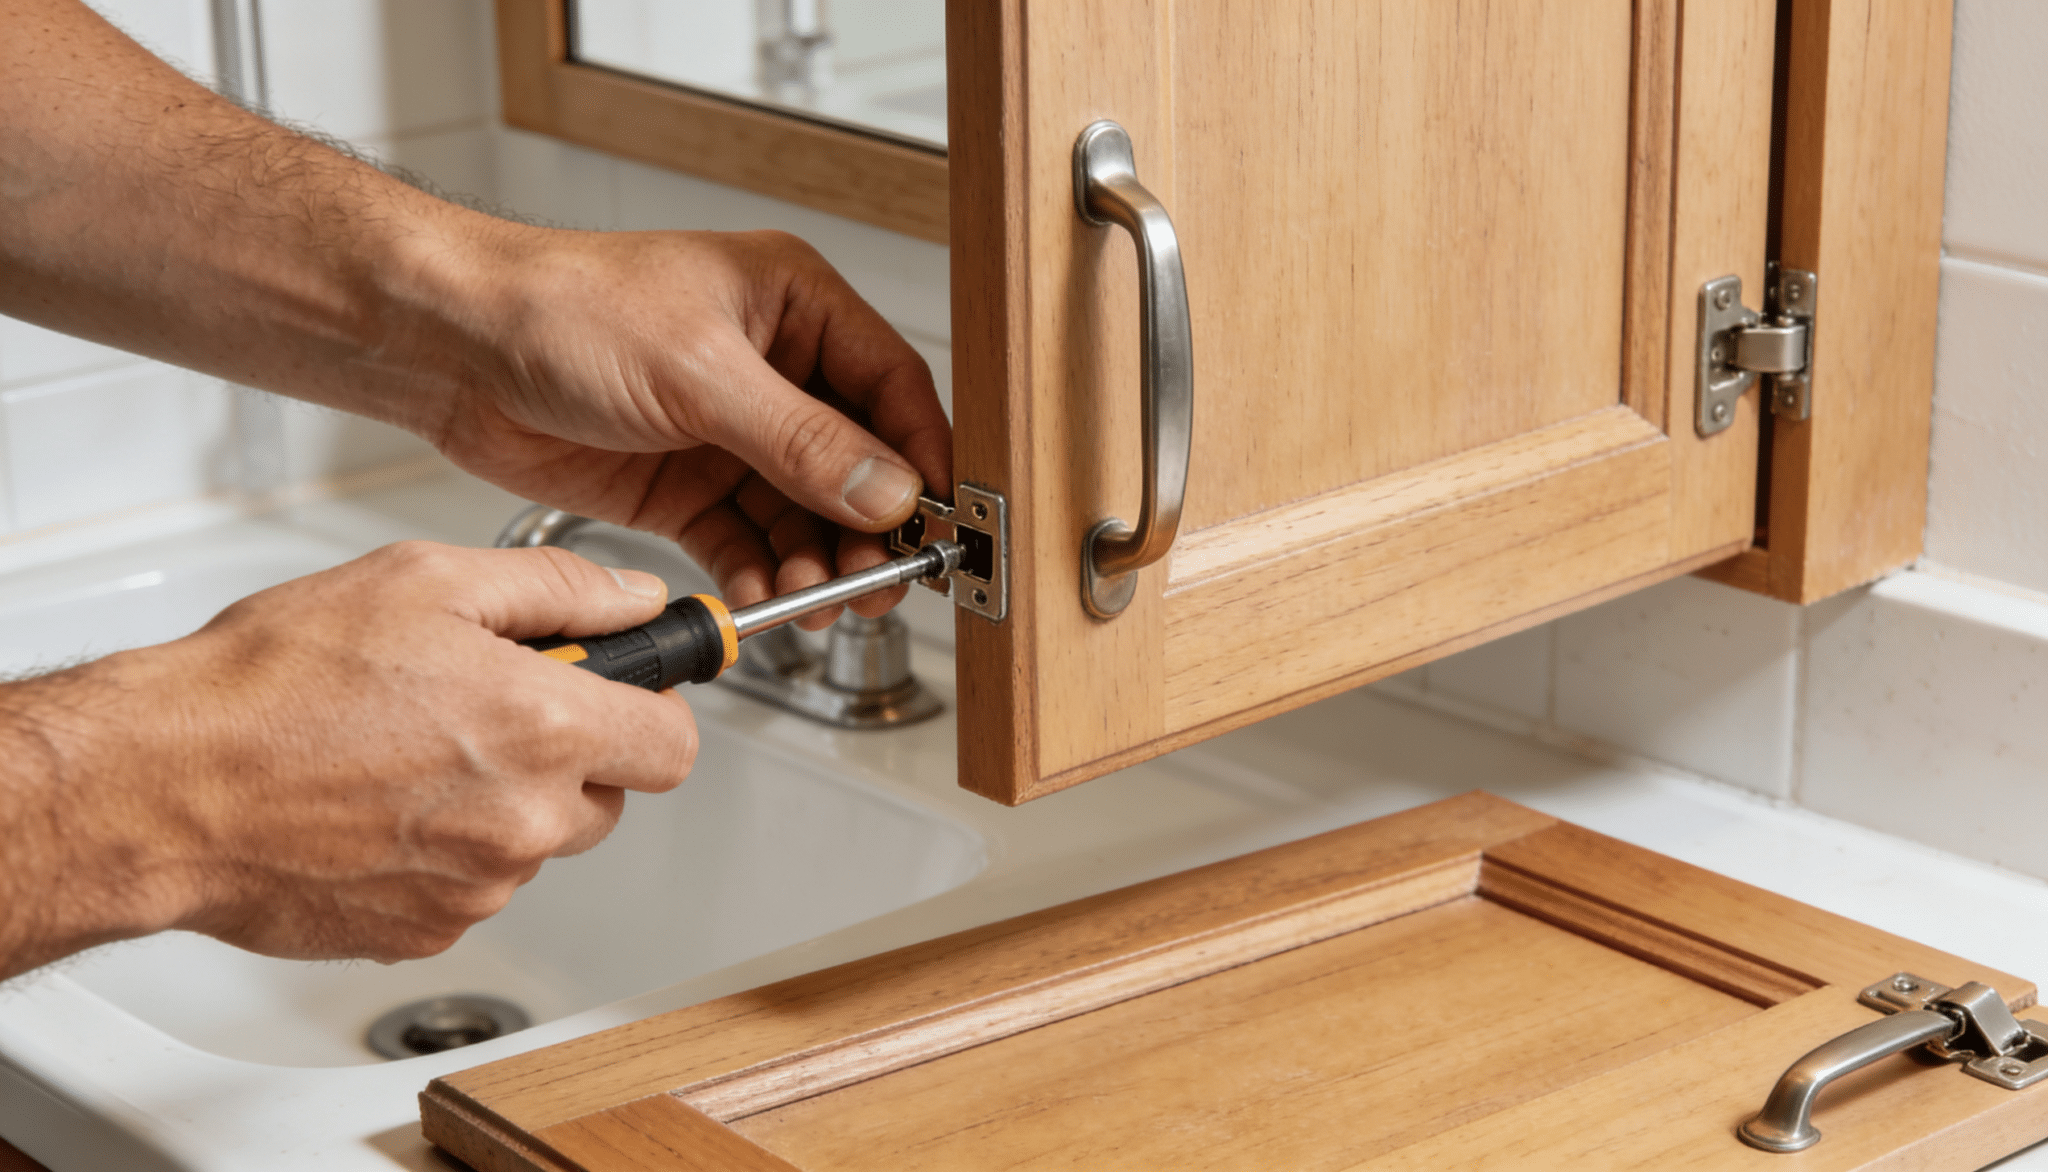
Take off all knobs, handles, and hinges. Put them in a labeled bag. Remove cabinet doors and drawers if possible. Working on flat surfaces gives better control and a more even finish.
Step 2: Clean the Surface
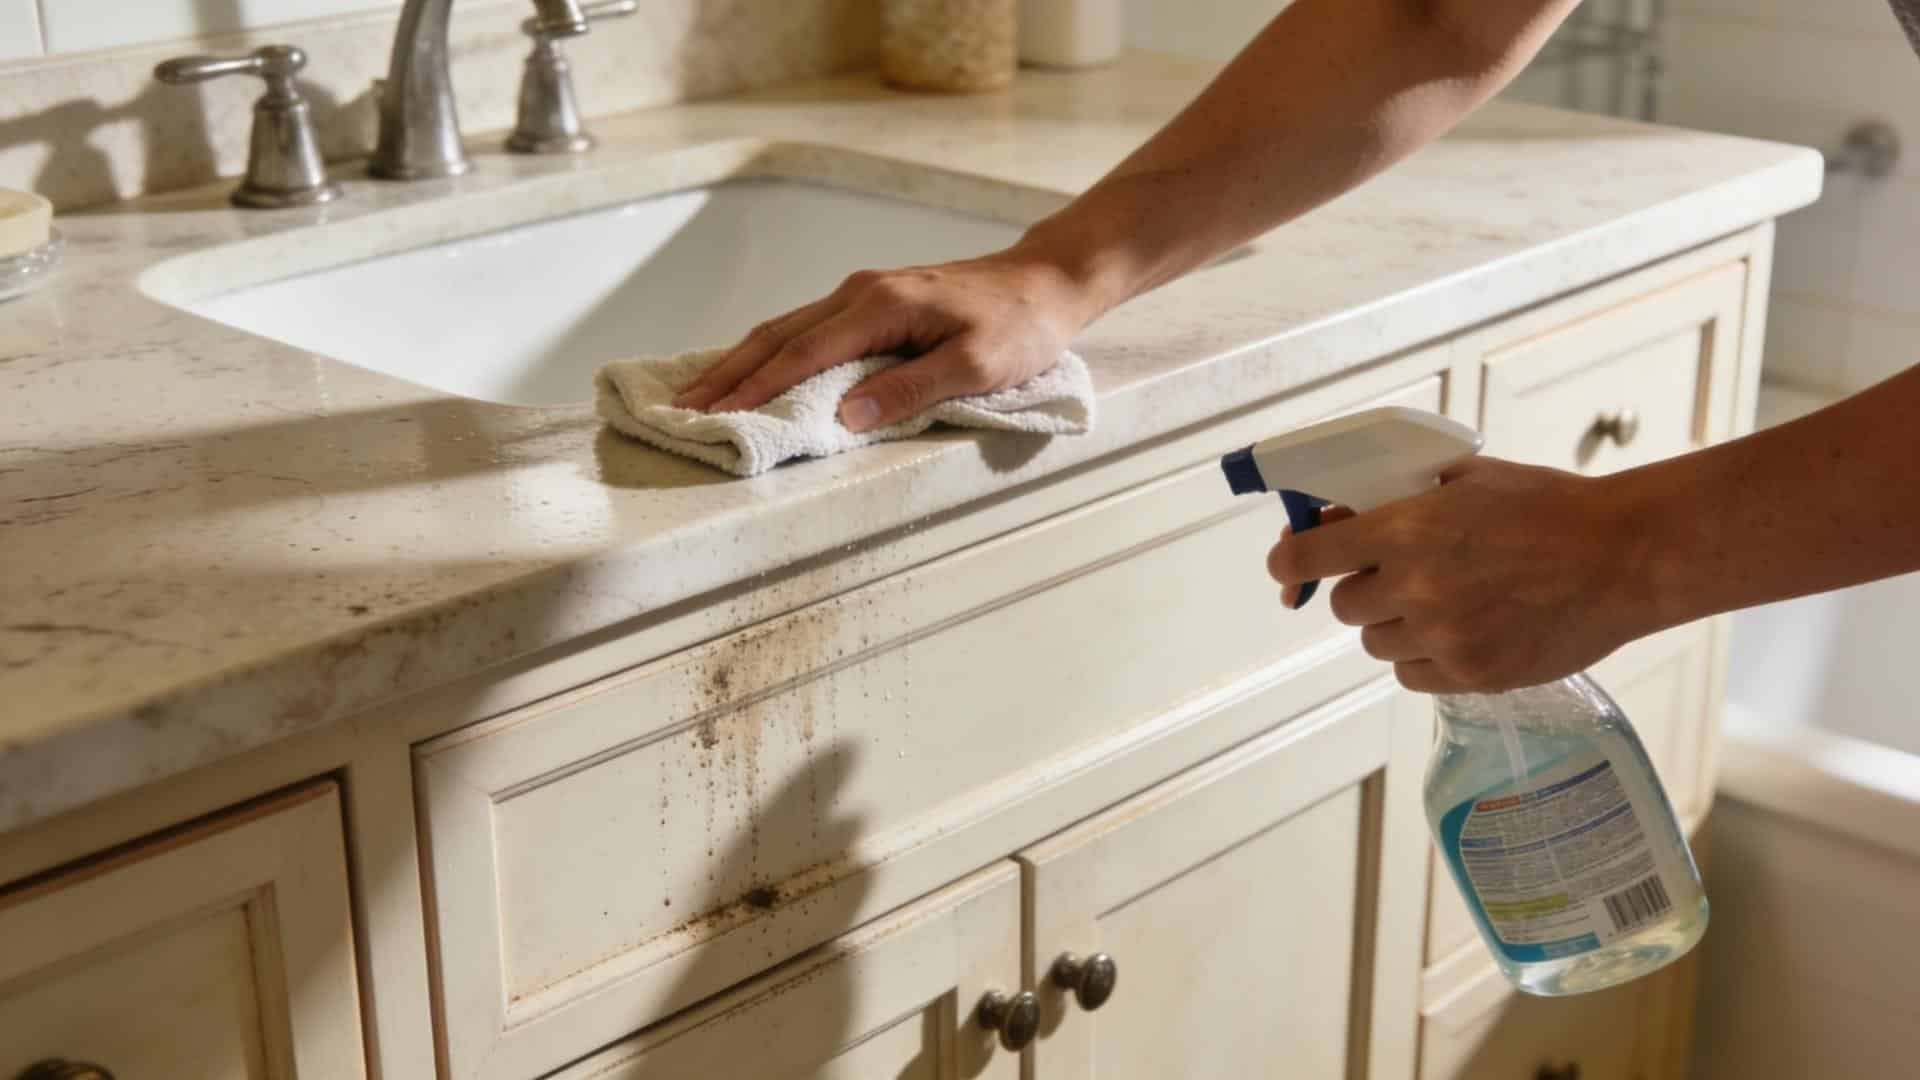
Wipe down all surfaces with a mild degreaser or TSP alternative. Bathrooms collect soap residue, grease, and hairspray. Let everything dry completely.
Step 3: Strip the Old Finish when Needed

If the vanity has multiple old coats of paint or a thick varnish, use a stripping gel.
Apply with a brush, cover with cling wrap, wait 20 to 30 minutes, then scrape off with a plastic scraper. Wipe the surface with odorless mineral spirits to remove residue.
If you are not stripping (the finish is thin or in reasonable shape), skip this step and go straight to patching.
Step 4: Sand in the Right Order
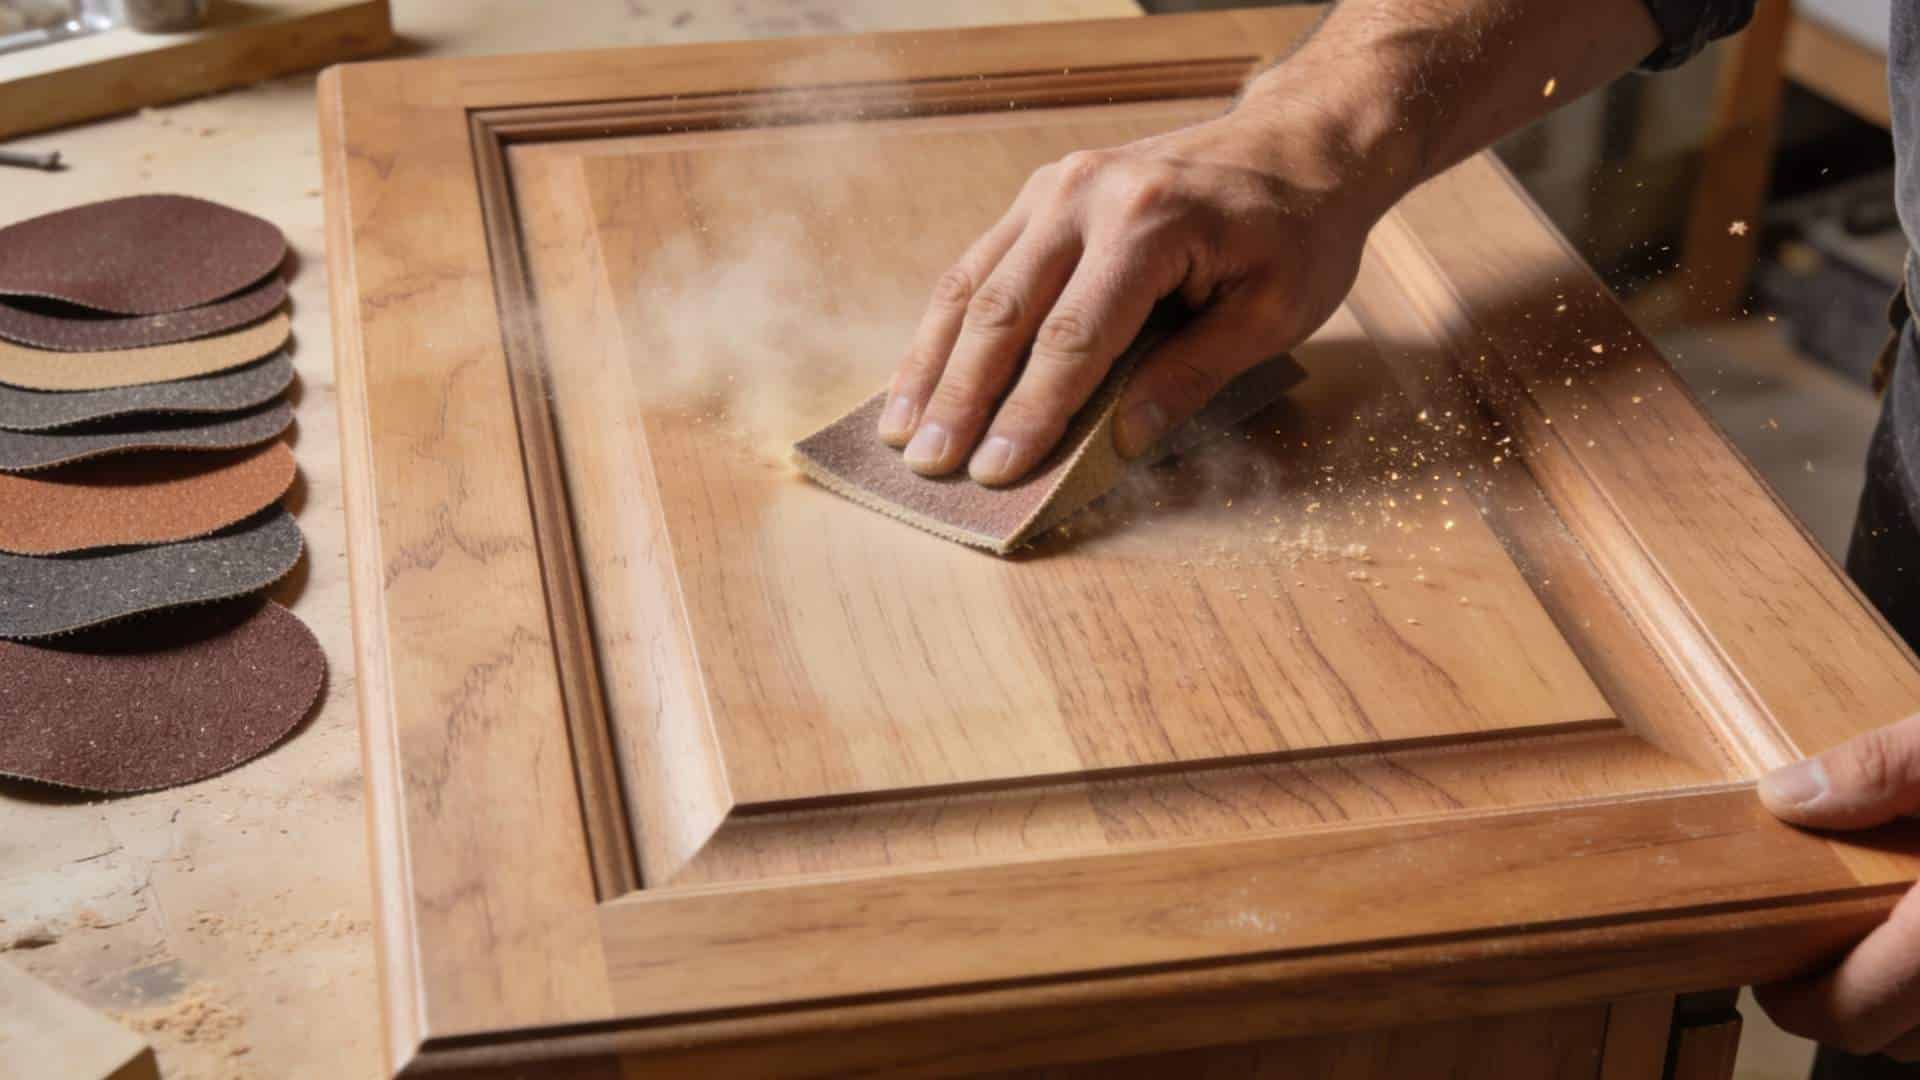
Sanding determines whether your paint sticks or peels.
Start with 60-grit to remove rough spots and leftover residue
Move to 120-grit to smooth scratches
Finish with 220-grit for a surface ready for primer or stain
Always sand with the wood grain, not across it. Wipe the surface with a tack cloth between grits.
Step 5: Apply Primer
Primer gives paint something to hold onto, blocks old stains, and ensures color stays true.
Apply one or two thin coats. Let each coat dry fully, about 24 hours, before the next. For laminate, use bonding primer.
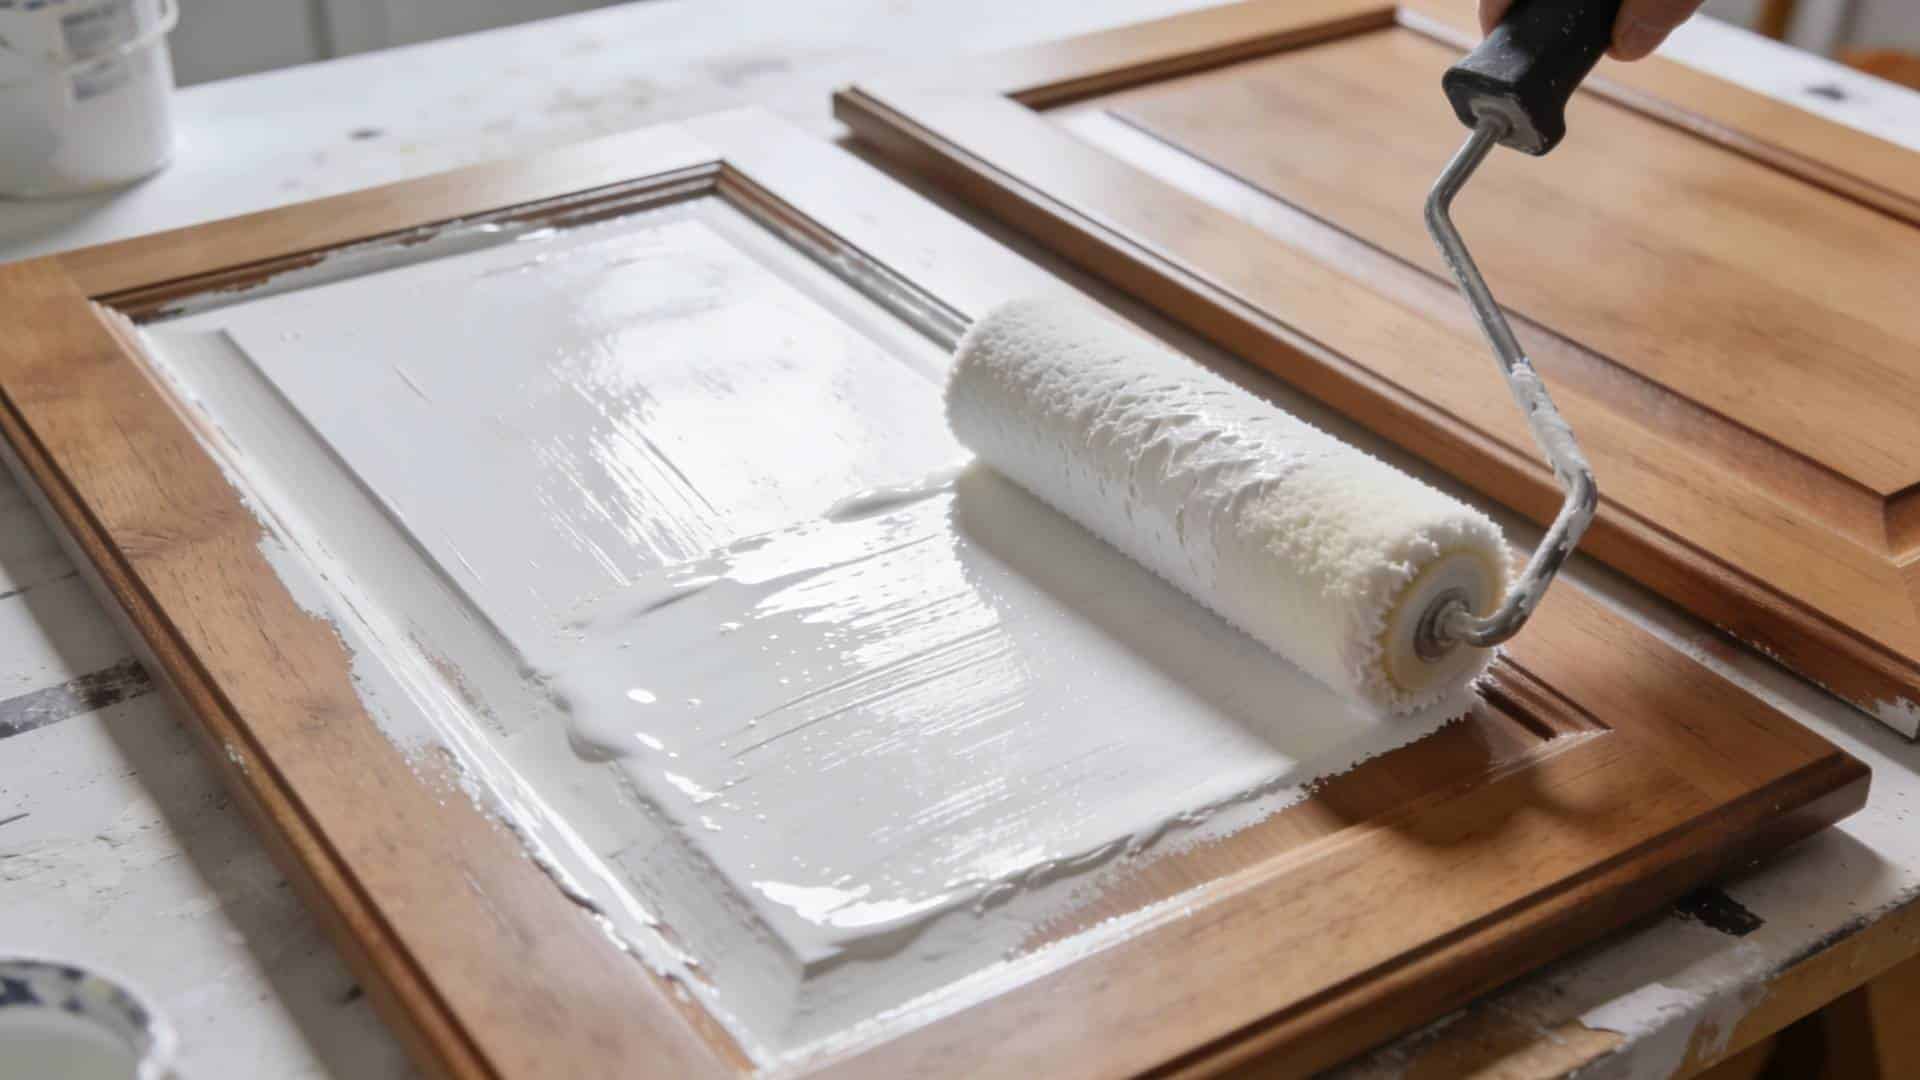
Step 6: Paint or Stain
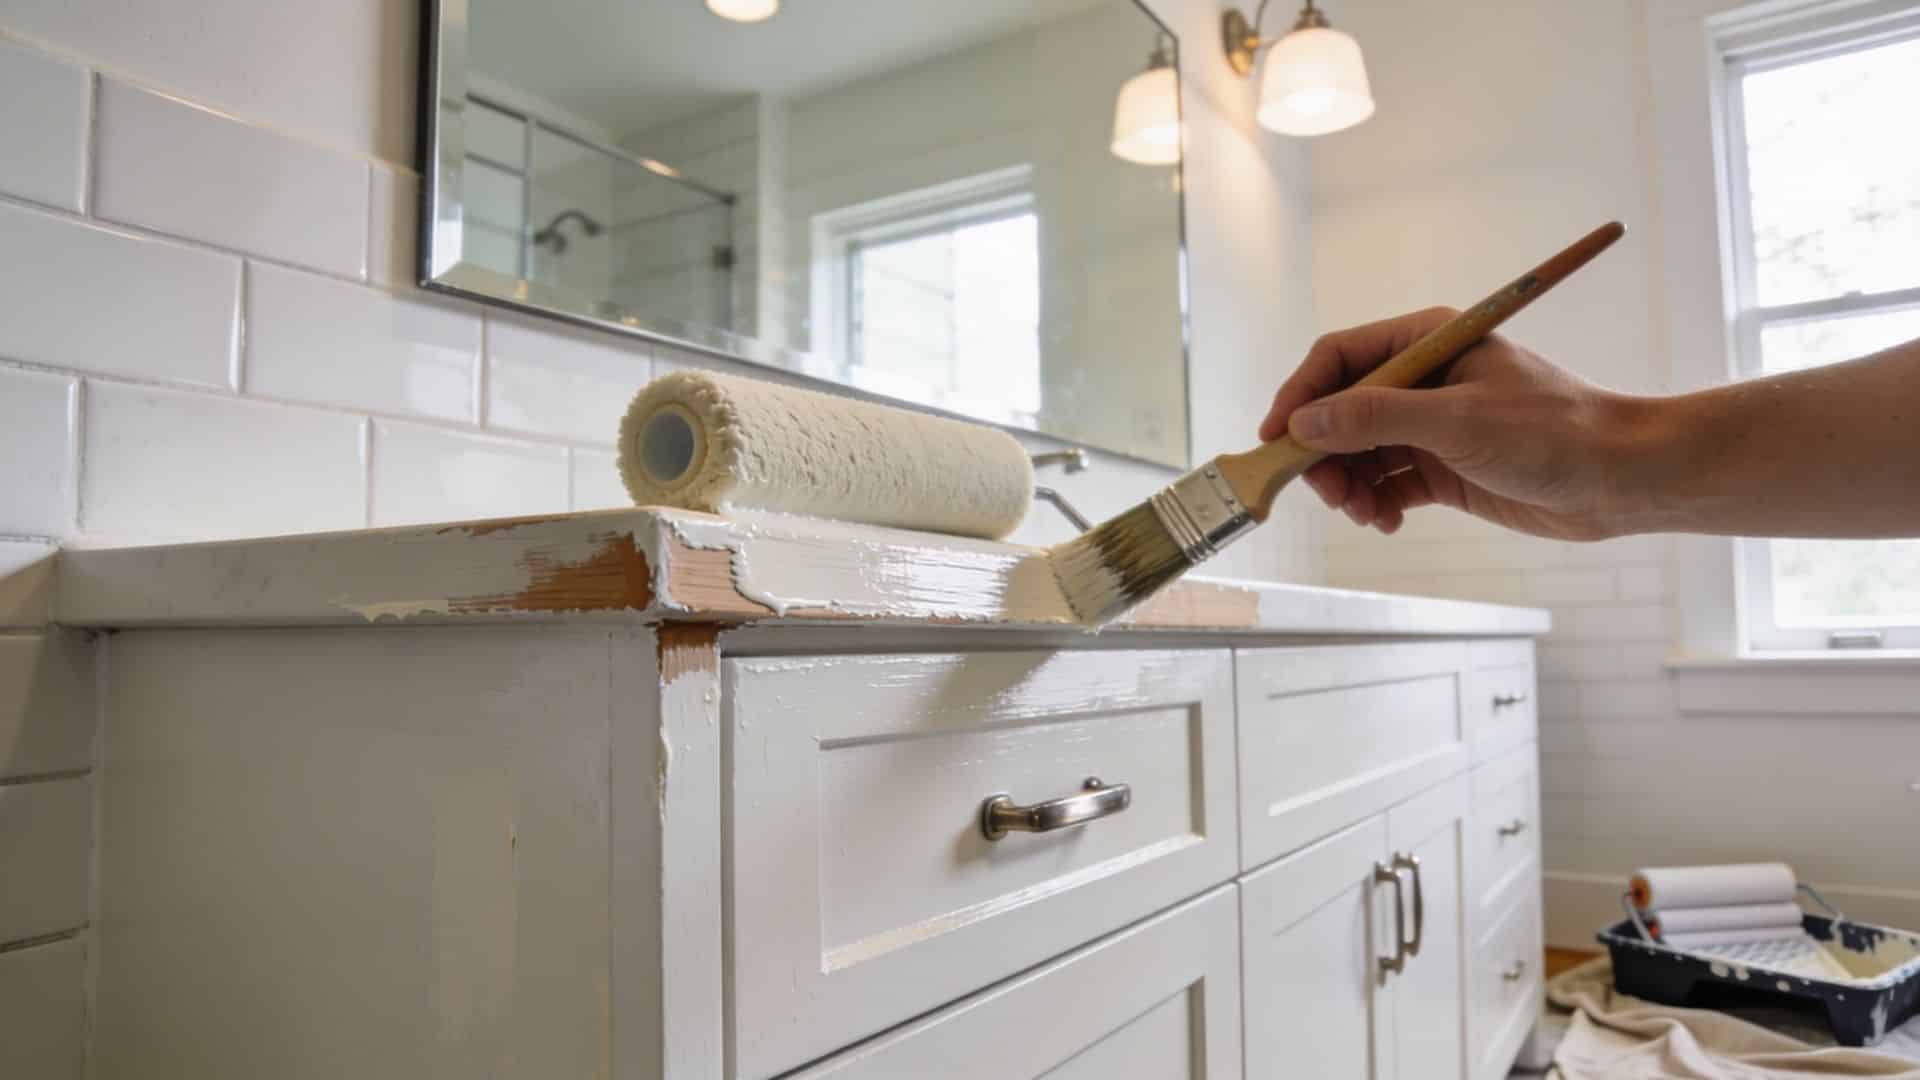
Paint: Use a foam roller on flat surfaces and an angled brush for corners and trim. Apply 2 to 3 thin coats, letting each dry fully. Thin coats dry faster and look smoother.
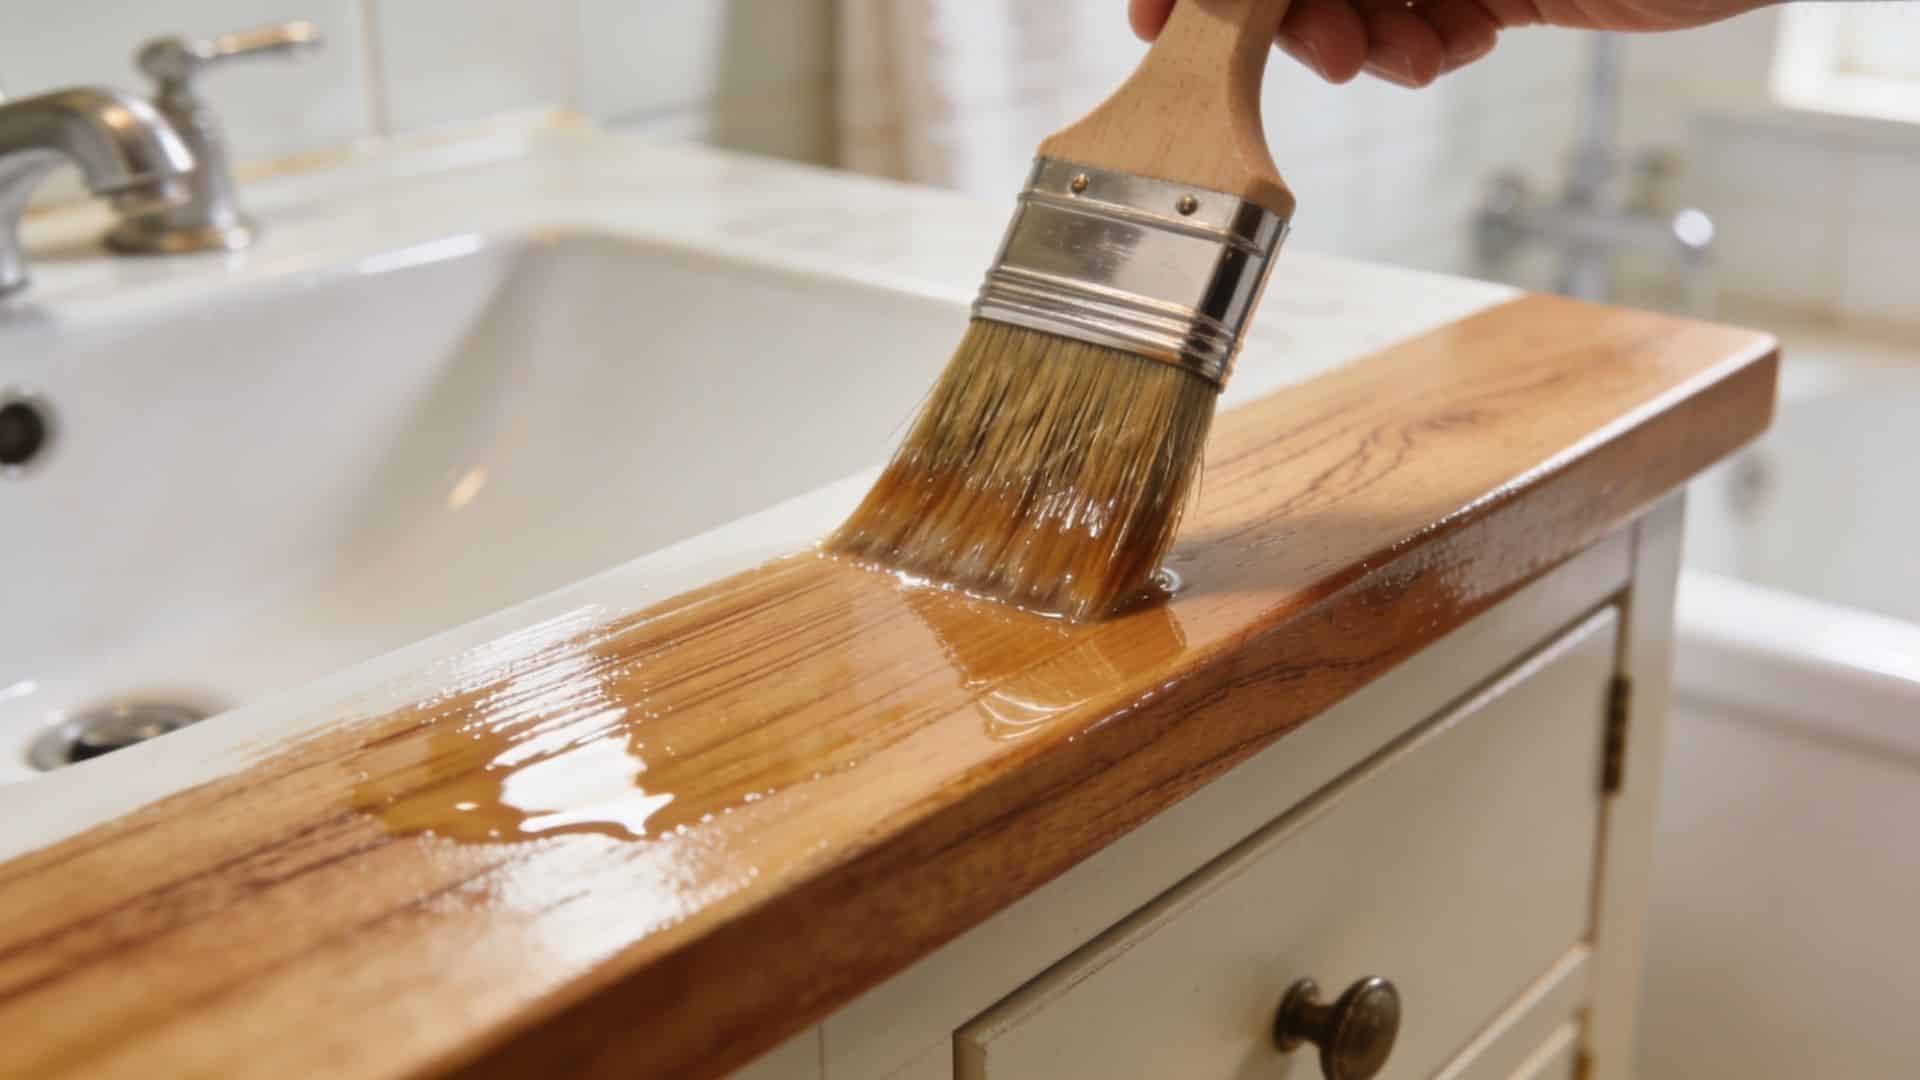
Stain: Brush in the direction of the wood grain. Use a wood conditioner first on open-grained wood for an even tone. Blend well for consistency.
Step 7: Seal the Finish
Sealing is not optional in a bathroom. Humidity and cleaning break down an unsealed finish quickly. Apply polyurethane or a moisture-resistant topcoat.
Lightly sand with 220-grit between coats for the best bond.
Step 8: Reassemble
Rehang doors and drawers and reattach hardware. This is a good time to swap old pulls for new ones.
New hardware installs quickly and instantly updates the look.
How Long Does Refinishing Take?
The actual hands-on work, including cleaning, patching, sanding, priming, painting or staining, and sealing, usually takes 2 to 4 hours total.
Most of the calendar time is spent waiting for each coat to dry properly between steps.
Plan to spread the project over two to three days. Day one covers cleaning, stripping, patching, and sanding.
Day two covers primer coats. Day three covers paint or stain and the topcoat. Compressing all of this into one day is the single most common reason refinishes start peeling within the first season.
Fast-drying products can shorten the wait, but follow the label, not an online shortcut. Labels account for humidity and temperature in a way that many guides do not.
In a bathroom where ventilation is limited, drying times often run longer than what the can says for normal conditions.
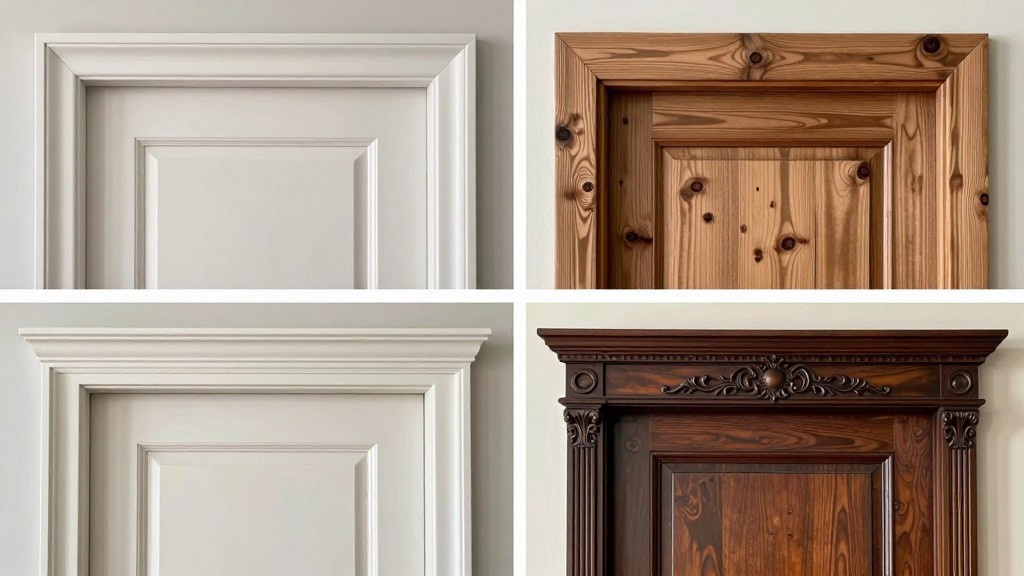
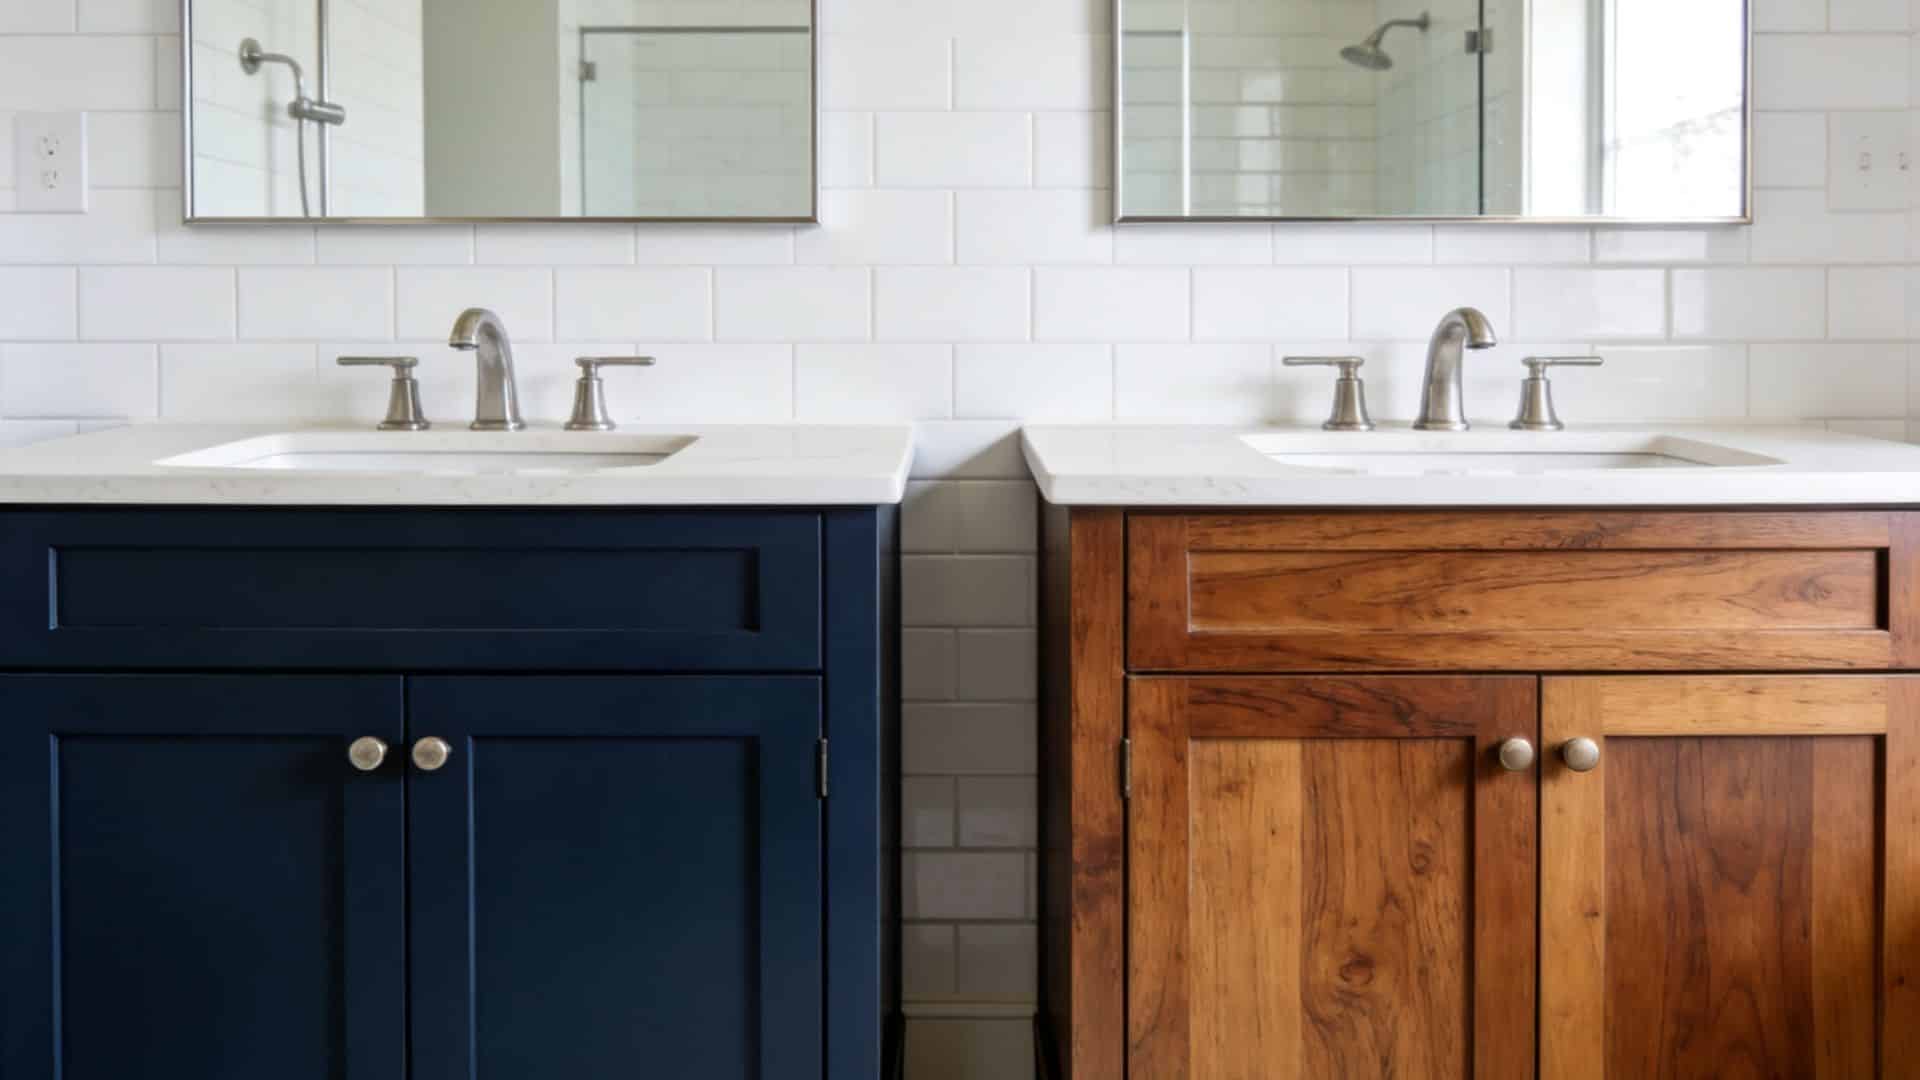
Solid Wood vs Laminate
The material your vanity is made from determines what you can and cannot do. Getting it wrong wastes time and money.
Solid wood vanities can be sanded, stained, or painted. You will get the best results, and the finish can last a long time with proper sealing.
Laminate or particleboard vanities are different. You cannot stain laminate because the color does not soak into the surface.
Painting is the option here, but only if you use the right prep and primer.
To tell what you have:
Knock on the cabinet door. Solid wood sounds dense, while hollow or thin sounds indicate laminate or MDF.
Look at the edges of a door or drawer. Real wood shows grain on cut edges. Laminate shows a flat layer over a core.
Check inside the cabinet. Particleboard is heavier and has a rough, speckled texture on cut edges.
If you have laminate, use a bonding primer rather than a standard primer. This ensures paint grips a slick surface. Skip this, and the paint will peel within weeks.
Paint vs Stain: Which One Is Right for Your Vanity?
This depends on your vanity material and what you want the finish to do.
Paint provides:
A wider range of colors
Better coverage for laminate
An easier way to hide dark, old finishes
The drawback is that paint can chip in humid bathrooms unless properly sealed. Acrylic enamel and alkyd hold up better than standard wall paint.
Acrylic enamel has lower VOC levels, which matters in a small bathroom with limited ventilation.
Stain provides:
The natural wood grain is visible through the finish
Better long-term durability on solid wood
Easier spot repairs if a section gets chipped
Stain only works on solid wood, as laminate does not absorb it.
In short, solid wood with stain and a polyurethane topcoat lasts longer. Laminate or bold color changes are best achieved with paint.
Should You Refinish or Replace Your Bathroom Vanity?
Before grabbing any sandpaper, it’s important to figure out if refinishing is the right move.
From my experience, refinishing works best when the cabinet is solid and the issues are cosmetic, such as faded color, worn finish, water stains, or just an outdated look.
Solid wood can be sanded, stained, or painted for a fresh finish.
Replacement becomes necessary when there is structural damage, such as swollen particleboard, warped frames, or deep water damage inside the cabinet. That usually goes beyond a simple refinish.
If your vanity has severe water damage or layout issues, larger bathroom remodel ideas may be worth considering instead of refinishing alone.
Here’s a quick cost breakdown based on real-world experience:
DIY refinish: $20 to $100 in materials
Professional refinish: $1,500 to $4,000
Full vanity replacement: $665 to $5,000+
For most homeowners with a tired-looking vanity, refinishing is the smarter and more cost-effective choice.
Common Mistakes That Cause Refinishes to Fail
From my experience, failures usually happen when one of these steps is skipped:
Skipping sanding
Skipping primer
Applying coats too thick
Not waiting between coats
Poor ventilation
Forgetting to remove hardware
All are easy to avoid if you slow down and follow the proper order.
Conclusion
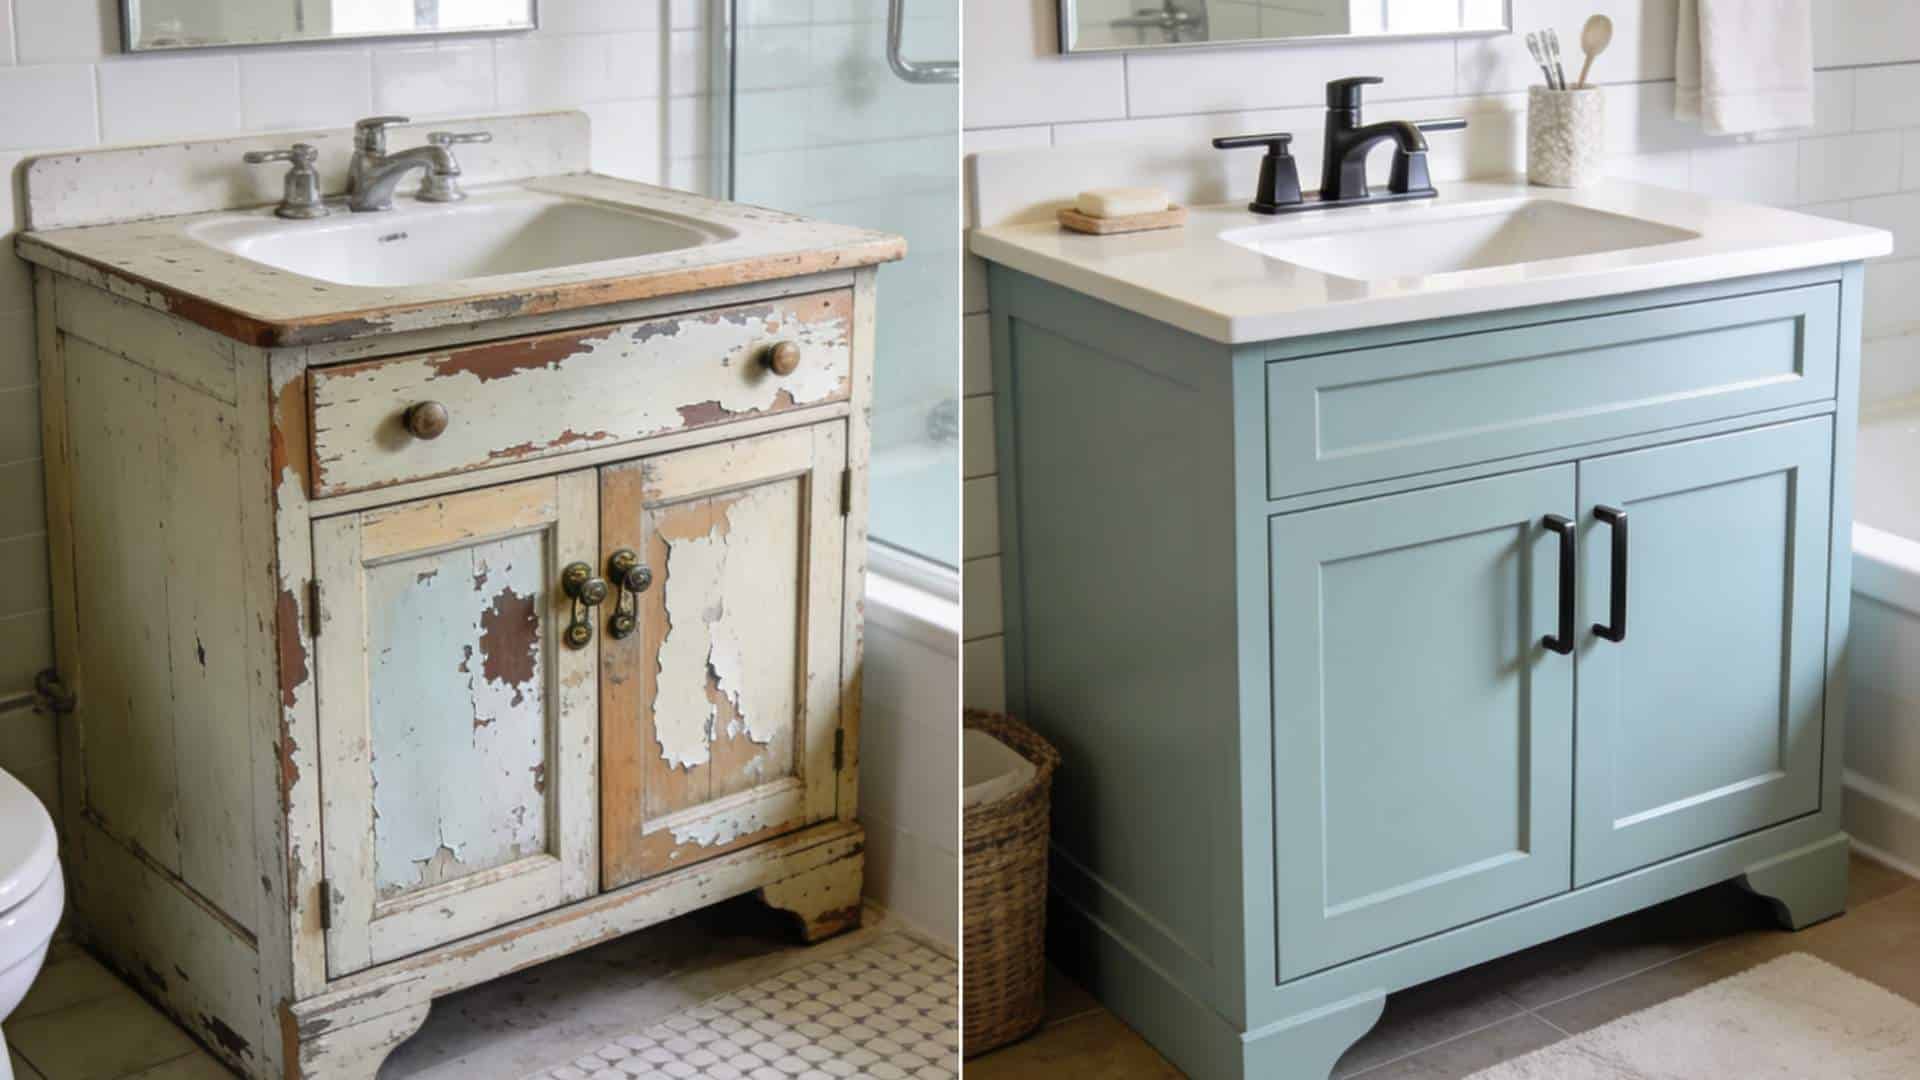
Most bathroom vanities that look tired are not structurally failing. The cabinet is fine. The finish is what needs attention.
Refinishing addresses exactly that at a fraction of replacement cost, and when the prep steps are followed in the right order, the result holds up in daily bathroom use for years.
The process covered here, clean, strip, patch, sand, prime, paint or stain, seal, is the same sequence a professional would follow.
What changes between a DIY result that lasts and one that peels within a season is almost always how much time was allowed between coats and whether the patching step happened before sanding.
Have you refinished your bathroom vanity before? Share what worked and what you would do differently in the comments below.
Frequently Asked Questions
1. What Should You Avoid When Renovating a Bathroom?
Avoid poor ventilation, cheap waterproofing, incorrect measurements, inadequate lighting, and ignoring storage needs. Skipping professional plumbing or electrical work can also lead to costly repairs later.
2. Can You Apply New Stain Over Old Stain without Sanding?
Yes, you can apply a new stain over an old stain without sanding if the surface is clean and in good condition. Use a compatible gel stain or bonding stain for better adhesion.
3. What is the Best Stain to Use Over Old Stain?
Gel stain is often the best option over old stain because it adheres well with minimal prep, provides even coverage, and works on wood, laminate, and previously finished surfaces.