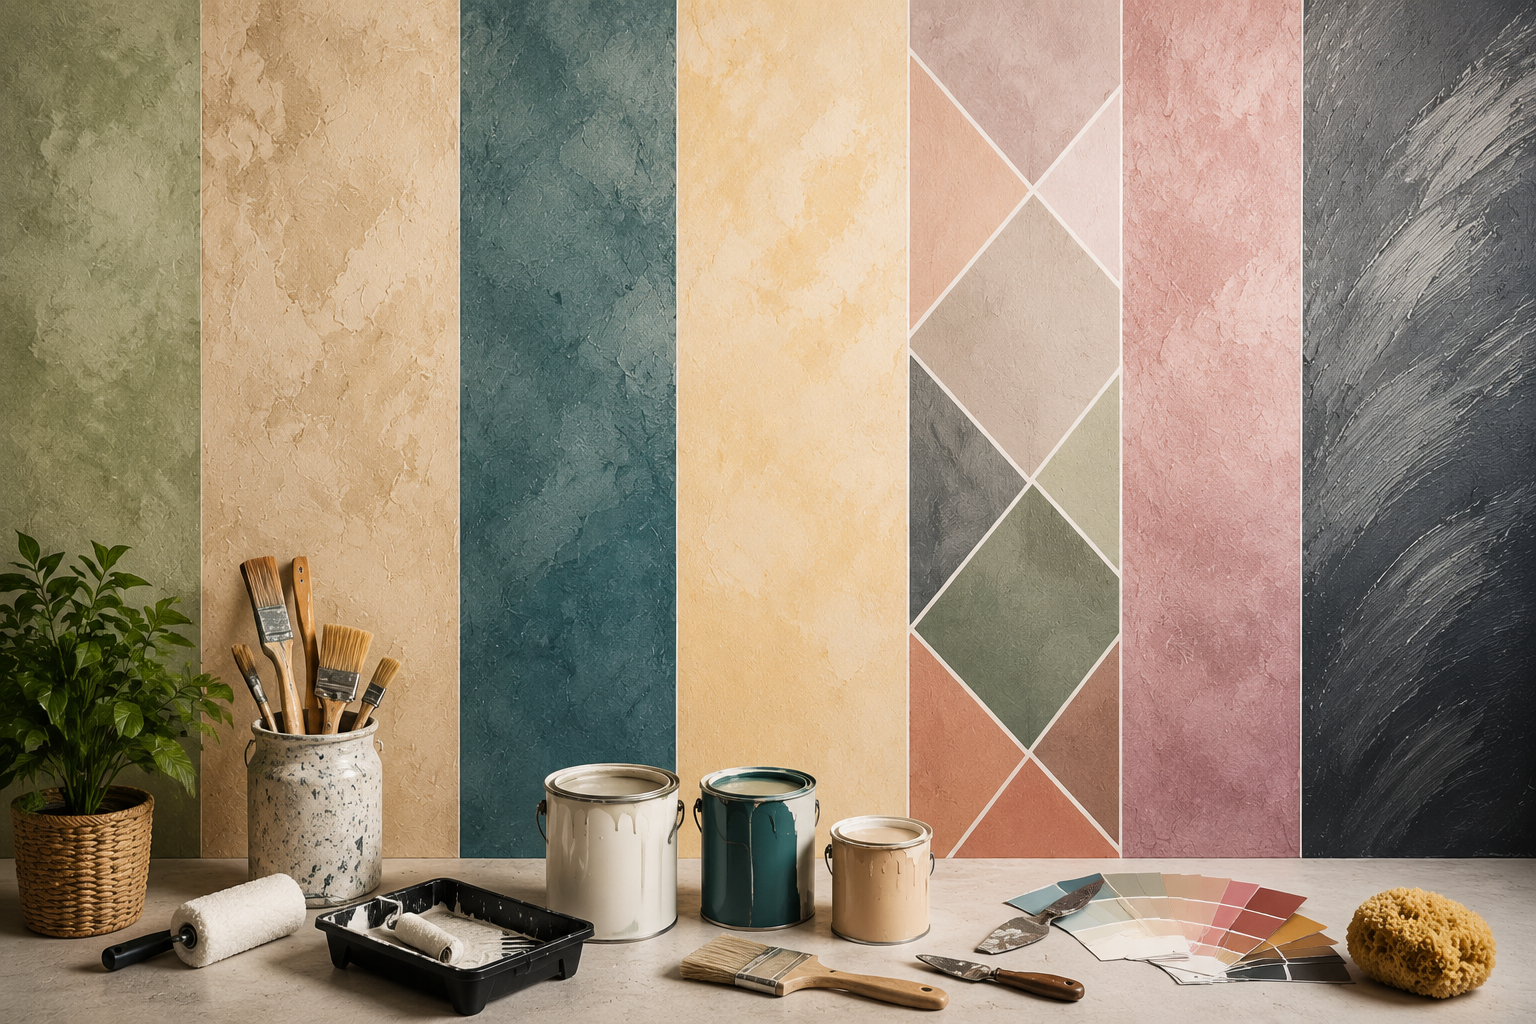
Wall texture types convert plain walls into visually rich surfaces that add depth, character, and functionality to any space.
From the bumpy finish of popcorn texture to the marble-like appearance of Venetian Plaster, the options are wide and varied.
Choosing the right wall texture depends on room type, budget, and maintenance needs.
This post covers popular interior wall texture types, their costs in the US, application tips, and room-specific recommendations to help you make the right choice for your home.
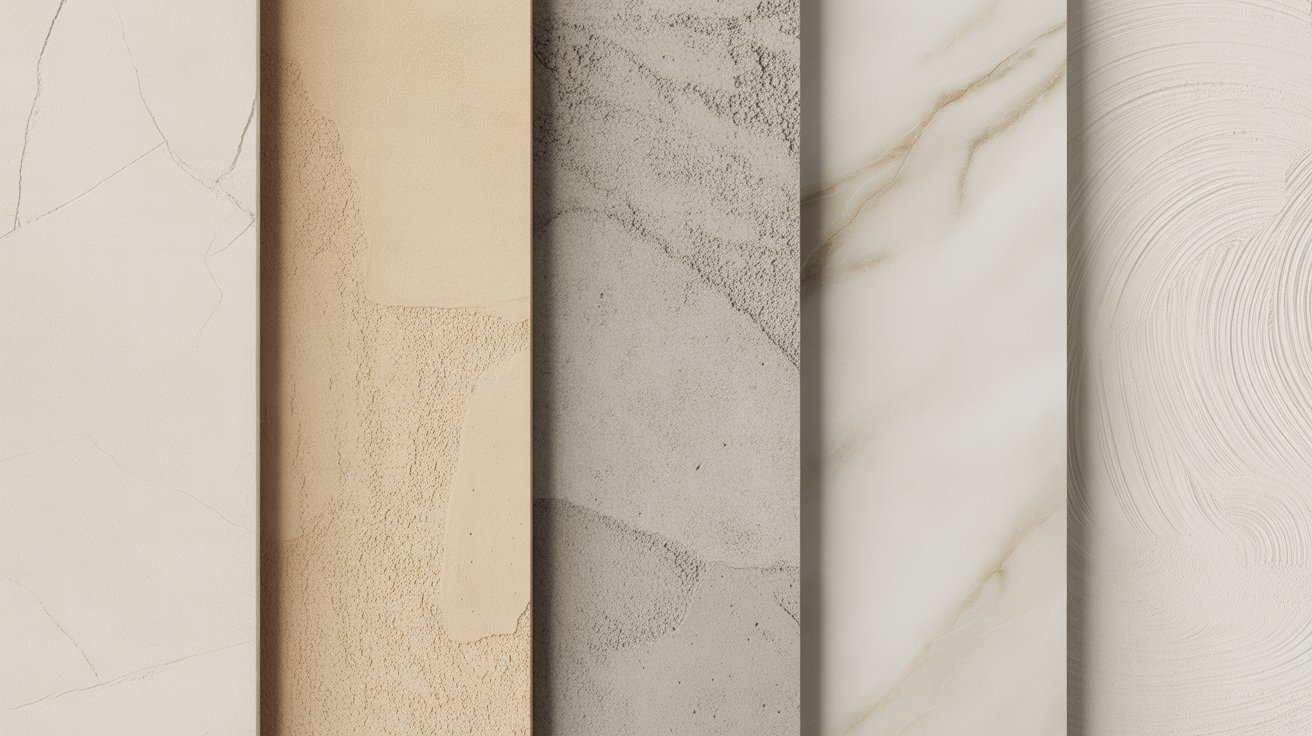
What Is Wall Texture?
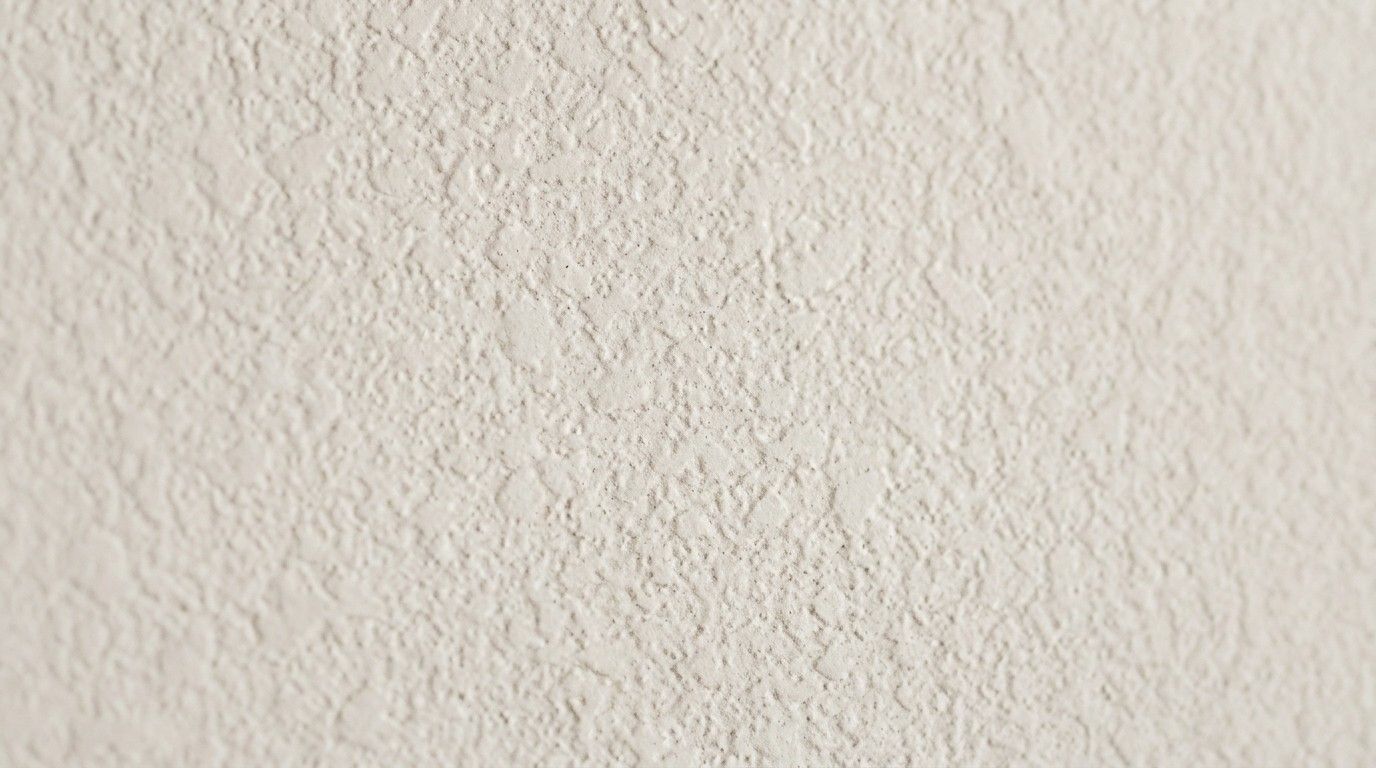
Wall texture is a surface finish applied to interior walls using materials like joint compound, plaster, or sand-based paint. It’s shaped with tools, trowels, brushes, rollers, or spray guns to create a pattern or surface relief.
Each finish serves a purpose. Some hide seam lines and drywall patches. Others add a decorative layer that changes how light falls across a room. A few do both.
The material base matters too. Most residential textures usejoint compound (also called drywall mud), which is affordable and easy to work with.
Premium finishes like Venetian plaster use lime and marble dust, applied in thin layers and burnished to a shine.
Why Homeowners Choose Textured Walls
Textured walls aren’t just about looks. Here’s why many homeowners prefer them over smooth painted walls:
- They hide surface flaws. Cracks, uneven drywall, old patch marks, and texture cover it all.
- They reduce visible seams. Spray textures, such as knockdown and orange peel, blend drywall joints into the surrounding wall.
- They soften the sound. Dense textures like popcorn absorb echo in multi-story homes.
- They’re cheaper to install than smooth finishes. A Level 5 smooth finish requires multiple skim coats and fine sanding. Spray textures go up faster and cost less in labor.
- They’re beginner-friendly. Orange peel and popcorn are two of the most DIY-accessible finishes available.
Smooth vs. Textured Walls: A Quick Comparison
Before picking a finish, it helps to know where each approach stands.
| Feature | Smooth Walls | Textured Walls |
|---|---|---|
| Appearance | Flat, clean, modern | Layered, dimensional |
| Hides Imperfections | No | Yes |
| Installation | Requires high skill | More forgiving |
| Repainting | Easy | More prep needed |
| Sound Absorption | Low | Moderate to high |
| Labor Cost | Higher (Level 5 finish) | Lower for spray types |
| Best For | Contemporary interiors | Most room types |
| DIY Friendly | Difficult | Yes, for basic types |
12 Best Wall Texture Types for Homes
From spray finishes to hand-applied plaster, here’s a full look at the most common interior wall texture types, what they look like, how they’re applied, and what they cost.
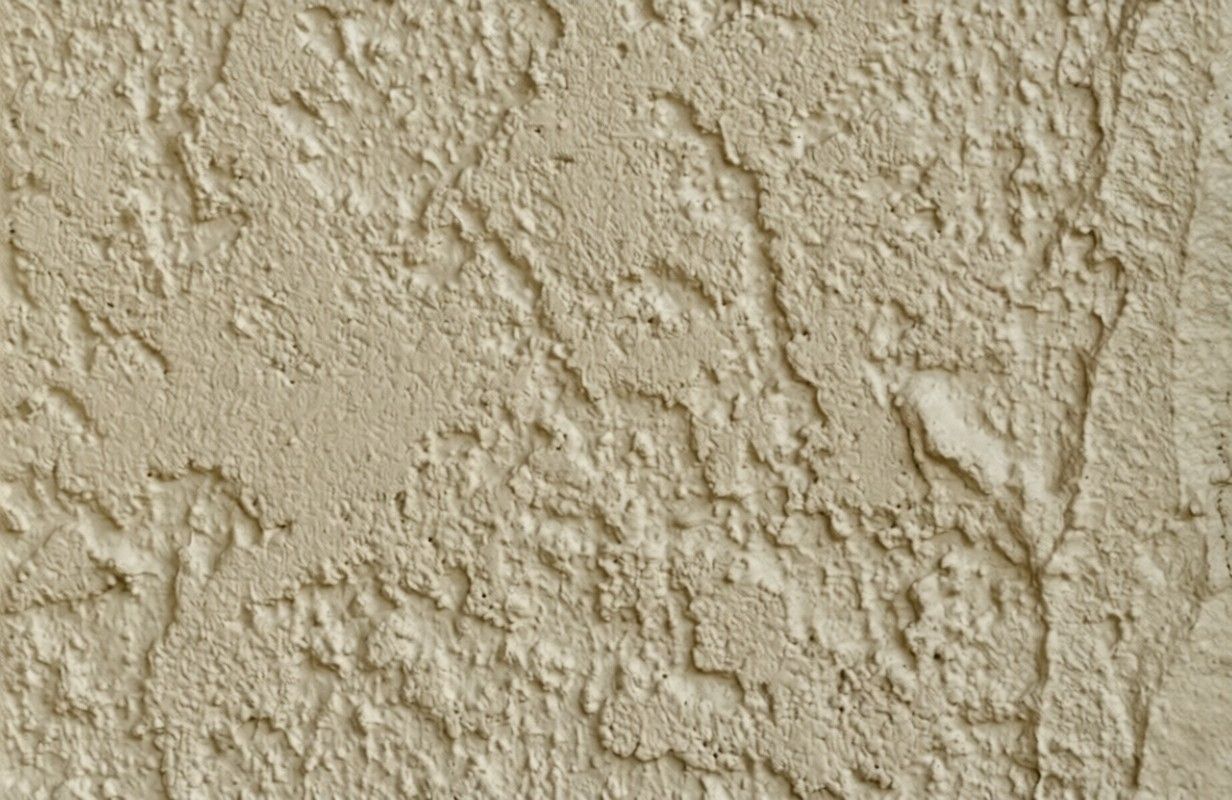
1. Knockdown
Knockdown is one of the most popular wall textures in the US. Joint compound is sprayed or rolled onto the wall, then partially flattened with a drywall knife before it dries. The result is a mottled, slightly raised surface, somewhere between a bumpy spray finish and flat paint.
It’s forgiving to apply and easy to repaint. Most contractors recommend it for living rooms, hallways, and any room where surface flaws are a concern.
- DIY level: Moderate
- Professional cost: $1.00–$1.50 per sq ft
- Best for: Living rooms, hallways, high-traffic areas
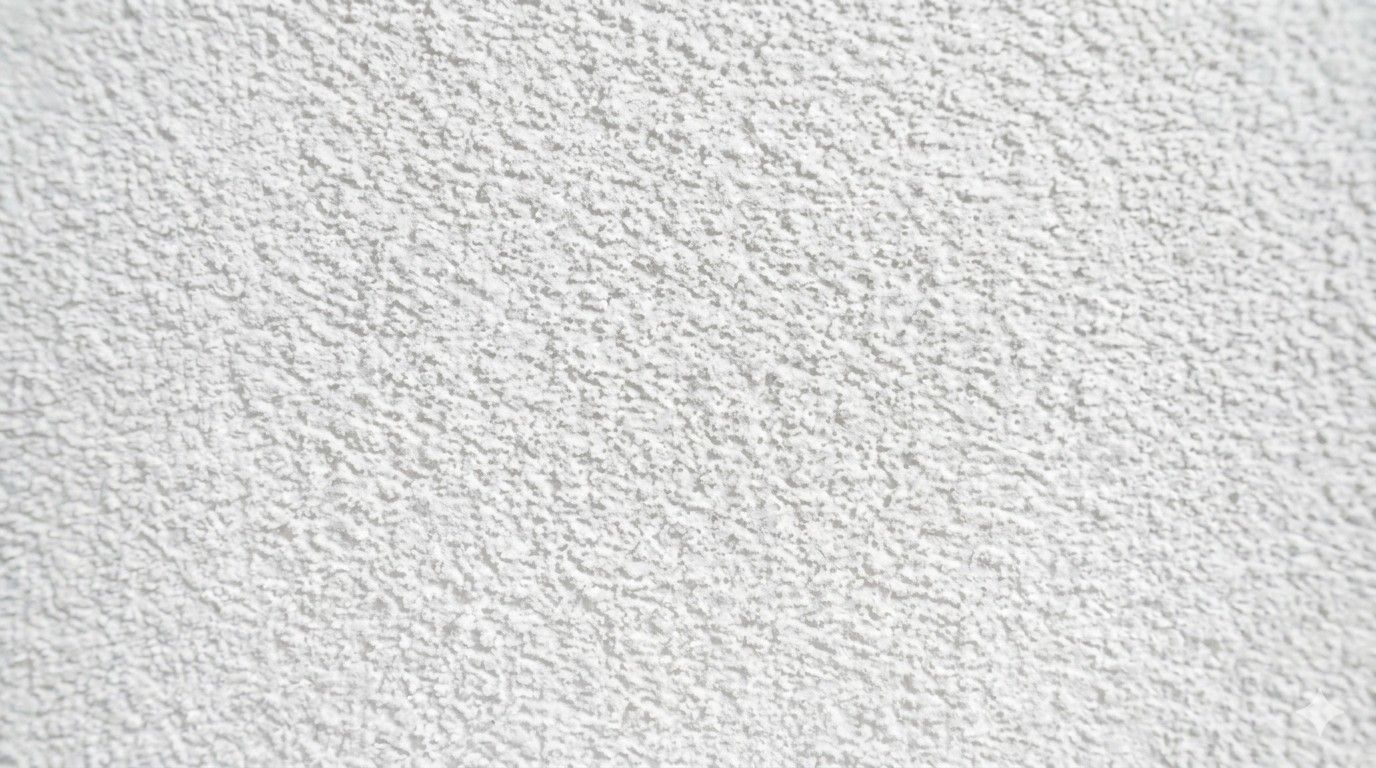
2. Orange Peel
Named after the skin of an orange, this texture is created with a spray hopper or airless sprayer. It produces a fine, bumpy surface, less dramatic than knockdown, but still effective at hiding minor wall flaws.
Orange peel is one of the fastest spray textures to apply, which keeps labor costs low. It’s also one of the most common finishes found in US new construction.
- DIY level: Easy to moderate (requires a spray gun or hopper)
- Professional cost: $1.00–$1.50 per sq ft
- Best for: Bedrooms, hallways, rental properties
3. Popcorn
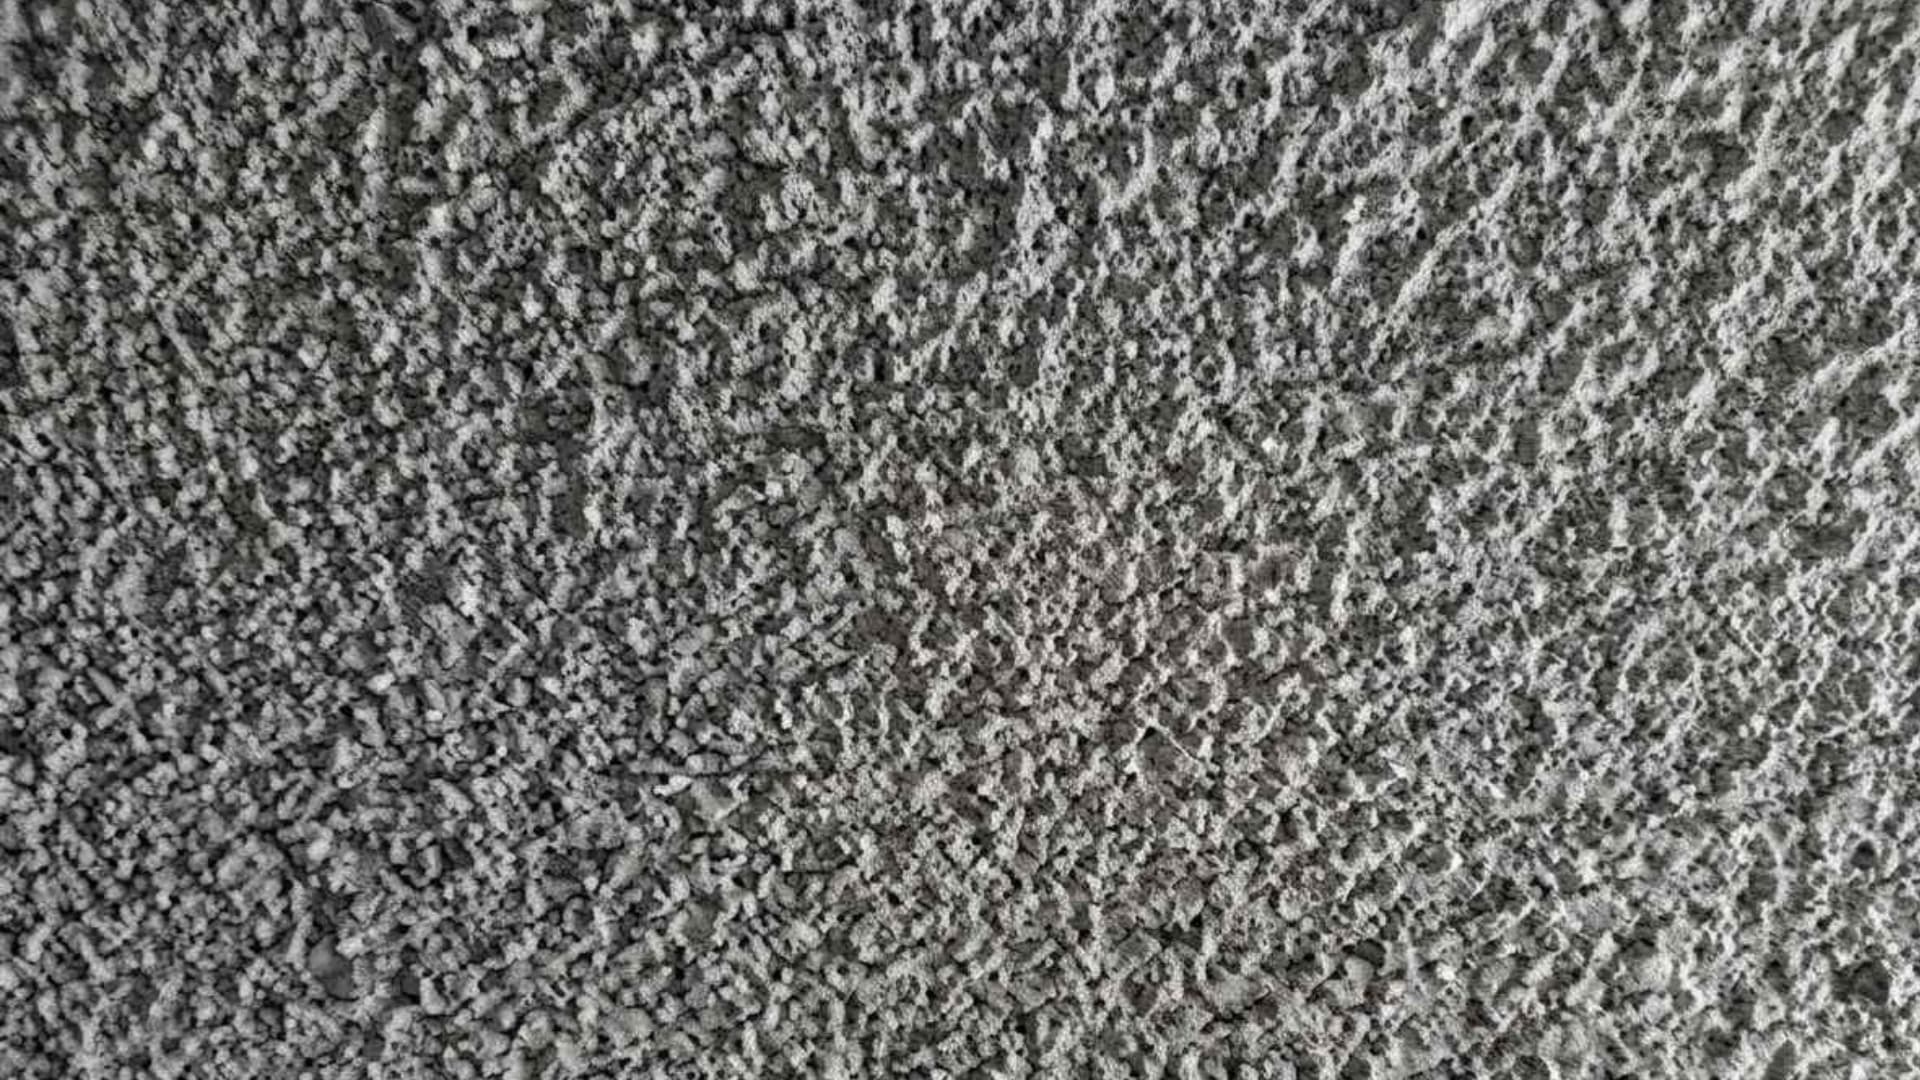
Popcorn texture, sometimes called cottage cheese, was widely used in US homes from the 1950s through the 1990s, mostly on ceilings. It’s a thick, dense spray texture with a rough, clustered surface that absorbs sound well.
Important: Homes built before 1986 may have popcorn ceilings that contain asbestos. Before scraping or removing this finish, test the material. Asbestos testing costs between $250 and $750. Do not skip this step in older homes.
Today, popcorn is used less frequently. Many homeowners remove it as part of renovations. That removal costs $1–$3 per square foot, depending on whether the ceiling needs skim coating or full retexturing.
- DIY level: Easy (application), difficult (removal)
- Professional cost: $1.00–$2.00 per sq ft for application
- Best for: Ceilings in multi-story homes (for sound dampening)
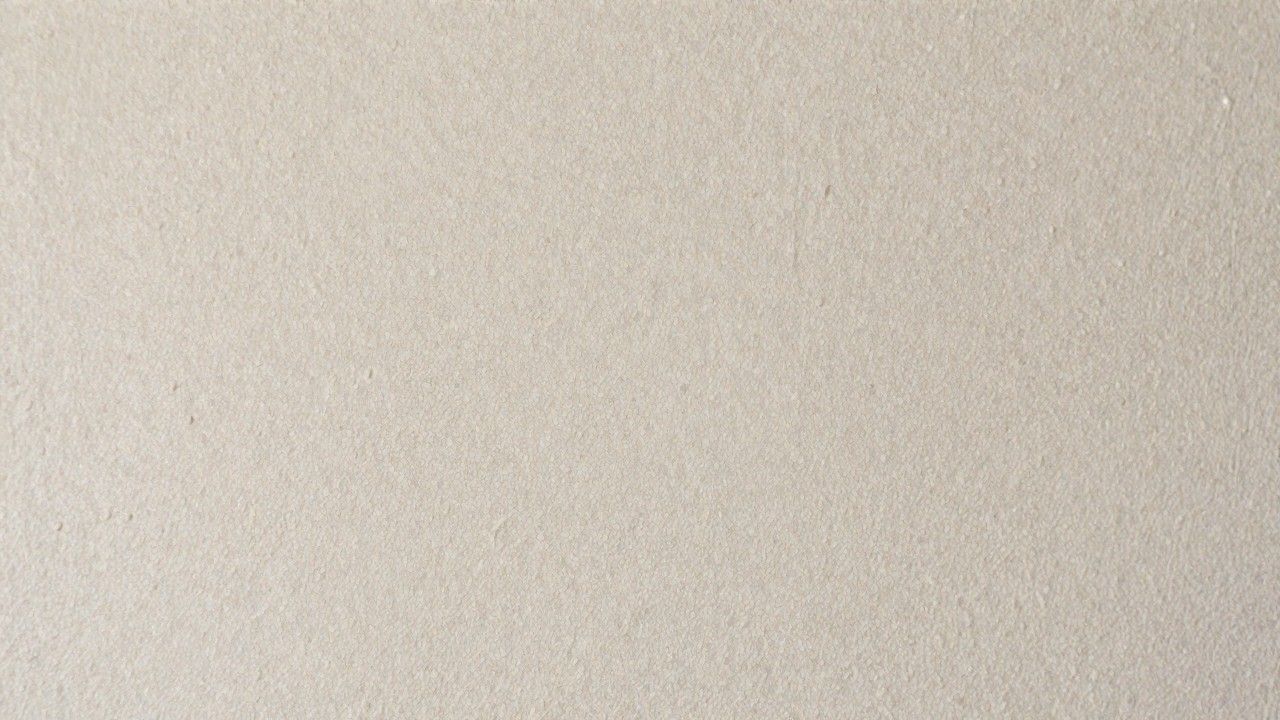
4. Smooth Finish
A smooth finish, technically called a Level 5 finish, involves applying multiple thin skim coats of joint compound, sanding between each layer, and finishing with a primer. It’s the most labor-intensive drywall finish and requires an experienced hand.
The result is a completely flat wall that looks sharp in modern, minimal interiors. The tradeoff: every wall flaw shows under direct light, and repairs need to match perfectly.
- DIY level: Difficult
- Professional cost: $1.50–$3.50 per sq ft (higher than most spray textures)
- Best for: Modern, contemporary, and minimalist interiors
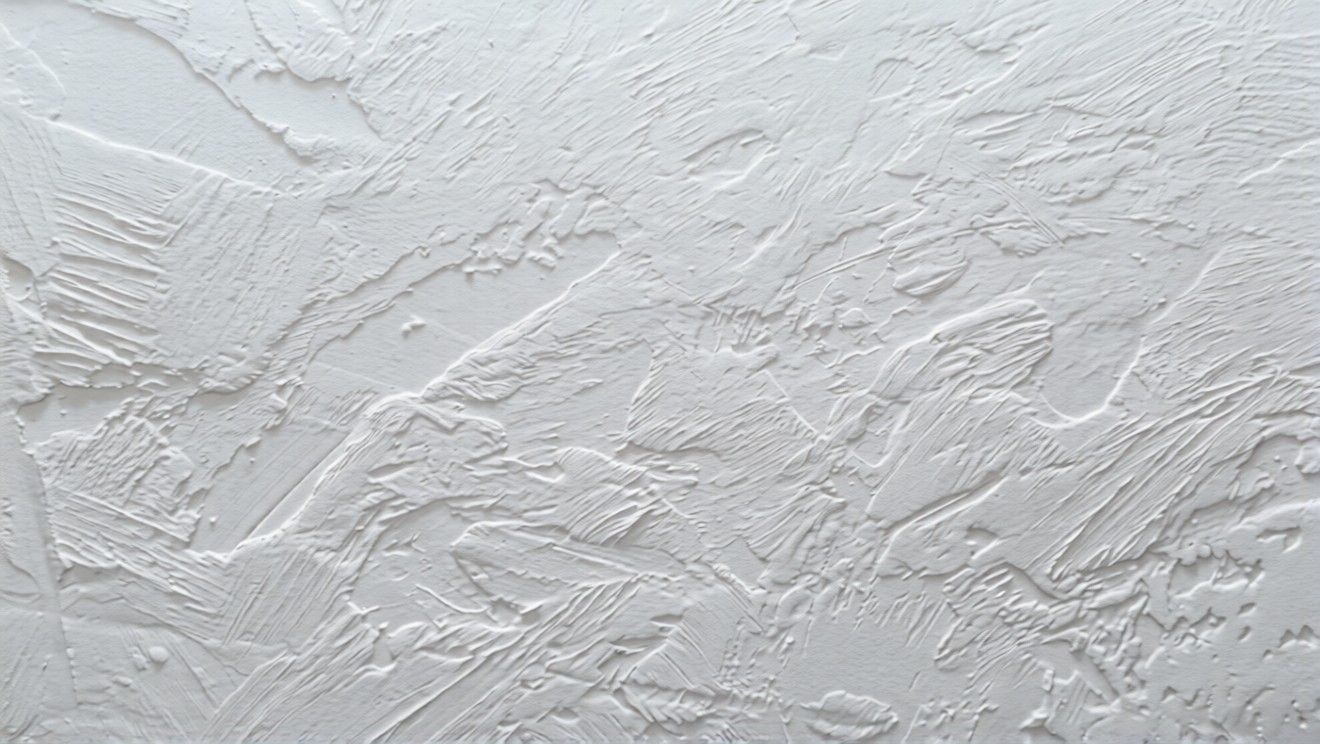
5. Skip Trowel
Skip trowel is applied by hand using a curved trowel. The applicator loads joint compound onto the trowel and drags it lightly across the wall at an angle, letting it skip over the surface. This leaves irregular patches of compound that dry to resemble old stucco or Mediterranean plaster.
- DIY level: Hard, practice on a spare board first
- Professional cost: $1.25–$2.00 per sq ft
- Best for: Living rooms, dining rooms, accent walls
6. Slap Brush

The slap brush texture is created by dipping a thick-bristled brush into wet joint compound and repeatedly pressing it against the wall. Each press leaves an overlapping, starburst-like pattern.
It’s one of the faster hand-applied methods and works well in rustic-style rooms where a casual, organic look is preferred. It also blends well with existing patched areas, making it a good option for repair work.
- DIY level: Moderate
- Professional cost: $1.50–$2.00 per sq ft
- Best for: Rustic interiors, accent walls, and repair blending
7. Sand Swirl
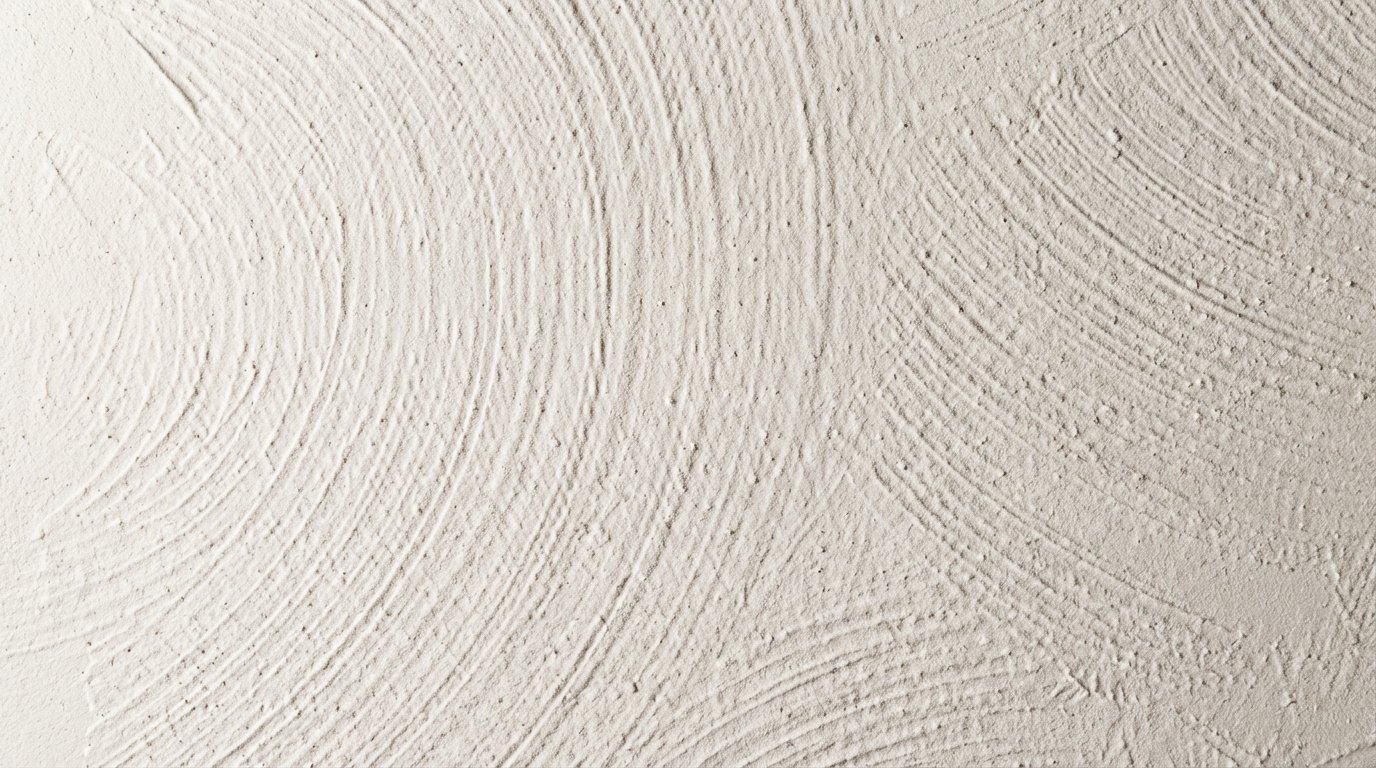 Sand swirl combines a perlite or silica sand additive with joint compound and applies it in half-circular or full-circular brush strokes. The result is a consistent, repeating pattern with a gritty surface.
It’s a solid choice for kitchen and bathroom walls because the sand particles make the surface slightly more durable and easier to wipe down. It also works well on large ceilings where glare and seam lines would otherwise show.
- DIY level: Moderate
- Professional cost: $1.00–$1.80 per sq ft
- Best for: Kitchens, bathrooms, large ceilings
8. Comb Texture
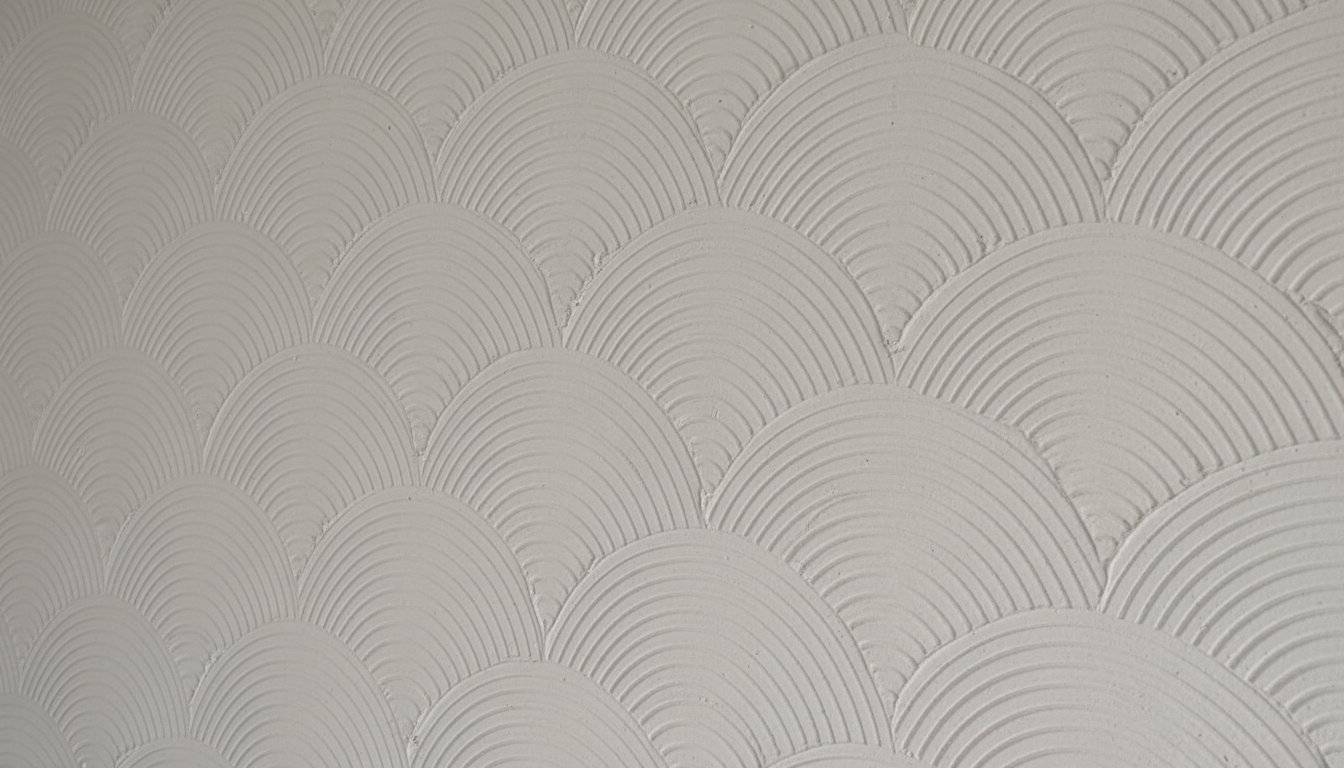
Comb texture is created by dragging a notched or toothed tool through wet joint compound in straight lines, arcs, or fan shapes. The result is a clean, repeating pattern with a geometric quality.
It’s more decorative than most textures, so it works best as an accent wall treatment rather than a full-room application. Some designers use it in entryways or feature walls where a distinct pattern is a deliberate part of the room’s look.
- DIY level: Moderate
- Professional cost: $1.50–$2.00 per sq ft
- Best for: Accent walls, entryways, decorative feature walls
9. Rosebud
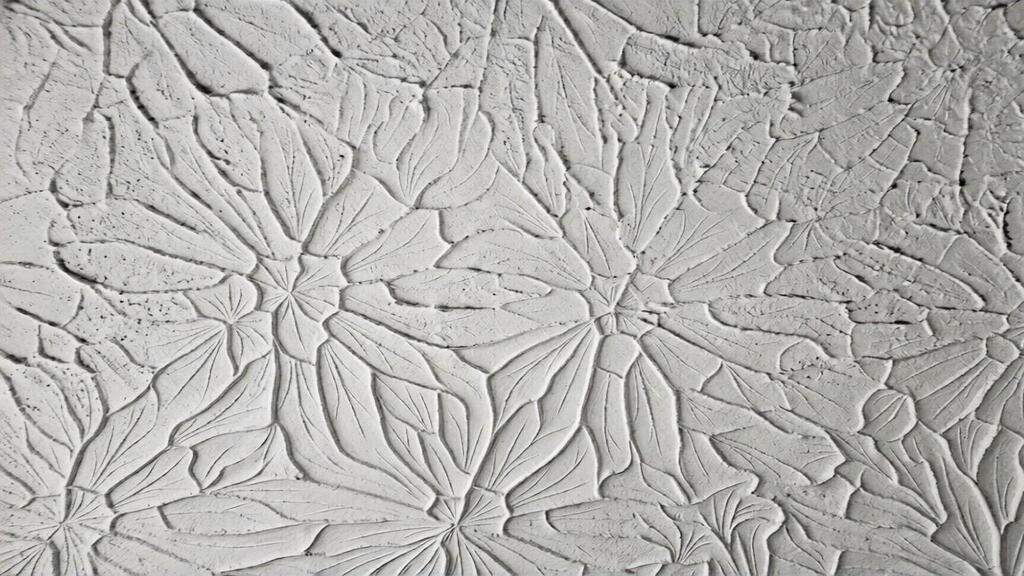
Rosebud texture is made by loading a stomp brush with joint compound and pressing it against the wall in a slight twisting motion. Each press leaves a circular mark that resembles a small flower or rosebud.
It’s a softer, more decorative option than most spray finishes. The look works well in formal rooms where you want some visual interest without going too heavy.
- DIY level: Moderate
- Professional cost: $1.50–$2.00 per sq ft
- Best for: Dining rooms, formal sitting rooms, master bedrooms
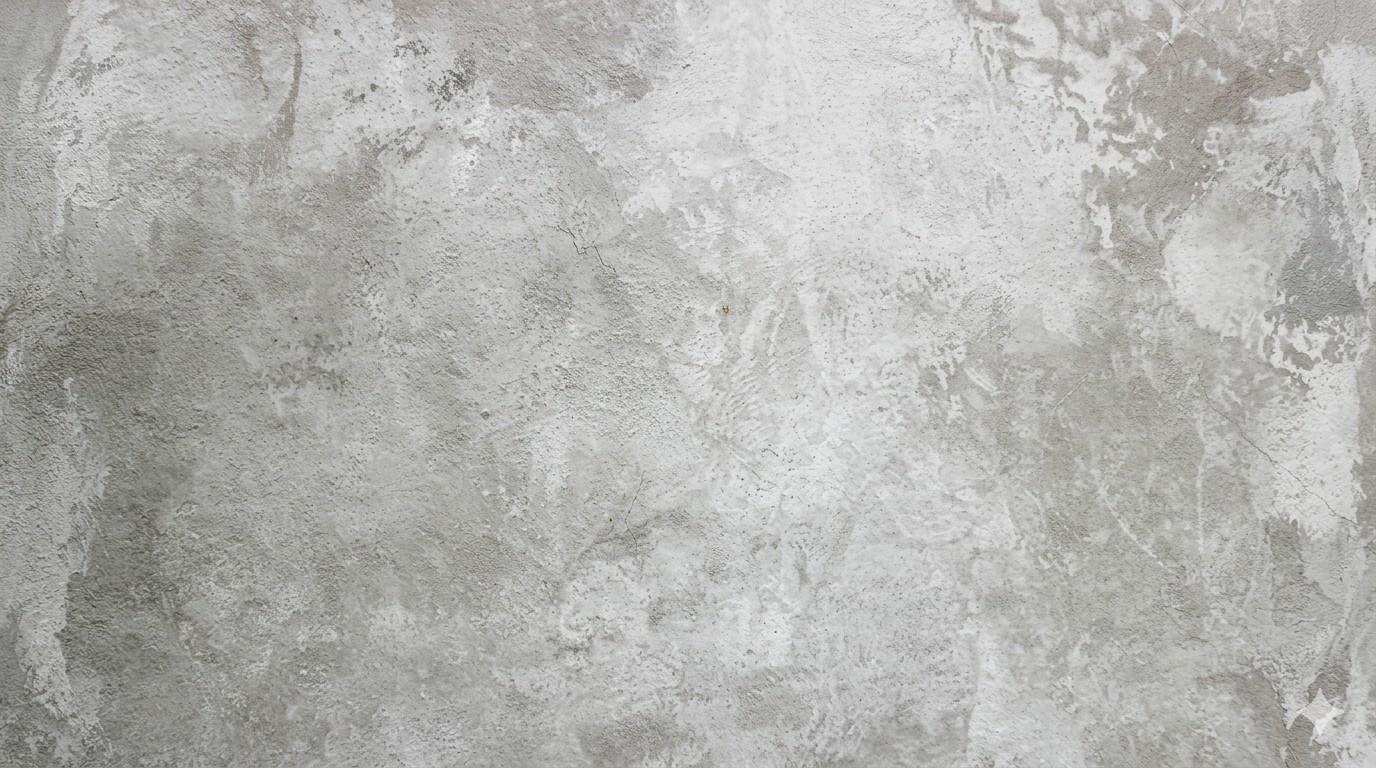
10. Hawk and Trowel
Hawk and trowel is a hand-applied method in which joint compound or plaster is held on a flat metal plate (the hawk) and spread onto the wall in uneven, overlapping strokes with a steel trowel. Layers are built up and left irregular for a rustic, Old World finish.
This is a slow technique that requires experience to execute well. The finished look is dramatic and adds real depth to a room, a common feature of traditionally designed or high-end interiors.
- DIY level: Difficult
- Professional cost: $2.00–$3.00 per sq ft
- Best for: Formal dining rooms, traditional or Mediterranean-style interiors
11. Venetian Plaster
Venetian plaster uses multiple thin coats of lime-based plaster, often mixed with marble dust, applied with a steel trowel and burnished between layers. The finished surface is smooth, slightly reflective, and has a depth that resembles marble or polished stone.
It’s the most premium residential wall finish on this list. The application requires a skilled professional, and the material itself costs more than standard joint compound. The result, when done well, is one of the most refined wall finishes available for home interiors.
It also has practical advantages: lime-based plasters are breathable, mold-resistant, and VOC-free, making them a good option for bedrooms and living spaces where air quality matters.
- DIY level: Not recommended without professional training
- Professional cost: $5.00–$15.00 per sq ft, depending on finish quality and layers
- Best for: Living rooms, dining rooms, high-end master bedrooms, accent walls
12. Spray Sand
Spray sand texture is created by mixing fine sand particles into joint compound or a sand-specific base coat, then applying the mixture with a spray gun. The surface dries to a consistent, gritty texture, similar to orange peel but noticeably rougher.
It’s durable and low-maintenance, two qualities that make it common in commercial spaces, garages, and high-traffic residential hallways.
- DIY level: Moderate (requires spray equipment)
- Professional cost: $1.00–$1.50 per sq ft
- Best for: Hallways, utility rooms, commercial spaces
Wall Texture Cost in the US
Texture costs depend on the type of finish, surface area, and whether you hire a professional or do the work yourself. Here’s what current data from Angi, HomeGuide, and HomeAdvisor show for 2025–2026.
Professional vs. DIY Cost Comparison:
| Feature | DIY | Professional |
|---|---|---|
| Spray textures (orange peel, knockdown) | $0.10–$0.30/sq ft (materials only) | $0.80–$1.50/sq ft |
| Hand-applied textures (skip trowel, slap brush) | $0.15–$0.40/sq ft (materials) | $1.25–$2.00/sq ft |
| Premium finishes (Venetian plaster) | Not recommended DIY | $5.00–$15.00/sq ft |
| Retexturing (removing old + applying new) | Not recommended DIY | $1.80–$3.80/sq ft |
| Average room project (500 sq ft) | $50–$150 in materials | $575–$675 total |
Cost by Texture Type:
| Texture | DIY Cost (materials) | Professional Cost |
|---|---|---|
| Orange Peel | $0.15–$0.30/sq ft | $0.80–$1.50/sq ft |
| Knockdown | $0.15–$0.30/sq ft | $1.00–$1.50/sq ft |
| Popcorn | $0.10–$0.20/sq ft | $1.00–$2.00/sq ft |
| Skip Trowel | $0.20–$0.40/sq ft | $1.25–$2.00/sq ft |
| Sand Swirl | $0.20–$0.35/sq ft | $1.00–$1.80/sq ft |
| Hawk and Trowel | $0.25–$0.40/sq ft | $2.00–$3.00/sq ft |
| Venetian Plaster | Not recommended | $5.00–$15.00/sq ft |
Pro tip: Contractors price by wall or ceiling surface area, not by room floor area. A room with 8-foot ceilings and four walls might have 400–600 sq ft of wall surface, depending on its size.
Best Wall Texture for Each Room
Not every texture works well in every room. The right choice depends on the function of the space, moisture levels, and the overall look you want to achieve.
1. Living Room
Knockdown and skip trowel are the two most-requested finishes for living rooms. Both add visual depth without being too bold, and both work well under varying lighting conditions, including natural daylight and evening lamplight.
For a more modern living room, light knockdown is the safer pick. For a warmer, more traditional feel, skip trowel delivers more character.
2. Bedroom
Smooth finish and orange peel are the most common choices for bedrooms. Both are calm and easy to live with.
Rosebud or skip trowel also works well in master bedrooms where you want a slightly more finished look without anything too heavy or dramatic.
3. Kitchen and Bathroom
Sand swirl and spray sand hold up well in rooms with higher humidity. The surface particles make them slightly easier to wipe down, and the denser finish resists moisture better than lighter spray textures.
Knockdown also works in these spaces if the walls are properly primed and sealed. Skip trowel is generally avoided in bathrooms unless paired with a moisture-resistant primer and paint.
4. Ceilings
Knockdown and popcorn are the two most common ceiling textures. Knockdown gives a cleaner, more updated look. Popcorn is still used in homes where sound-dampening matters, particularly in multi-story builds.
Sand swirl is a good option for large ceiling spans where glare and seam lines are more pronounced. A smooth ceiling is gaining ground in modern homes, especially where the goal is a continuous look from ceiling to wall.
How to Apply Wall Texture
Applying wall texture is straightforward when you have the right tools and techniques. Proper preparation before starting makes a significant difference in the final result.
Tools You’ll Need:
| Tool | Purpose |
|---|---|
| Drywall knife/putty knife | Spreading and flattening compound |
| Trowel | Hand-applied finishes |
| Spray hopper/texture gun | Spray-based finishes (orange peel, knockdown, popcorn) |
| Paint roller (3/4″ nap or thicker) | Rolling on a compound base |
| Sander / sanding sponge | Smoothing between coats |
| Drywall primer | Surface prep before texturing |
Step-by-Step Application
- Clean the wall. Remove dust, grease, and any loose paint.
- Repair damage first. Fill cracks and holes with lightweight joint compound. Let dry completely.
- Prime the surface. A drywall primer improves adhesion and prevents the compound from drying too fast.
- Mix the compound. The consistency depends on the texture. For spray finishes, it should flow easily. For hand-applied work, it should hold its shape without slumping.
- Apply the texture. Use your chosen tool, trowel, brush, or spray gun, working in sections.
- Knock down if needed. For a knockdown texture, wait 5–10 minutes, then lightly flatten the peaks with a clean drywall knife.
- Let it dry fully. Most textures need at least 24 hours before painting.
- Prime again, then paint. Fresh texture is porous. A second coat of primer before painting gives a more even finish.
How to Clean and Repaint Textured Walls
Textured walls collect dust faster than smooth surfaces, so regular cleaning with a soft brush or vacuum attachment keeps them looking fresh.
For stains, a damp cloth with mild dish soap works on most finishes; just avoid scrubbing hard, as it can knock off the peaks of the texture. When it’s time to repaint, always use a thick-nap roller of at least 3/4 inch so the paint reaches into every recess.
Apply two coats, letting the first dry fully before the second. Skipping this step is the most common reason textured walls end up looking patchy after a fresh coat of interior paint.
Conclusion
Wall texture types range from the simple, budget-friendly orange peel to the labor-intensive Venetian plaster, which turns a wall into a genuine design feature.
The right choice comes down to three things: your room, your budget, and your skill level. Spray textures like knockdown and orange peel are the most practical for most homeowners.
Hand-applied finishes like skip trowel, hawk, and trowel add more character but need more time and experience to pull off well.
Whatever you choose, proper prep and priming make the biggest difference in how a finished texture looks and lasts.
Which wall texture are you considering for your next project? Share your questions in the comments below.