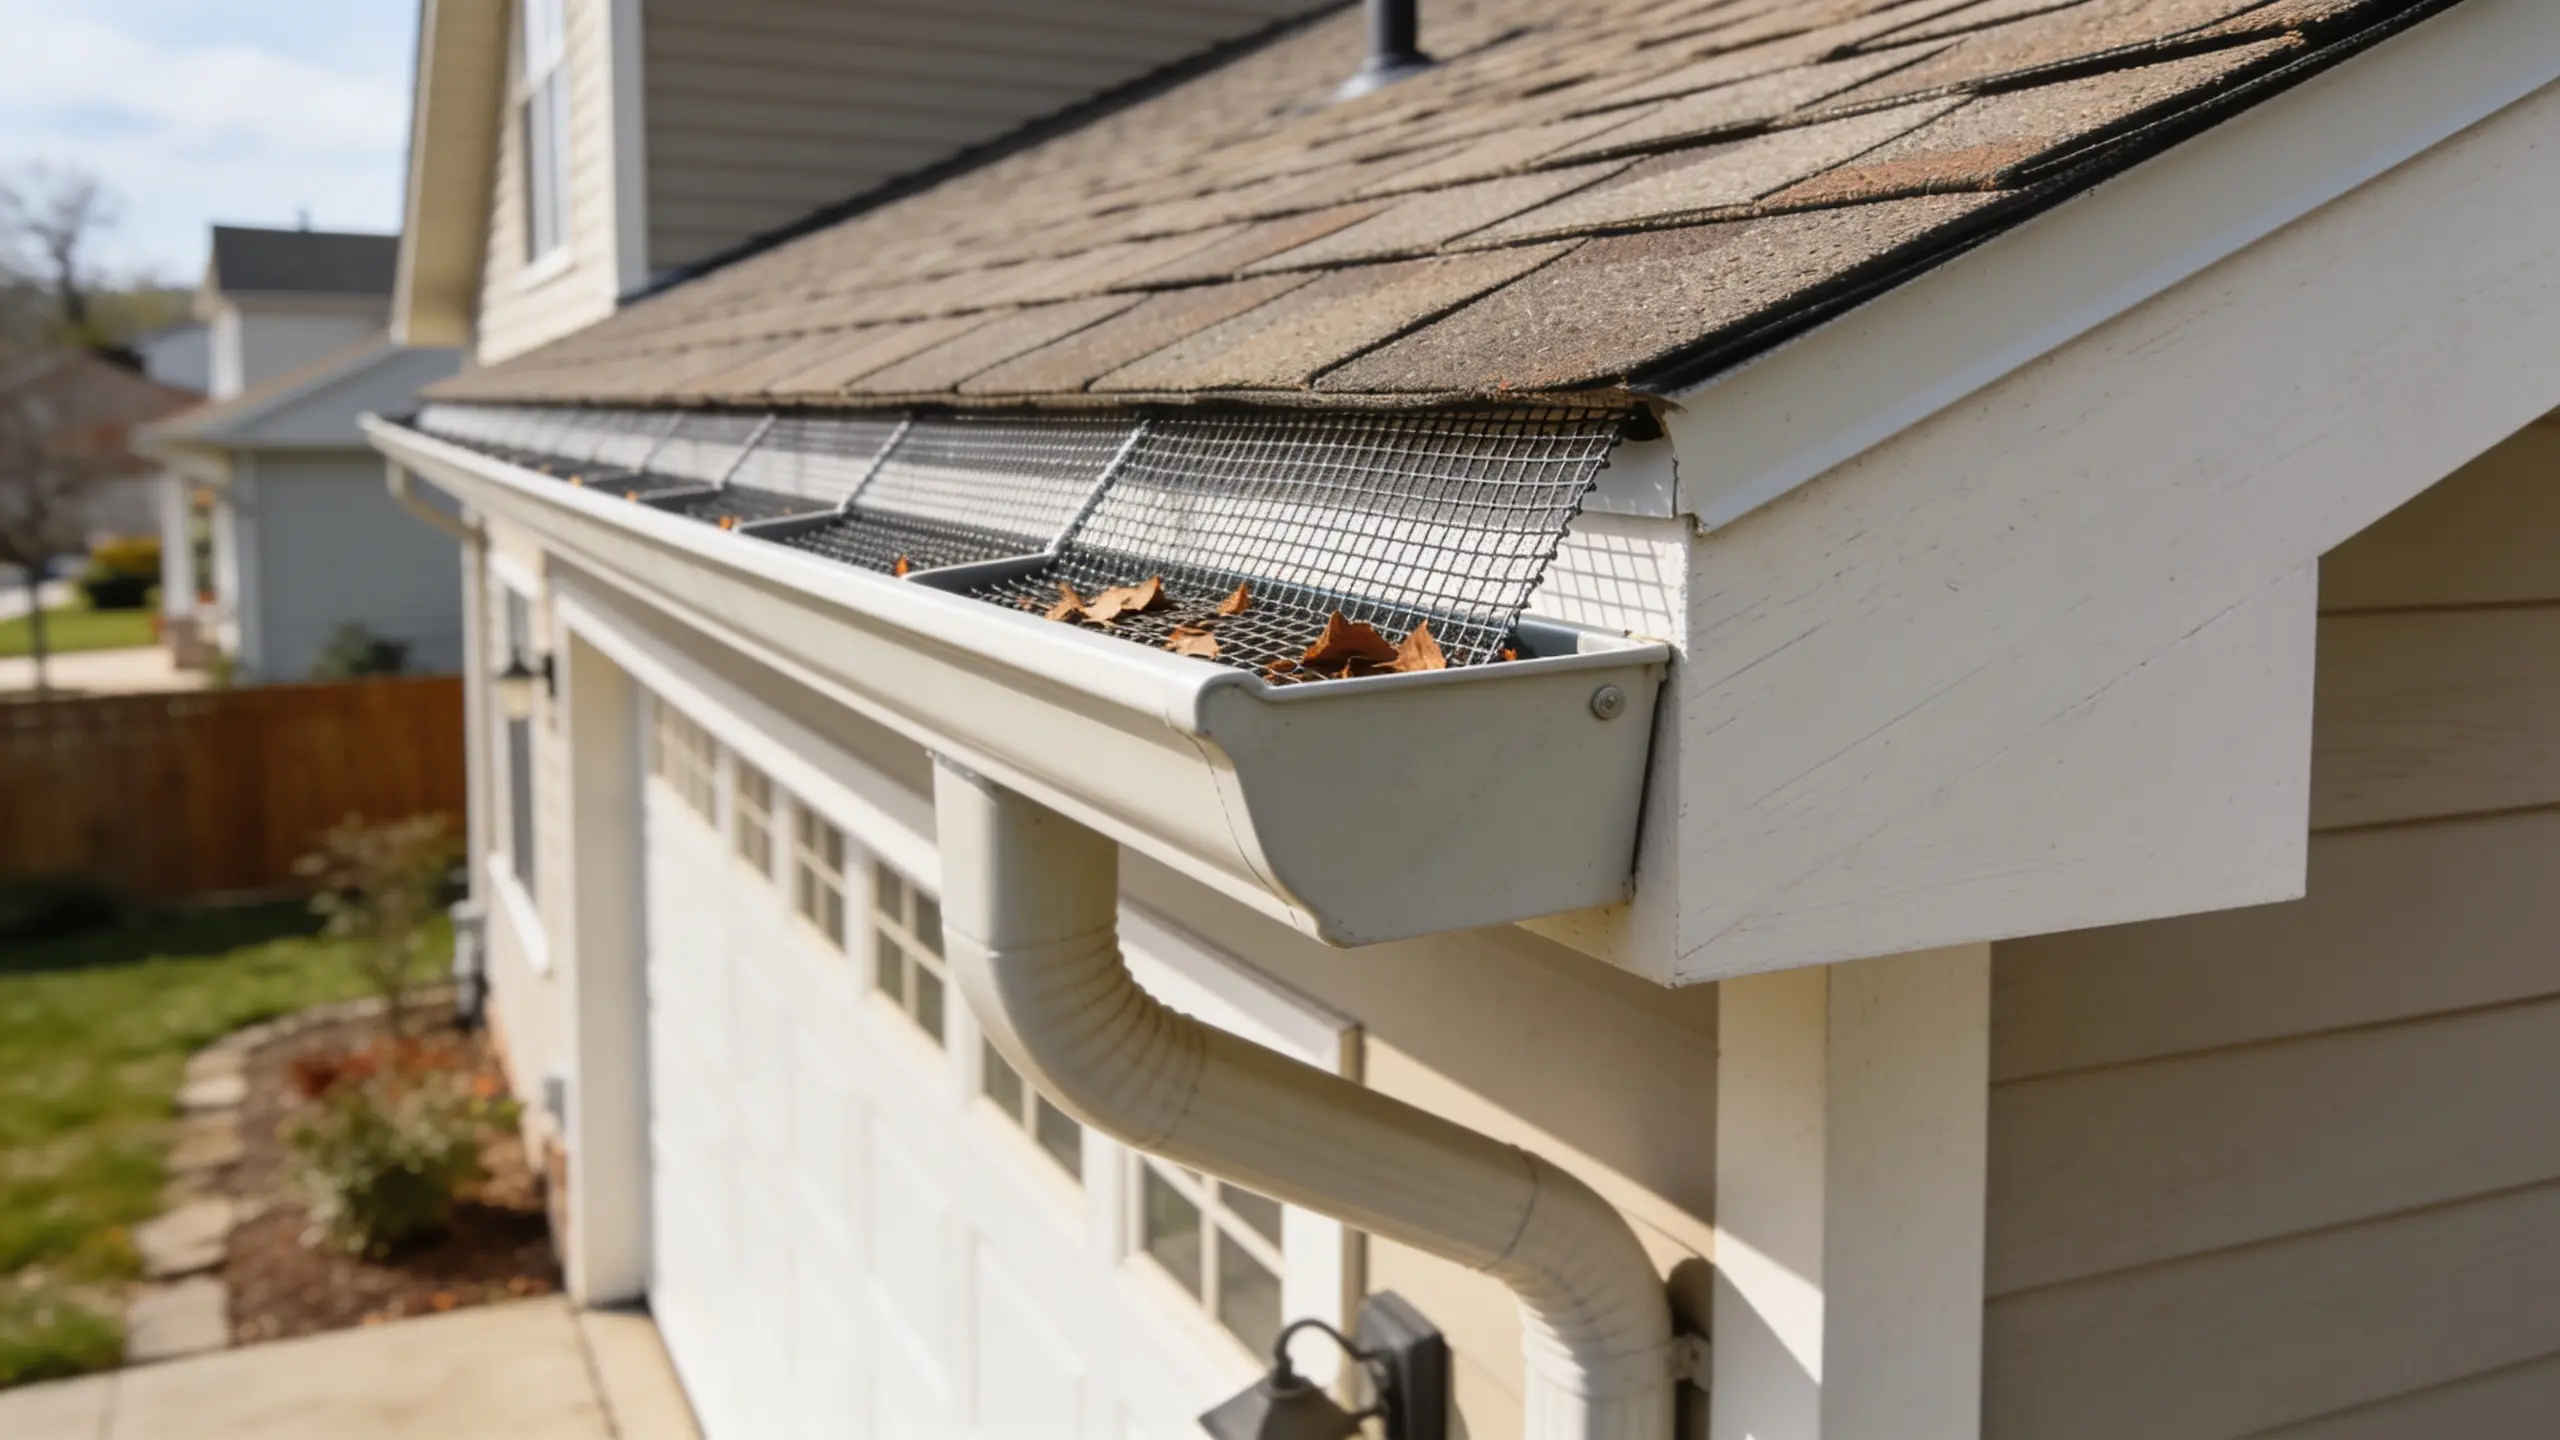
You’ve cleaned out a lot of gutters over the years. Leaves, pine needles, the occasional dead bird you’ve pulled it all out.
And every single time you’ve been up on that ladder with a trowel and a trash bag, you’ve probably thought: there has to be a better way.
Gutter guards are a better way. But after installing them on three different houses, you can tell the options are not created equal.
Some work great. Some are a waste of money. And a few can actually damage your roof if installed incorrectly.
This covers everything you need to pick the right one and install it yourself without making expensive mistakes.
What Are Gutter Guards and Do You Actually Need Them?
A gutter guard sits over or inside your gutter, blocking debris while letting water flow through. That’s the simple version.
Whether you need one depends on your situation. If you have trees hanging over your roof, especially pines or maples, you’re going to fill your gutters with debris every season.
Guards make a real difference there. If you live on a street with no tree coverage and dry, mild weather, you might get away with two cleanings a year and nothing else.
Signs you’re a good candidate for guards:
- You clean your gutters more than twice a year
- You’ve had water back up under your shingles or overflow down your siding
- You’ve found birds or wasps nesting in your gutters
- You’ve dealt with ice dams in winter
If that list sounds familiar, read on. If not, a good ladder and a schedule might be all you need.
The Best DIY Gutter Guards
There are five main DIY gutter guard types, each designed to block debris in different ways while allowing water to flow through your gutters effectively.
1. Micro-Mesh Guards
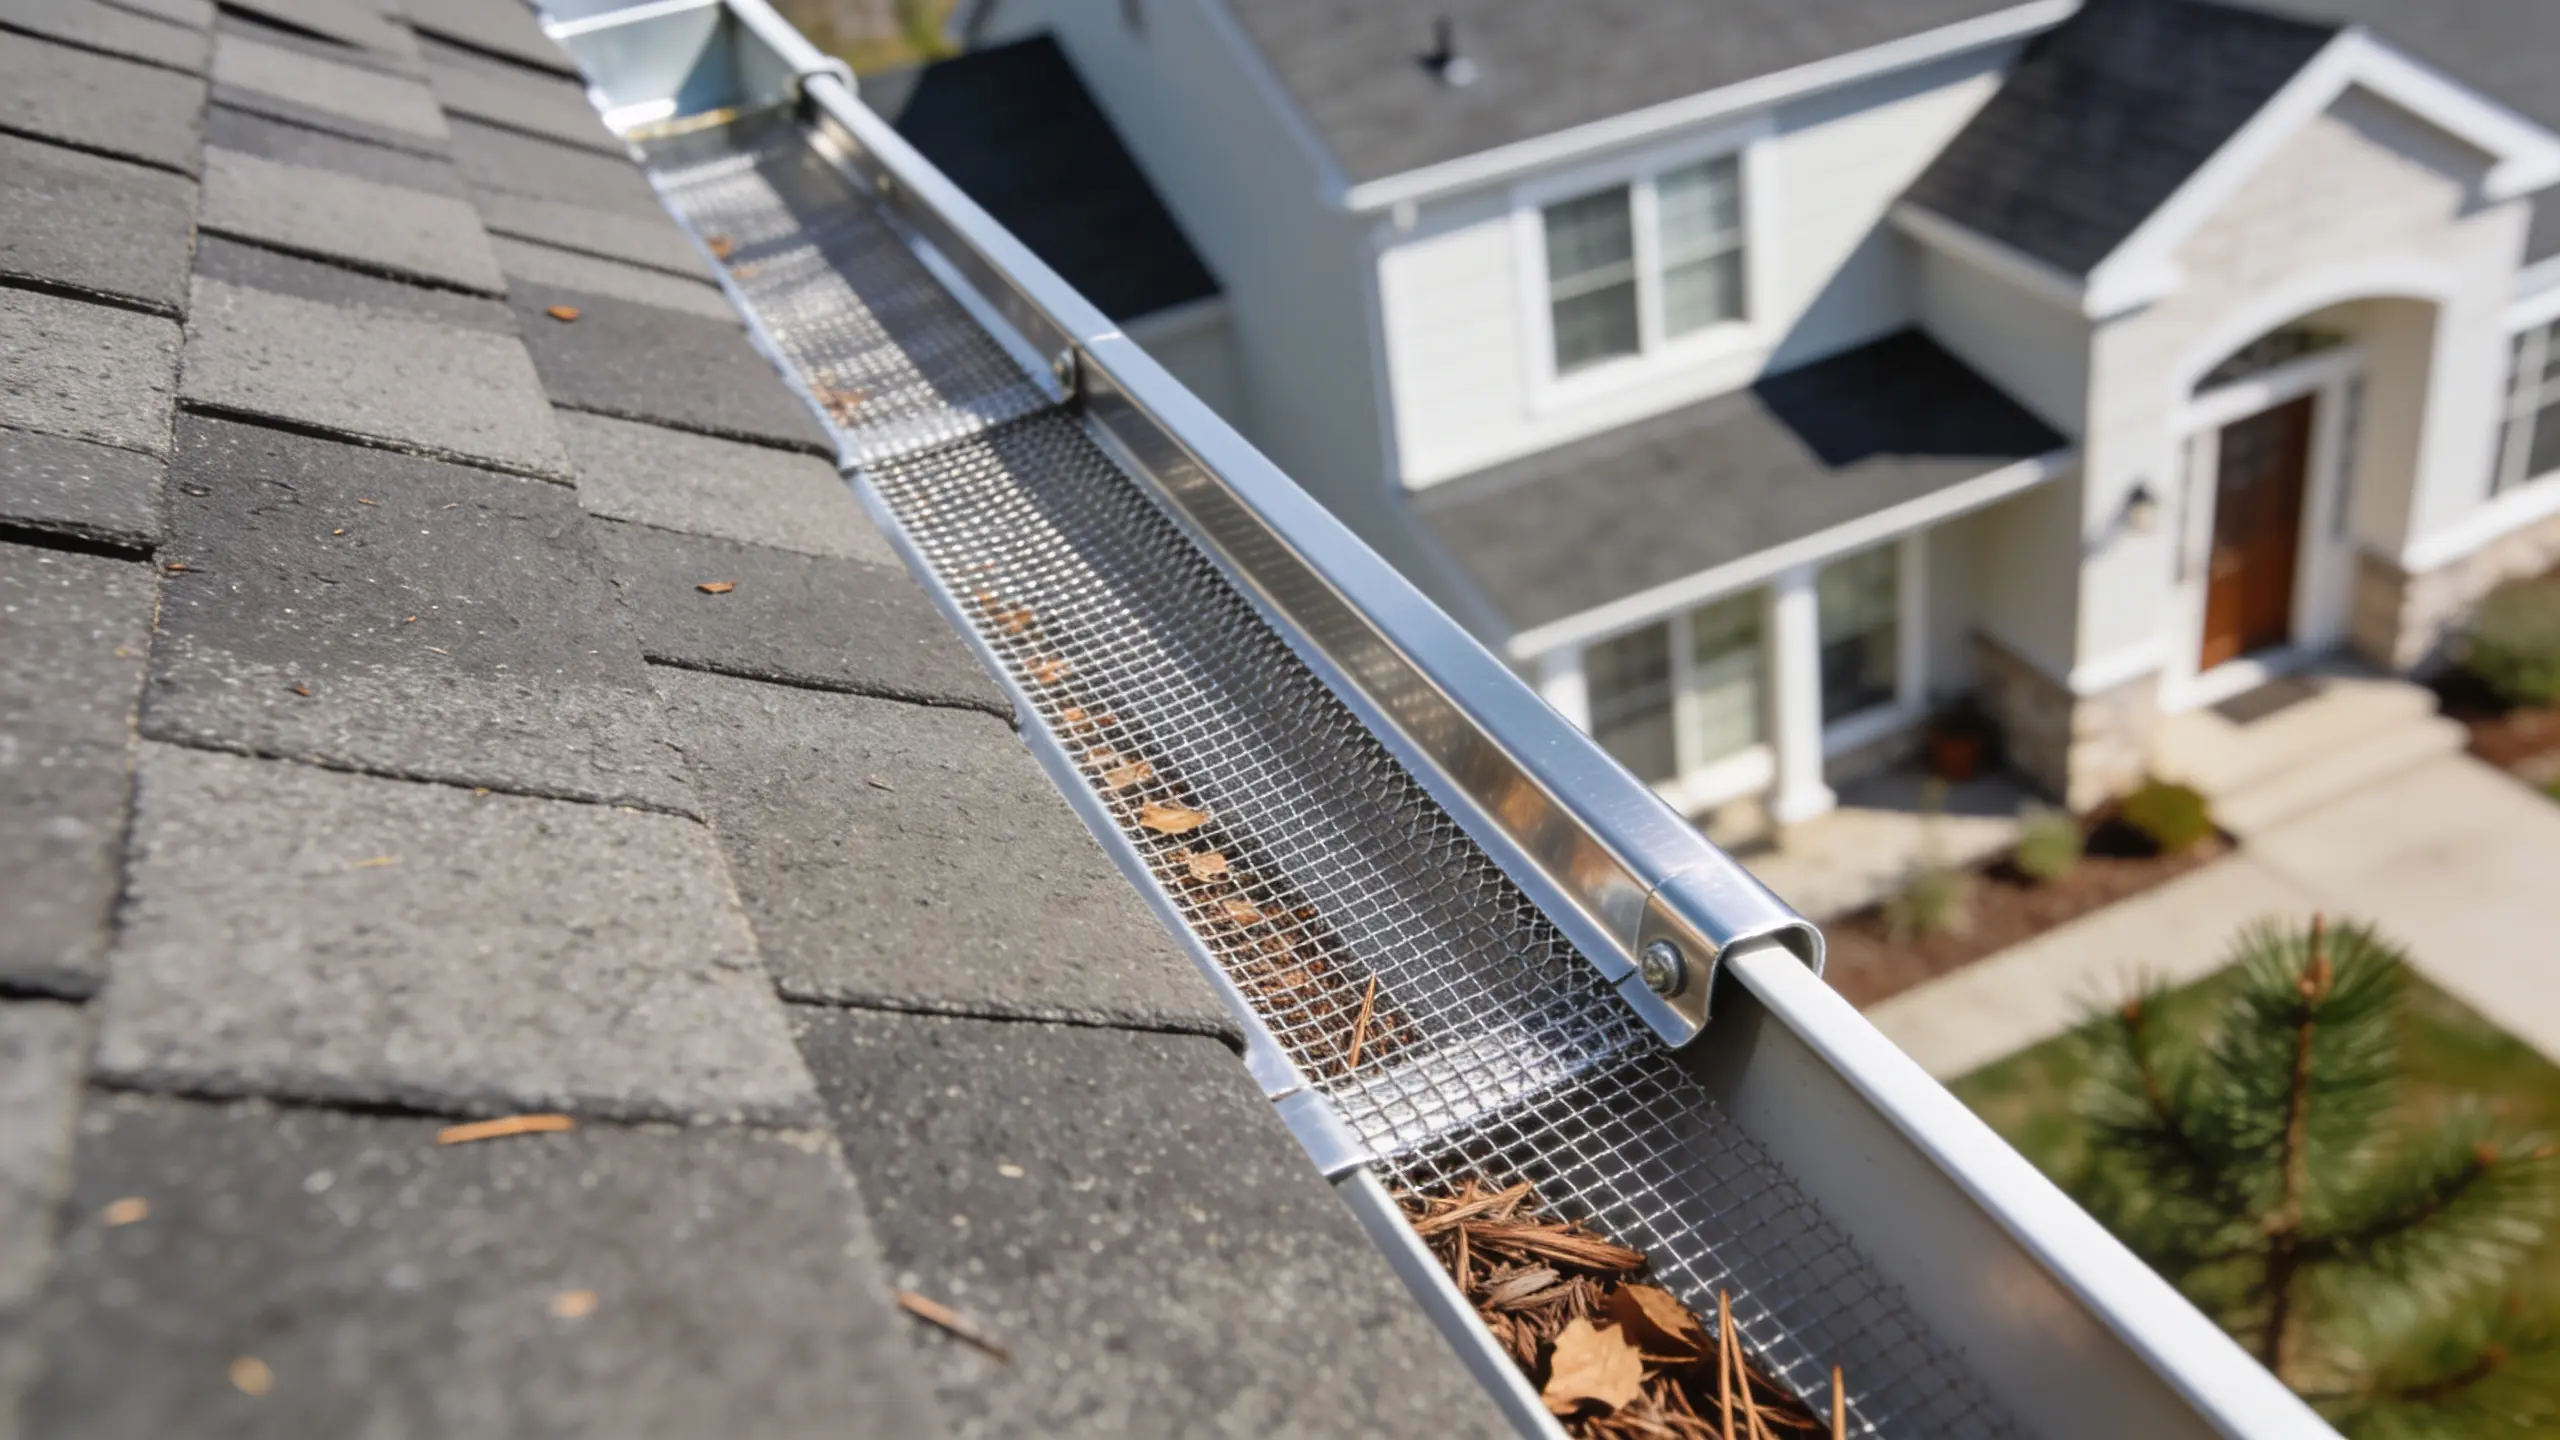
These are thin stainless steel screens (sometimes aluminum-framed) with holes so small they block pine needles, shingle grit, and seed pods, basically everything except water.
You can install Raptor Micro-Mesh on your current house in about four hours on a 1,500-square-foot roof. The mesh snaps in or screws to the gutter lip. No lifting shingles, no cutting around brackets.
Works best for: Homes near pine trees, areas with heavy pollen, fine debris of any kind.
Watch out for: They’re the priciest DIY option, usually $2–$4 per linear foot. And if ultrafine debris does collect on the surface, you’ll need to hit it with a hose once a year. Still beats full cleaning by a mile.
2. Screen / Metal Mesh Guards
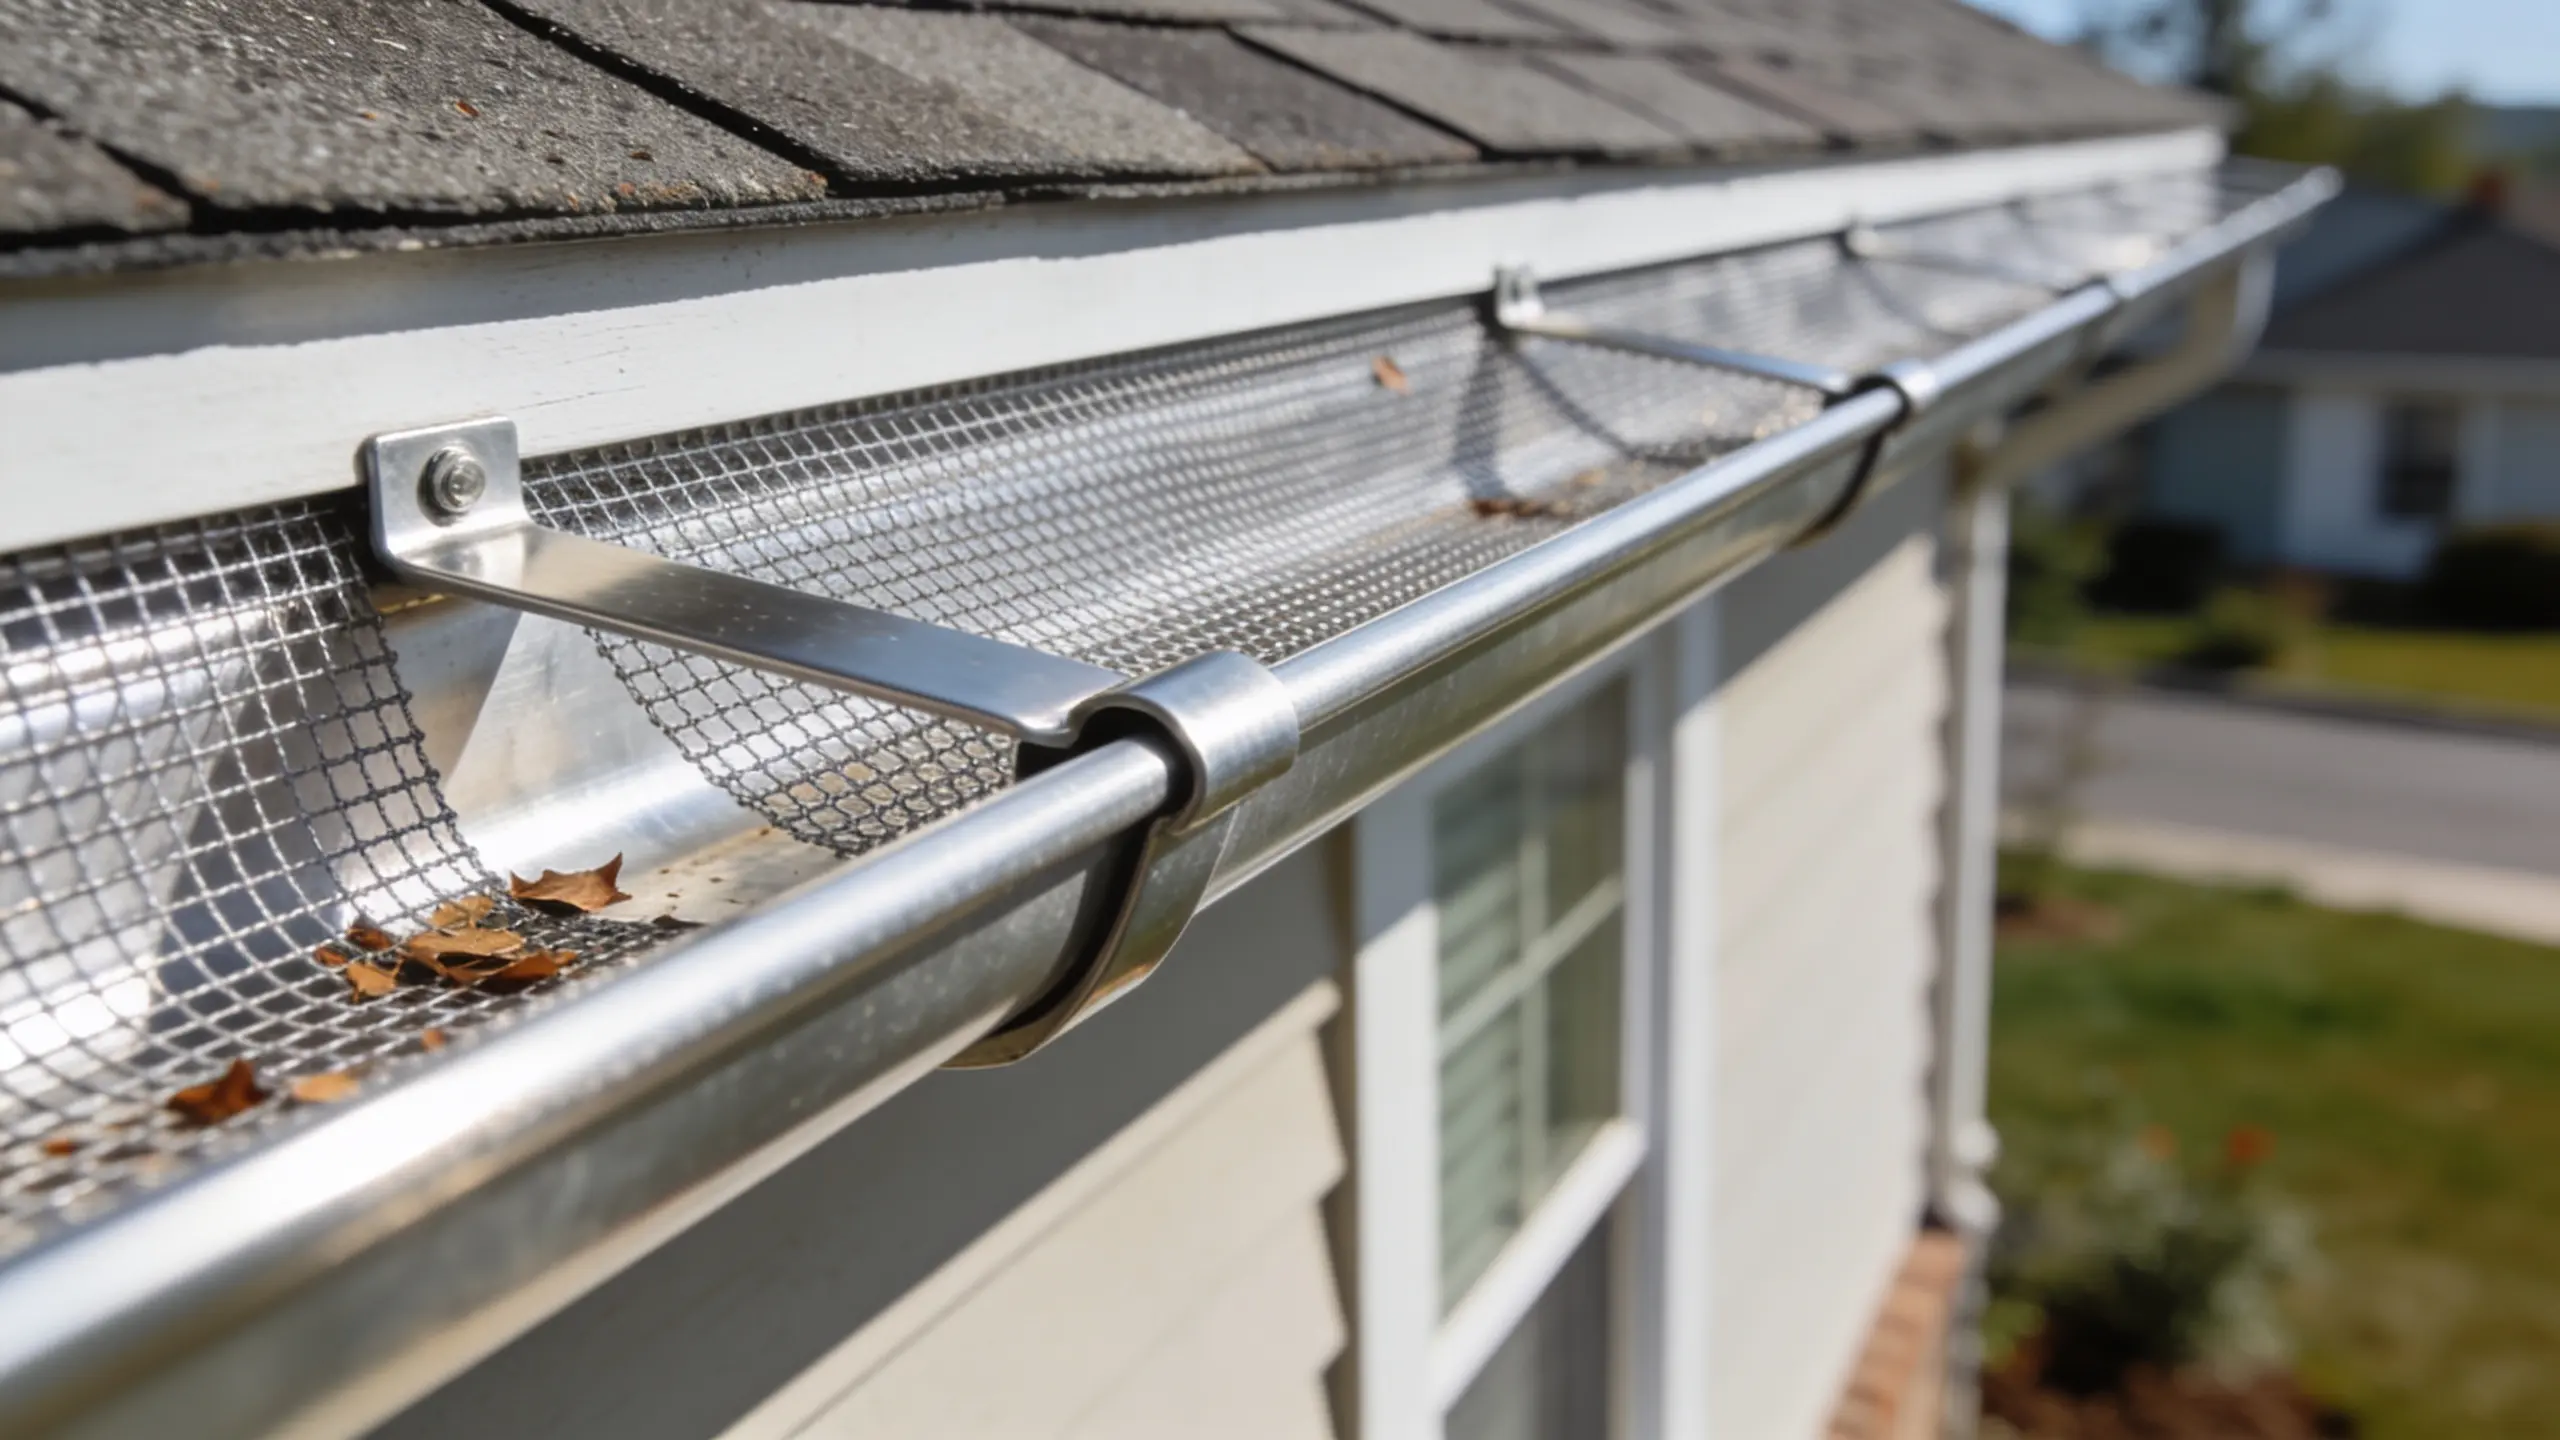
These are flat metal sheets with holes punched through them. Bigger holes than micro-mesh, lower price, easier to find at any hardware store.
Good for leaves and twigs. Not good for pine needles, which slide right through. If your debris is mostly large fall leaves, these get the job done for around $1–$2 per linear foot.
Works best for: Deciduous trees, light debris loads, anyone on a tighter budget.
Watch out for: In my experience, screen guards on the cheap end start warping after two or three seasons in climates with big temperature swings. Spend a little more on aluminum over plastic.
3. Foam Gutter Inserts
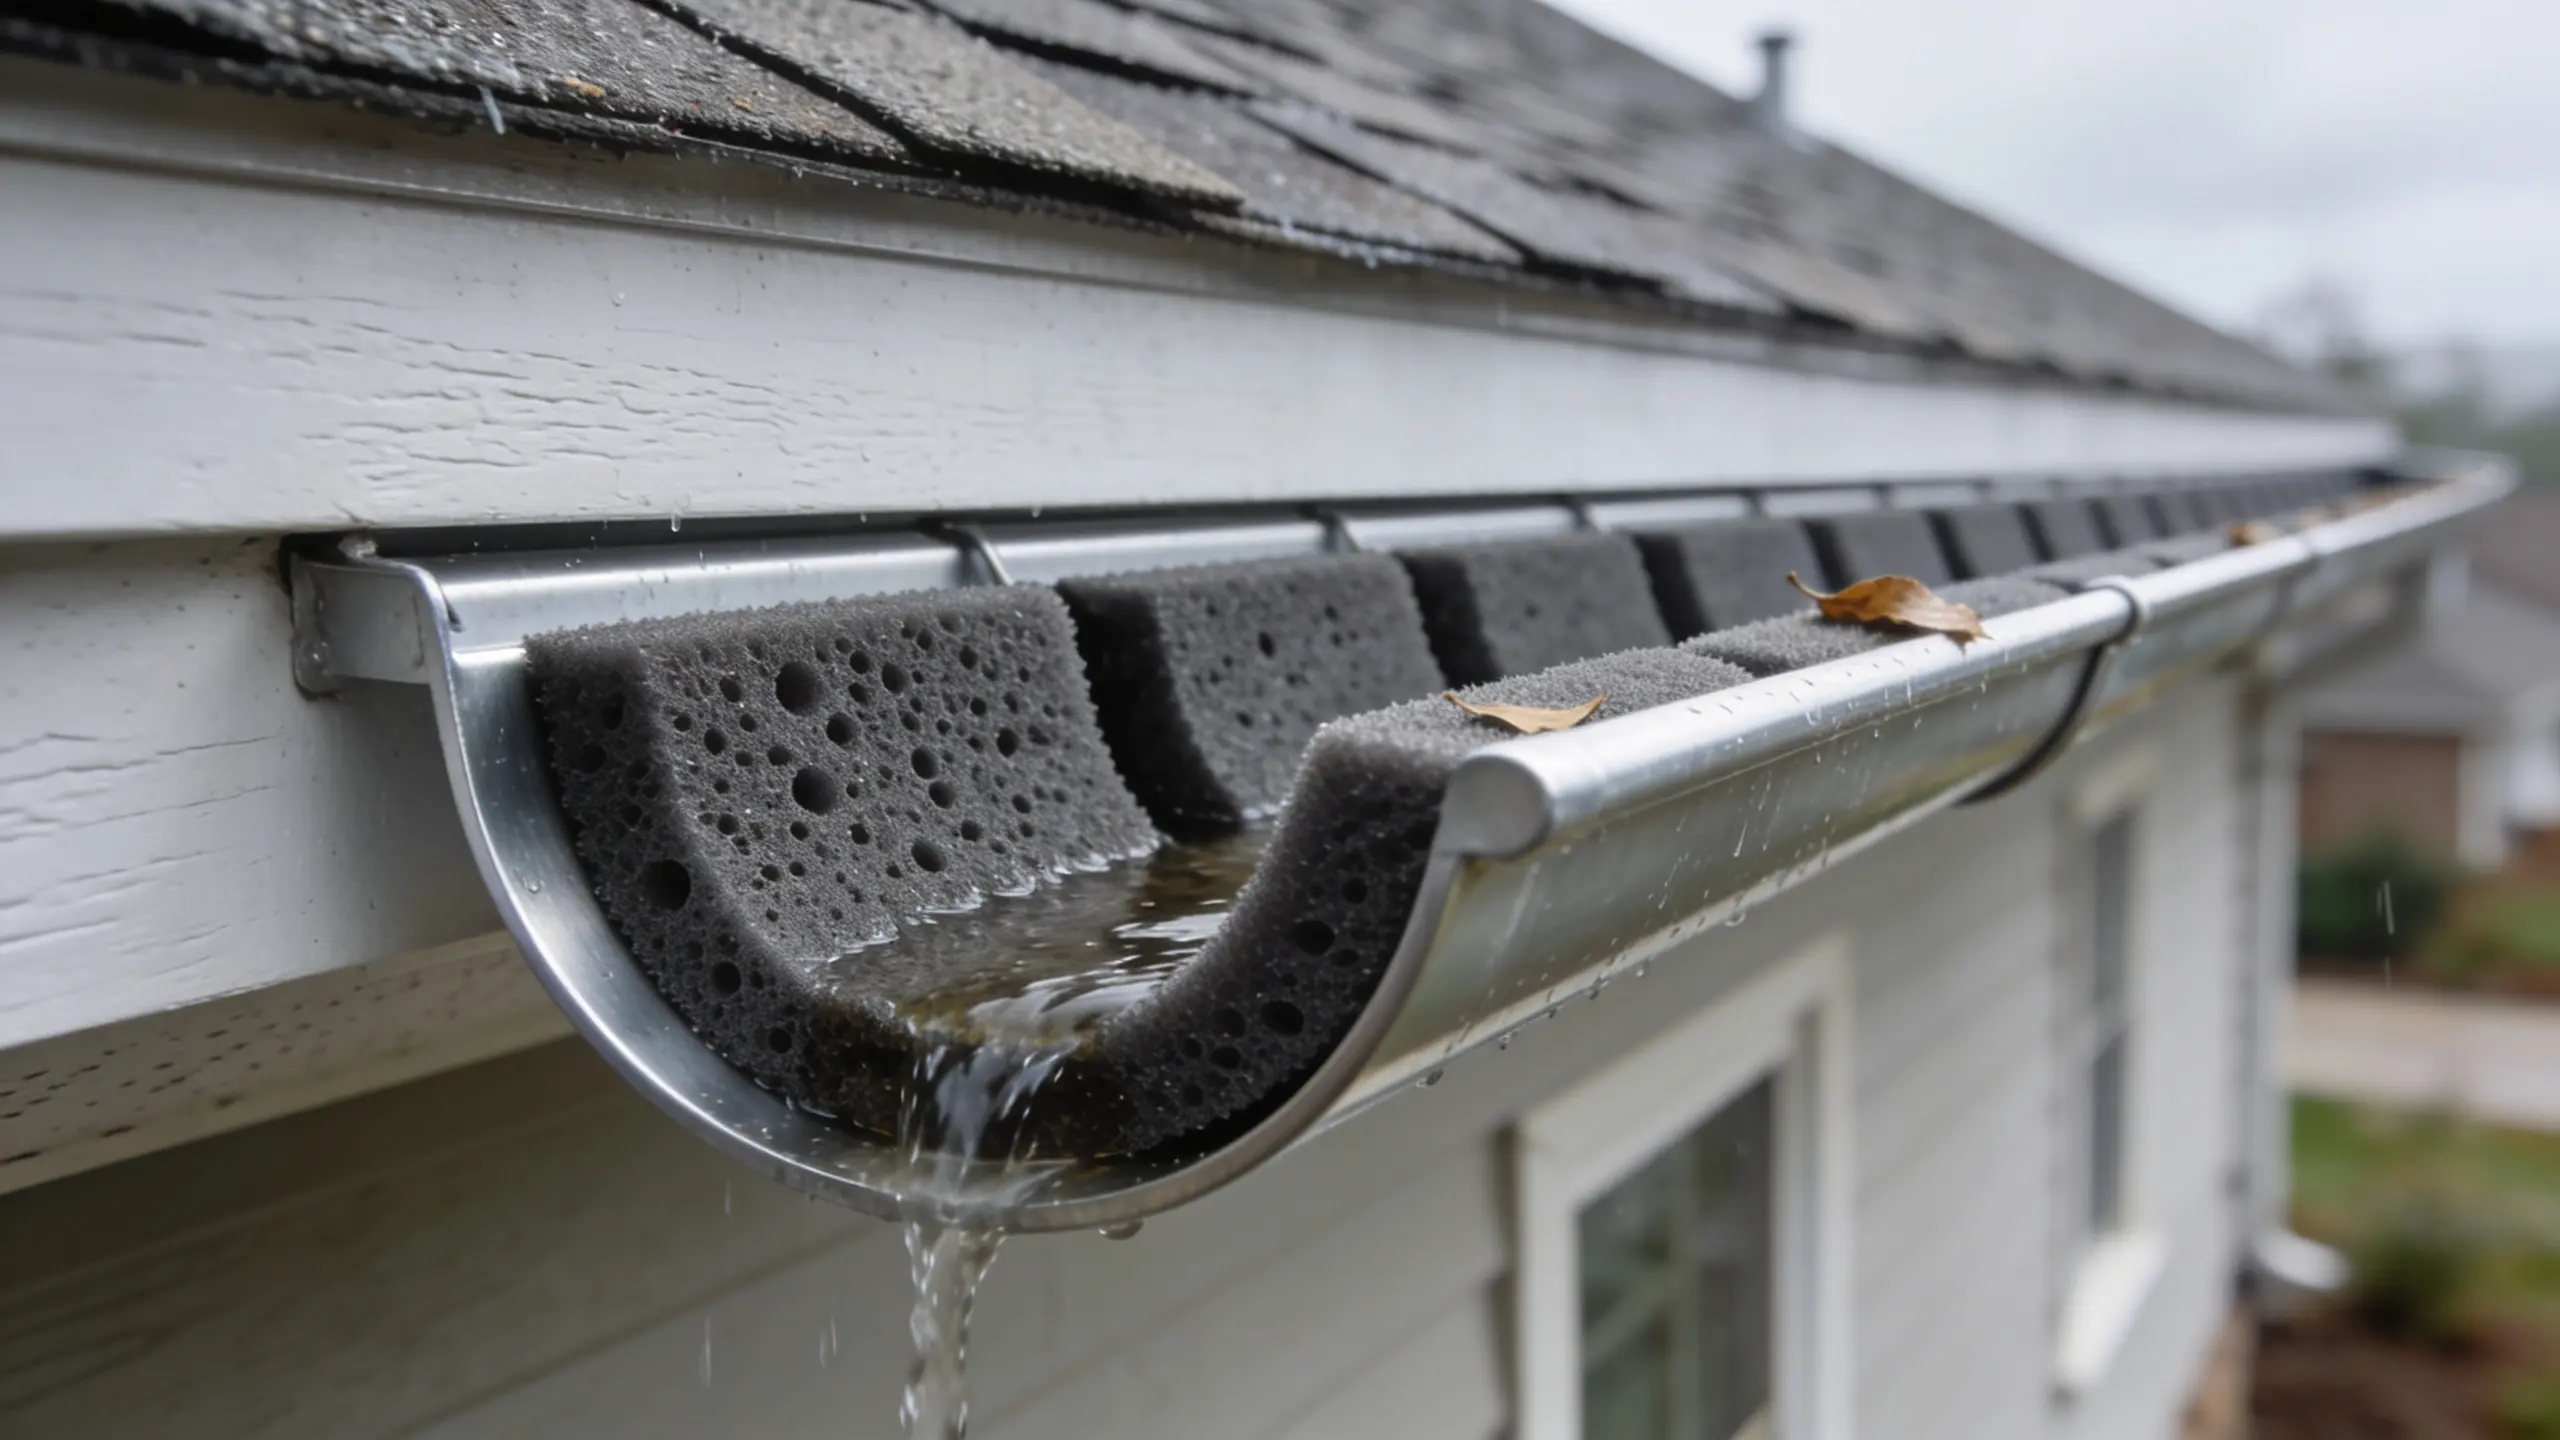
You literally slide a foam tube into the gutter. That’s the whole job. The foam blocks debris while water seeps through.
Works best for: Dry climates, minimal tree coverage, homeowners who want a temporary solution under $50.
Avoid if: You live anywhere with consistent rain or humidity.
4. Brush Guards (GutterBrush Style)
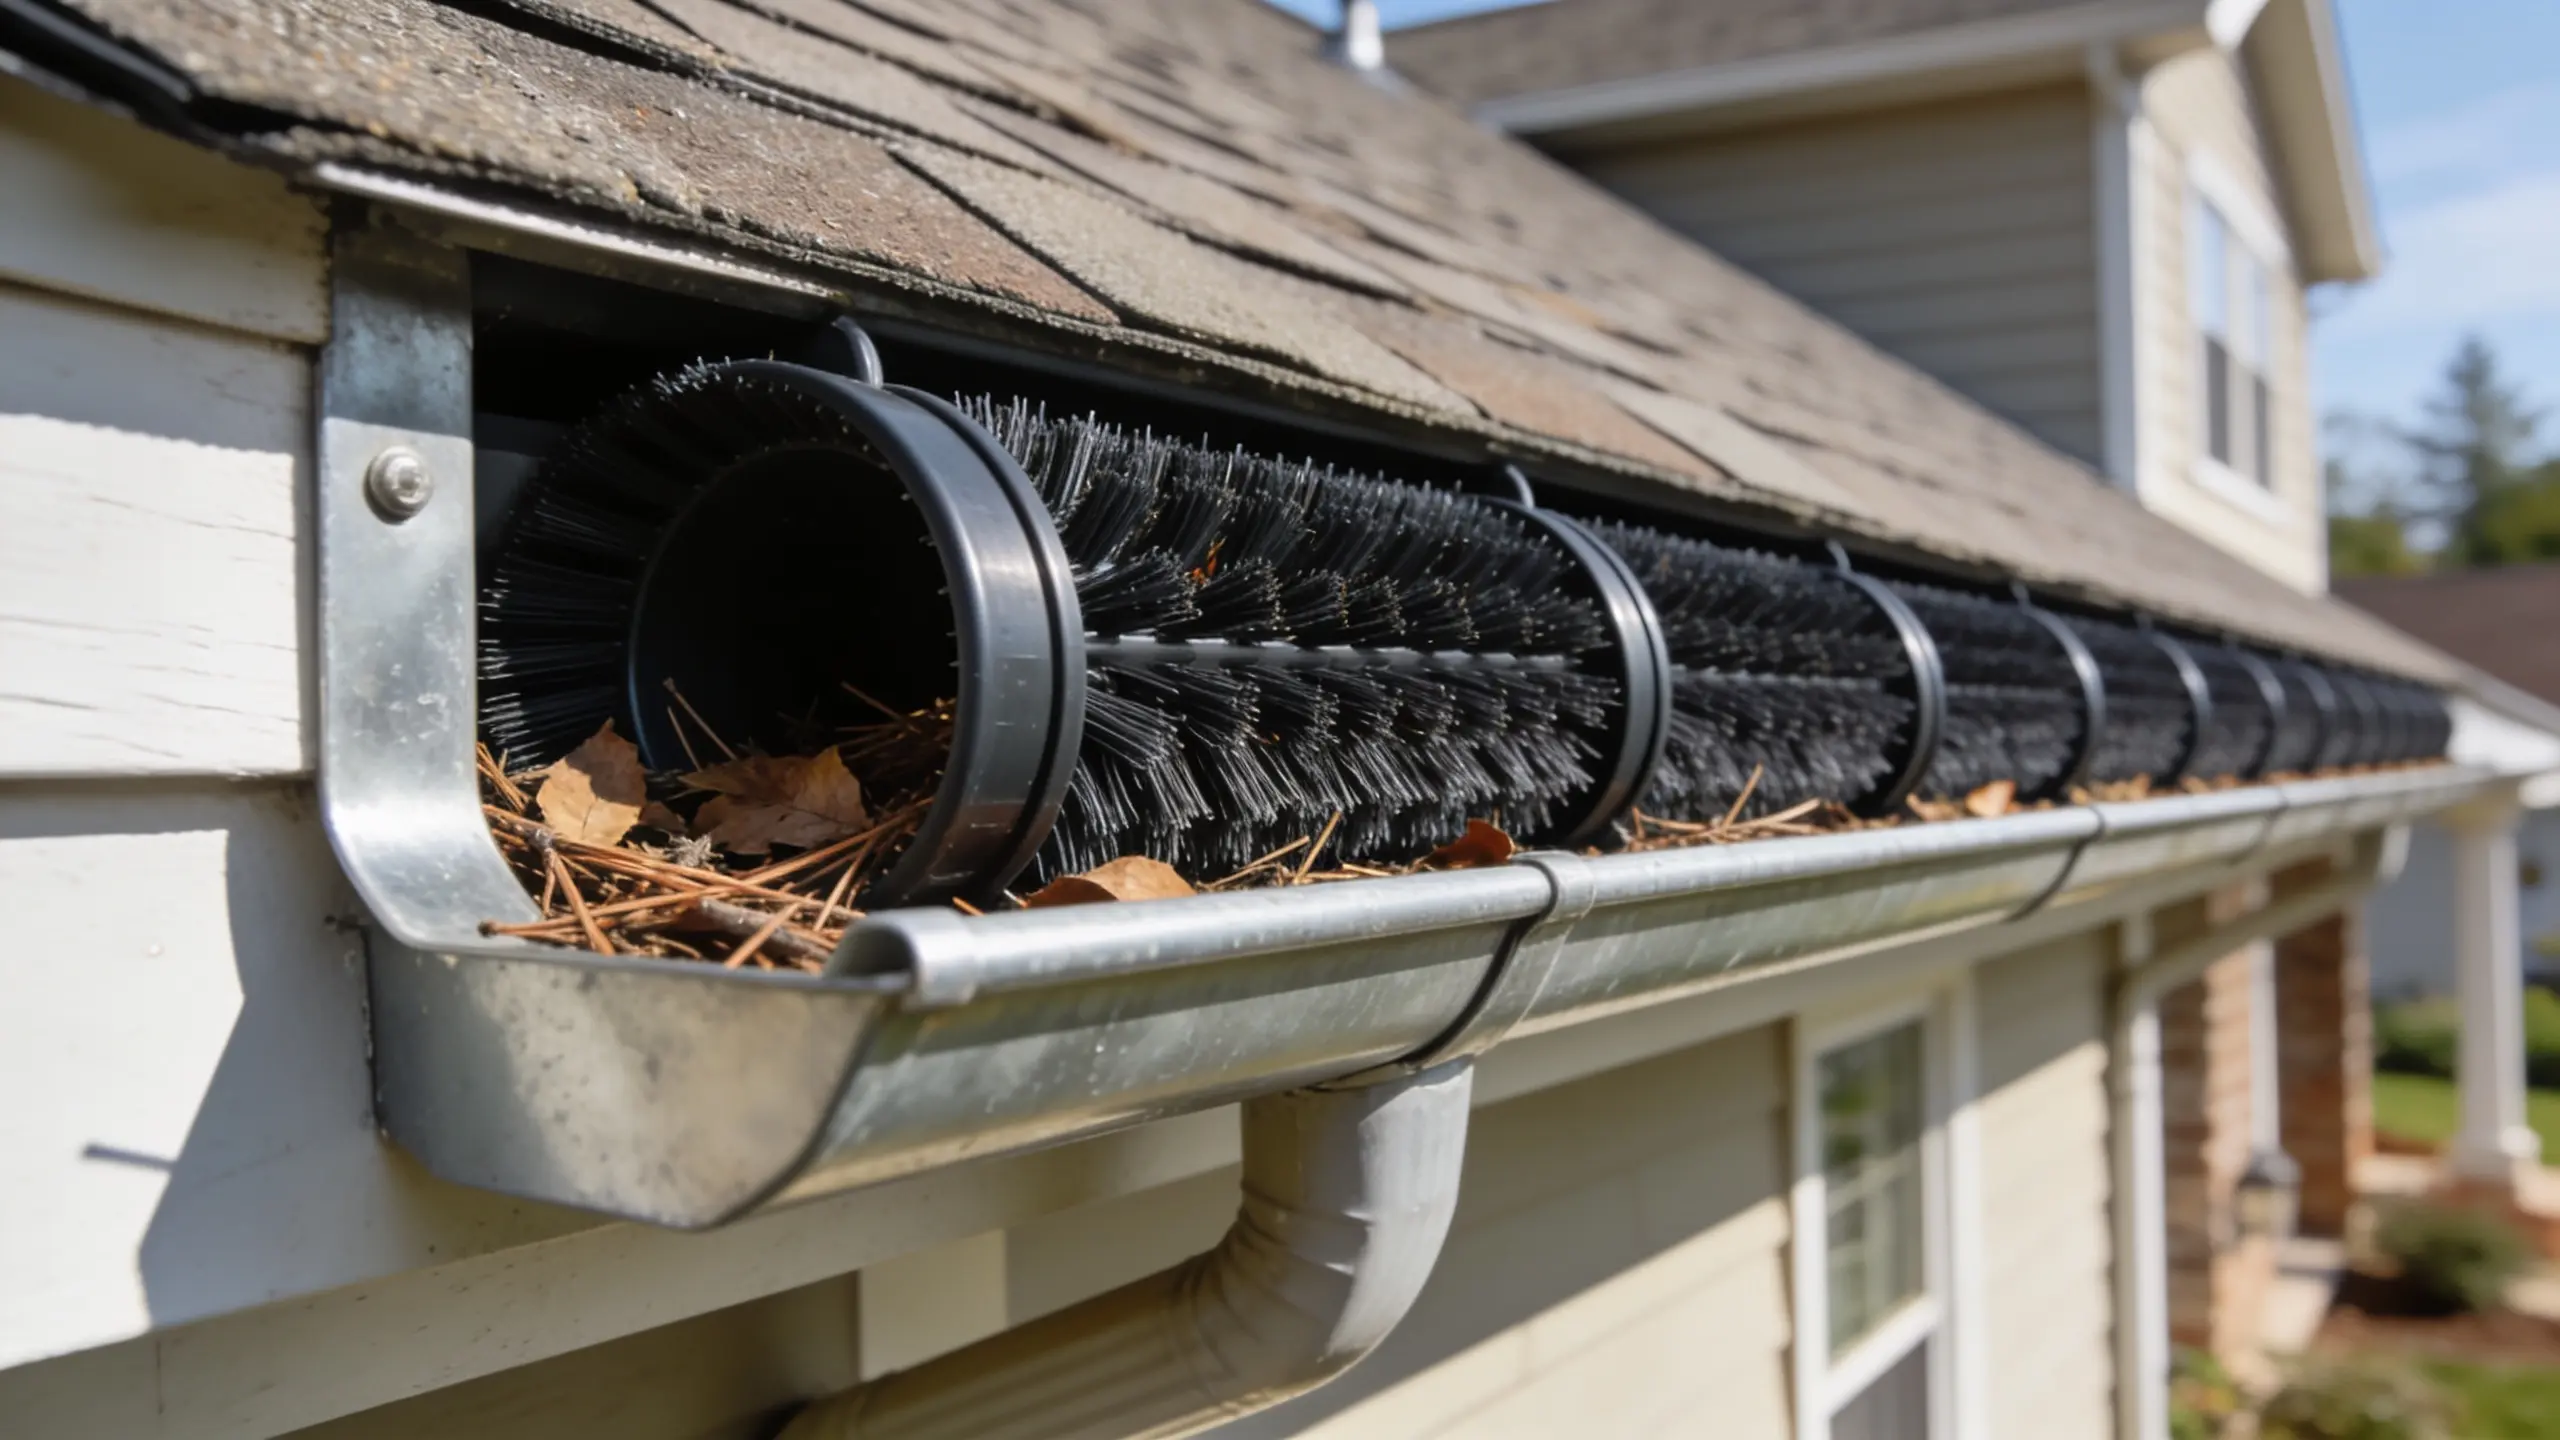
These look like oversized pipe cleaners. You drop them into the gutter, and they catch debris on their bristles while water flows underneath.
The big advantage is maintenance: you can pull the whole brush out, shake it off, or rinse it, and drop it back in. No tools needed. GutterBrush has been making these since 2004, and they work pretty well for leaves.
The downside: fine debris and seeds get trapped in the bristles over time, so you’re cleaning the brush instead of the gutter. Same amount of work, different shape.
Works best for: Leaf-heavy yards, homeowners who want easy removability.
How to Choose the Right Guard for Your Home
Your debris type matters most. Pine needles and shingle grit need micro-mesh. Large leaves can be handled by screen or brush guards.
If you’re not sure, look in your gutters after the next windstorm, which will tell you exactly what you’re dealing with.
Your climate is the second filter.
| Climate | What to choose |
|---|---|
| Heavy rain (Pacific NW, Southeast) | High-flow micro-mesh or perforated aluminum screen |
| Snow and ice (Midwest, Northeast) | Stainless steel micro-mesh; consider adding heat cable |
| Hot and dry (Southwest) | Avoid foam and plastic, they degrade fast in UV |
| Humid (Gulf Coast, South) | Skip foam entirely; go with metal |
Your roof type matters too. Metal roofs shed water faster and create higher runoff velocity. Micro-mesh handles that better than foam or brush. If you have a steep pitch, the same logic applies: you need a guard rated for high water volume.
Gutter size before you buy. Most homes have 5-inch gutters. Some have 6 inches. Measure before you order anything. The wrong size means the guard either won’t stay put or will leave gaps where debris can enter.
How to Install DIY Gutter Guards
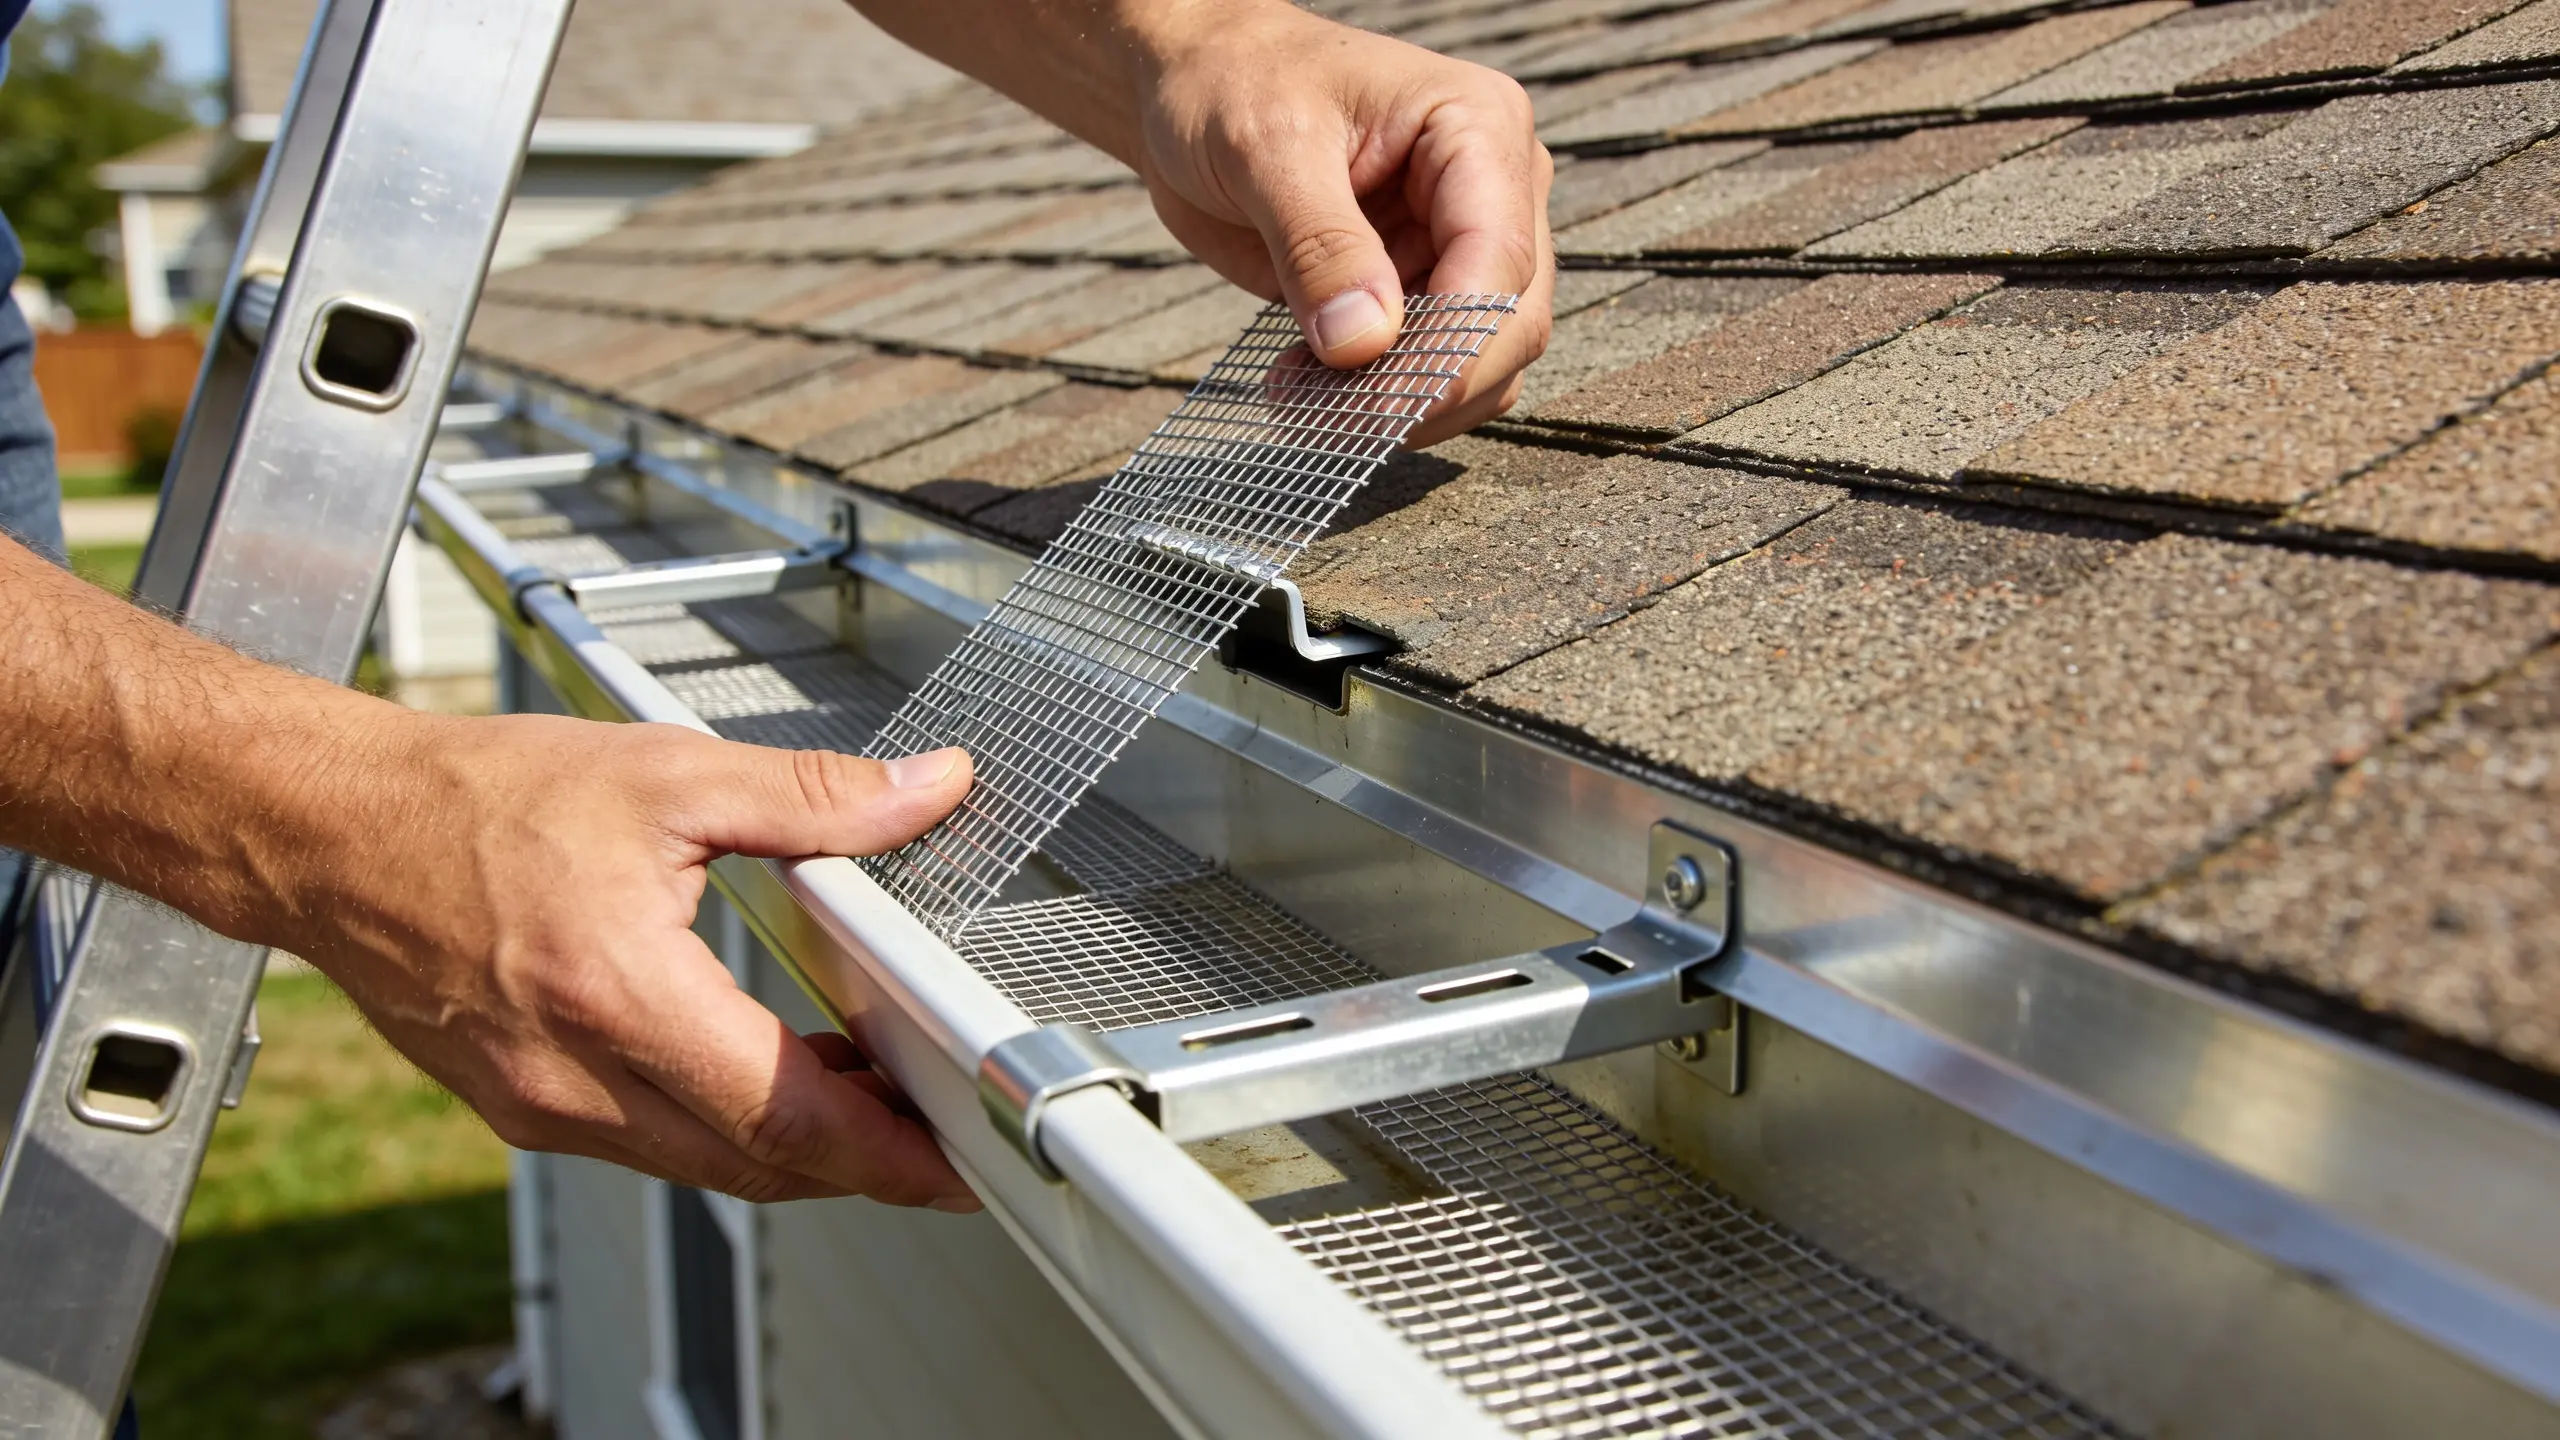
Installing DIY gutter guards involves measuring, cleaning, and properly securing the guards so that water flows freely while keeping debris out.
When done correctly, it improves drainage and reduces the need for ongoing gutter maintenance.
Tools you need:
- Tape measure
- Sturdy extension ladder
- Work gloves
- Safety glasses
- Tin snips (for cutting to length)
- A level (to check gutter slope)
- Step 1: Safety before anything else – Have someone hold the base of the ladder. Work only on a dry day, and ensure the ladder extends at least 3 feet above the roofline.
- Step 2: Measure gutters – measure total gutter length and add 10% extra for cuts, corners, and adjustments.
- Step 3: Clean gutters first – remove all debris before installation. Flush with water and check for standing water, which signals a poor slope.
- Step 4: Check gutter pitch – ensure a minimum slope of ¼ inch drop per 10 feet toward the downspout. Use a level and adjust if needed.
- Step 5: Install gutter guards – Start at one end and install using the snap, clip, or screw method. Overlap sections slightly to avoid gaps.
- Step 6: Test the system – Run water through the gutters and confirm smooth flow into the downspout with no pooling.
One rule to write down: Do not slide the guard under your shingles. I see this come up in almost every DIY forum as a tip, and it’s wrong.
7 Mistakes People Make in DIY Gutter Guard Installation
- Buying the wrong type of debris: Screen guards won’t ever stop pine needles.
- Installing over a dirty gutter: Whatever’s in there stays in there, and now it’s harder to remove.
- Skipping the gutter inspection: Guards on a sagging or cracked gutter just seal the problem in.
- Using the wrong fasteners: Generic clips from the hardware drawer come loose. Use what the manufacturer specifies.
- Ignoring gutter pitch: A flat gutter with guards is just a covered pond.
- Buying the wrong width: 5″ guards on 6″ gutters leave a gap down the middle.
- Thinking it’s set-and-forget: Even the best guards need a quick seasonal check. Plan on a minimum of 30–60 minutes per year.
Conclusion
Gutter guards won’t fix a bad gutter, and no guard completely eliminates maintenance. What they do is cut down the number of times you’re climbing a ladder with a trowel in your hand, and that’s worth something.
If I had to pick one product for the average homeowner, micro-mesh wins. It costs more upfront, but after a couple of clean seasons, you stop thinking about your gutters entirely. That’s the goal.
Start with clean, properly sloped gutters. Pick the guard that matches your debris type and climate. Follow the manufacturer’s installation instructions. And leave those shingles alone.
Do it right once, and you’re done for years.
Frequently Asked Questions
What is the Number One Gutter Guard?
There’s no single “number one” gutter guard for every home, but micro-mesh systems are generally considered the most effective overall.
What are the Drawbacks of Gutter Guards?
Gutter guards reduce maintenance, but they’re not perfect. They can still clog with fine debris like shingle grit, and lower-quality installations can cause water overflow or roof damage if fitted incorrectly.
What is an Alternative to Gutter Guards?
Alternatives to gutter guards include regular gutter cleaning, installing larger downspouts to improve flow, and using gutter screens or filters at the downspouts.