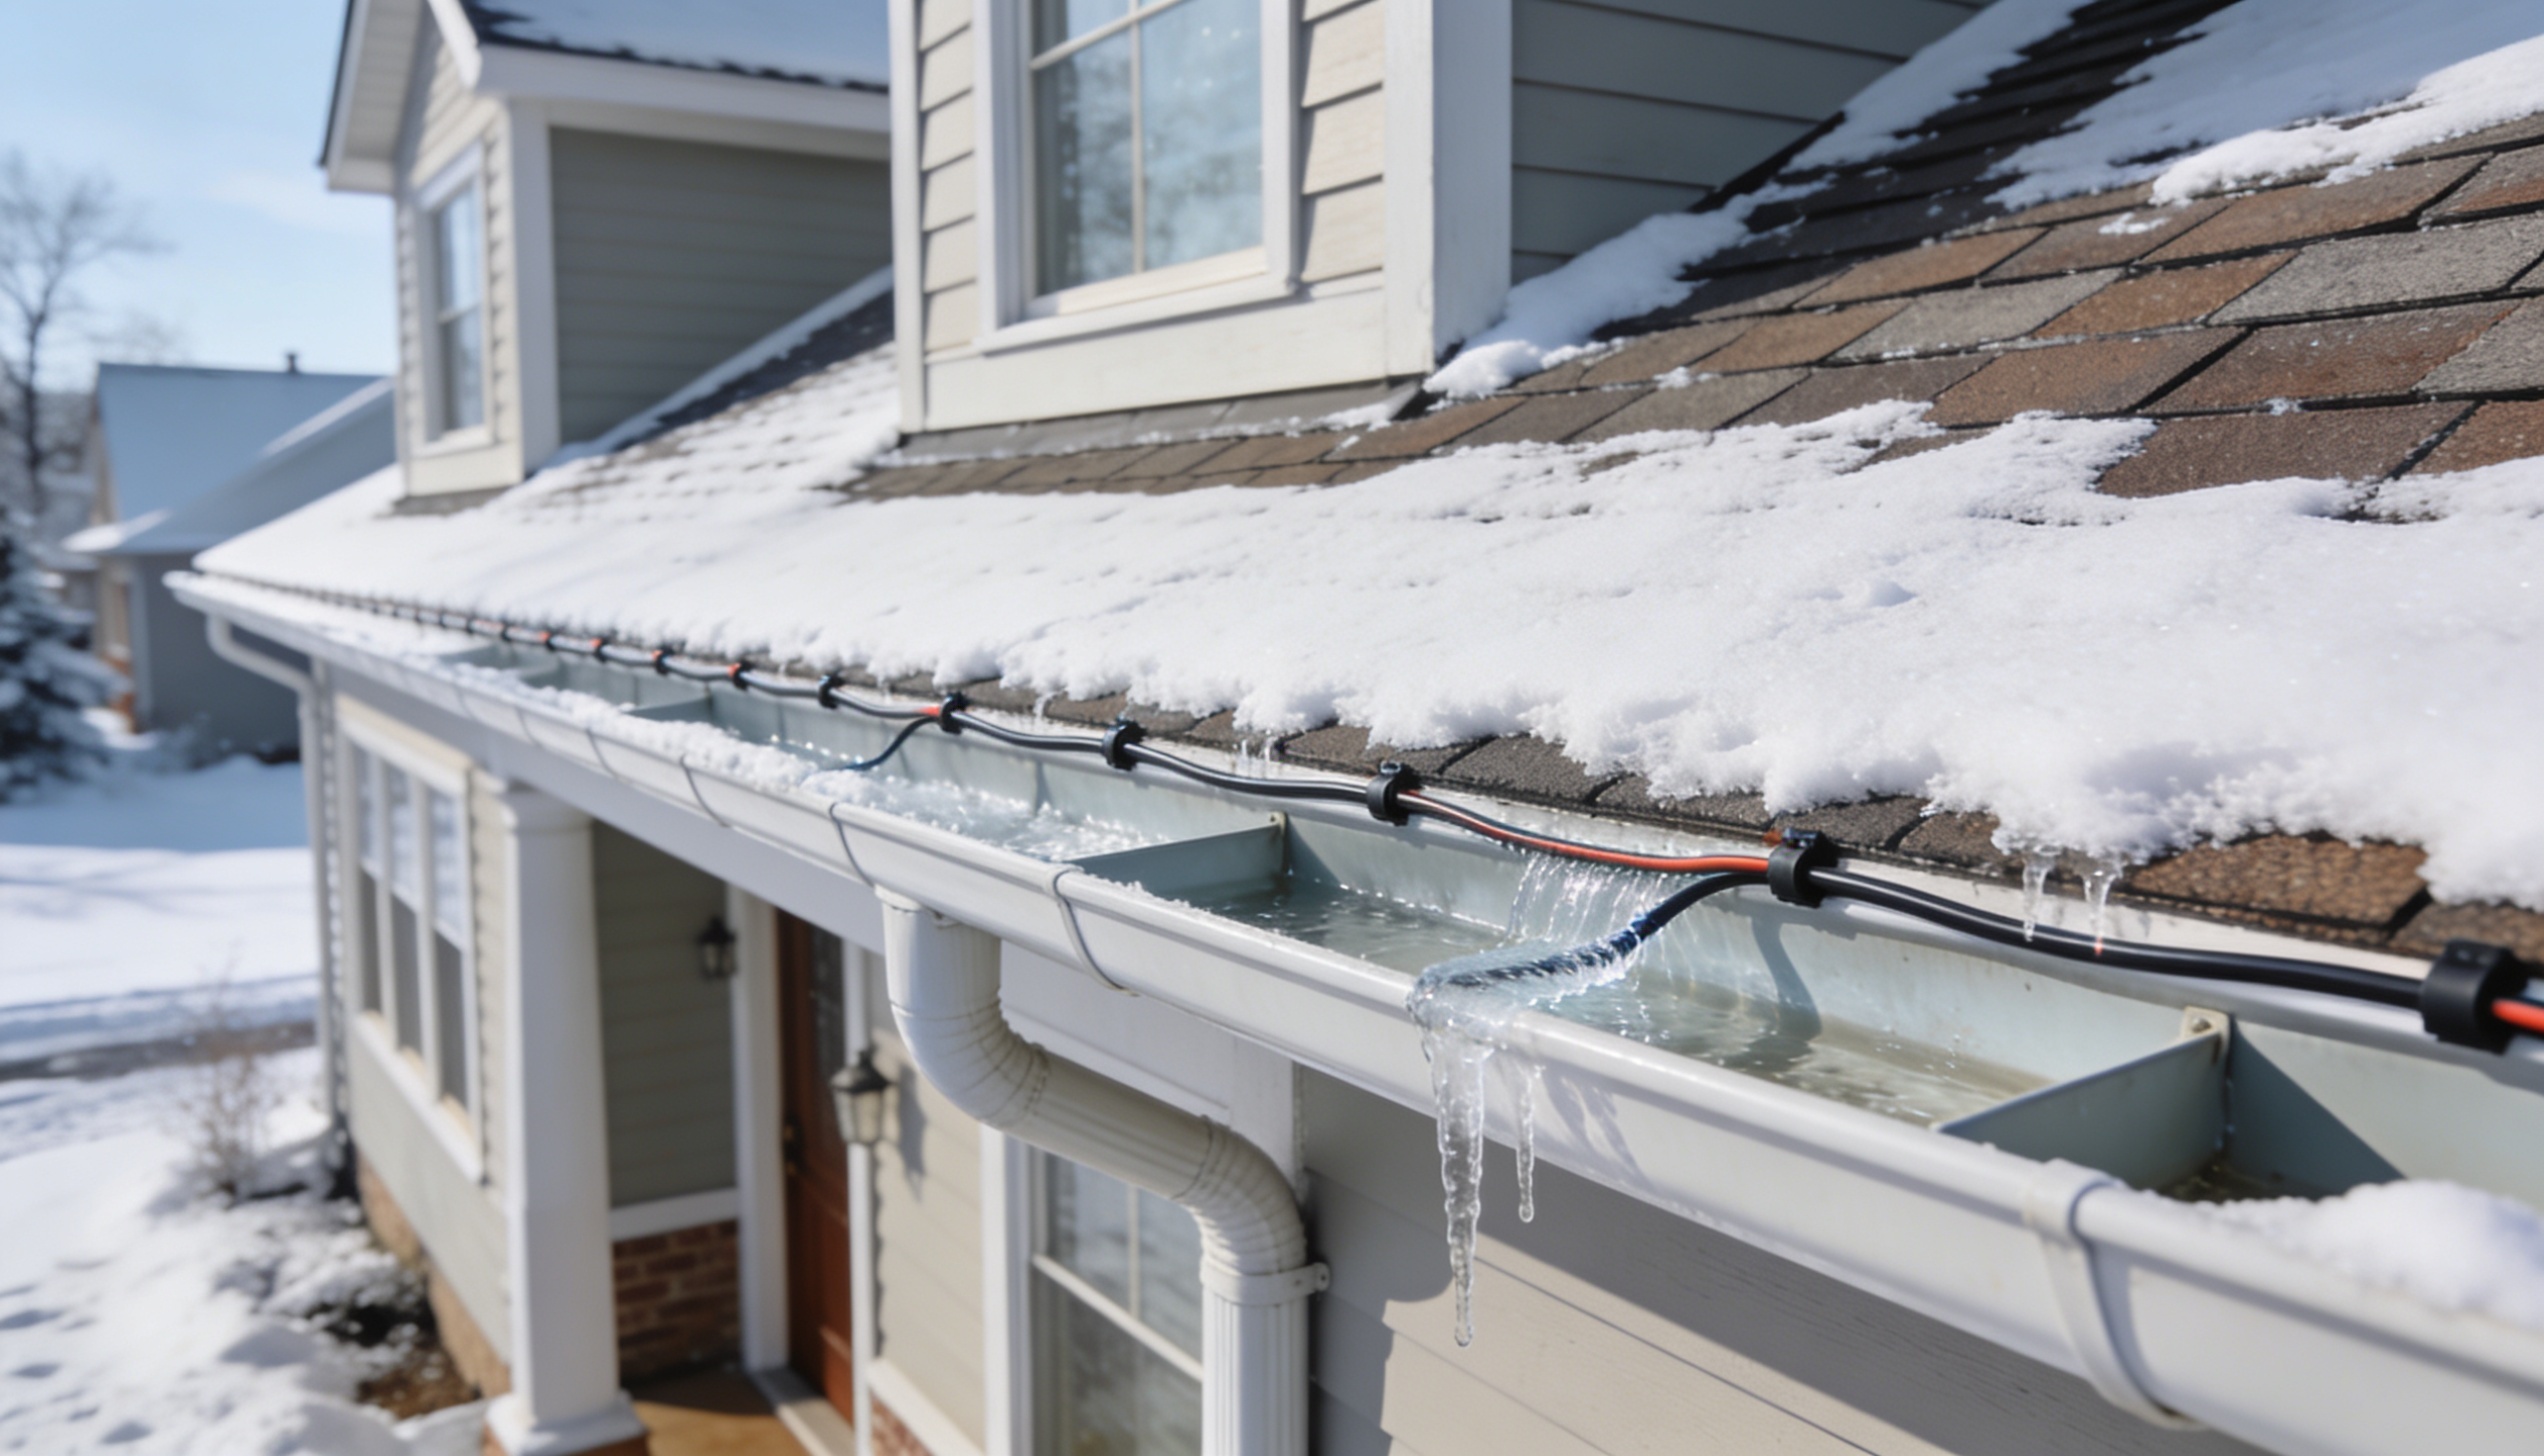
Most people install gutter heat tape on the roof edge and call it done. Then the first hard freeze arrives, the downspouts turn to solid ice, and the water has nowhere to go. The ice dam forms anyway.
That single skip is the most common reason heat tape systems fail, and after years of writing about home maintenance, it still surprises me how often it gets left out of installation guides.
Gutter heat tape works well when you choose the right cable and put it in the right places.
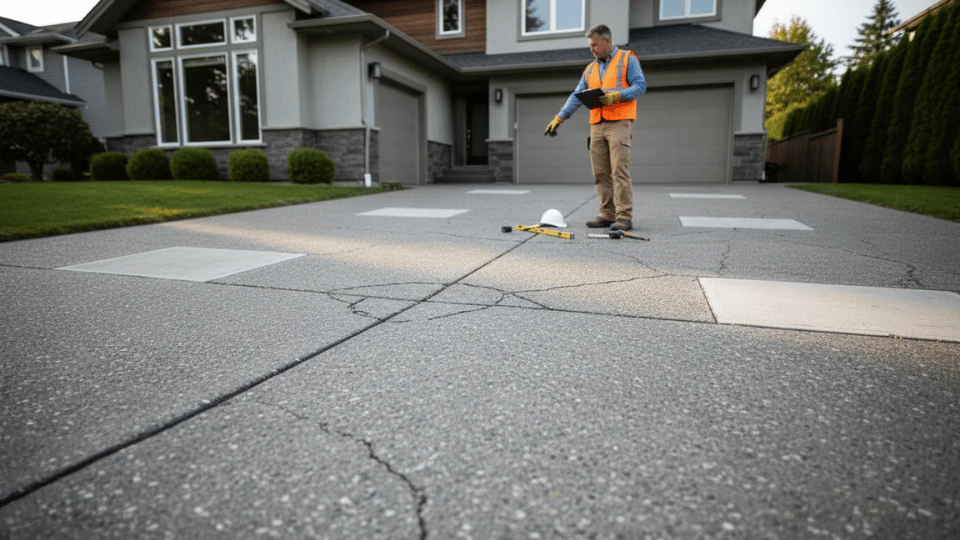
A DIY job on a single-story home can cost $150 to $400 in materials. The price difference is real. So is the damage from getting the installation wrong.
This guide covers what the cable actually does, which type to buy, how to measure correctly, the full installation process, and the six mistakes that cause systems to stop working in the first year.
What You Need Before You Start
Getting everything together before you climb the ladder saves trips up and down and keeps the job safer.
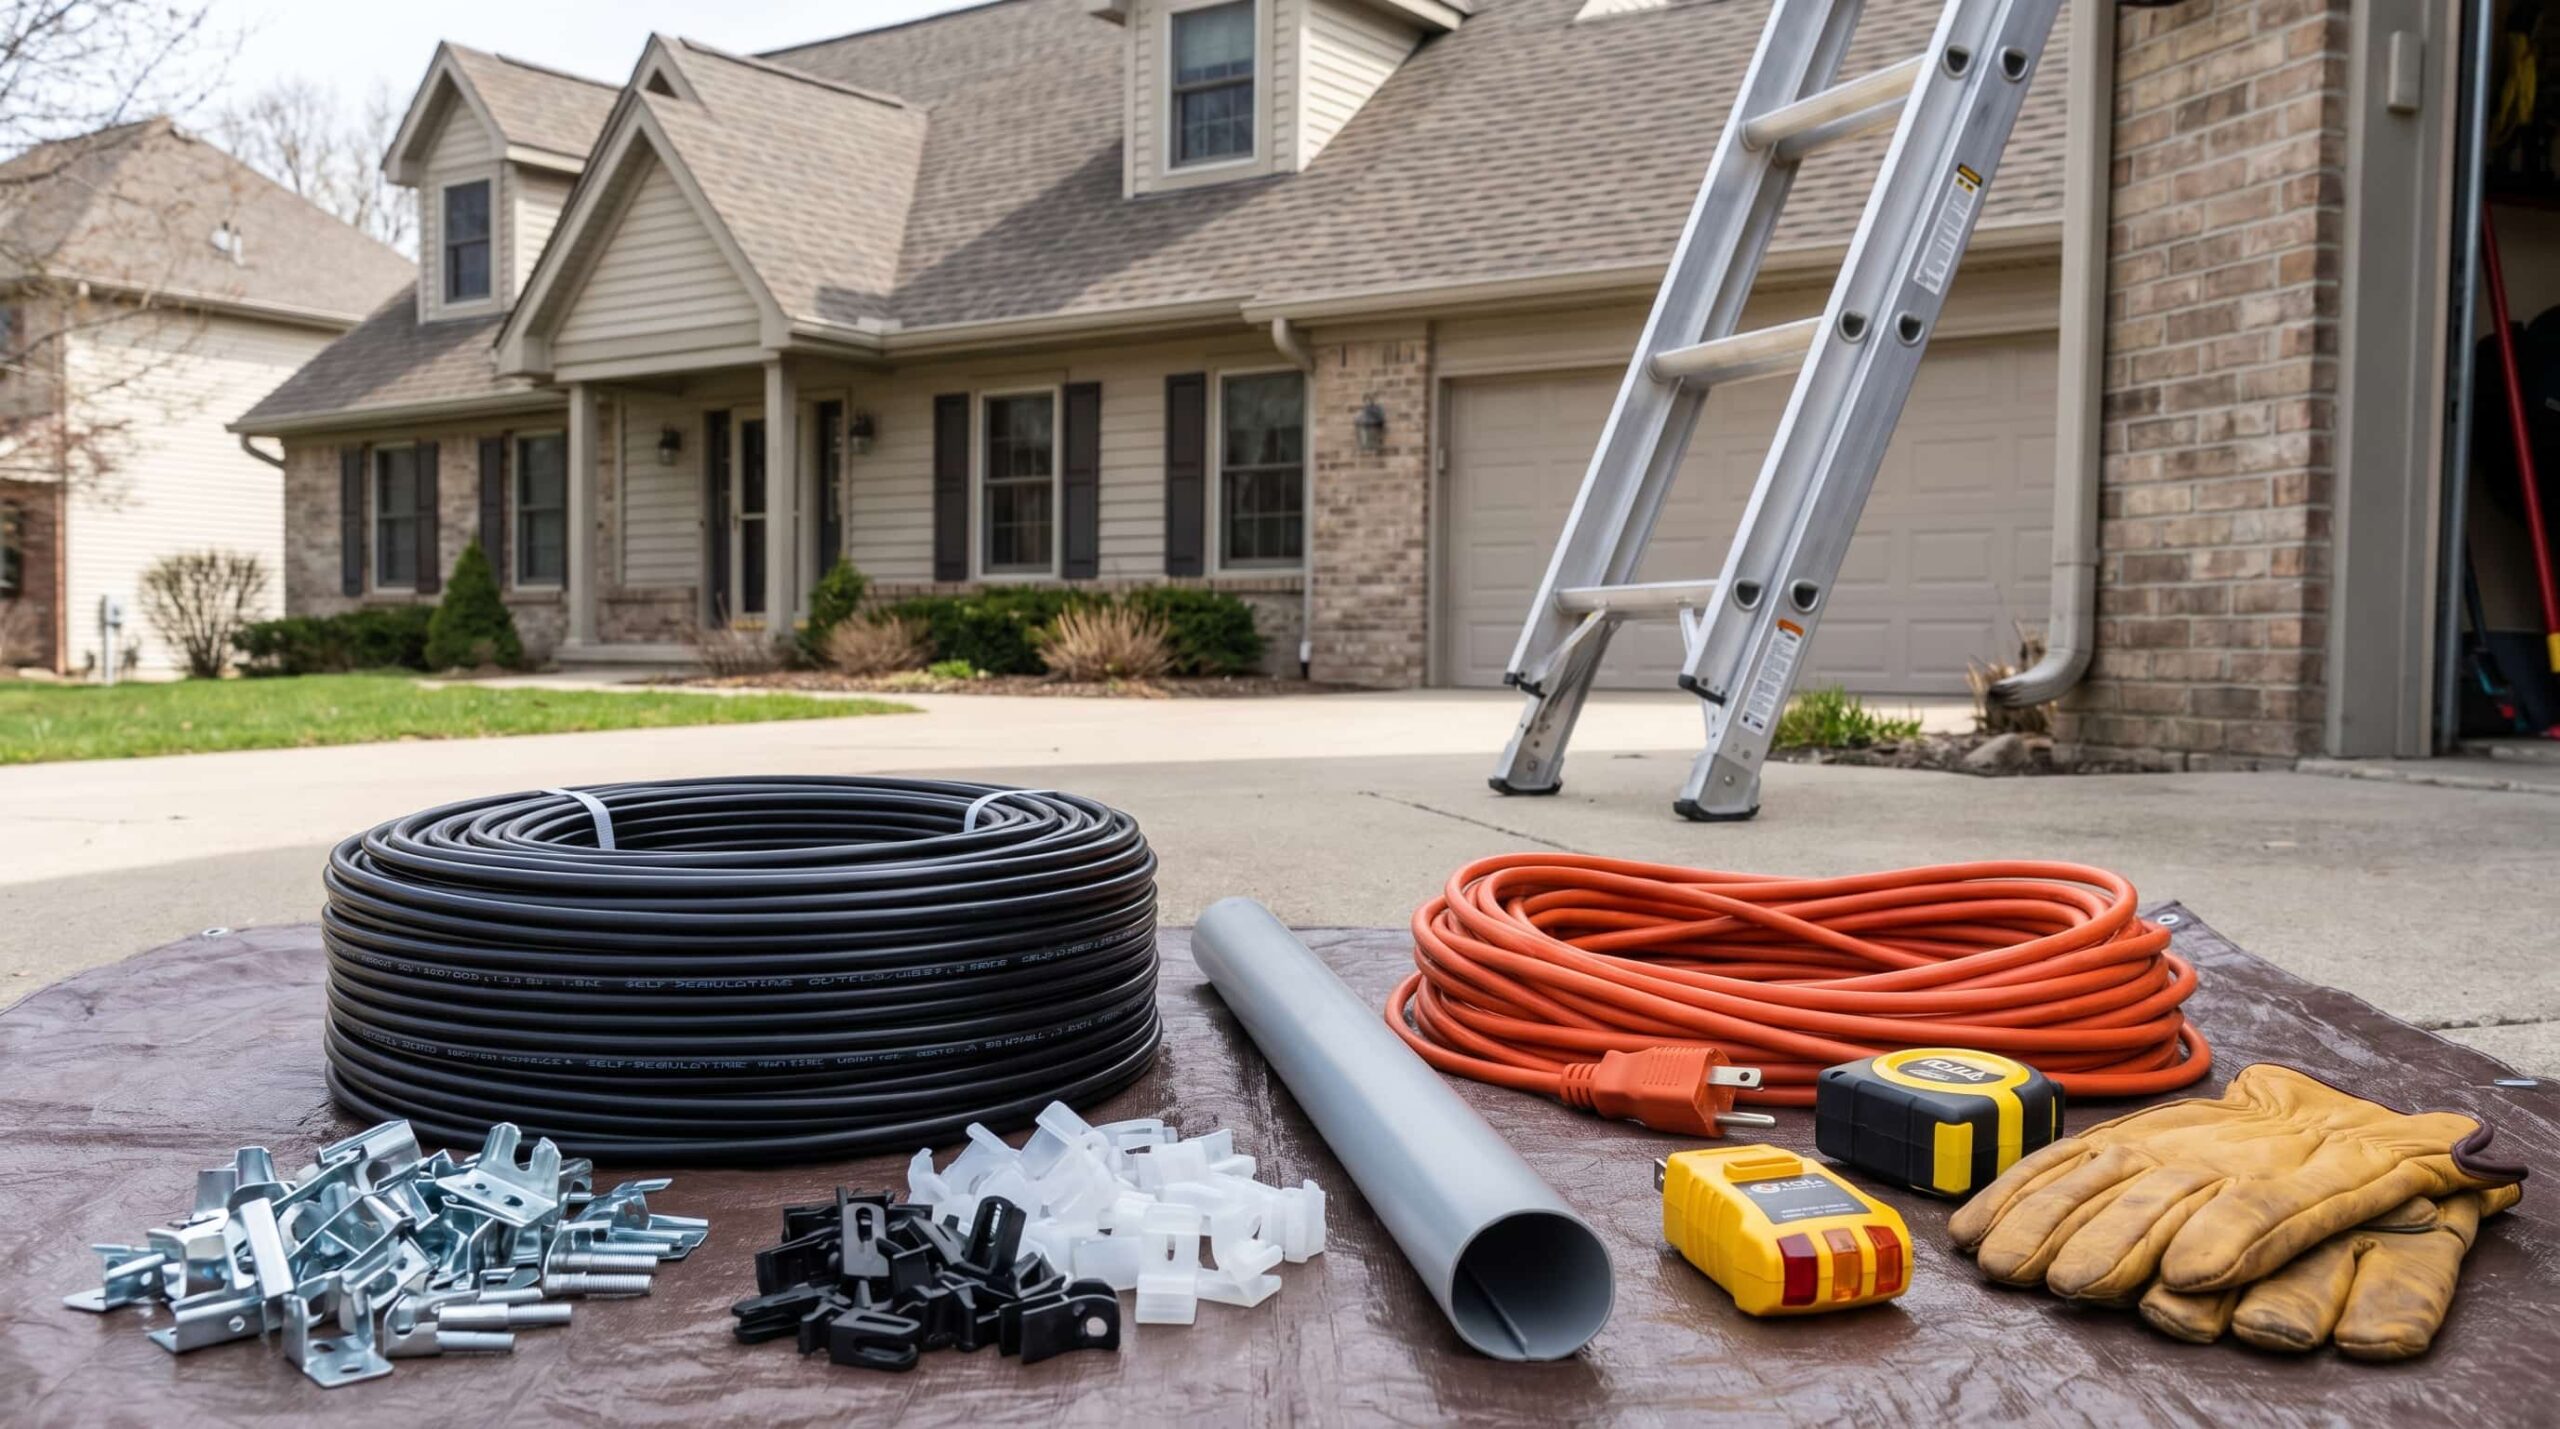
Materials:
- Self-regulating heat cable (measured to length before purchasing)
- Roof clips or shingle clips (usually included in kit)
- Cable separator clips, to keep the two gutter runs from sitting on top of each other
- Cable guard sleeve for spots where the cable passes over sharp gutter edges or screws
- GFCI-protected outdoor outlet
- Outdoor-rated extension cord if the outlet is more than a few feet from the gutter run
- Zip ties and at least one screw-through cable tie for securing excess cord
Tools:
- Tape measure
- Extension ladder rated for your roof height
- Work gloves
- Fish tape (optional, but useful for downspouts with multiple elbows)
On safety: do not use an indoor outlet or an indoor extension cord. The cable gets wet. Every season. A GFCI outlet trips the circuit if current flows somewhere it shouldn’t, like through water to your hands.
It is not optional. If you do not have a GFCI outdoor outlet, have one added before you start.
If you are not comfortable with both hands occupied at roof height, hire someone. This job is genuinely manageable for a careful DIYer on a single-story home. Multi-story homes are a different situation.
Step-by-Step Gutter Heat Tape Installation
Work through these steps in order. Skipping around is how things get tangled and how cable ends up installed incorrectly.
Step 1: Clean the Gutters
Remove all leaves, standing debris, and standing water before any cable goes in. Heat tape sitting in a clogged gutter creates hot spots, doesn’t drain properly, and burns out faster.
Step 2: Warm and Uncoil the Cable
Lay the full cable in the yard in a large S pattern. Plug it in for five minutes. Warming the cable makes it flexible and far easier to feed through downspouts. A cold cable is stiff and will fight you.
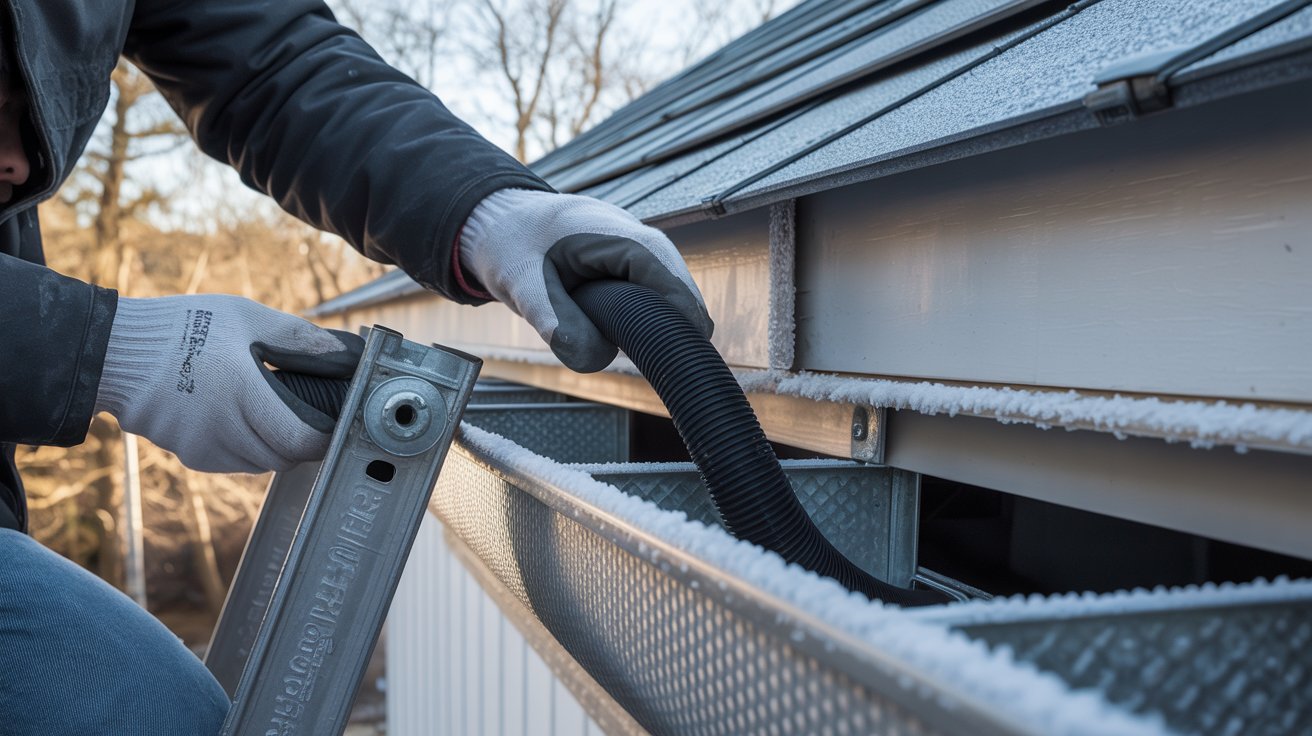
Step 3: Feed the Cable Through the Downspout First
Start at the downspout closest to your power source. Drop the power cord end from the top and jiggle it gently downward until it reaches the bottom.
Pull the plug end out at the base. Never force it. If the cable doesn’t move with gentle jiggling, something is snagging it inside. Forcing it bends the cable and can damage it.
Step 4: Run the Cable Along the Gutter Floor
Feed the cable along the inside bottom of the gutter, threading it under each gutter bracket. Use cable separator clips to keep the two runs from sitting directly on top of each other.
This matters for heat distribution. Two runs piled on top of each other don’t create as wide a drainage channel as two runs sitting side by side.
Do not allow the cable to cross over itself. On a constant-wattage cable, this is a fire risk. On a self-regulating cable, it reduces effectiveness.
Step 5: Install Roof Clips if Adding a Roof Edge Zigzag
Slip roof clips under shingle edges to create a zigzag triangle pattern about 15 inches deep.
Do not nail or staple cable to the shingles. Nailing through the cable damages it. Nailing into the shingles voids most roof warranties.
Step 6: Secure the Power Cord
Bundle any excess cord with zip ties. Use a screw-through cable tie to anchor the bundle to the fascia board so it doesn’t hang loose in the wind or pull on the outlet connection.
Step 7: Plug Into a GFCI Outlet and Test
Plug in only to a GFCI-protected outdoor outlet. Wait three to five minutes, then feel the cable. It should be warm to the touch.
In mild weather, a self-regulating cable won’t get very warm because it’s throttling back. In freezing temperatures, it will be noticeably hot.
If the circuit trips immediately, check the connection point for moisture or check whether the circuit is already near capacity.
How to Measure Gutter Heat Tape

Most people underestimate how much cable they need, and run short mid-job. Here is the actual formula.
- Measure the total linear feet of gutters you want to protect.
- Multiply that number by 2. The cable runs in a double pass along the gutter floor.
- Measure each downspout from the gutter outlet to the ground. Add each one separately.
- Add the distance from the last downspout to your power outlet.
- Add 10% to the total as a buffer for corners, elbows, and adjustments.
Real example: a 40-foot gutter with one 8-foot downspout and a 15-foot cord run to the outlet needs at minimum: (40 x 2) + 8 + 15 = 103 feet. Add the 10% buffer, and you need about 114 feet of cable before you start.
If your downspout comes out of the middle of a long gutter run rather than at the end, that adds cable footage that most measurement formulas don’t account for.
You need cable to run from the downspout in both directions to the ends of the gutter section, plus the drop down the downspout itself. Map it out on paper before you buy.
How Much Does Gutter Heat Tape Cost?
The costs break down into materials, installation labor (if you hire out), and monthly electricity costs.
Materials: Self-regulating cable runs $1.50 to $4.50 per linear foot. A starter kit covering 30 to 100 feet with clips included runs $60 to $250.
Constant wattage cable is cheaper at $0.70 to $1.50 per foot, but the shorter lifespan usually erases the savings within two seasons.
Professional Installation: Installation costs vary based on the length of the system, roof complexity, home size, and accessibility.
Single-story homes generally cost less to equip, while larger homes and more complex roof layouts can significantly increase labor expenses.
Monthly Electricity: At 5 to 9 watts per foot per hour, 100 feet of cable running all winter adds $40 to $60 per month to your electric bill, based on data from Garfield Clean Energy.
Self-regulating cable reduces this meaningfully because it only draws full power during actual cold. A thermostat-controlled outlet switch further reduces it by turning the system off during periods when it’s not needed.
A DIY job on a single-story home with an existing outdoor GFCI outlet is a realistic weekend project at $150 to $400 in materials. The labor savings are real. The only trade-off is your time and comfort on a ladder.
Does Your Home Really Need Gutter Heat Tape?
Before you buy anything, this question deserves an honest answer.
Gutter heat tape makes sense if your home has a history of ice dams forming along the roof edge. It can also help when gutters or downspouts freeze solid during cold snaps.
Another sign is water backing up beneath shingles and causing ceiling leaks inside the home.
North-facing roof sections with limited sun exposure are particularly prone to this. Homes in U.S. climate zones 5 through 7, the Midwest, New England, the upper Plains, and the mountain West tend to need it most.
You probably do not need it if your area rarely drops below 25°F for extended stretches, or if your roof has a steep pitch with metal panels where snow slides off before it gets a chance to refreeze.
Here is the part that most guides leave out: if your attic insulation is poor, heat tape will not fix your ice dam problem. It will help, but the ice dams will keep forming.
A poorly insulated attic lets warm air escape through the roof deck, which is the root cause of most ice dam formation.
Fixing the insulation addresses the actual problem. Heat tape is a management tool for homes where the roof geometry, climate, or existing insulation makes ice dams unavoidable.
Check the attic first. Sometimes that one fix prevents the need for heat tape entirely.
Self-Regulating vs. Constant Wattage Cable
This is the one decision that matters most before you spend a dollar, and most installation guides treat it as a footnote.
1. Self-Regulating Cable
Self-regulating cable has a polymer core that changes its electrical resistance based on temperature. As the surrounding air cools, the core becomes more conductive, and the cable dissipates more heat.
When temperatures rise above freezing, the output drops automatically. You can overlap it at gutter corners without creating a fire risk.
It works on every roof type, including metal and tile. The typical lifespan runs 10 years or more. Materials cost $1.50 to $4.50 per linear foot.
2. Constant Wattage Cable
Constant-wattage cable runs at the same power level all the time, regardless of whether it is 5°F or 38°F outside. It costs less upfront, typically $0.70 to $1.50 per linear foot.
But it cannot be overlapped even briefly without creating an overheating risk at the crossing point. It is only rated for asphalt shingle roofs. Most last one to three seasons before needing replacement.
The math for electricity matters here, too. According to Garfield Clean Energy, heat tape burns 6 to 9 watts per foot per hour.
At 100 feet running around the clock, that adds $40 to $60 per month to your electric bill. Constant-wattage cable runs at full power constantly.
The self-regulating cable draws full power only during actual cold events, which means the monthly cost is meaningfully reduced.
Maintenance and Seasonal Care
Installing the cable is not the last step. The system needs basic attention each year to keep working.
Test it before the first freeze of the season. Plug it in and feel the cable after a few minutes. Finding a dead section in October is manageable. Finding it during the first ice storm is not.
Clean the gutters every fall before cold weather arrives. Leaves and debris against the cable trap moisture, shortening its life. A clean gutter also drains faster, which is the whole point.
Inspect the cable once a year for cracking, pinched spots, or physical damage from ladders and foot traffic. Check the GFCI outlet by pressing the test and reset buttons. They can fail silently.
Self-regulating cable typically lasts 10 or more years with basic care. A constant-wattage cable usually needs to be replaced every 1 to 3 seasons.
If you went with constant wattage, build that replacement cost into your budget before winter arrives.
At the end of each winter, don’t yank the cable out while it’s frozen in place. Let the ice thaw first. Pulling on a cable embedded in ice tears the outer jacket and creates damage that won’t show up until the following season.
Conclusion
Gutter heat tape installation comes down to a few non-negotiables: use self-regulating cable, run it through the full length of every downspout, and clean the gutters before you start.
Get those three right and the system will do its job for years.
Ice damage is expensive. A 2022 report from the Insurance Information Institute found that winter storms caused $15.7 billion in insured losses in the U.S., with water damage from ice and freeze events among the most common claims.
A few hundred dollars in cable now is a straightforward trade-off against a ceiling repair, a new section of insulation, or a damaged gutter system.
If you have questions about specific roof configurations or unusual downspout setups, drop them in the comments. I read everyone.